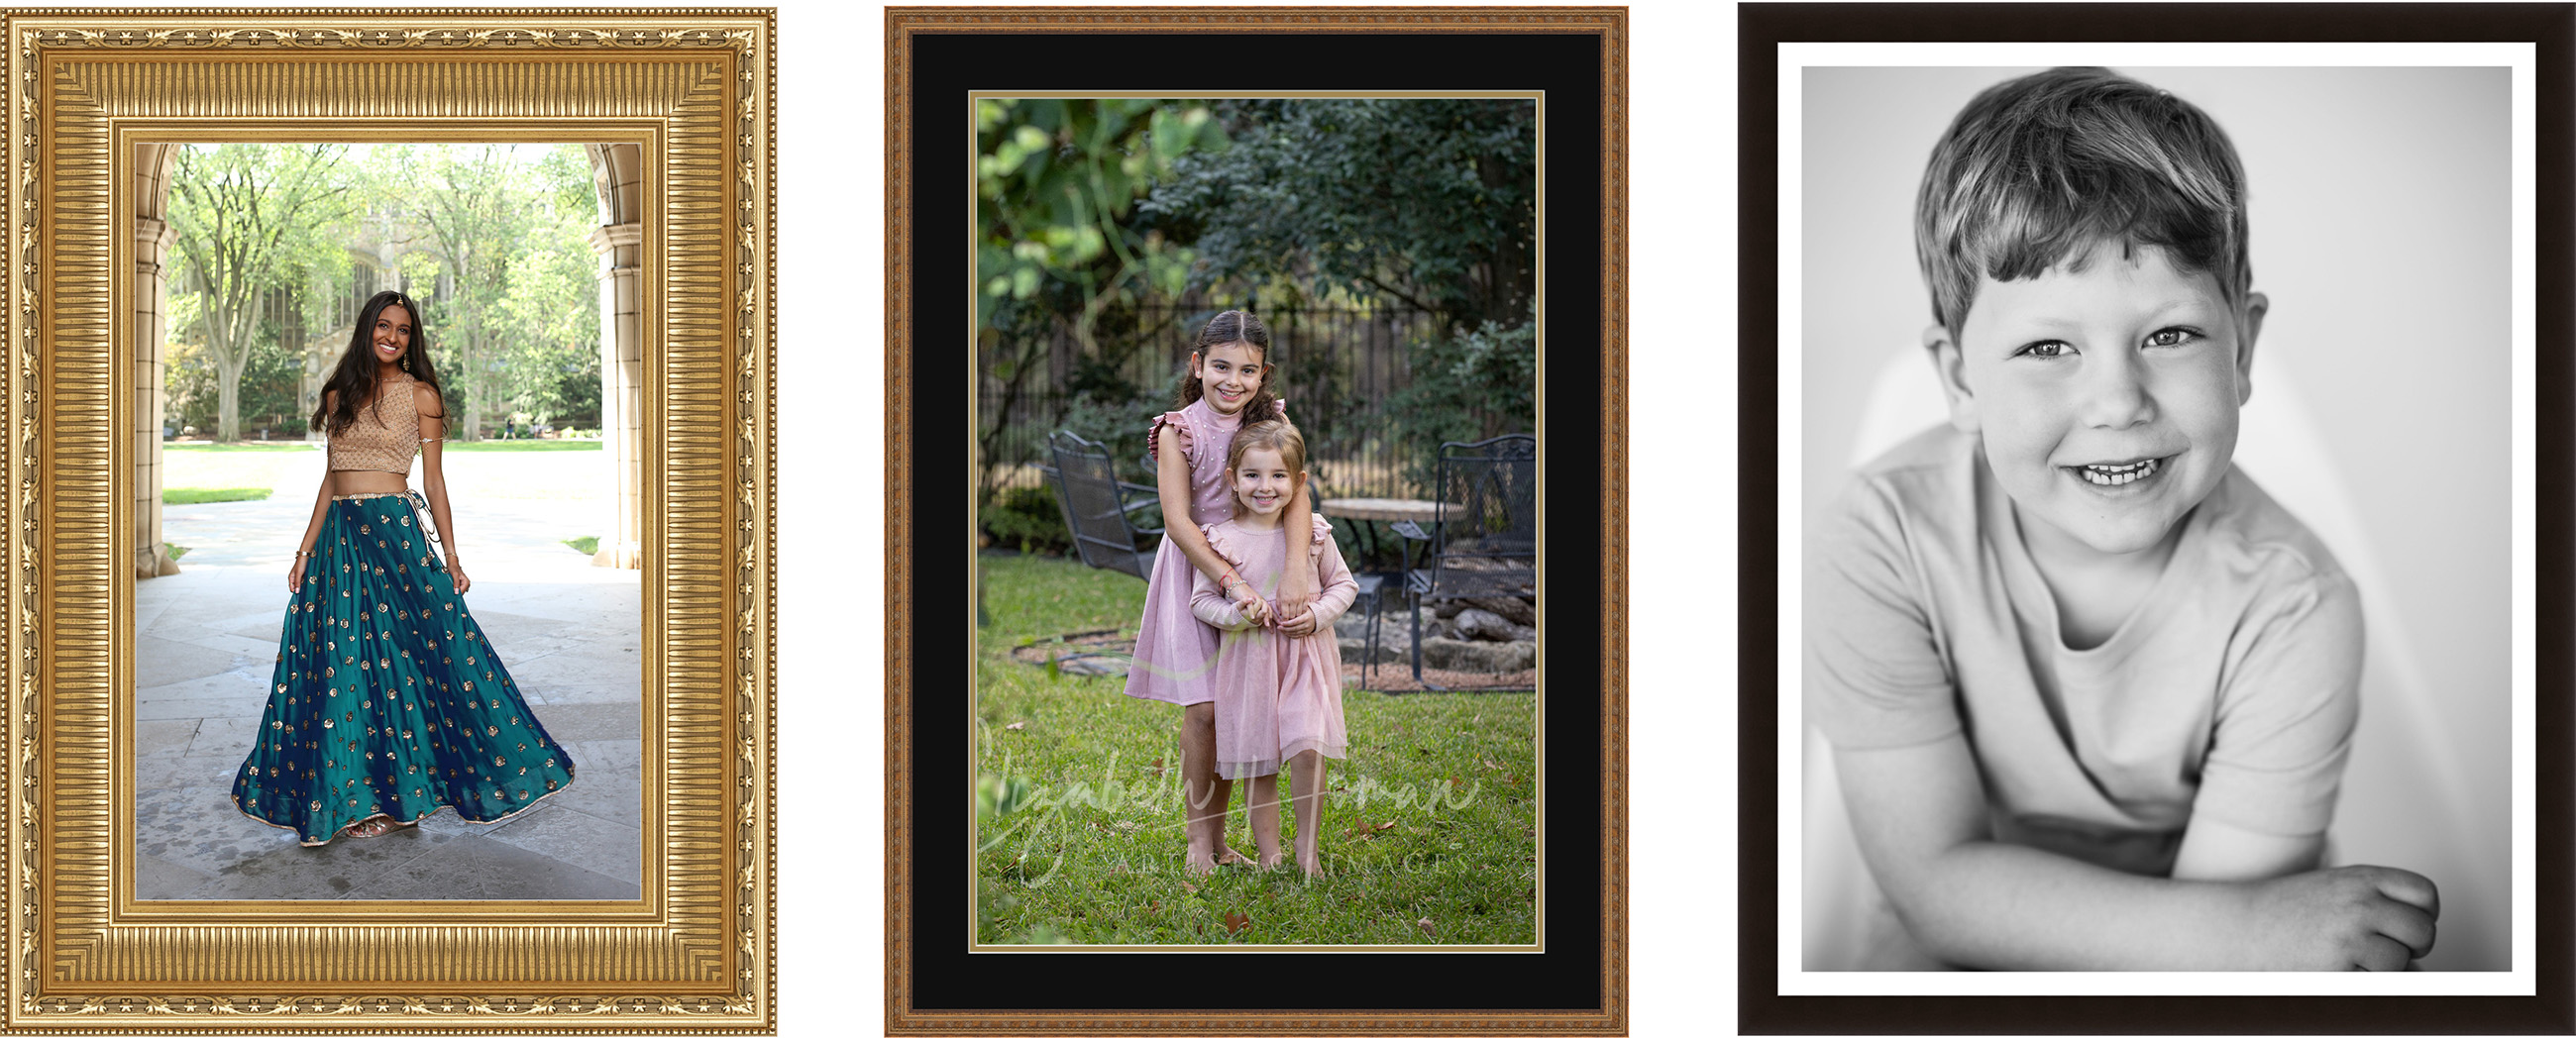
 About Frames
ProSelect comes pre-loaded with a large number of default frames, suitable for a range of styles and preferences. However, ProSelect also provides flexibility, allowing you to add custom frames. You can either create your own unique frames within the software or expand your options by downloading frame collections directly from various suppliers.
ProSelect supports two methods of framing images:
- Standard Frames: These frames are created from lengths of molding that are cut to size with mitered (angled) corners. The pieces are then assembled to form the frame. This type of frame is widely available from labs and framing suppliers and offers many style and finish options.
- Fixed Corner Frames: These frames are typically more decorative, and often found in classical or antique styles. The design elements, like intricate patterns or carvings, extend seamlessly across the corners of the frame, creating a continuous look that isn't interrupted by mitered joints.

- ProSelect Pro: Utilize up to 500 custom frame images.
- ProSelect Basic: Utilize 12 custom frame images.
- There are several different ways to price frames. Click on Pricing Frames to learn more.
- When frames are ordered, you can optionally print an Ordered Frames Report.
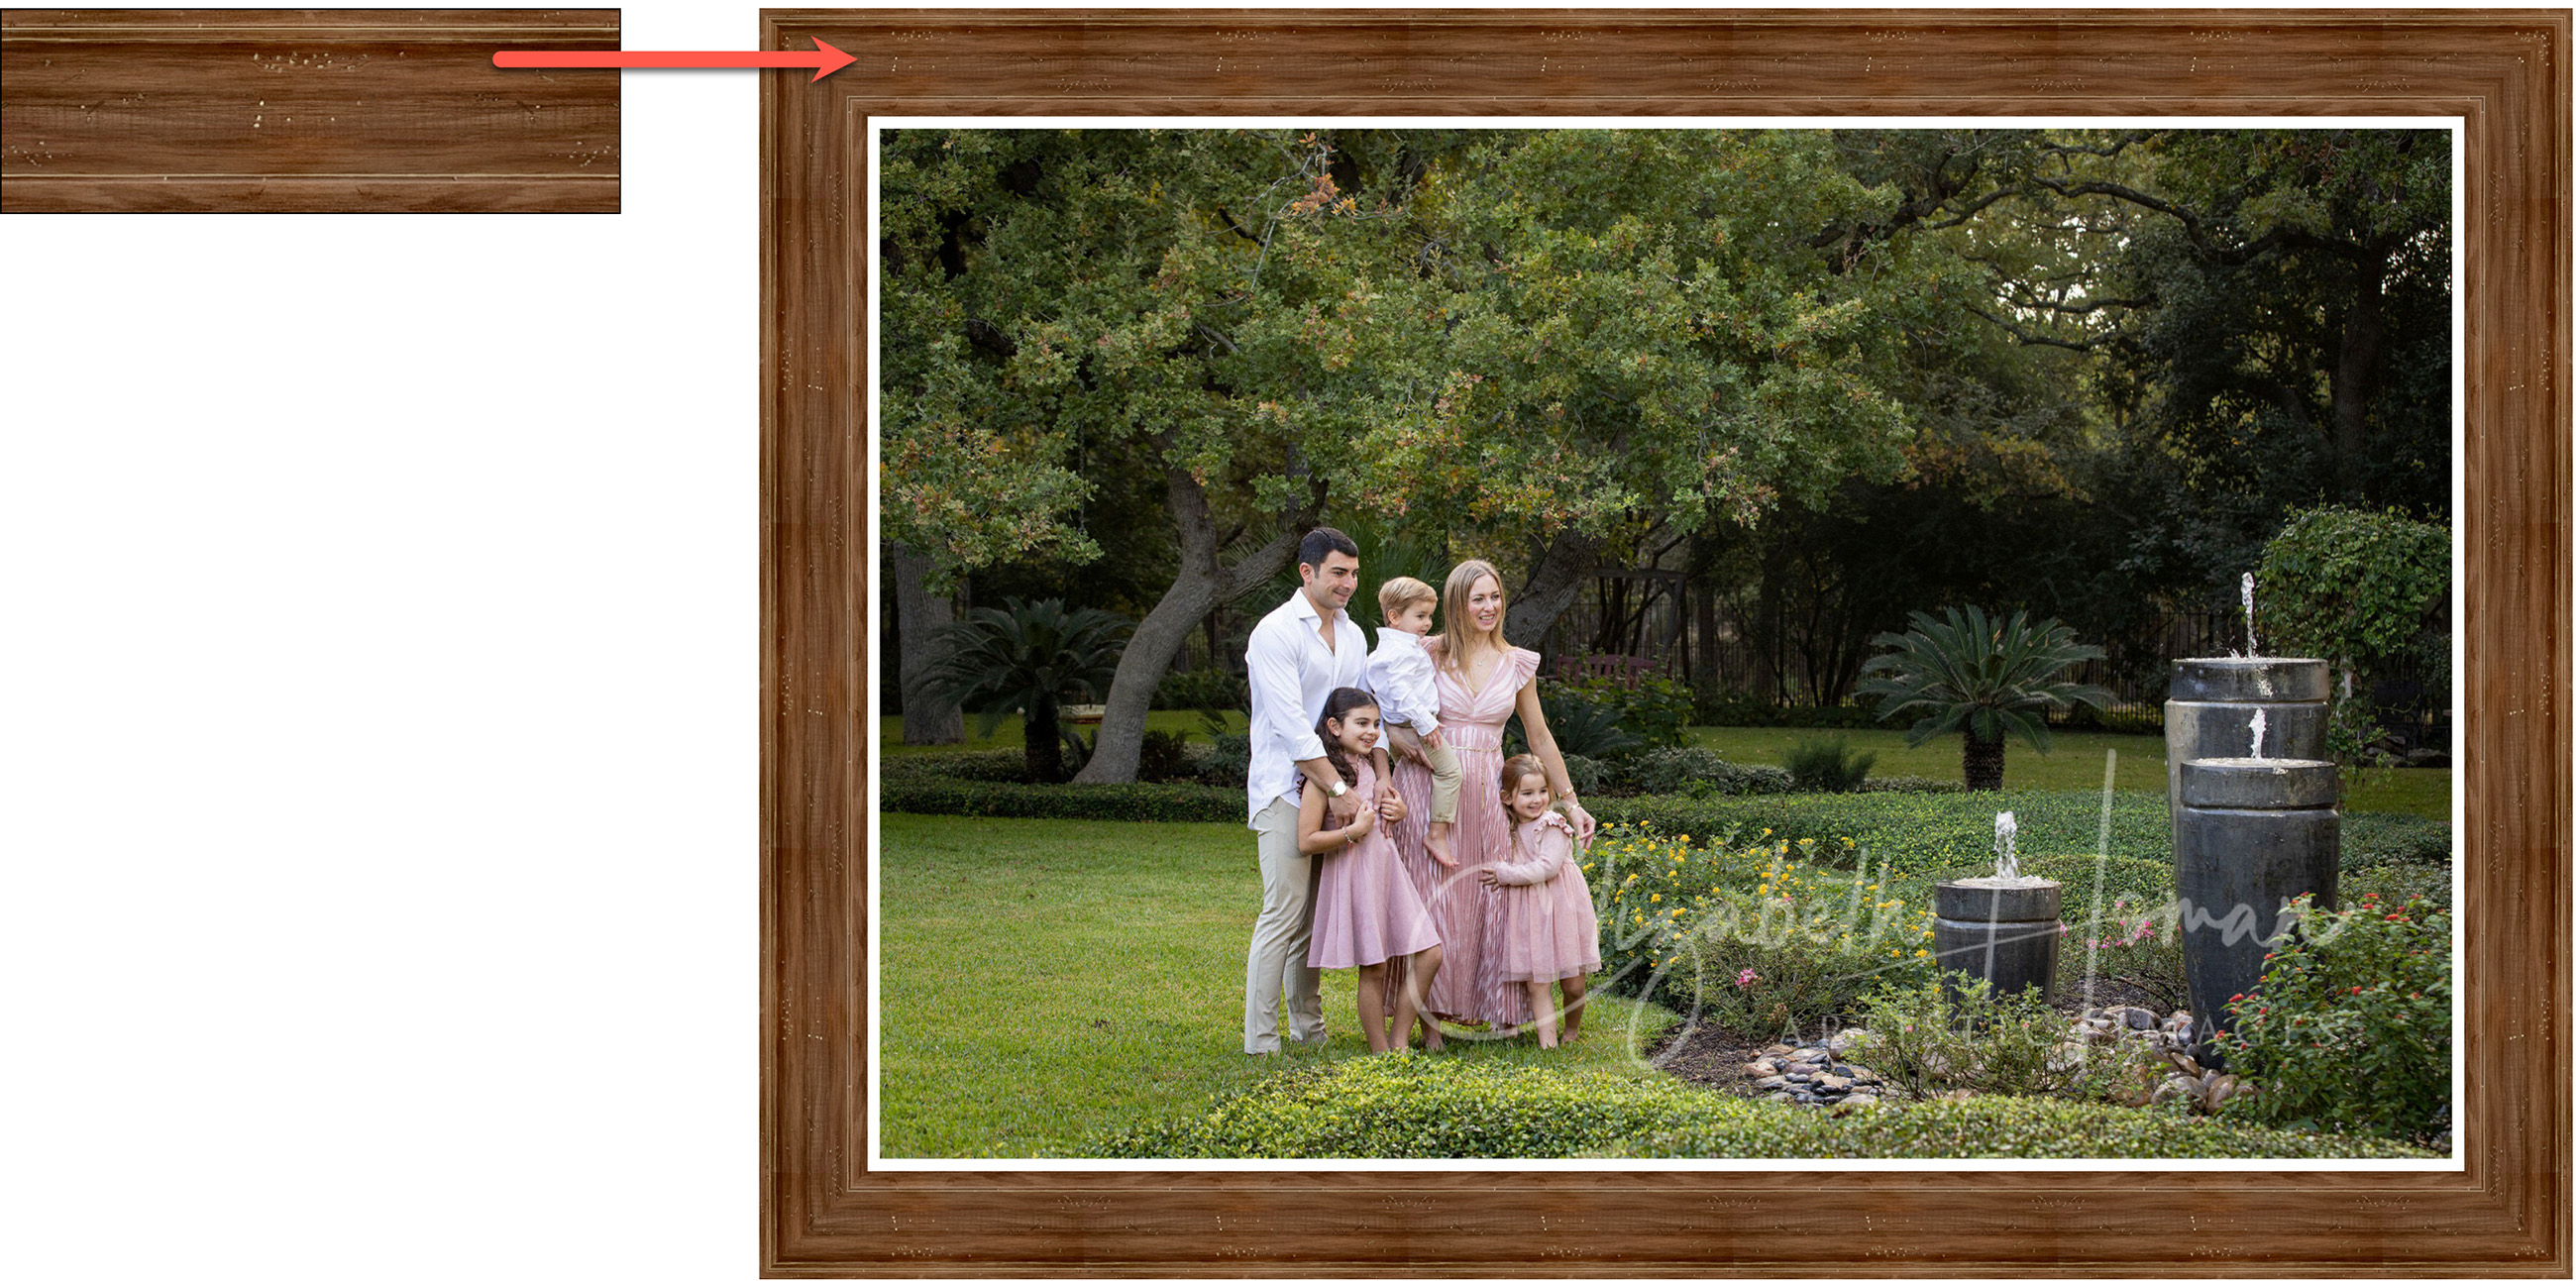
Standard Frames offer the most flexibility, allowing frames to adapt to any size or shape of product. These frames are made up of a single image (segment) of a frame, which is then tiled around an image. These frames are managed in the Manage Frames window and applied using the Select Frame tool ![]() .
.

- When putting the frame on an image, the selected frame image automatically tiles (repeats itself) around the image.
- ProSelect automatically rotates the image by 90 degrees for the sides and by 180 degrees for the bottom.
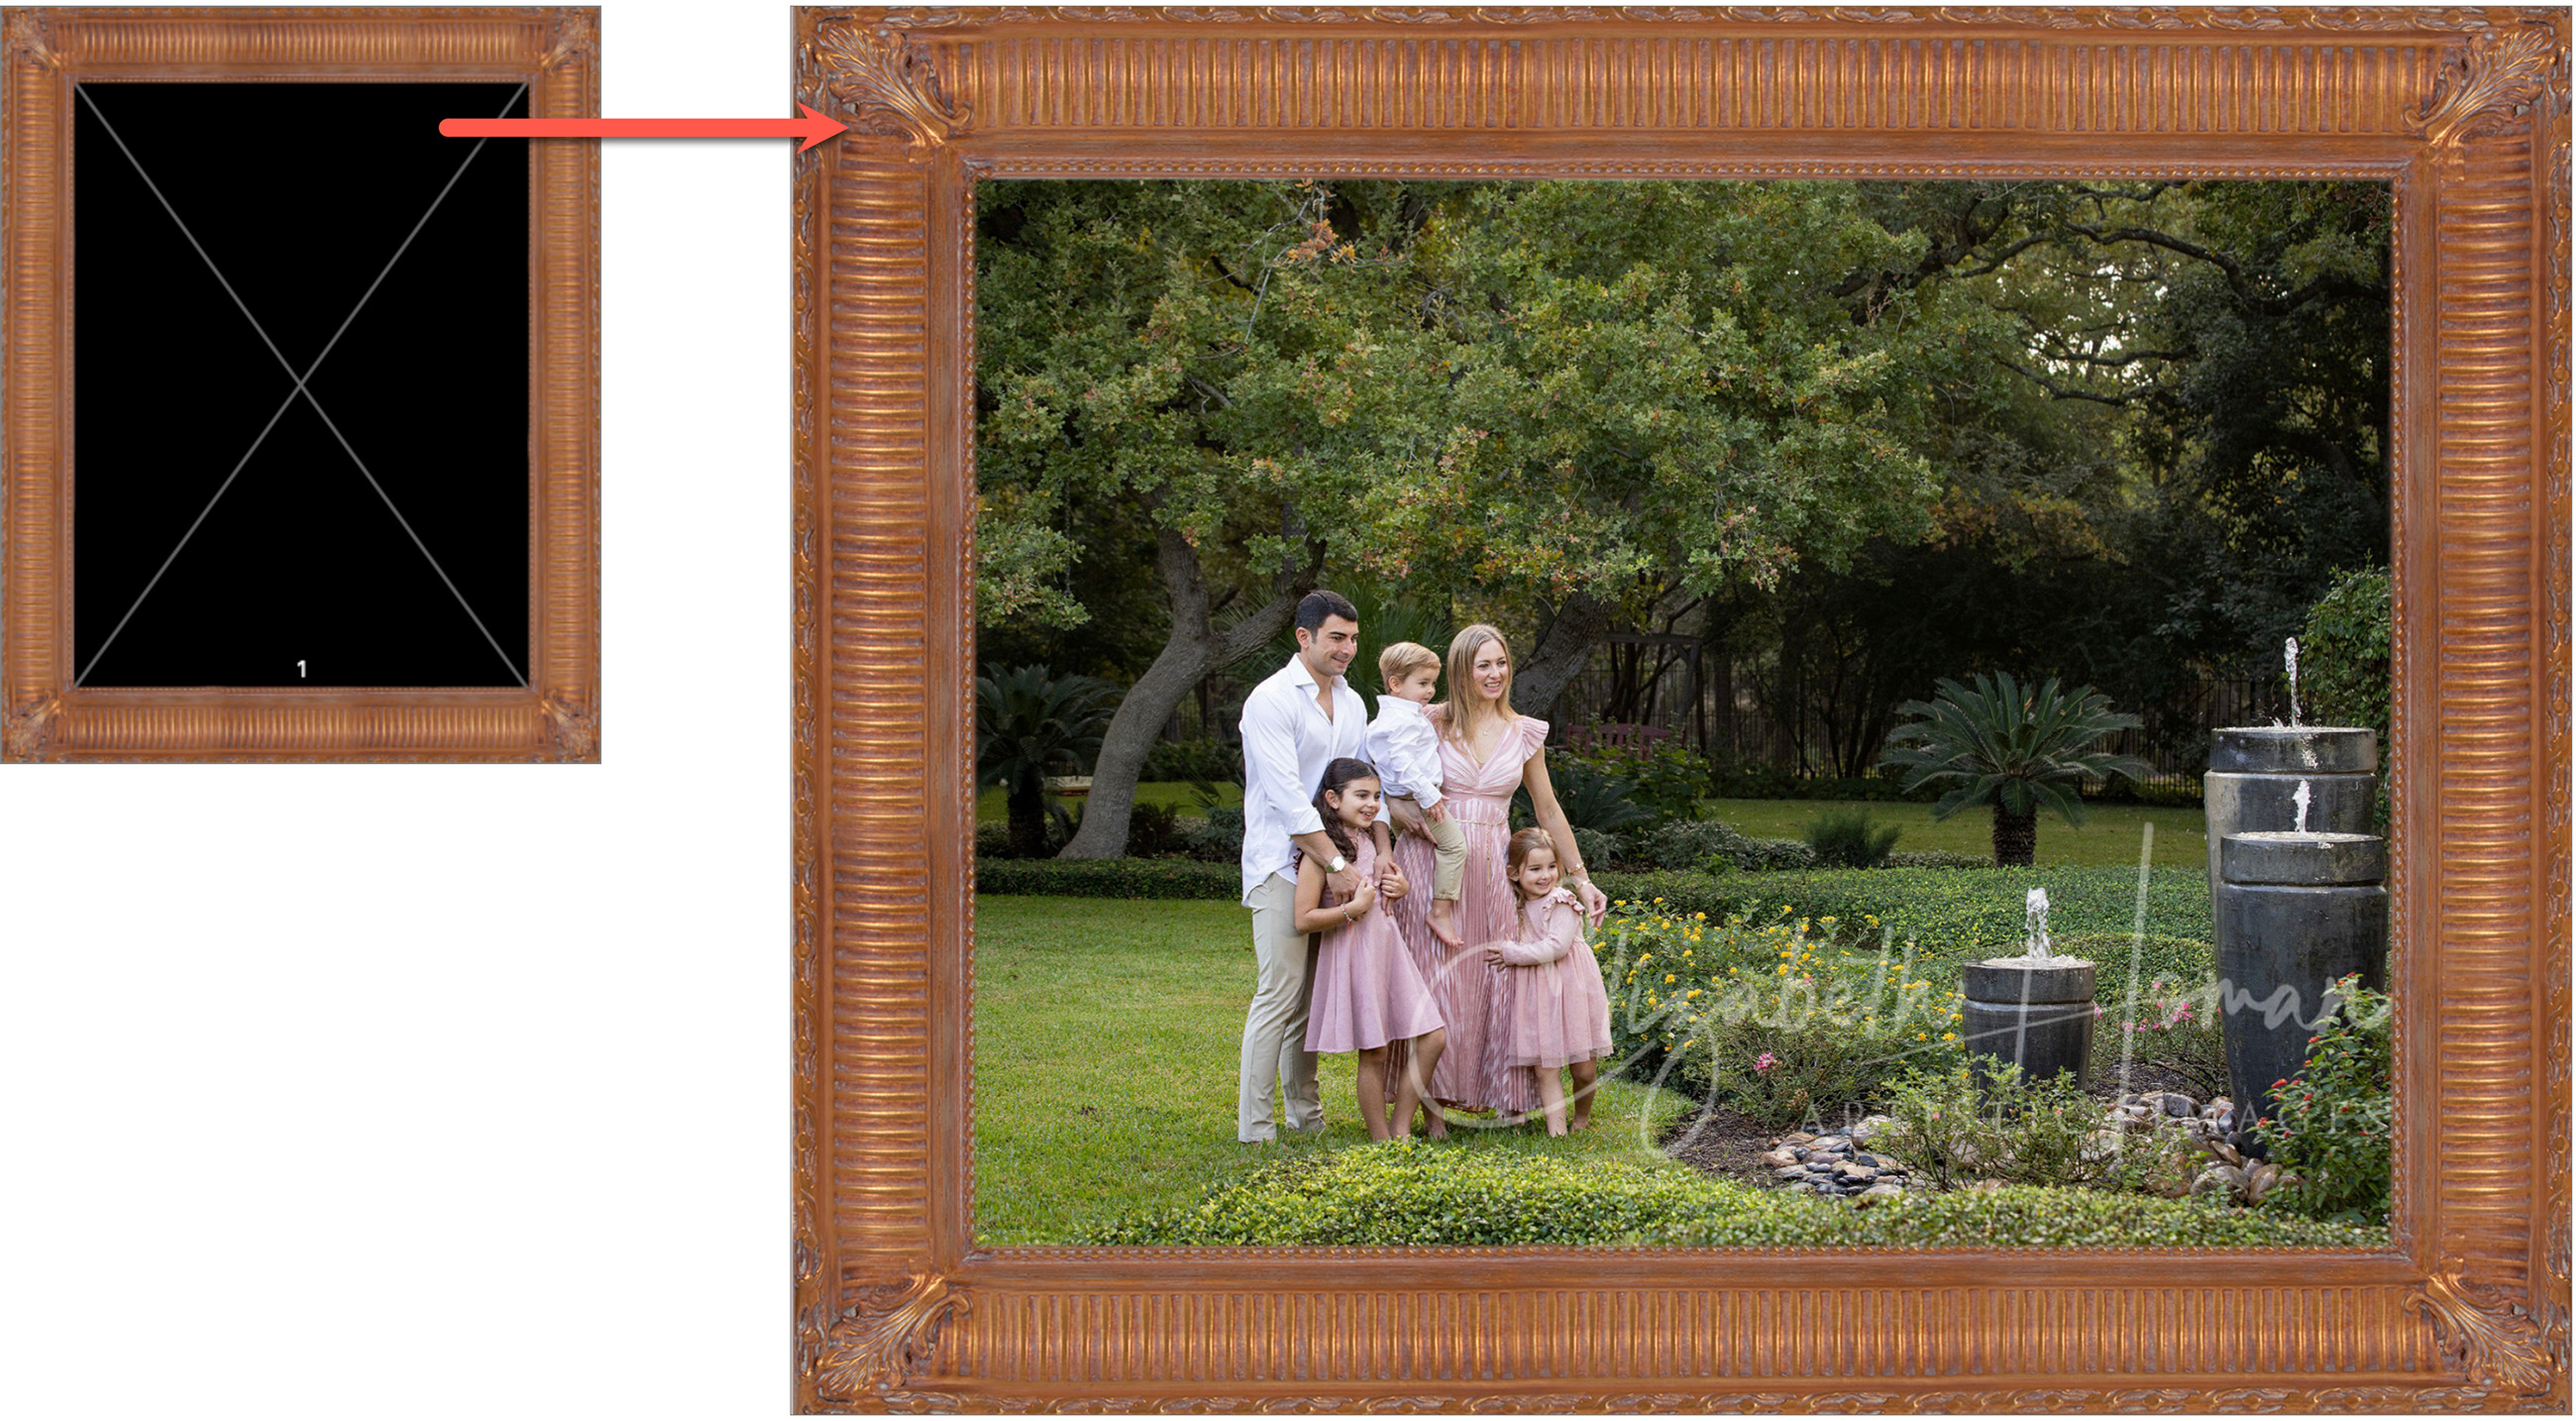
Fixed Corner Frames are particularly suited for frames with ornamental corners or distinctive edge details that can't be captured by repeating the same image segment around the frame. Unlike standard frames that utilize a single repeating image, Fixed Corner Frames require the use of an overlay image to preserve the unique designs at each corner. These types of frames are handled through the Product & Pricing Manager and are accessible in the resource area.

- Select the desired frame from the template resources area, and drag it into the working area. From there you can populate the template with an image.
- Fixed Corner Frames are always fixed-sized, but you can utilize stacked sizing to offer more options.
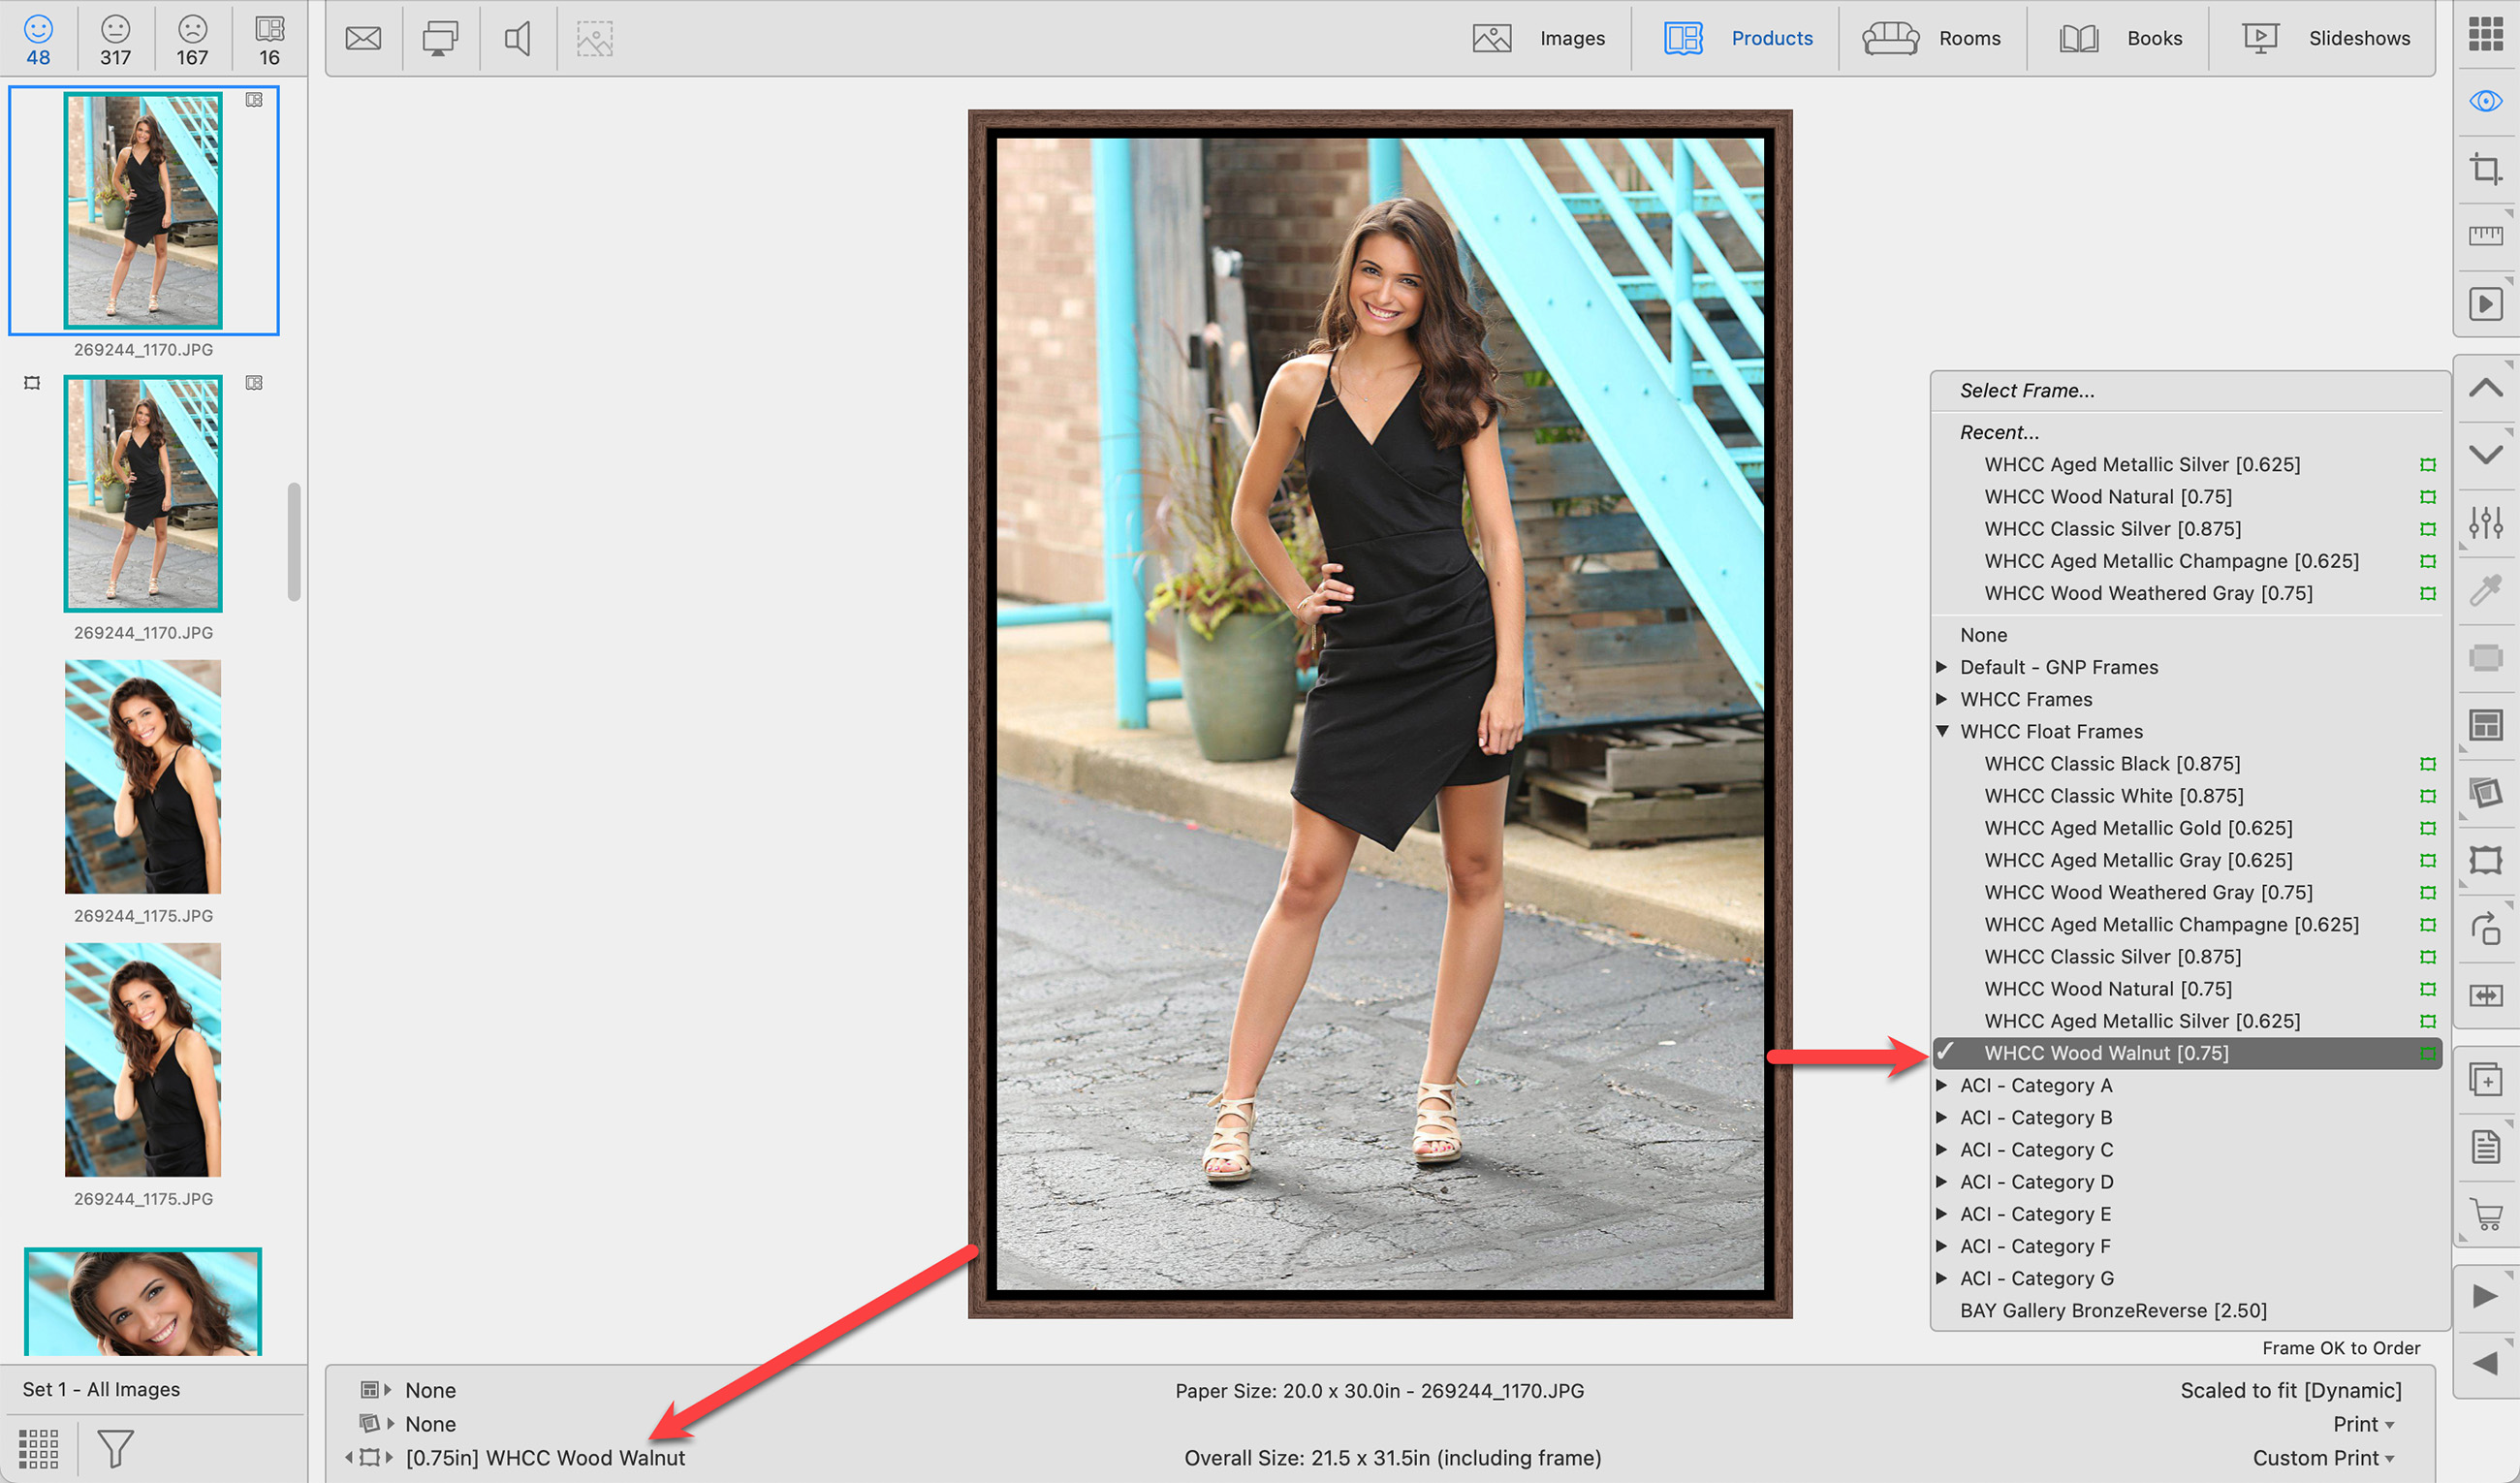
You can apply a Standard Frame to your image or product when in Thumbnail, Show, or Actual Size view. Click on the Frame tool in the toolbar to view the drop-down menu of available frames. Recently selected frames appear at the top. To remove a frame, select "none" from the list.
- Frames are set up in the Manage Frames dialog. Go to the top menu, Products > Frames > Manage Frames.
- The currently selected frame name and molding width are shown in the left column of the Info Bar.
- The overall size, indicating the outside dimension, including the frame is listed in the center column.
- If a frame has been applied to a product, the frame tag
 will appear on the thumbnail.

- If you notice red frame tags
 next to your frames, a detailed explanation can be found by clicking Frame Validation - Frame and Mat Selection Tags.
 - Displaying the frame molding width in square brackets next to the name is a preference. You can turn this feature off by going to the top menu, ProSelectEdit > Display > Display Options.
- Fixed Corner Frames are not available using the Select Frame tool. They are a product template and must be accessed using the template resource area.
- To quickly close (or open) all frame folders, hold down the Shift key while clicking on the disclosure arrow.
You can remove all applied mats, frames, & virtual styles simultaneously by holding the OptionAlt key and then pressing the DeleteBackspace key on your keyboard.