Alignment Guide, Gap Snapping, and Grid
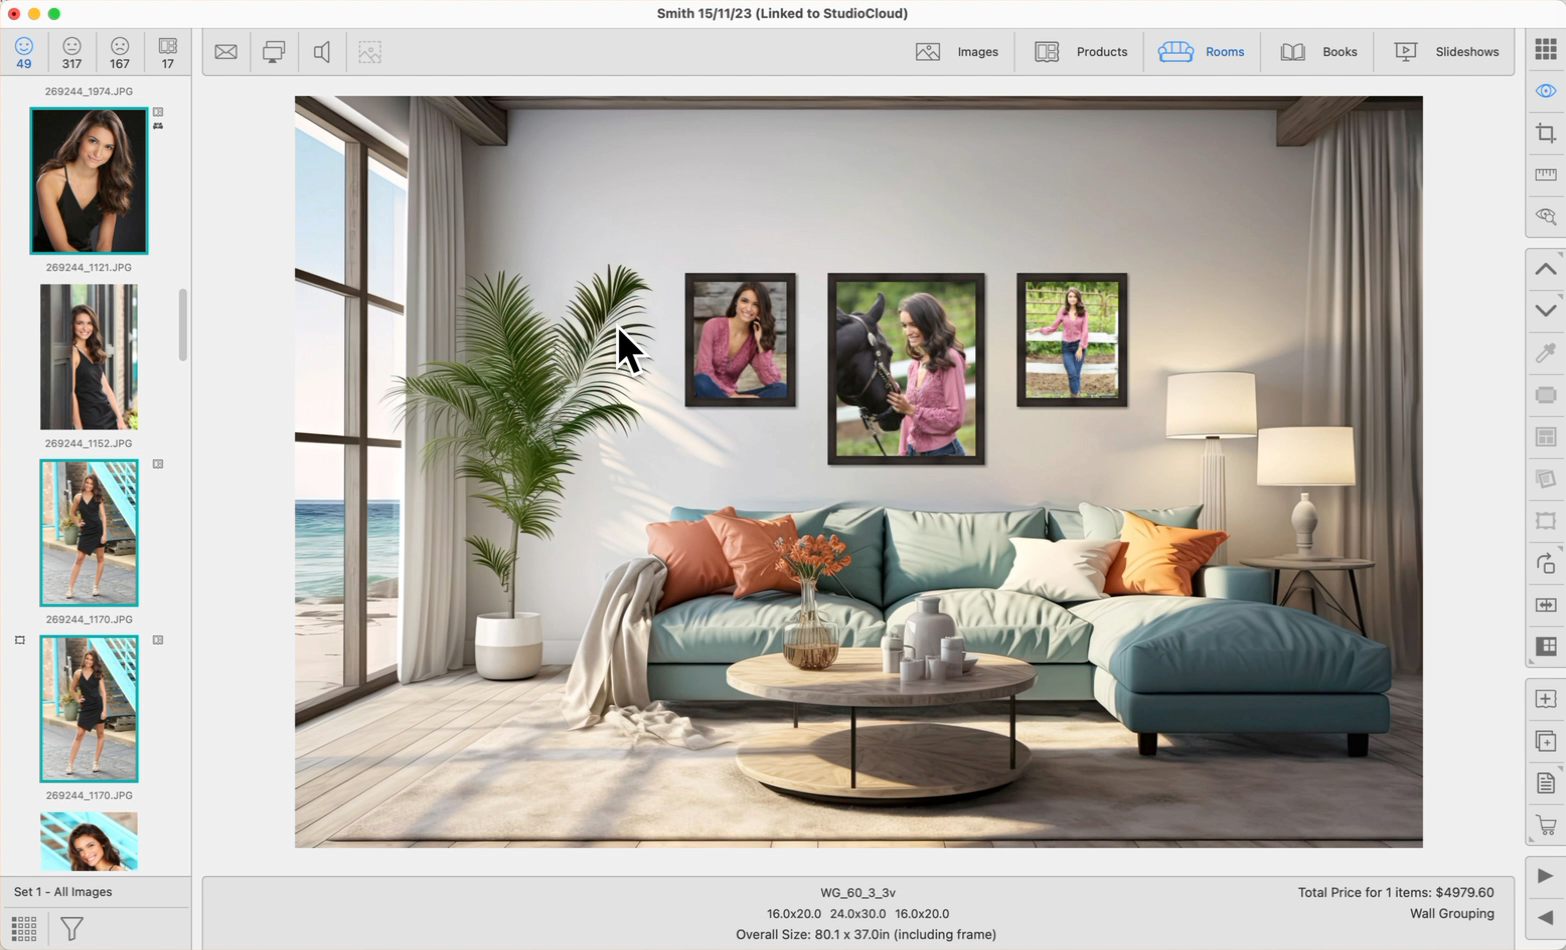
When Working with Rooms, Show view, you have the ability to adjust the positioning of products within the room design. ProSelect has built in guides to allow for accurate alignment. This can be especially useful when changing the size of a product. This same concept applies to Wall Groupings when Working with Products, in Actual Size view.
- Cyan colored lines appear when you click on a product and start to drag it. The lines disappear when you release the mouse button. The guides allow you to snap the product to the nearest corner, edge, or center position of other items on the wall.
- If you have more than two items in a room, when dragging to adjust the position of one or more items, the outermost edges will snap to a position that matches the gaps between other already positioned items. The gap is adjusted and other matching gaps are highlighted in a light cyan color when this snap occurs. Both vertical and horizontal gaps are used making it easy to get all items aligned and evenly spaced.
- To disable the snapping guides, hold the CtrlControl key down when dragging.
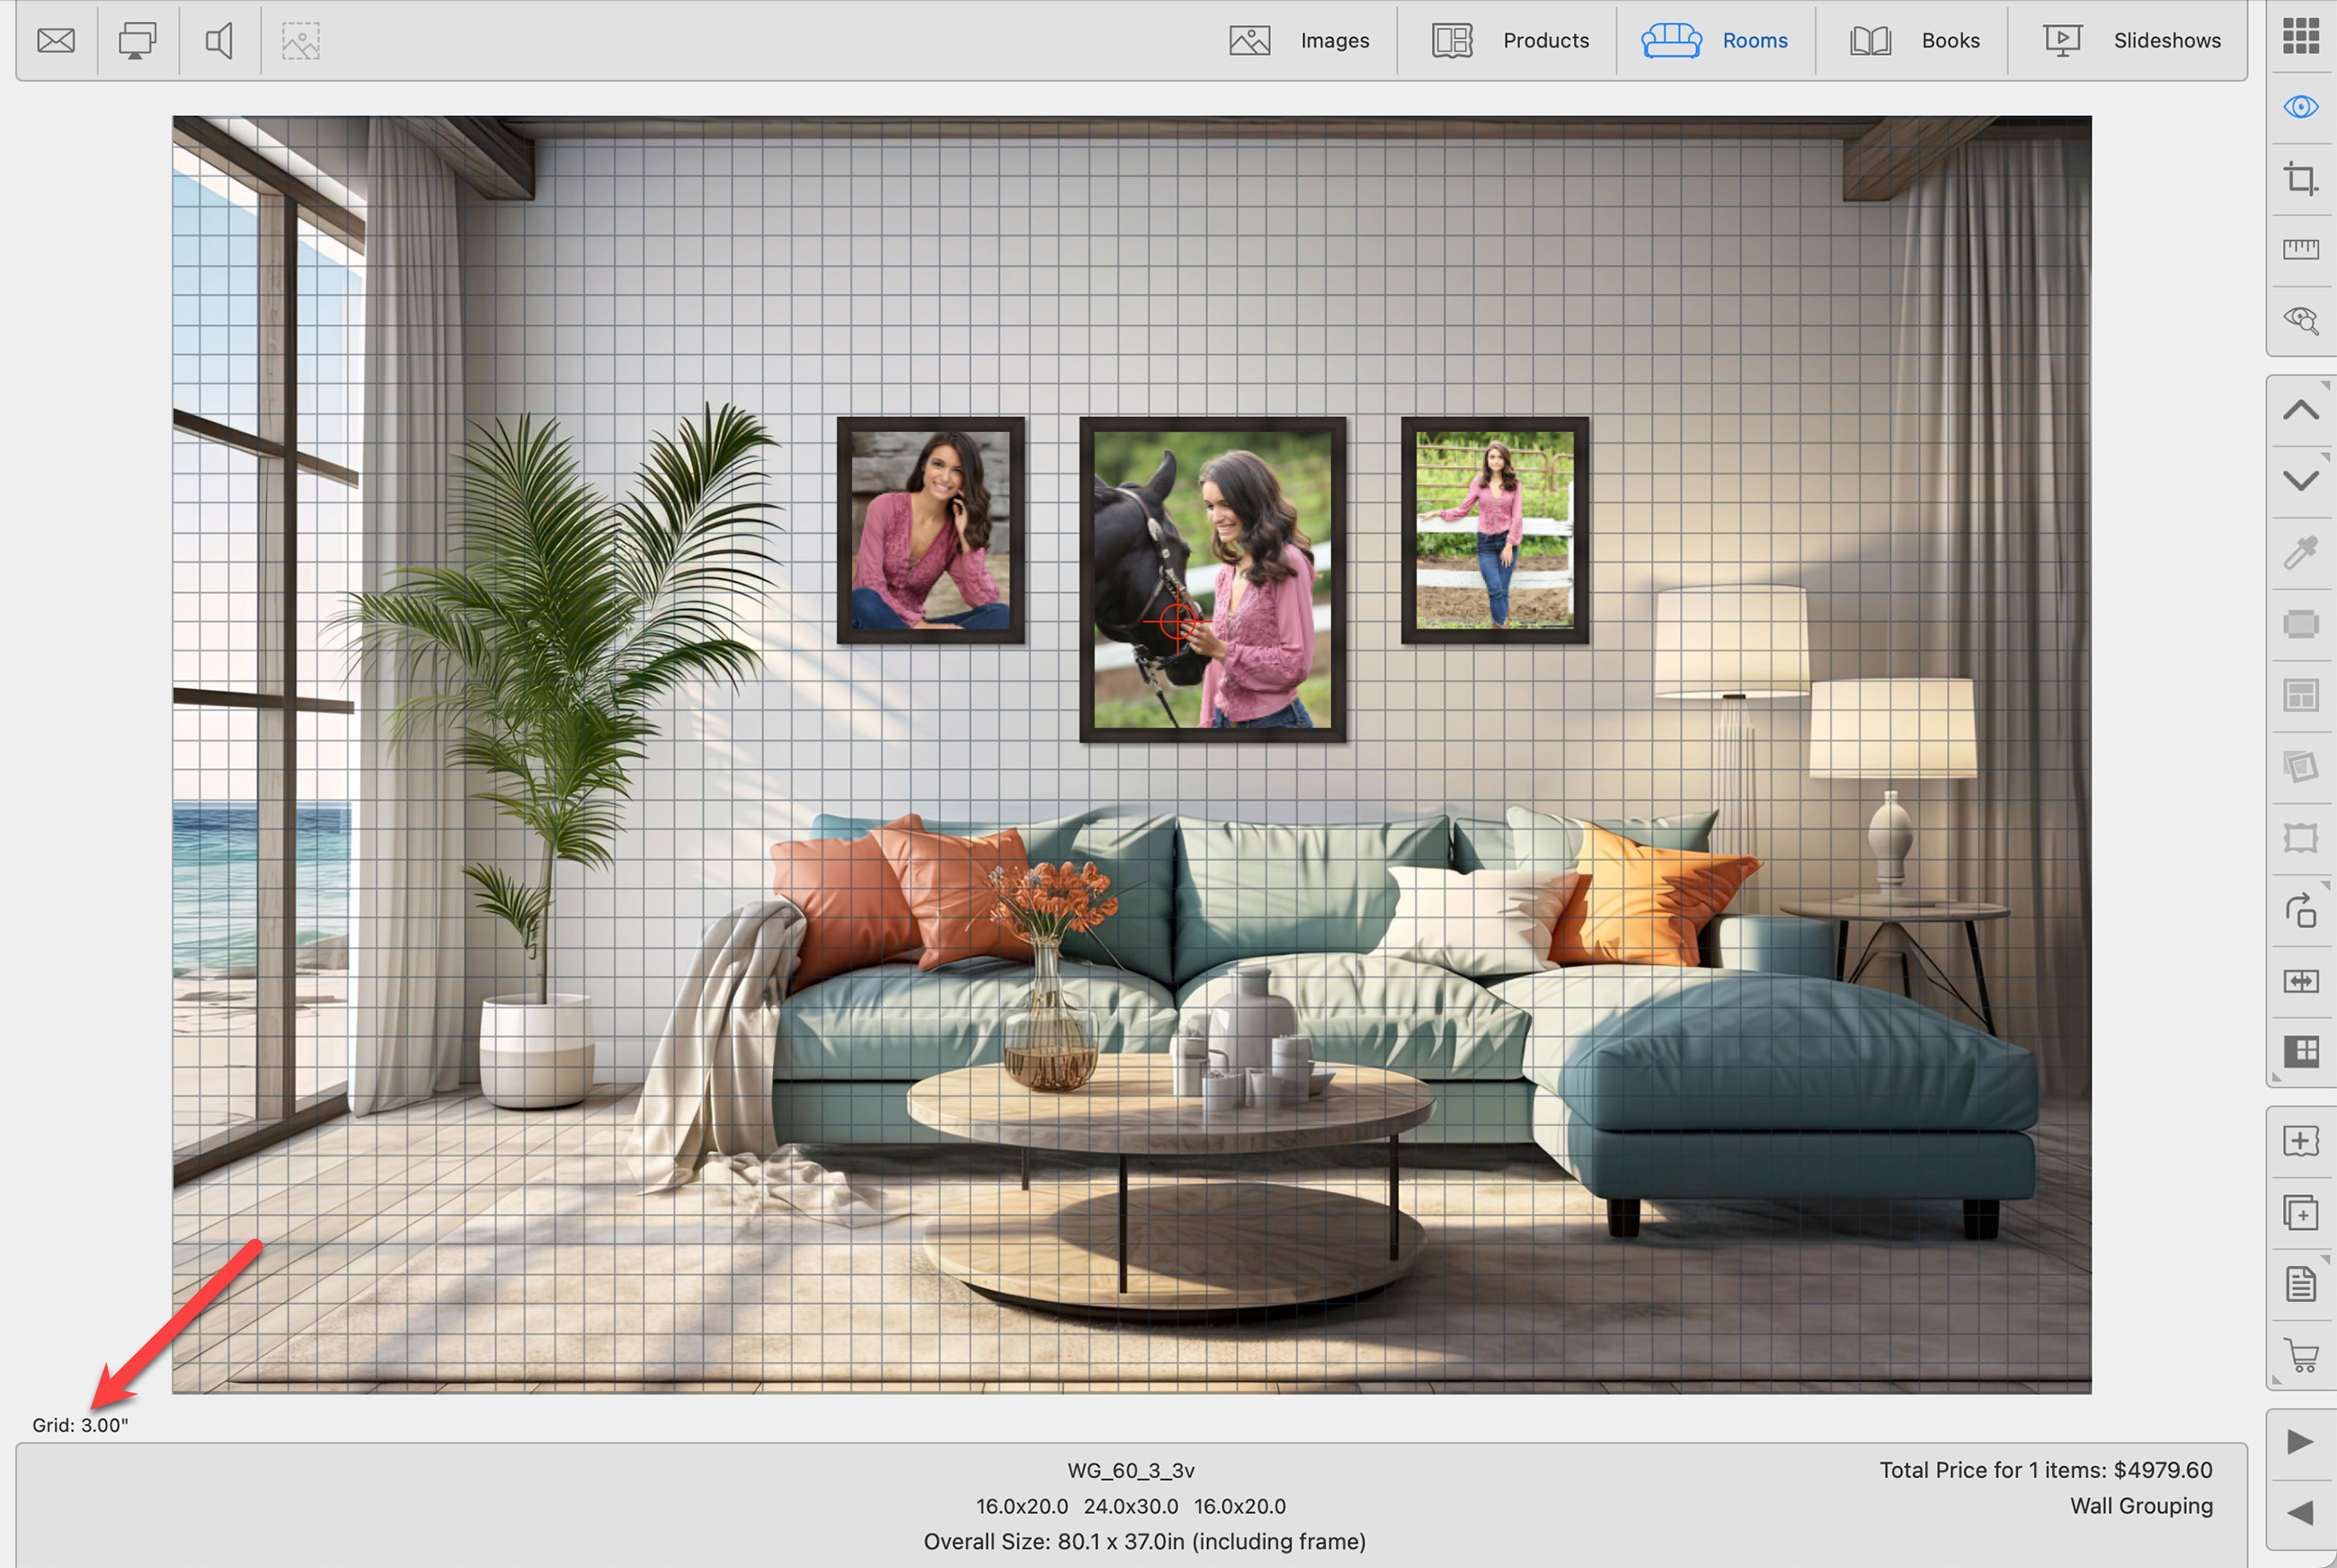
For exact spacing control when arranging products, you can turn on the Spacing Grid using the “G” key. This will display a grid over the room background. Products can snap to the grid for perfect alignment and spacing. You can use the grid in both Show Room and Close Up view.
The grid is especially useful for a hanging reference guide. Without having the grid turned on, the spacing between items in a room is unknown. Once the grid has been used for exact spacing between 2 or more items, the rest of the items will "snap" to the same spacing.
The initial size of the grid is set by going to the top menu, ProSelectEdit > Settings > General Settings > Templates, Rooms & Books > Working with Rooms. This defaults to 1” or 20mm.
While the grid is being displayed, you can use the Up and Down arrow keys to change the grid size up and down by the same amount. For example, with a 1” grid size, using the up-arrow key will change the grid to 2”. Press again to get a 3” grid. If the grid size works out to be less than 10 pixels on your screen at the current calibration, then it will be automatically increased in size until it is bigger than 10 pixels. The current grid size is shown in the bottom left-hand corner of the Display Area.
When you click and drag an item, the corner or edge center closest to where you clicked will be used when snapping to the grid. Clicking near the top-right corner of an item will align that corner to a grid point. The corner or mid-edge that is being used for the snap is indicated with the cyan arrow.
This is the starting point of the grid. Initially, it is set to the room’s default location of the center of the screen and is shown with a Cyan “dot”. You can set the Grid Origin location to be a specific part of an object by first selecting the object, and then clicking the inner corner while holding down the Shift + OptionShift + Alt keys. For example, you can set the Grid Origin to be the top-left corner of the main product. The products next to it can then snap to the grid, providing a clear indication of the spacing between them.
While dragging, the offset position of the grid origin is shown in the bottom-right corner of the Display Area.

Use the "X" key on your keyboard to toggle between a dark grid line and a light grid line.