Theme - Light/Dark Mode
Modern computer operating systems offer light and dark modes to enhance visual comfort. Light mode displays dark text on a light background, ideal for well-lit environments and offering a contemporary appearance. Dark mode uses light text on a dark background, which reduces screen brightness and is better suited for low-light conditions like nighttime or dimly lit rooms. Both modes aim to improve usability and comfort based on user environment and preference.
ProSelect will automatically use the light or dark mode you have set up in your operating system. However, it allows for customization.
You can change the theme by navigating to the top menu, View > Theme. Here, you have the option to select Light, Dark, or Auto. Selecting Light or Dark will override the mode on your computer's settings.
For Mac users, once a theme is selected, all dialogs and windows within ProSelect will automatically conform to this theme. Windows users, however, need to set their theme preference directly in their Computer Settings to ensure that both dialogs and windows in ProSelect reflect the chosen theme.
When using ProSelects Presentation Mode, the secondary screen can be set to always use a black background, regardless of the "Light" theme setting.
On the top menu, go to ProSelectEdit > Settings > Display > Presentation Mode. Check the box “Background Always Black”.
It is important to note that the image list as well as Thumbnail view will always reflect the theme of ProSelect's main display.
- If you are using dark mode, the image list and Thumbnail view will appear dark.
- If you are in light mode, however, and have set your presentation to screen to “Background always Black”, the image list and Thumbnail view will still appear in light mode. This occurs because they are a pixel to pixel mirror of your main screen.
When using dark mode, it can sometimes be difficult to see the borders of your images or frames. You can modify your display settings to account for this.
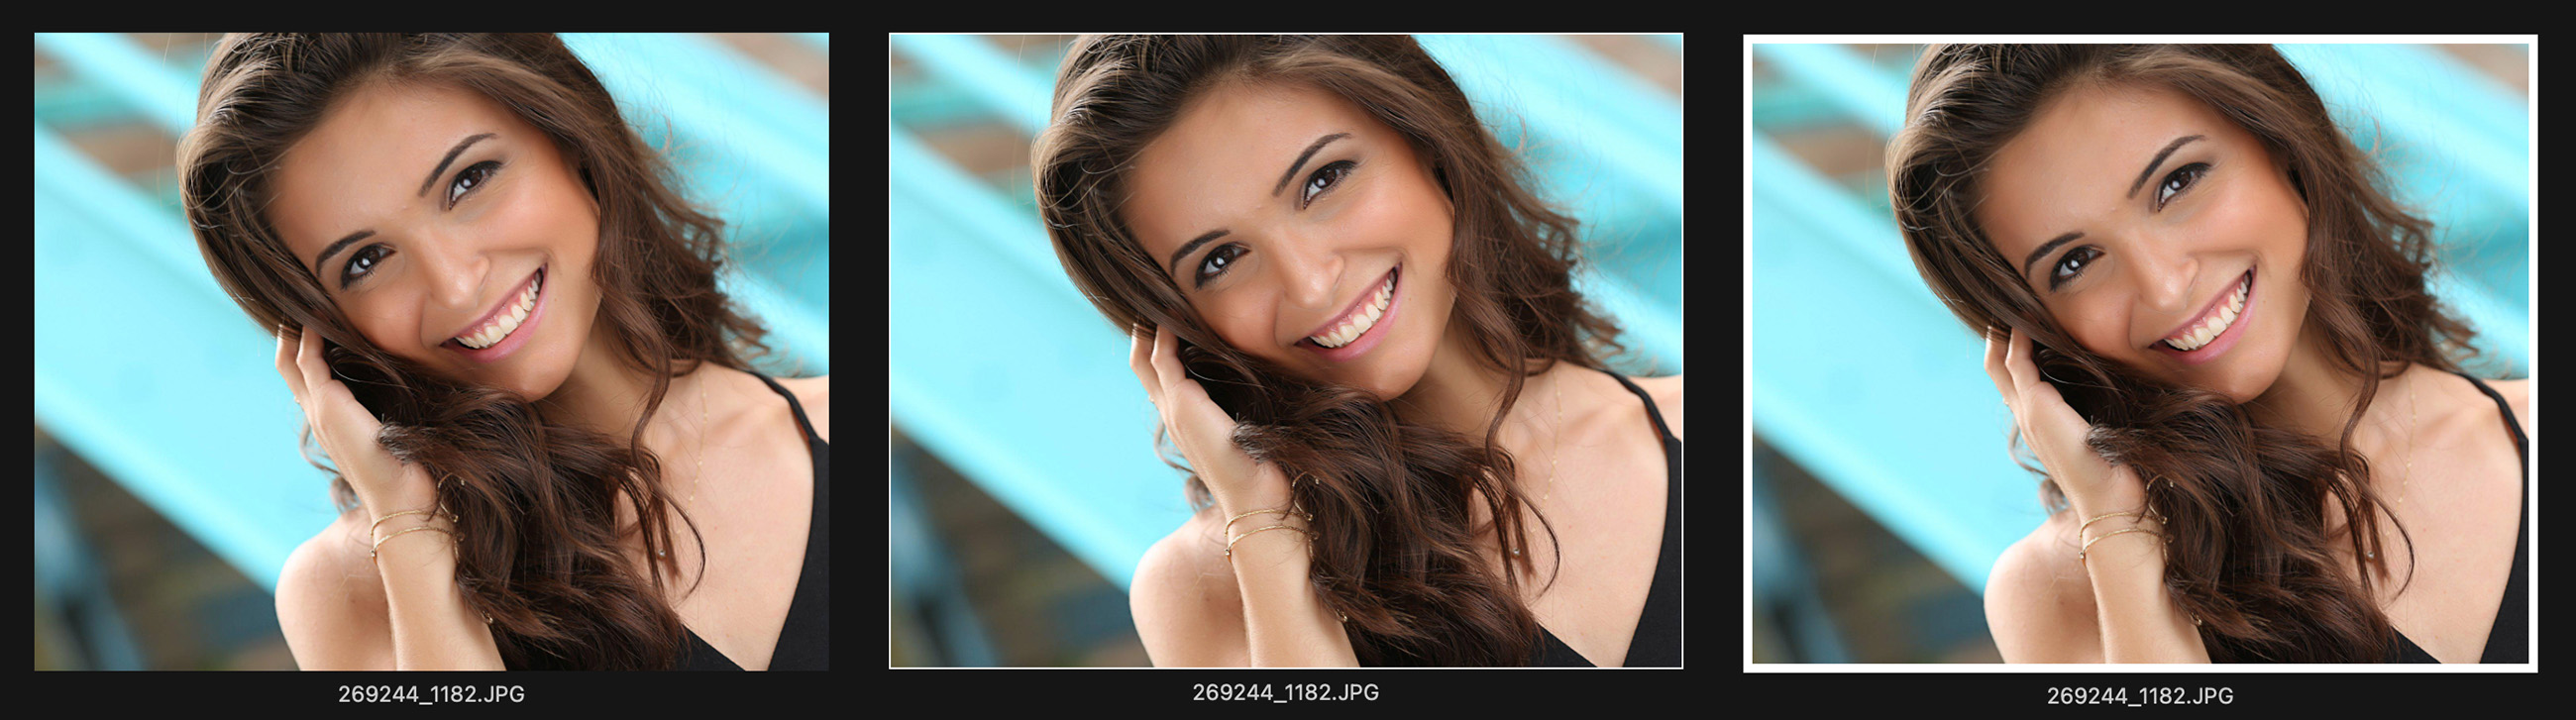
Image Border
An image border can help define your image when using dark mode. You can set the border width and activate this feature in your Settings. Go to the top menu, ProSelectEdit > Settings > Display > Display Options.
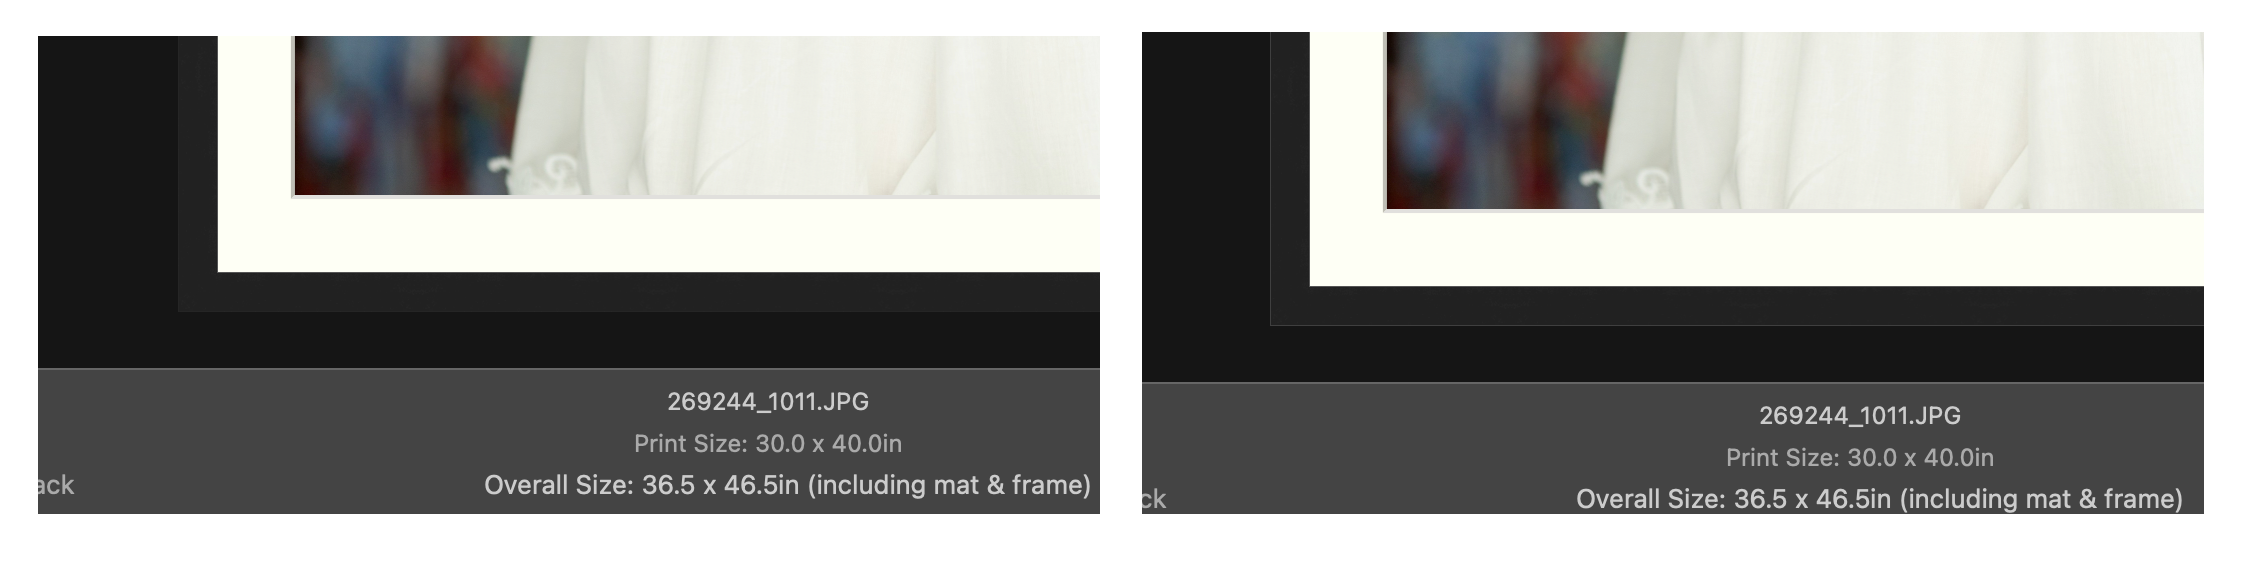
Frame Border
Dark frames can also be difficult to see when in dark mode. Go to the top menu, ProSelectEdit > Settings > Display > Display Options. From here you can add a grey border to dark frames. They gray border is subtle. In the following example, the image on the left has no gray frame border. The image on the right has the gray border applied.
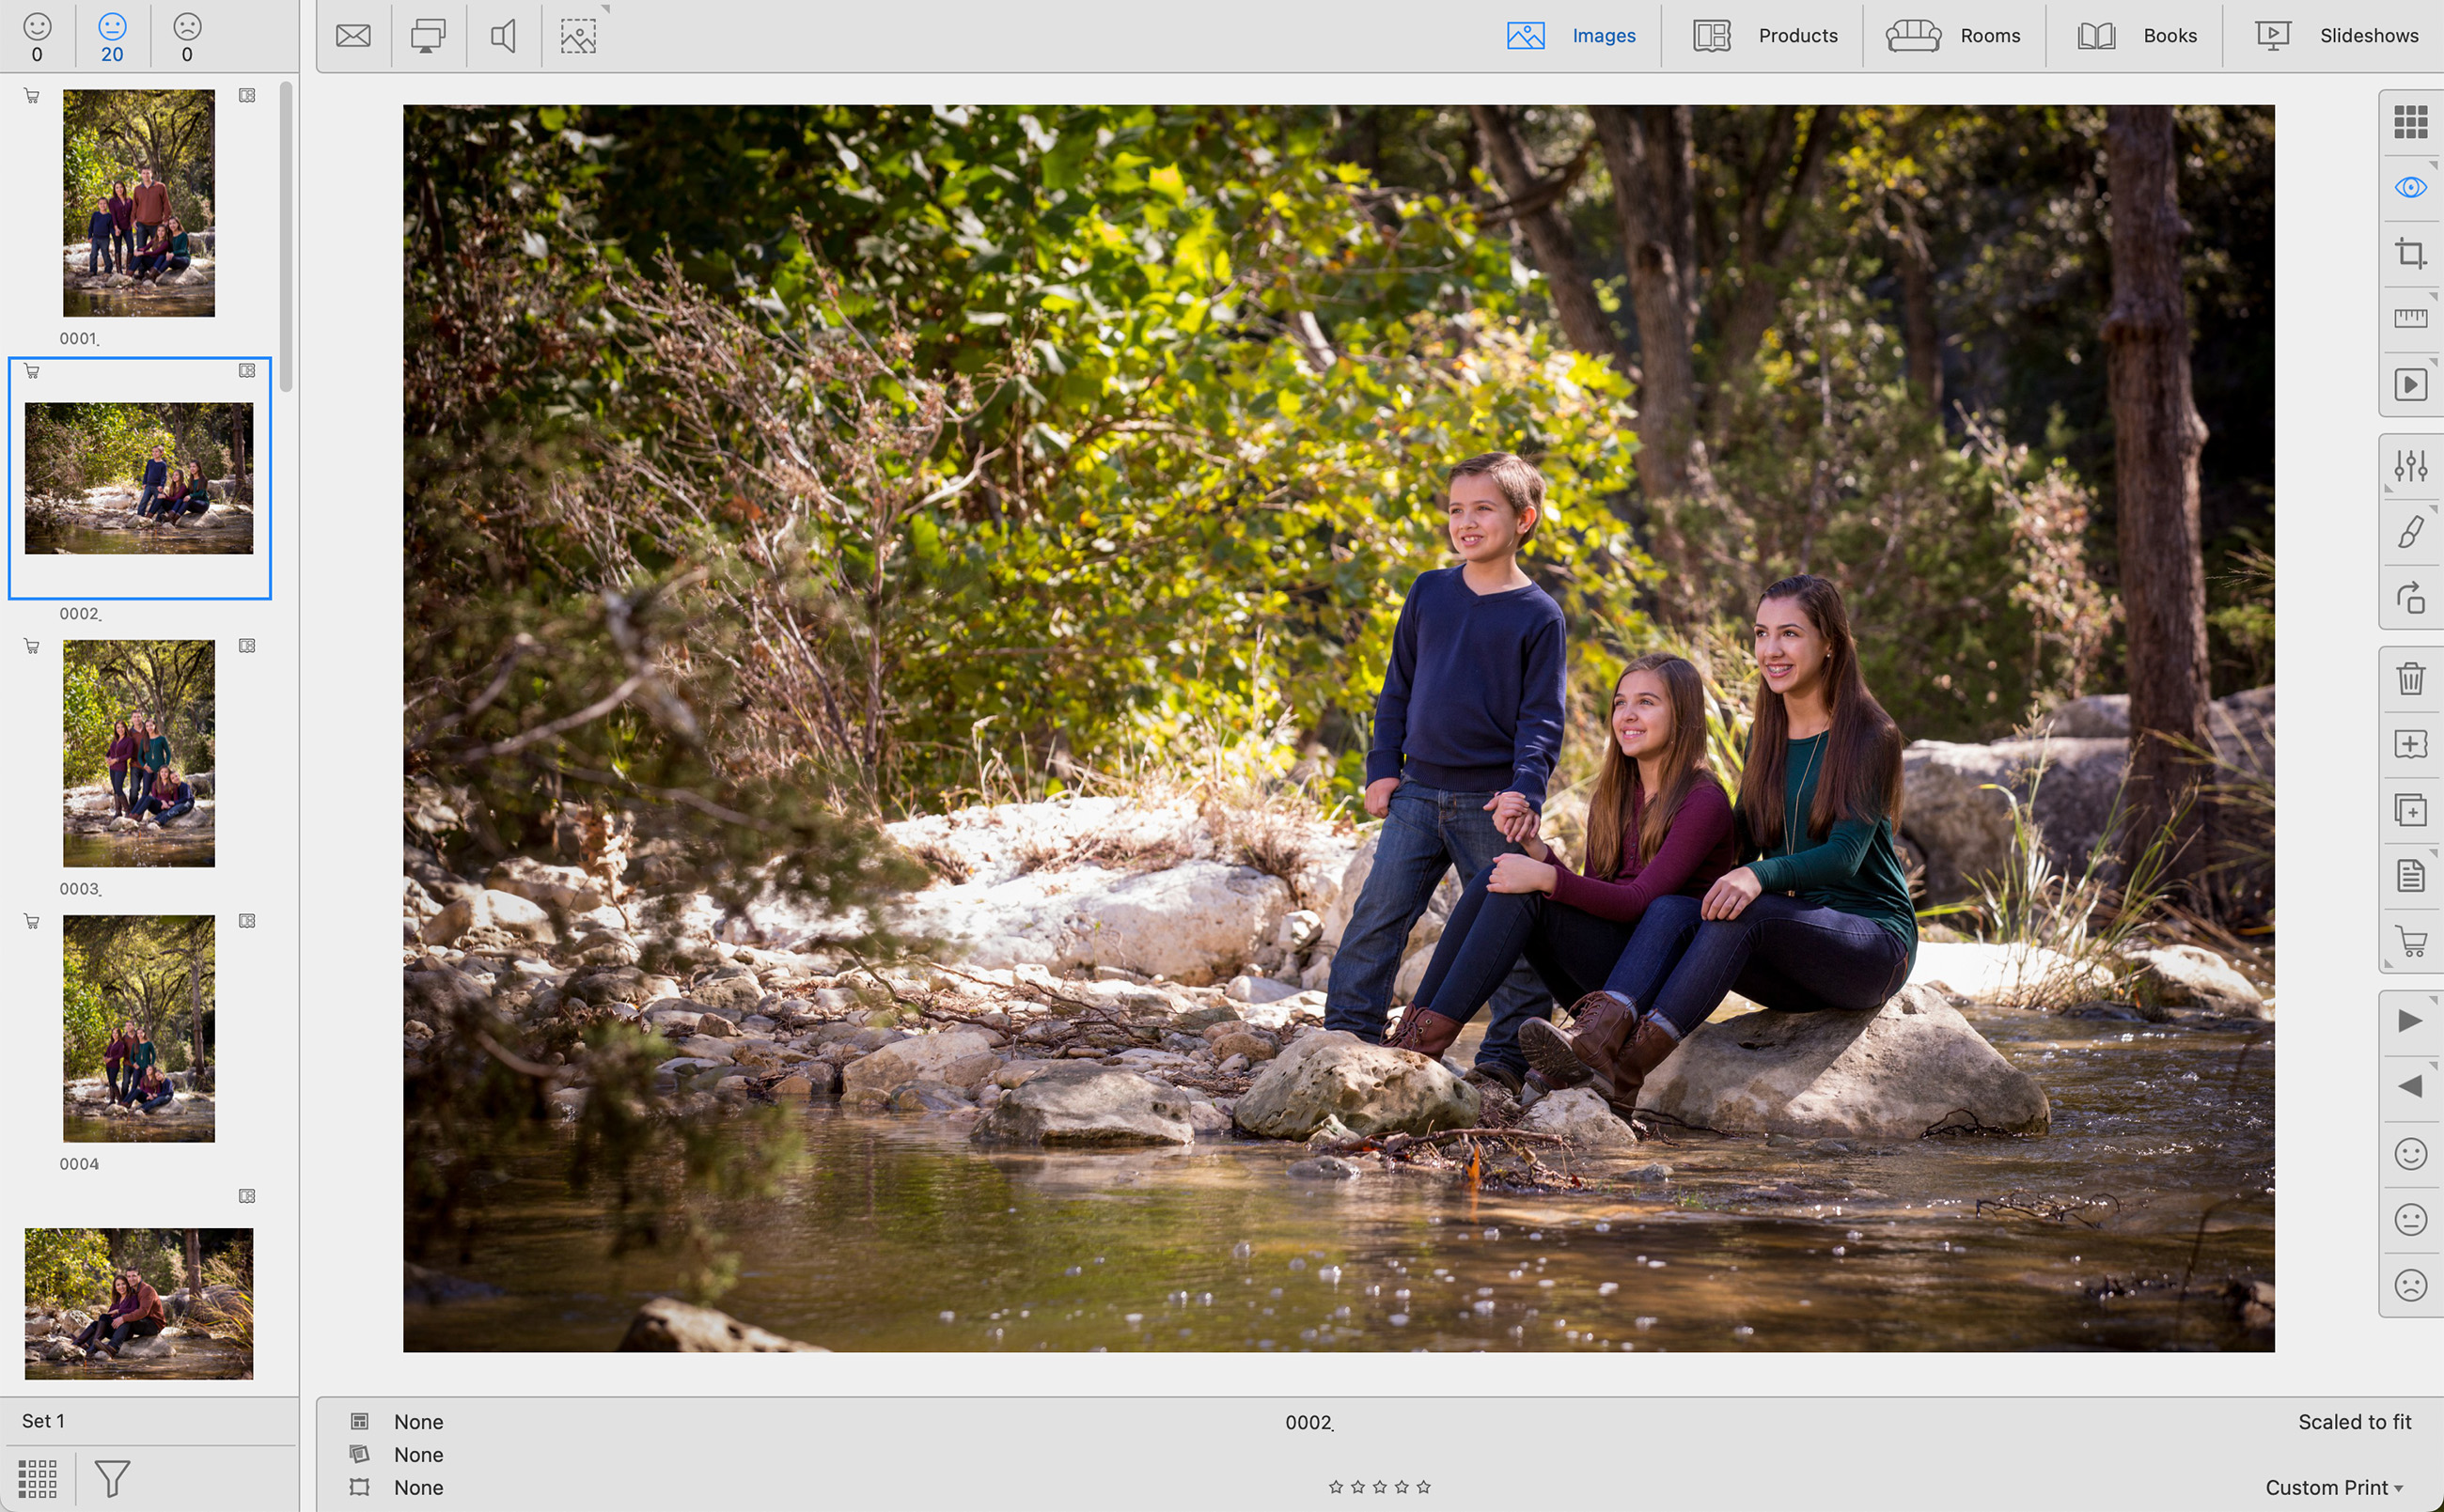
Light Theme
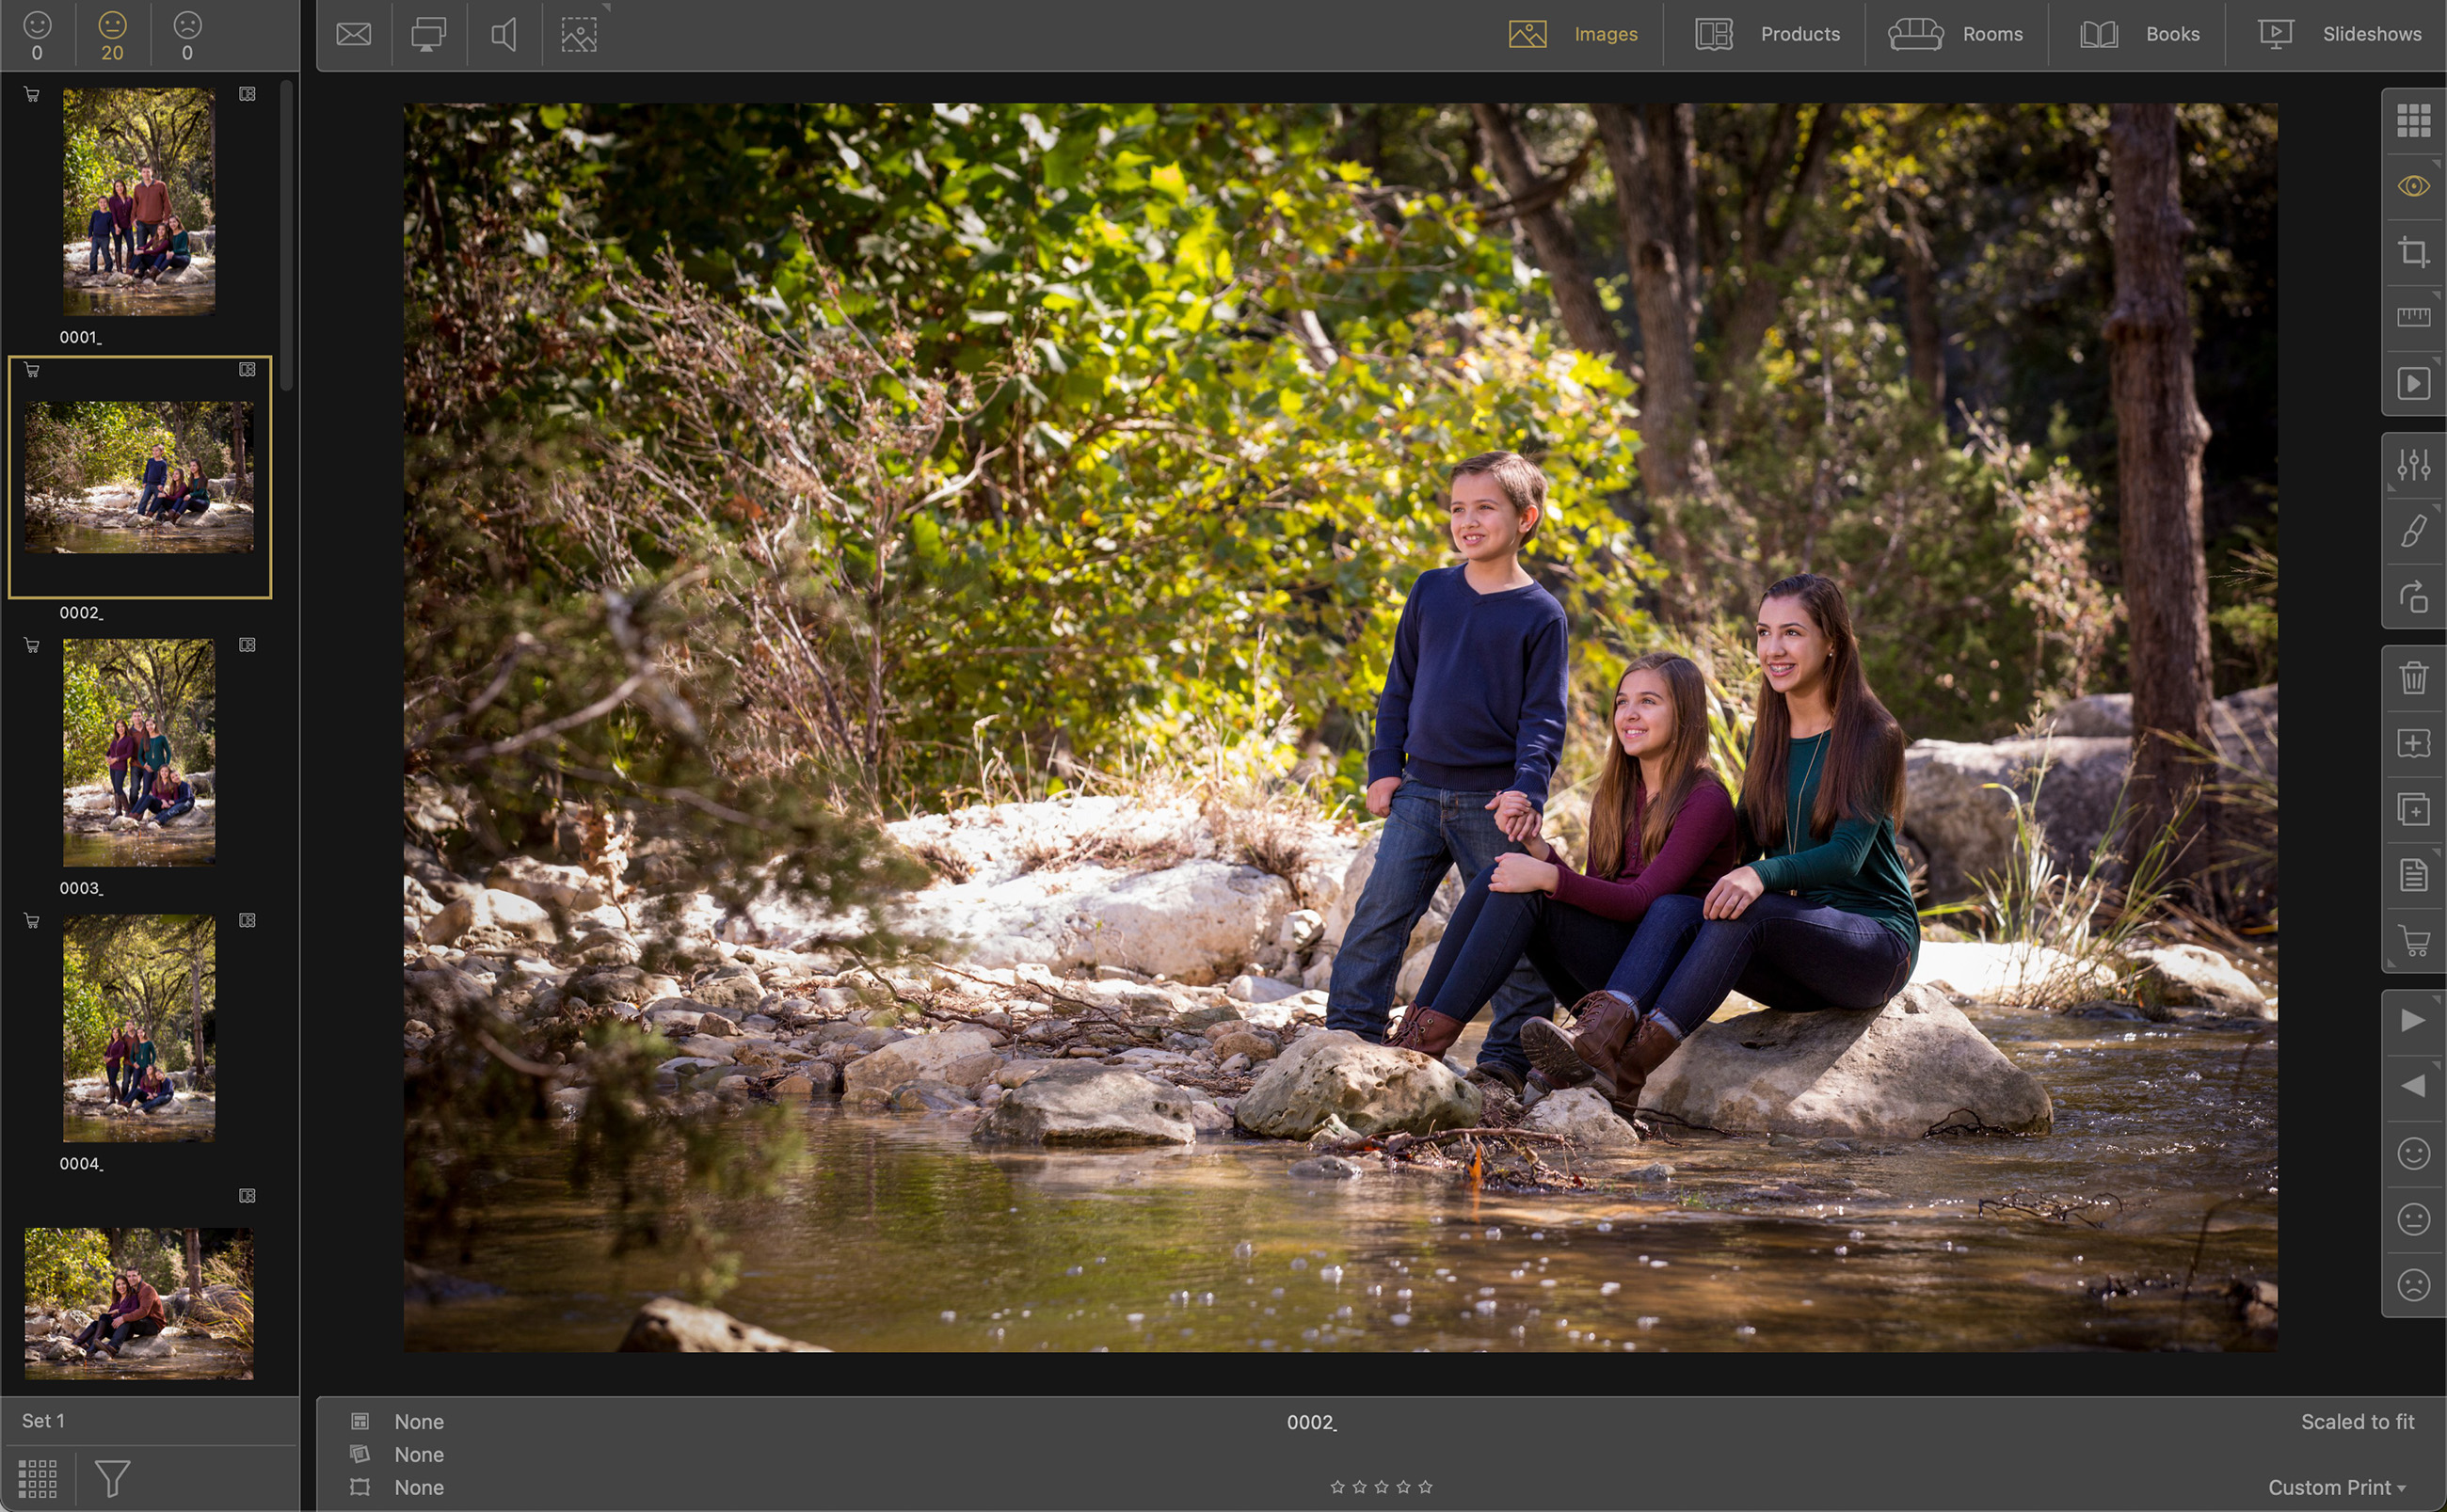
Dark Theme