Edge Treatments (Opening Edge)
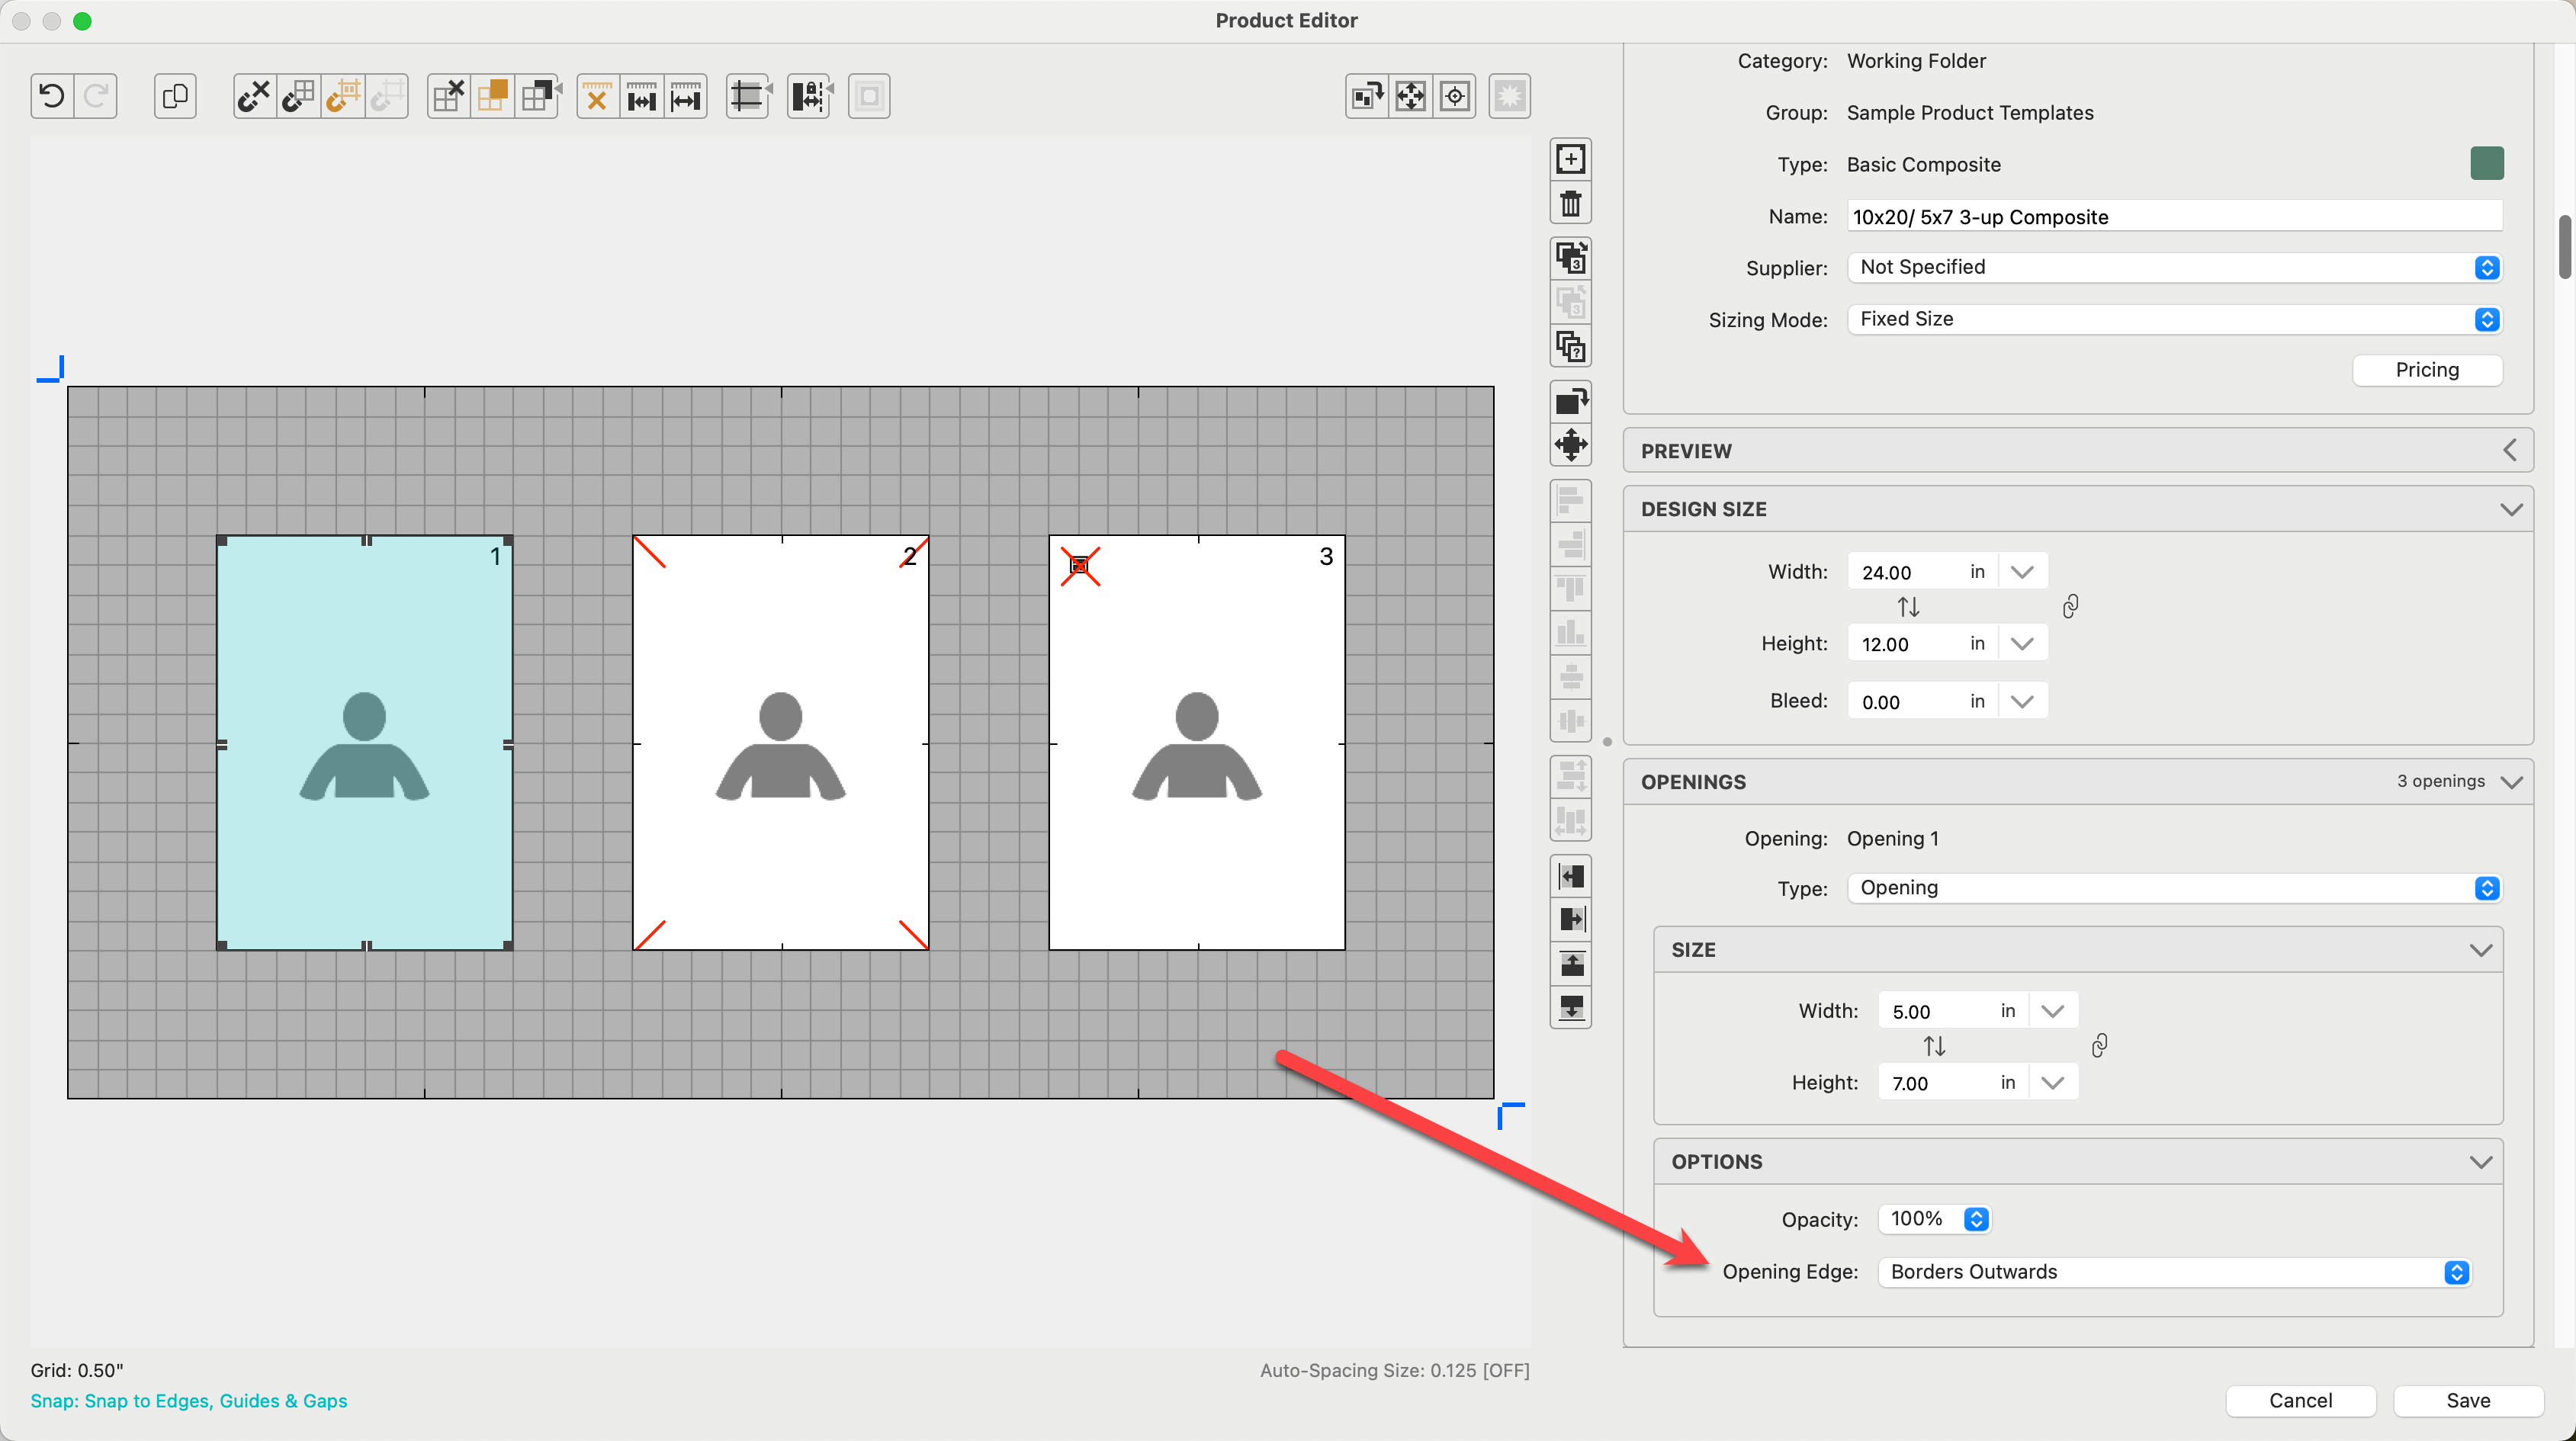
For advanced product templates, the Openings section and Options sub-tab give you control over the edge treatments for each opening. By default, "Borders Outward" is selected, where any border enhancements like keylines or bevels extend outward from the outside edge of the opening. Alternatively, choosing "Borders Inward" causes these enhancements to move into the image area, reducing the visible image area and altering the aspect ratio.
- For situations where borders should not affect the image opening at all, the "No Edge Treatment" option removes any virtual style attributes from the opening. This is also the default setting when creating a Graphic Block.
- Selecting "Borders Inward" is particularly beneficial in designs with closely positioned image openings, where the outward extension of borders might lead to overlap. This inward setting is also advantageous in album and book pages to prevent wide border styles from being cut off during the production process.
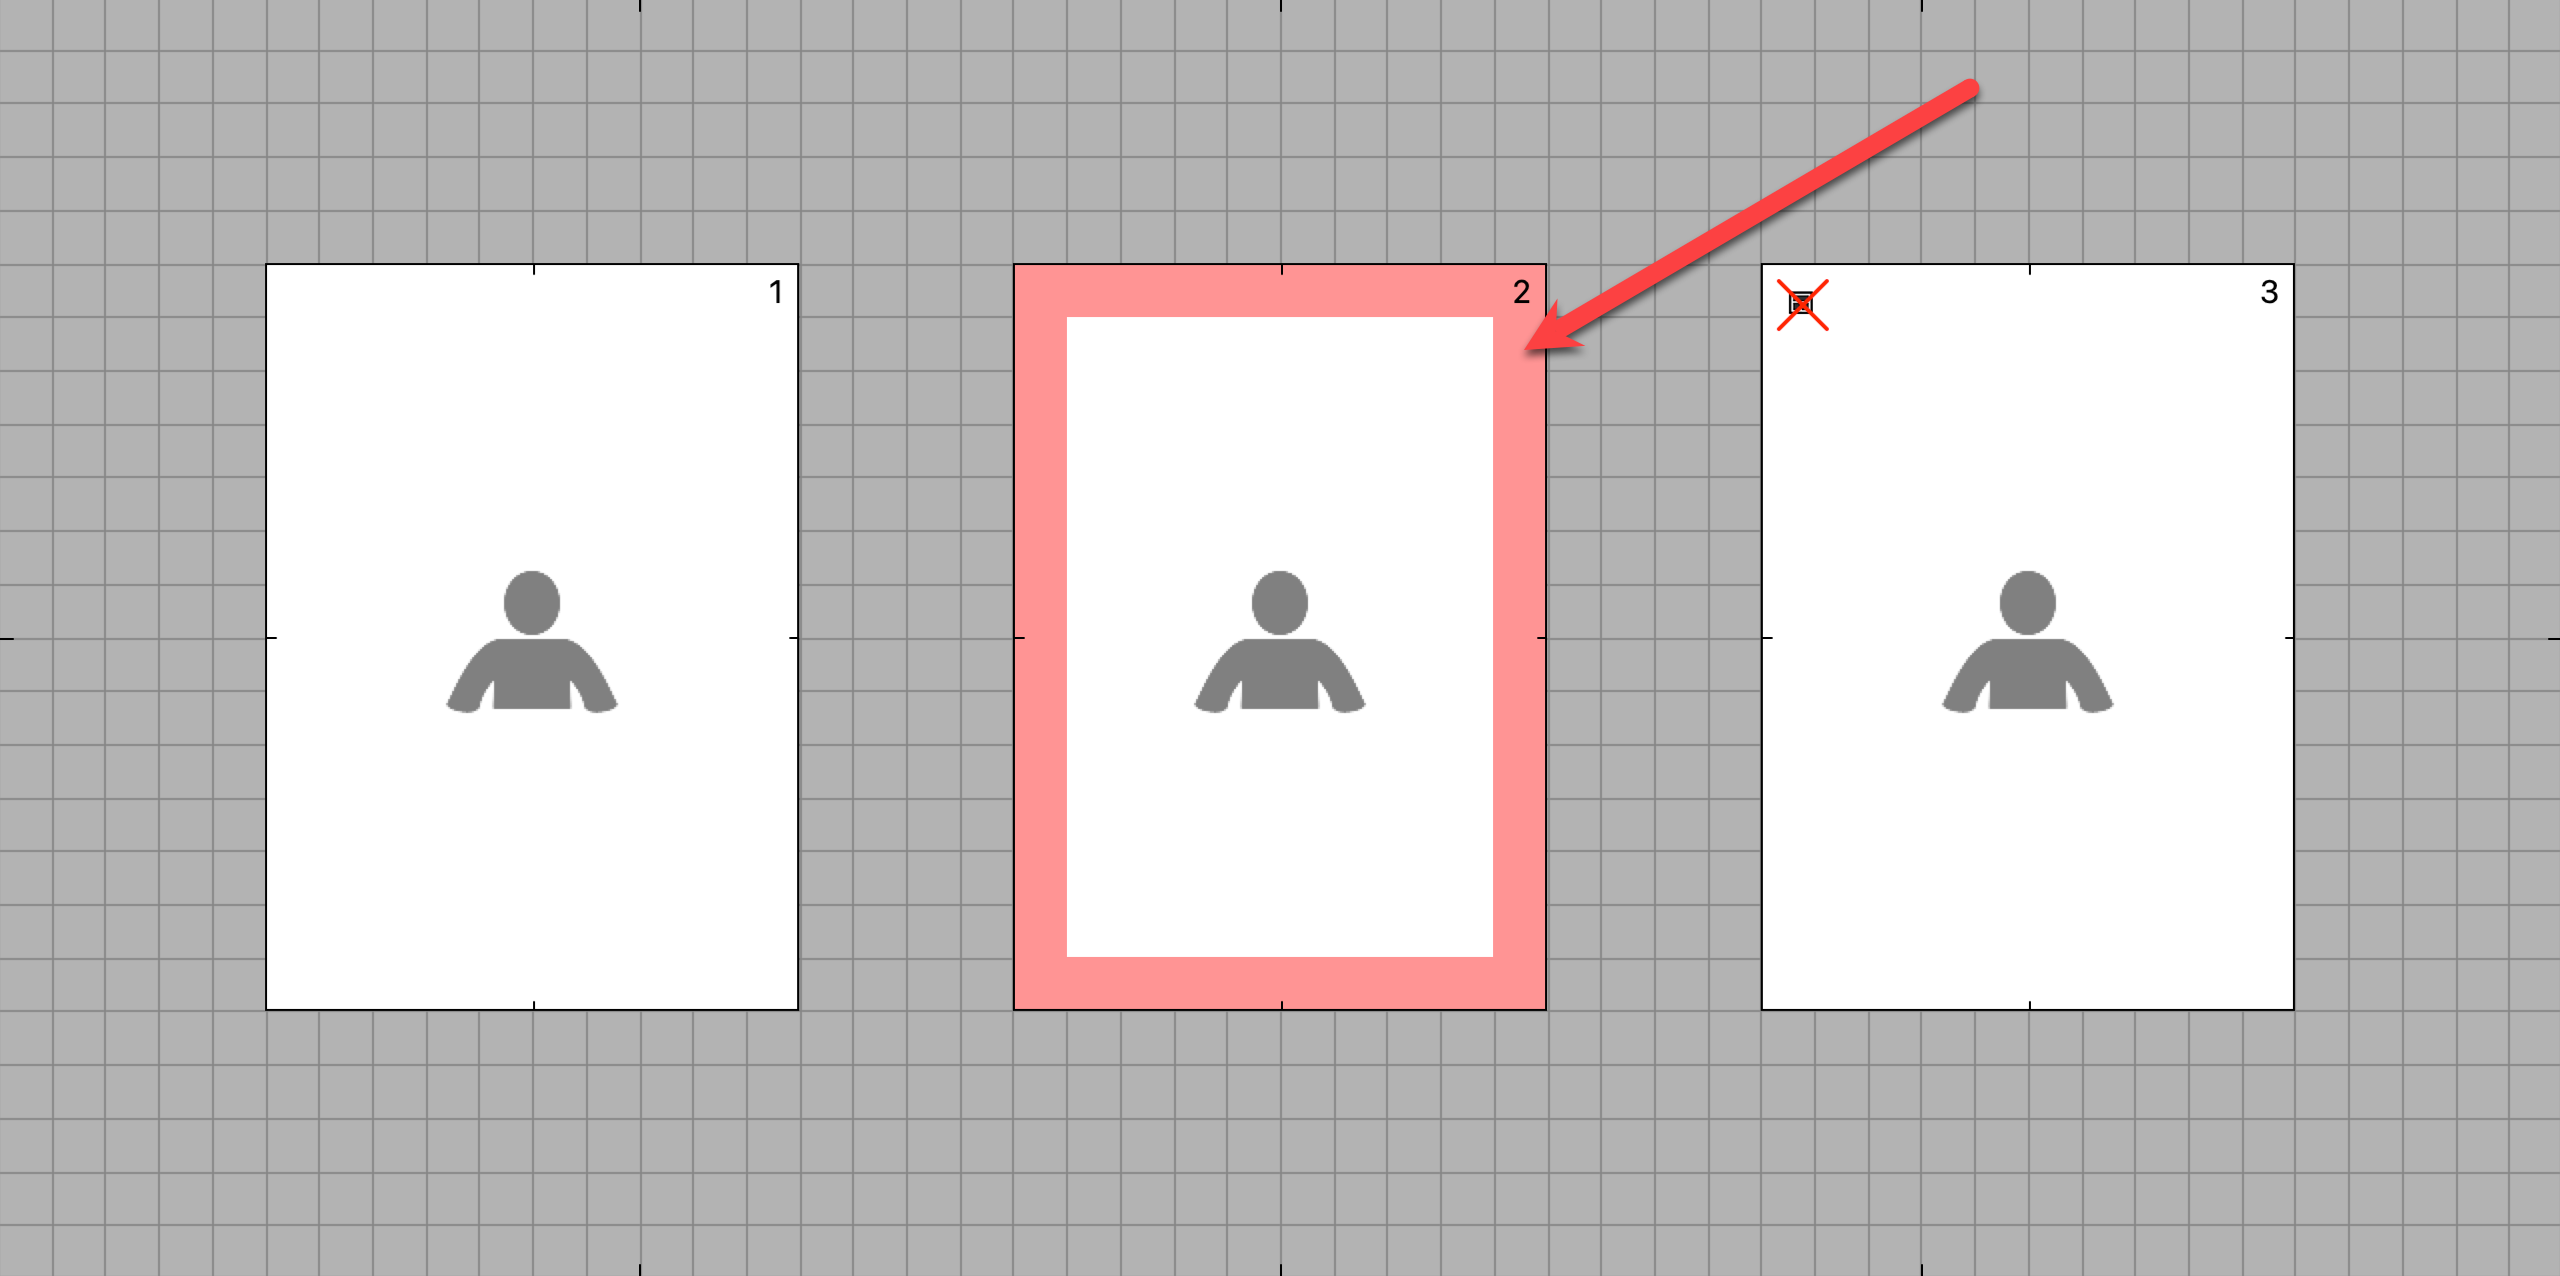
- In the Product Editor, the edge treatment of an opening is visually indicated: "Borders Inward" is marked by red diagonal lines in each corner of the opening, while "No Edge Treatment" is represented by a red 'X'.

- Opening 1: Borders Outward (this is the default setting)
- Opening 2: Borders Inward (note the diagonal red lines in the corners of the opening)
- Opening 3: No Edge Treatment (note the red X in the top-left corner of the opening)
When a virtual style is applied to a product template and "Borders Inward" is selected, a red border will be displayed. This border shows the area that the virtual style will affect, with its width determined by the specific virtual style applied.

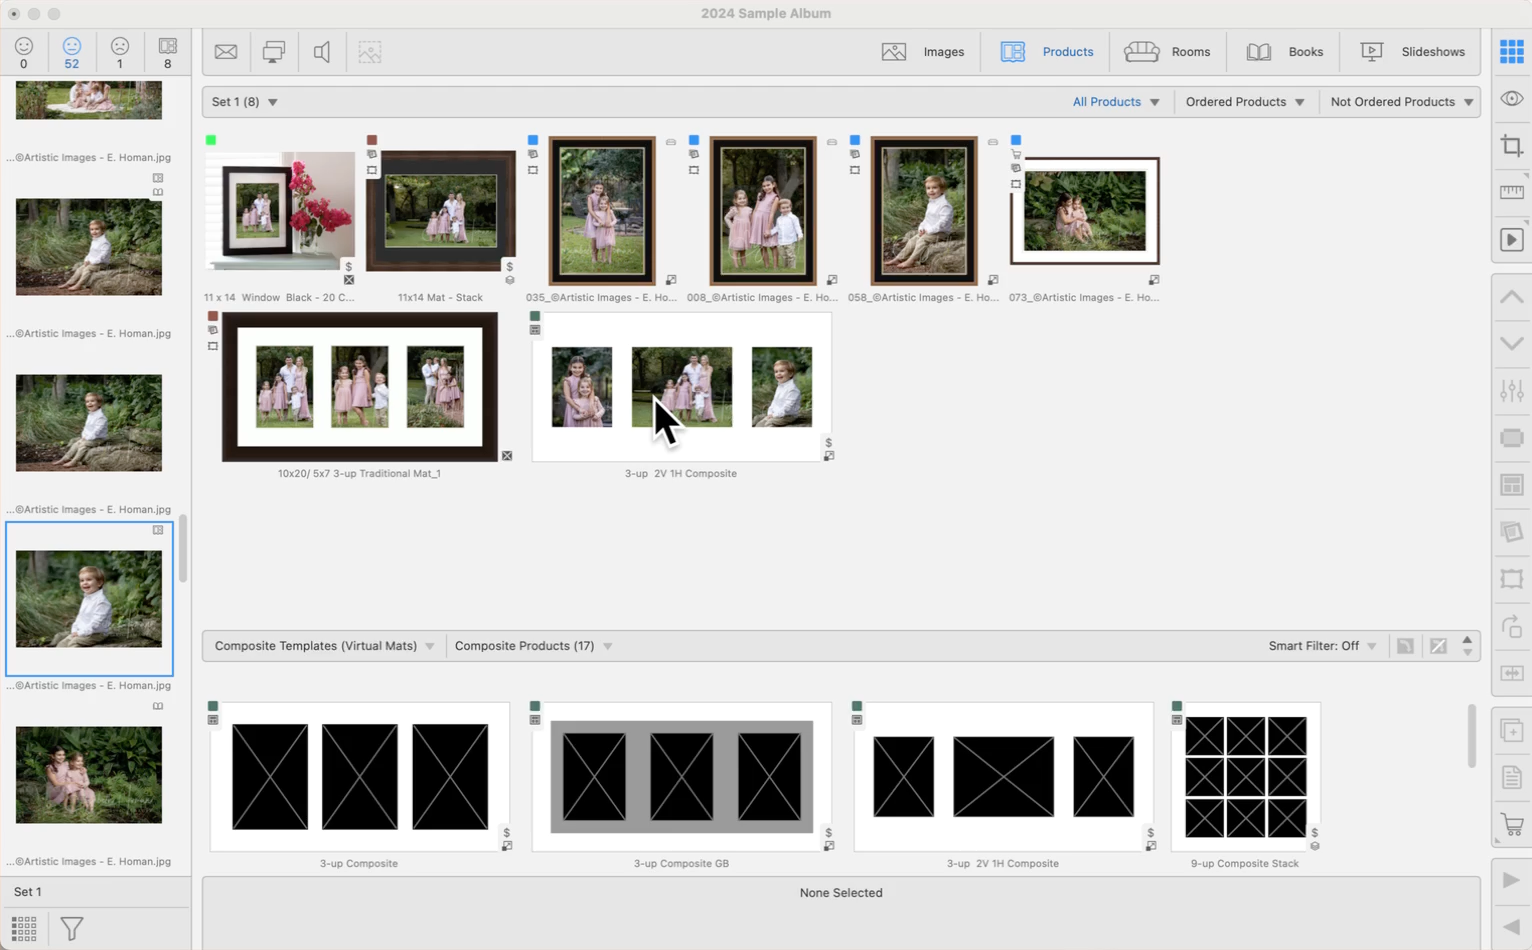
When applying a virtual style to a composite product, the default setting is "Borders Inwards." You have the option to switch this to "Borders Outwards," or "No Edge Treatment." Note that single-image prints will always use borders inwards.
- Apply a virtual style to your product using the Virtual Style tool
 .
. - Navigate to Show view.
- Select an opening, or multiple openings and right-click on the product.
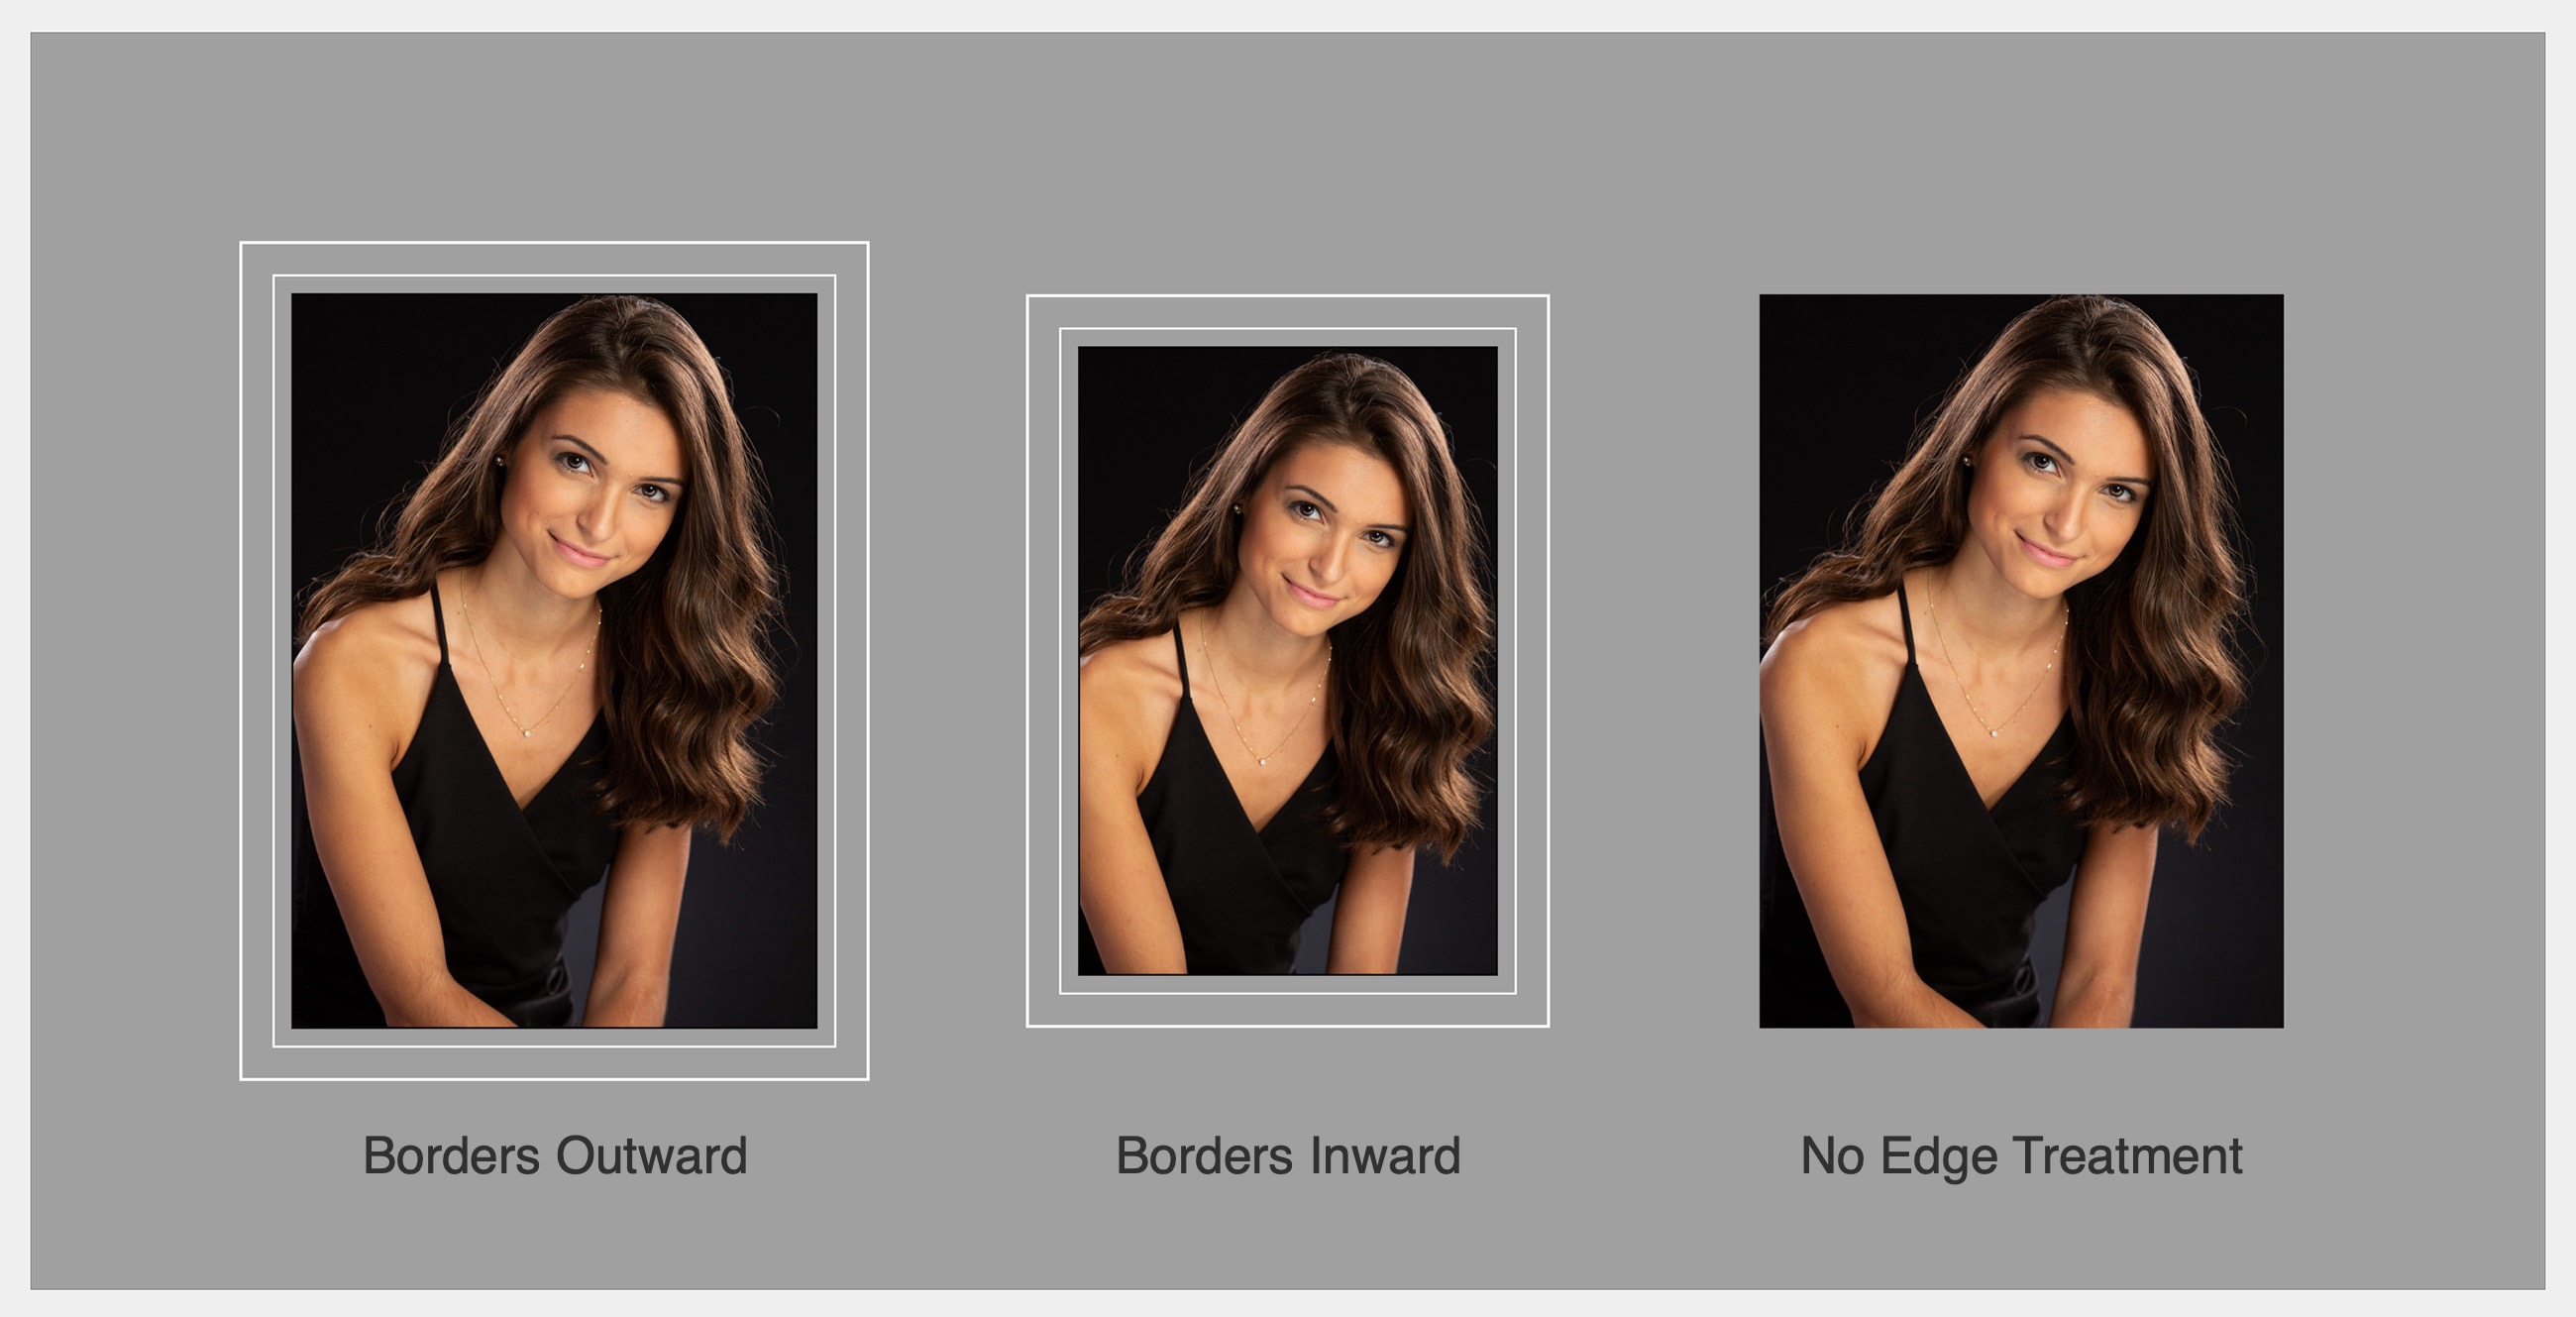
- Click on the "Borders" drop-down arrow and select an option. The example below is a visual of what each selection will look like:

- Opening 1: Borders Outward - the keylines start from the outside edge of the opening and extend outward.
- Opening 2: Borders Inward - the keylines are moved into the opening area, resulting in a reduction of the visible image area and a change in aspect ratio.
-
Opening 3: No Edge Treatment - the keylines will not appear. The image will take up the entire opening.
