 General Settings
Access General Settings by going to the top menu, ProSelectEdit > Settings. The General Settings area provides access to the General, Default Folders, Templates, Rooms & Books, Sharing, and Integration tabs. Each tab contains options that will allow you to customize ProSelect to your personal preferences.
General
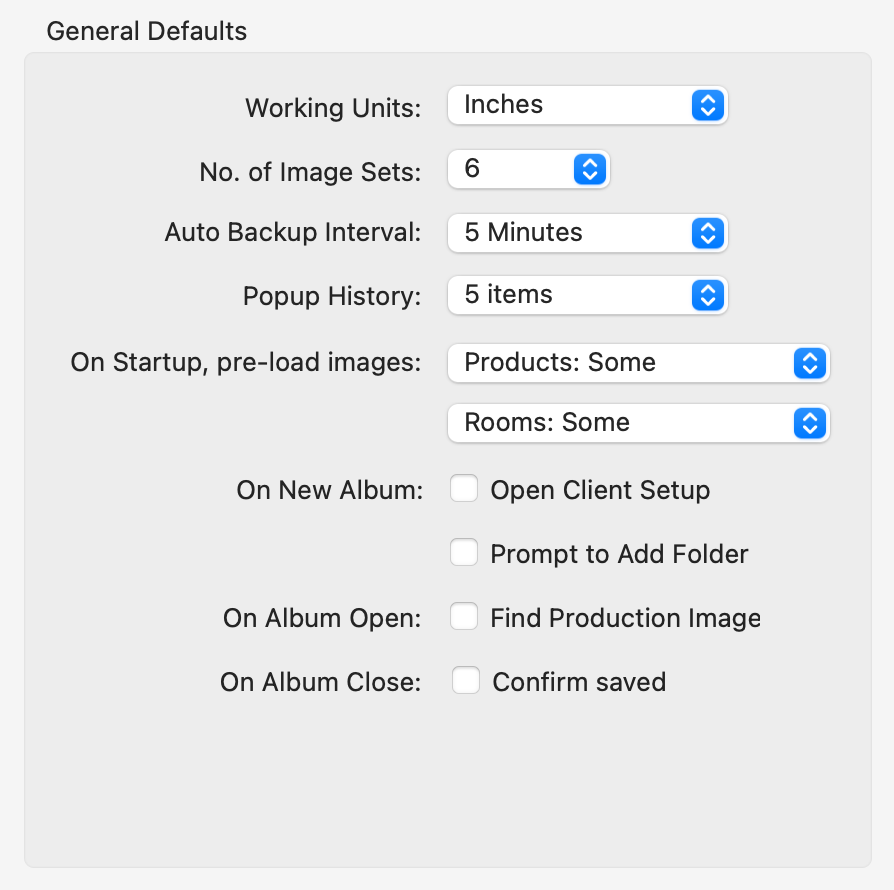
- Working Units: Select the Working Units (either inches or centimeters) that you prefer to use. These determine the units used throughout the program and on all Order Reports.
- No. of Image Sets: Select the number of image sets to be displayed when a new album is created. You can select 3, 6, 10, or 15 image sets.
- Auto Backup Interval: Sets the time after which the next auto-backup will occur. You can select 1, 2, 5, 10, or 20 minute intervals. You also have the option to turn off the auto backup feature by selecting Never.
- Popup History: Select how many recent items to show in the toolbar popup menus. The options are None, 3, 4, or 5 Items.
- On Startup, pre-load Images: This controls the number of overlay images and library room images that are loaded when ProSelect starts up. You can select None, Some, or All. The default is Some (which is up to 200 overlay images and 50 room images). The more images you select to pre-load, the longer the start-up time for ProSelect. Please note: pre-loading less may cause ProSelect to slow down when you change to a view that needs the images since they will be then loaded on-demand.
- On New Album: Open Client Setup: Select this option to open the Client Setup window when starting a new album.
- On New Album: Prompt to Add Folder: By default, this is on in the Windows version and off in the Mac version.
- On Album Open: Find Production Images: Select this option on a production machine to check that all images that are required for High-Res Production are accessible when you open each album.
- On Album Close: Confirm Save: Select this option to "confirm saved" each time you close an album.
When presenting to your Client, you can temporarily swap all image size displays to the opposite set of units by selecting Show Sizes in Centimeters or Show Sizes in Inches (Go to the top menu, View).
Some Windows printers do not work when ProSelect attempts to re-load a saved Page Setup. If you find that you are having a problem with your printer, try checking the Do not save box. In this case, you may need to do a Page Setup before printing each time you start ProSelect.
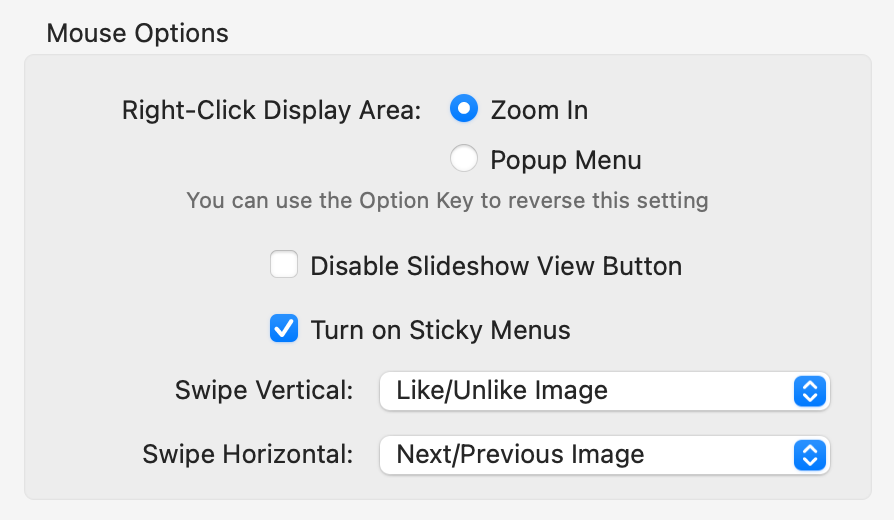
- Right-Click Display Area: Zoom In: By default, right-clicking when Working with Images, in Show Images view, will zoom the image in by one zoom level each time you click.
- Right-Click Display Area: Popup Menu: If you prefer to directly select the zoom level from a pop-up menu when you right-click, choose this option.
- Disable Slideshow View Button: Check this box to prevent the slideshow from starting if you accidentally click on the Slideshow button in the right-hand toolbar. You can still start the slideshow by right-clicking on the button or using the View menu.
- Turn on Sticky Menus: This setting determines if the popup menus on the right-hand toolbar stay open when you select an item. In most cases, this is an advantage because it allows you to try other options without the need to re-open the menu.
- Swipe Vertical/Horizontal: If you are using a mouse with vertical and/or horizontal scrolling (e.g. Apple Magic Mouse) or a touch screen computer (e.g. Microsoft Surface Pro), then you can optionally use swiping gestures when in Show Images View (when Working with Images) to move images up or down to the next Image List tab. Depending on the default swipe direction setup on your computer, you may need to select the reverse direction in Settings to get this working as expected. Likewise, turning on Swipe Horizontal will move to the Next/Previous image.
Vertical swiping works best if you are reviewing your images from within the Maybe tab since a Like swipe (swiping up) will move the current image to the Yes tab and an Unlike swipe (swiping down) will move it to the No tab.
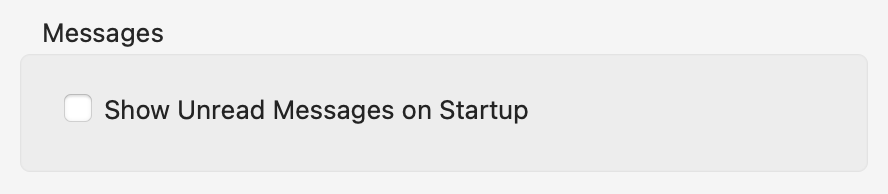
- Show Unread Messages on Startup: Choose this option if you wish to check your new messages each time you start ProSelect.
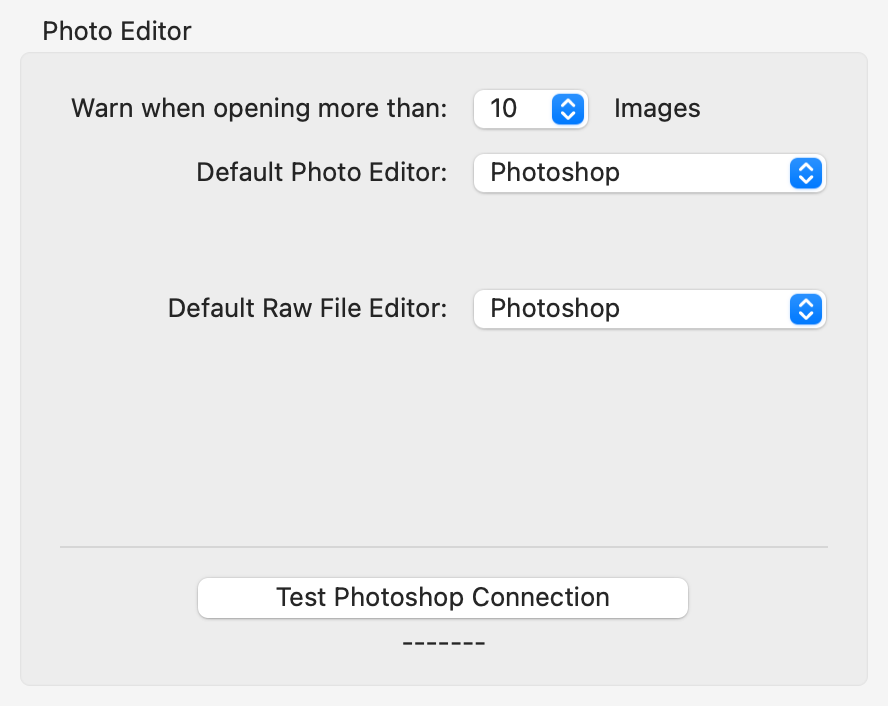
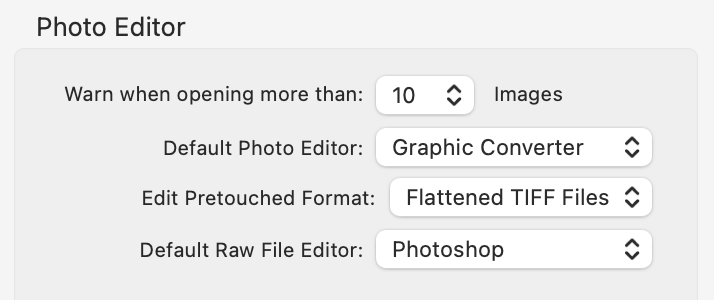
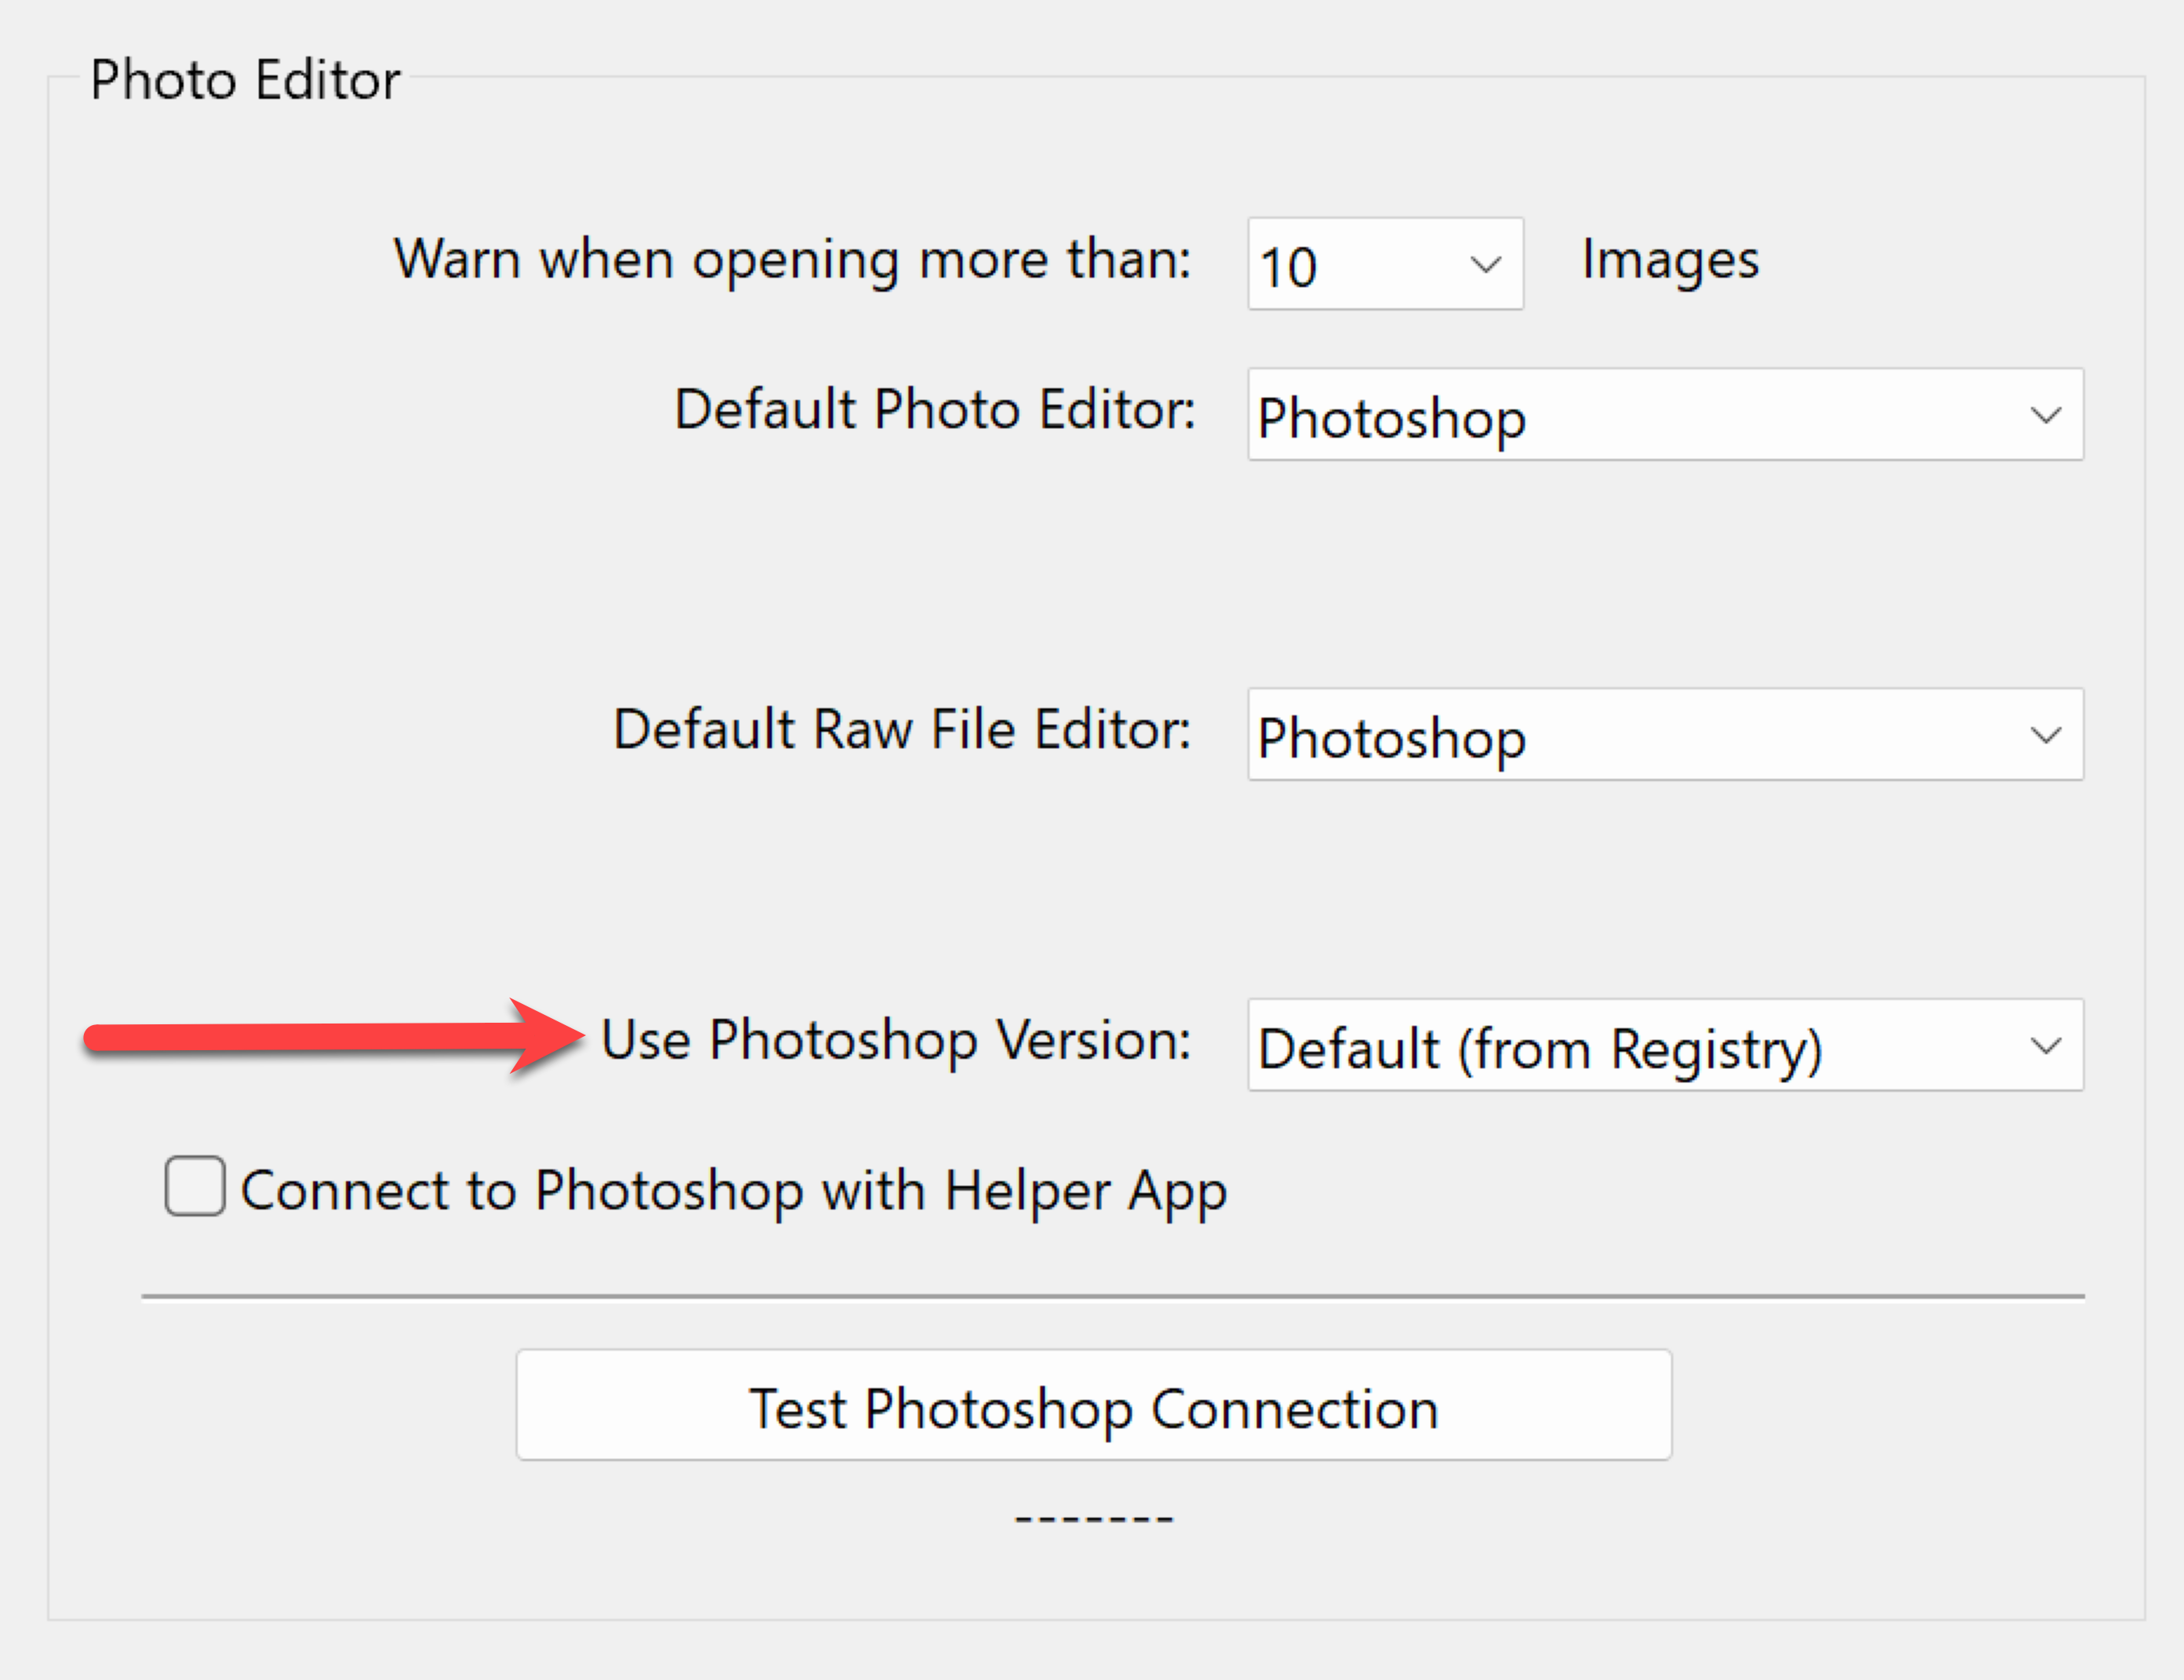
- Warn when opening more than: To prevent you from accidentally opening every selected image in your photo editor, ProSelect will ask you to confirm this action if the number of images selected exceeds
the number selected in the dropdown menu. You can select 10, 25, 50, 100, or 200 images from the dropdown menu. - Default Photo Editor/Raw File Editor: This section is used to select the photo editor to use when opening imported or raw images for retouching. For imported .jpg, .tif, or .psd files as well as raw files, you can select Photoshop, Lightroom, or other photo editor software. To use Lightroom, make sure that you have installed the ProSelect Plugin for Lightroom. Important: See Working With Photoshop on Mac or Working With Photoshop on Windows to understand how Mac & Windows versions of ProSelect interact with Photoshop.
- When selecting a photo editor other than Photoshop or Lightroom, click on Using Other Photo/Raw Editors for more information.
- For Windows Users: Click on Working with Photoshop on Windows if you have multiple versions of Photoshop installed.
The selected Photo Editor will be used when you use the keyboard shortcuts Cmd-T (Mac ) or Ctrl-T (Windows). Likewise, the selected Raw file editor will be used to open the associated raw images when you use the keyboard shortcuts Cmd-Y (Mac ) or Ctrl-Y (Windows).
Apart from opening RAW Images in Lightroom via the ProSelect Lightroom Plugin, you can also export the Lightroom Filename List (File > Export > Lightroom Filename List) to produce a single line of filenames that can be pasted into Lightroom’s search box.
Regardless of which photo editor you select, when running Pro Production, Photoshop will always be used since only this editor supports the extensive automation used by ProSelect.
When selecting a photo editor other than Photoshop or Lightroom, as either your Photo or Raw file editor, you will be prompted to select the location of the application itself.
If you select "Other Editor", you can also select the format to open retouched images in your selected editor (when using SHIFT + Open in Your Editor). You should set this to be a different format than your originally imported images to avoid accidentally overwriting them. For example, if you imported jpeg files, then it is best to set this to Flattened Tiff and visa versa. Note: This option is not used for Photoshop because ProSelect will always create a layered PSD file for any pretouched images that you open using SHIFT + Open in Photoshop.
ProSelect uses the application’s Open Document handler to open the selected image(s). This is the same process used when you drop one or more images onto the application’s icon. Some photo editors may not work this way. It is best to do a test first to see if your editor will work with ProSelect. If you are importing .psd files into ProSelect and plan to open them with another photo editor, then you should check if the editor will read these files before selecting this as the editor to use.
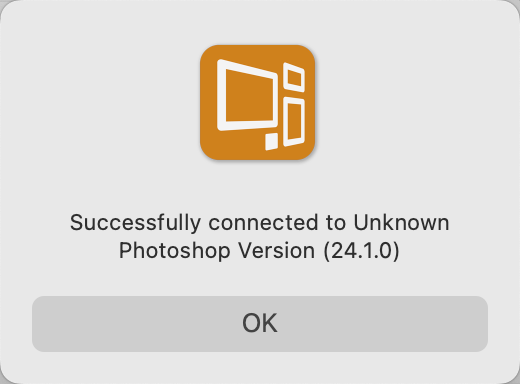
Testing the Photoshop Connection
You can check if ProSelect can connect with Photoshop (and which version it is connecting to) using the Test Photoshop Connection button. Upon a successful connection, a window will show the version of Photoshop that responded.
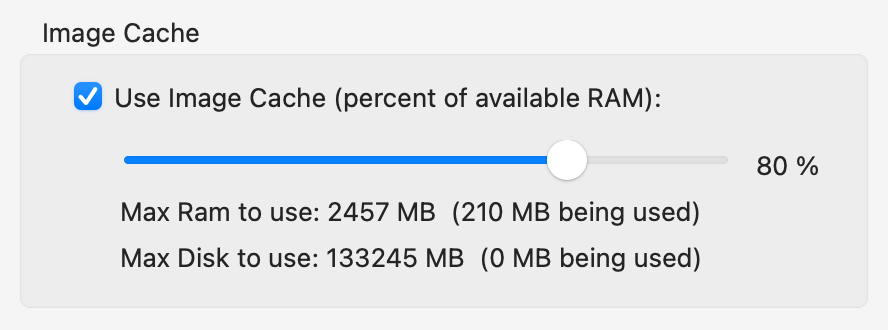
- To increase performance while running, ProSelect keeps uncompressed copies of your album’s images in an image cache in memory and, if full, in a temporary area on your hard disk. Images are loaded into the cache the first time you access them so the next time you need the image it will be returned very quickly. Note: If you don’t have much memory in your computer (less than 8GB) then you may find that ProSelect will run faster with the Image Cache disabled or set to a lower level. The maximum value that the cache can be set to is 3.0GB.
Using Different Versions of Photoshop
ProSelect will detect different versions of Photoshop and will change how it communicates with Photoshop accordingly.
If you have more than one version of Photoshop installed on your computer, ProSelect will look for a currently open version of Photoshop and use that version for all future interactions with Photoshop. If a copy of Photoshop is not running, the first time you try to connect to Photoshop after opening ProSelect, ProSelect will ask MacOS to open the newest version of Photoshop and use that version each time until you close and re-open ProSelect again.
To use an earlier version of Photoshop, first restart ProSelect. Then make sure that you have the version of Photoshop already running before doing any Photoshop related commands from ProSelect. Alternatively, you can close the current version of Photoshop and open another version. Then click the Test Photoshop Connection button while holding down the Option key to shift to using the open version.
Debugging Photoshop scripting errors
When running Production, (e.g. using Custom Effects Actions and loading the Photoshop action list), ProSelect creates and sends JavaScript commands to Photoshop. Photoshop includes a tool to assist in debugging any issues in these scripts. It is a free download and is called Adobe ExtendScript Toolkit.
When initiating any action that sends commands to Photoshop, you can have ProSelect send to the ToolKit application instead, by holding down the SHIFT key. You can also test the connection to the Toolkit application by holding down the SHIFT key when clicking on the Test Photoshop Connection button.
The one exception is Opening Images in Photoshop because the shift key is used to open images with Retouching applied. In this case, you need to hold SHIFT+OptionAlt to launch the ExtendScript Toolkit. See the Knowledgebase Articles on the Pro Studio Software website for more about this.
Recent macOS changes: macOS 10.14 (Mojave) and newer
- On macOS 10.14 and newer, you need to specifically tell macOS’s GateKeeper to allow certain automation permissions before ProSelect can interact directly with Photoshop. The first time you try to connect to Photoshop from ProSelect, the system will ask if you want to allow ProSelect to access “System Events”.
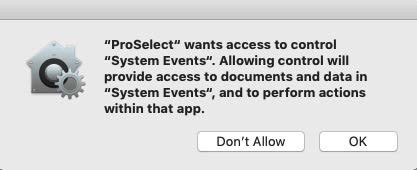
Click OK. You may still see an error message that ProSelect was unable to connect to Photoshop. When you try the second time, the OS will ask you whether to allow ProSelect to access data from “Adobe Photoshop”.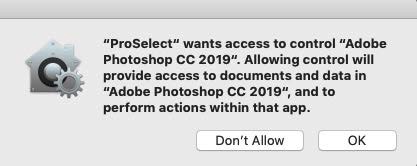
Click OK. After that, ProSelect will be allowed to connect to Photoshop. You can check ProSelect’s GateKeeper permissions in the System Settings > Privacy & Security > Automation > ProSelect. All options must be enabled.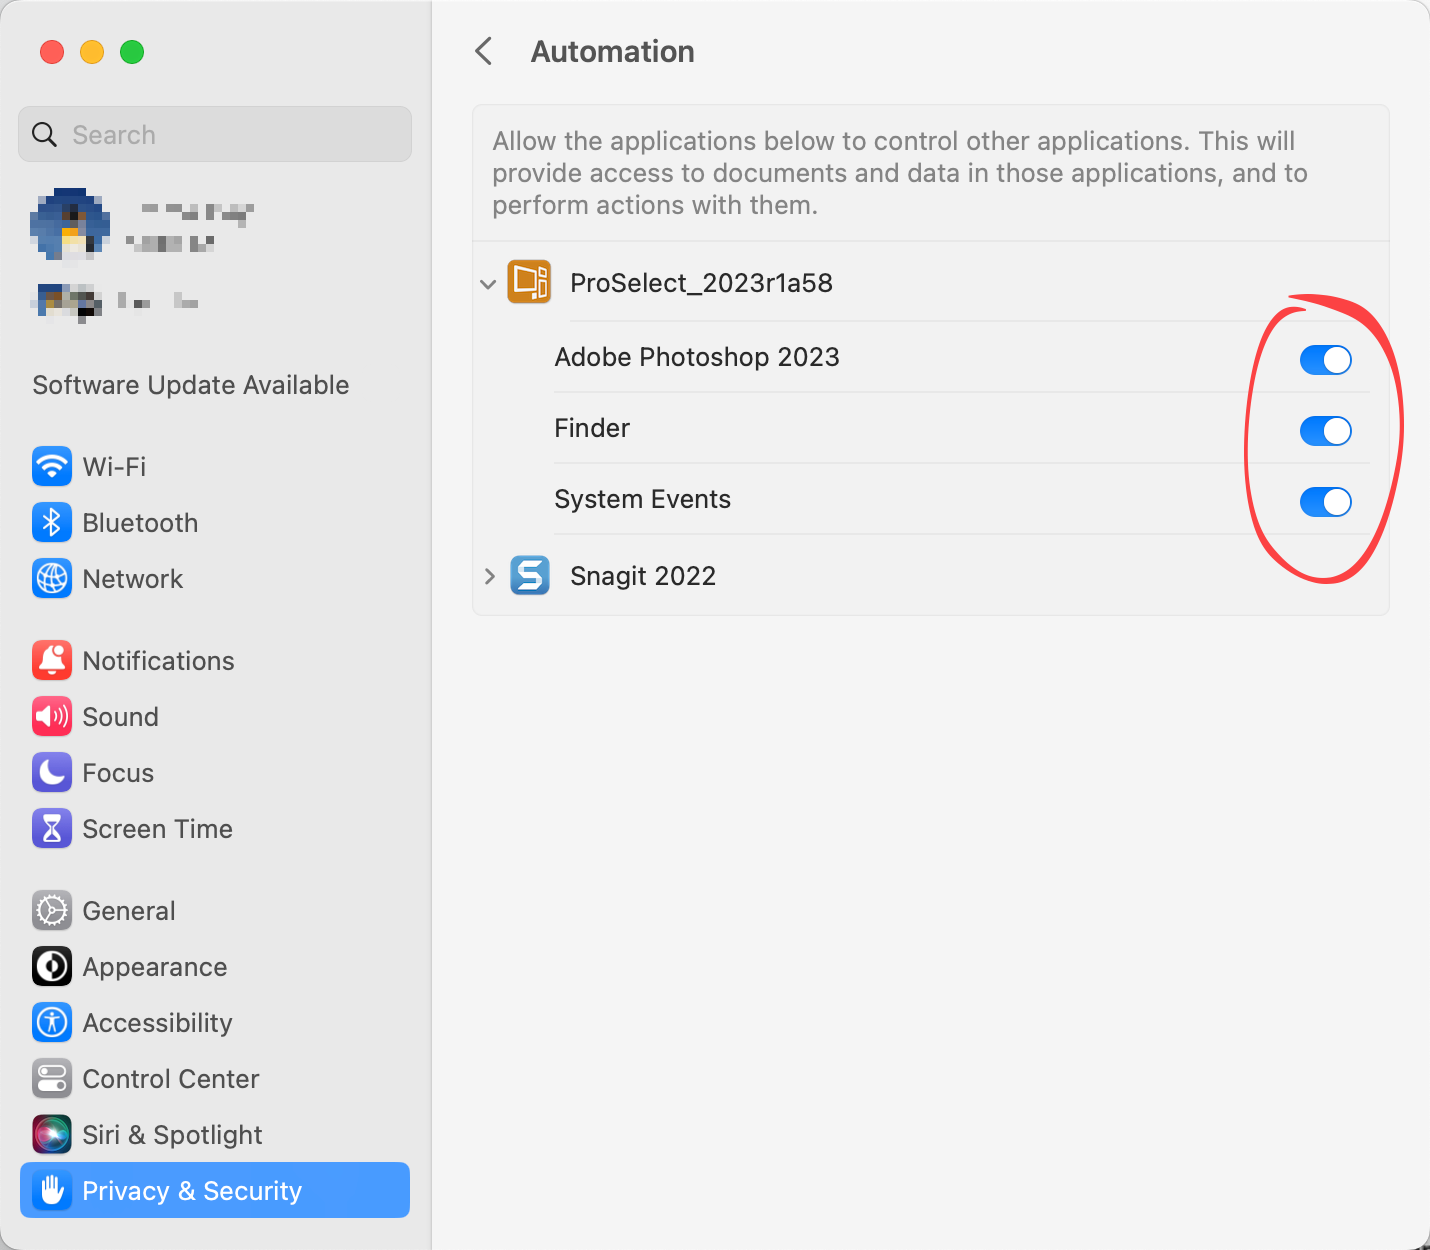
macOS 10.15 (Catalina) and newer
- In addition to the above, file access permissions are also required when using macOS 10.15. See Operating System Requirements for Mac.
If You Have Multiple Versions of Photoshop installed on Windows
You can select which version of Photoshop you wish to run. By default, this is the latest version as determined by Windows current Registry entry setting for “Photoshop.Application”.
ProSelect will also check the registry to see if other versions of Photoshop are installed on your computer and allow you to select the one to use.

Note: The Photoshop version dropdown will only include versions of Photoshop available at the time of this ProSelect release. If you have a newer version of Photoshop installed, and it does not appear in the
dropdown, then you should either upgrade to the latest version of ProSelect or use the Default from Registry setting and adjust your registry accordingly.
Some users have found that earlier versions of Photoshop (namely CS6) will hang up part way through Pro Production. If you are finding that this happens to you, try turning on Connect to Photoshop
with Helper app. See our Knowledgebase for more about this issue.
Default Folders

- Use the dropdown box to select the folder that should first be used when looking for images for a new Album.
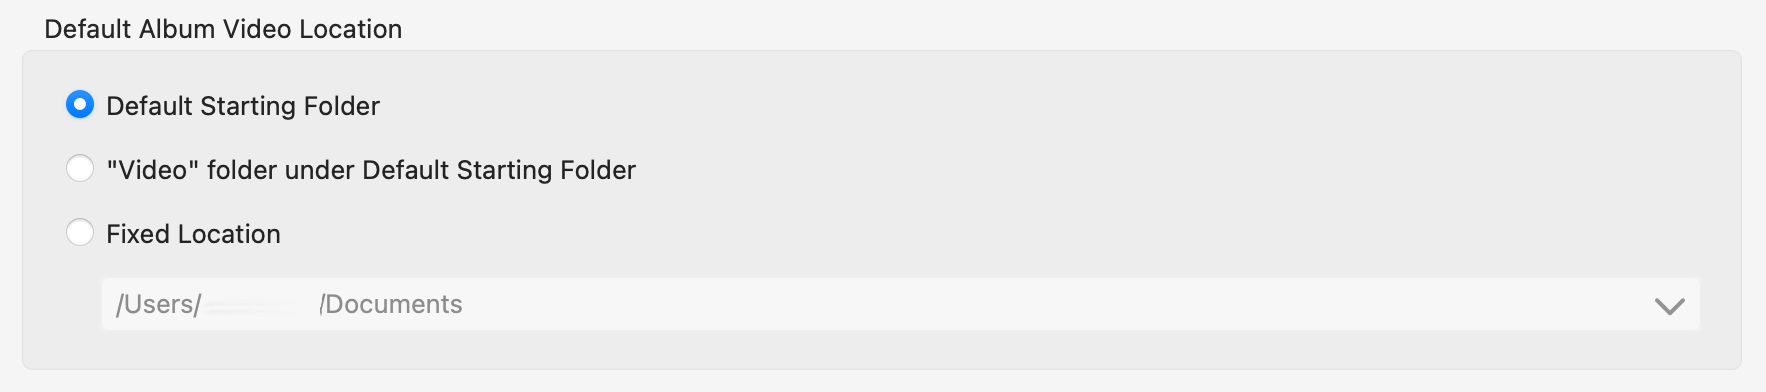
- This is your preferred location when adding Album Videos using the Setup Videos page.
Templates, Rooms & Books

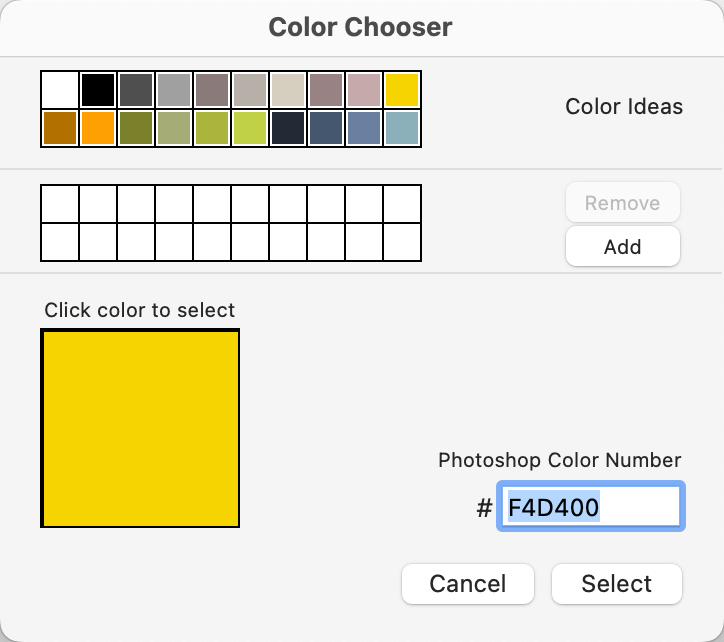
- Sets the background color of any transparent areas in any Exported Sample Products or images in Exported Order Data for studio management systems.
- To change the transparent area fill color, click on the green box. A dialog will open and you can choose which color you prefer.

- Check the box if you would like to receive a warning if you name two product templates with the same name. By default, this option is checked. It is recommended that you leave this checked to avoid confusion.

- When adding mats and frames to Stacked Product Templates, a prompt will appear asking to you assign where the applied mat or frame is to go. You can bypass the prompt here by making a selection from the list. For more information, see Adding Mats & Frames to Stacked Templates.

- Grid Size: Use this box to set the default Grid Size that will be shown when Using the Spacing Grid on a Wall Gallery design.

- Warn when an image has already been used: By default, this box is checked. This ensures images aren't accidentally used in a book twice.
- Show Template Names on Book Pages: By default, ProSelect names book pages by side number. Check the Show Template Name on Book Pages box to show the name of the template used in the book instead. This does not affect the filenames exported with Pro Production.
- Enable "Bleed Smart" on Book Pages: By default, Bleed-Smart is enabled.
Sharing
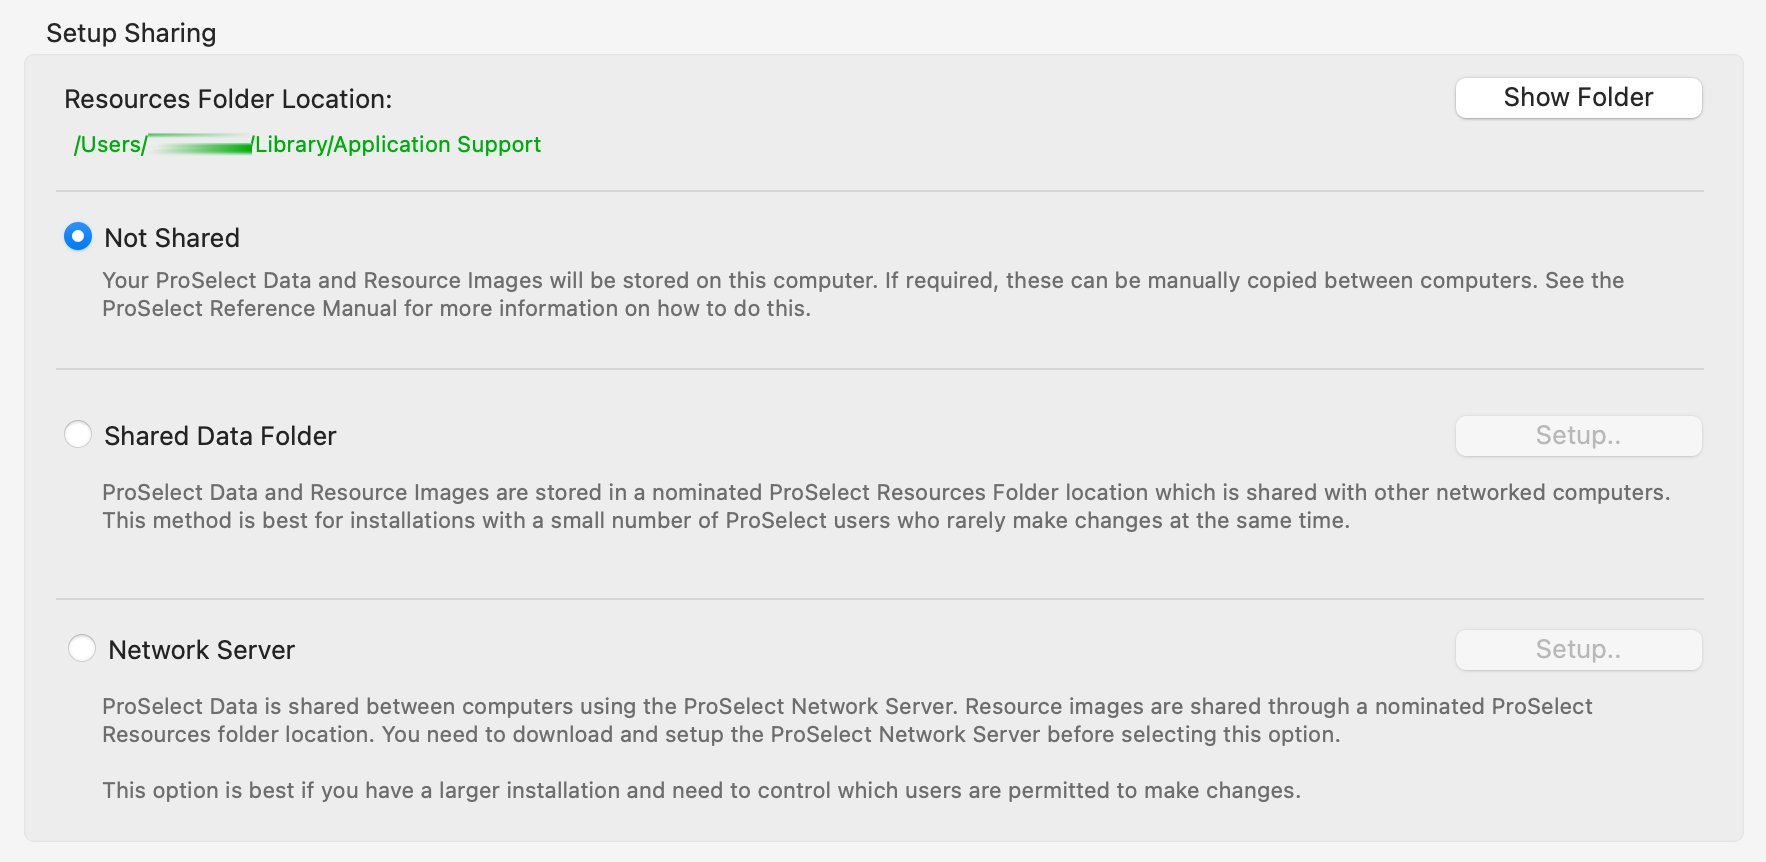
Sharing: This section is used to set up options to share ProSelect data between different computers on your network.
- Resources Folder Location: Click on the "Show Folder" button to go to your Resources Folder.
- Not Shared: By default, your ProSelect Data and Resources are not shared.
- Shared Data Folder: The Shared Folder method works well for small teams using ProSelect who don't often edit at the same time.
- Network Server: The ProSelect Network Server method is ideal for situations where you need to manage which users can edit the data file.

- Always Try to Reconnect: As a default, ProSelect will always try to reconnect to a disconnected shared ProSelect Resource folder on startup.

Select Location: A "saved" copy of your settings will be placed in this location.
Integration
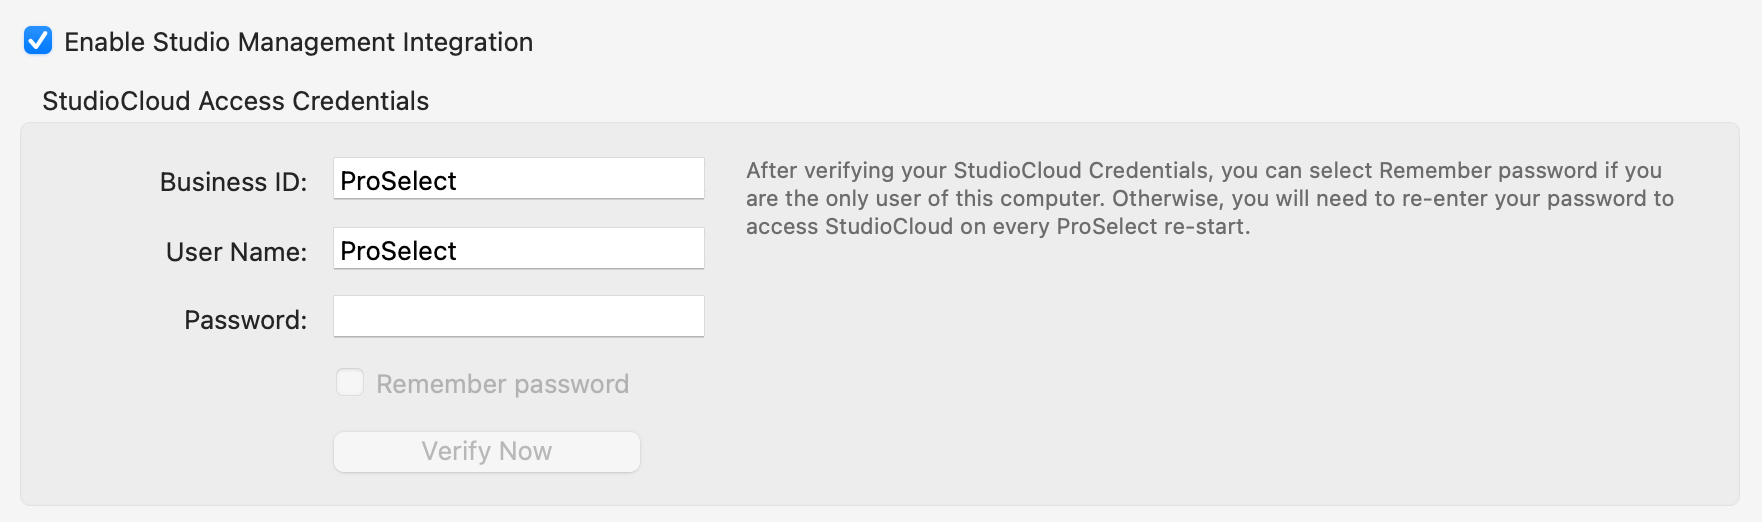
Integration: This section is used to set up integration with the StudioCloud studio management system.
- To activate StudioCloud integration, select the "Enable Studio Management Integration" checkbox.
- Next, input your StudioCloud Access Credentials and press the "Verify Now" button. You will then see a confirmation message.
- Remember Password: If you're the sole user of this computer, selecting this option will securely save your StudioCloud password in ProSelect's local preferences, eliminating the need to re-enter it each time you access StudioCloud from ProSelect. However, if the computer is shared, it's advisable not to choose this option unless you're okay with all users accessing StudioCloud using the same username and password. Be aware that this will prevent tracking of individual changes made in StudioCloud by different users.
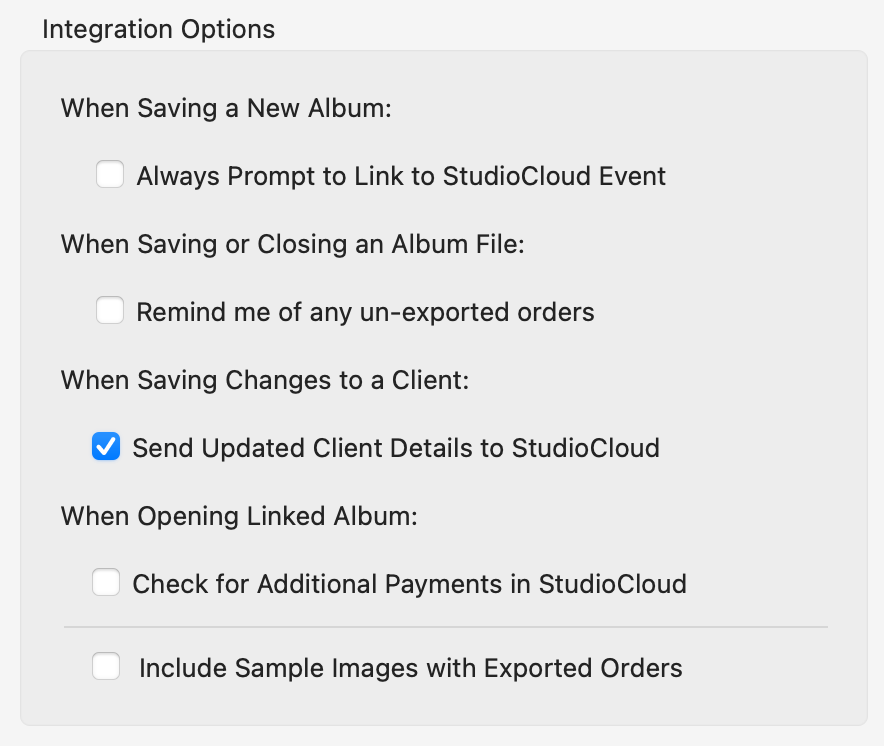
- When Saving a New Album: Option to always prompt to link to StudioCloud. Useful if most albums need linking to StudioCloud Events.
- When Saving or Closing an Album file: Reminder for unexported orders to prompt export or update of new or changed orders/payments to StudioCloud.
- When Saving Changes to a Client: Automatically send updated client details to StudioCloud after changes in the Clients Setup window.
- When Opening a Linked Album:
- Check for additional payments in StudioCloud, ensuring any new payments are imported into ProSelect for the client’s sales session.
- Include Sample Images with Exported Orders: Option to send ordered image thumbnails to StudioCloud with exported orders.
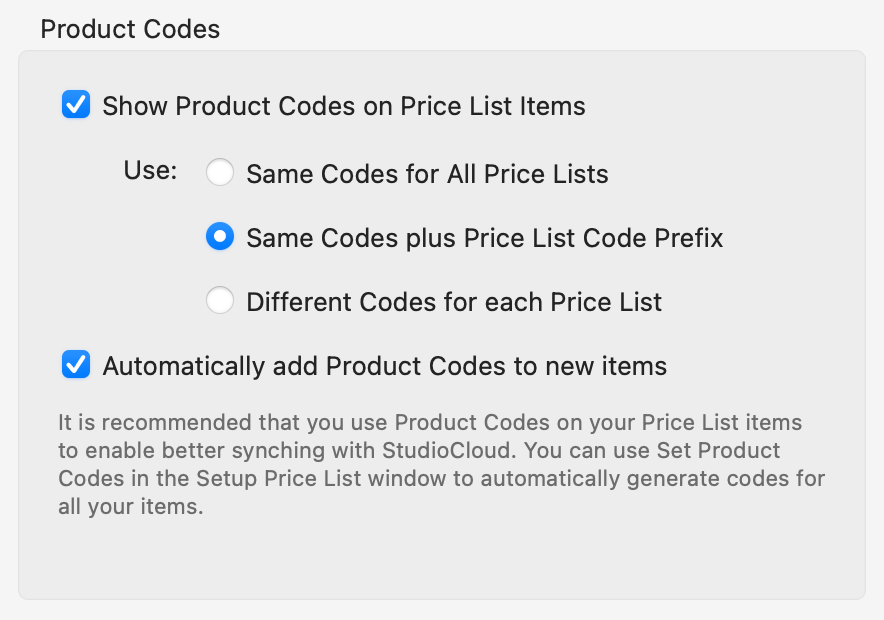
- Show Product Codes on Price List Items: Checking this box will allow you to use Product Codes when you create price list items in ProSelect. Click on Using Product Codes to learn more about how product codes will appear in the Product & Pricing Manager.
- Same Codes for All Price Lists: Any entered product code is the same for every price list. When exporting orders, the XML data will always separately include your selected Price List Prefix Code. Depending on your Studio Management software, this may be sufficient to differentiate items by price list.
- Same Codes plus Price List Code Prefix: Any entered product code is the same for every price list. In addition, the Price List Prefix Code (On the top menu, Orders > Price List Names) is dynamically added to your entered product code when displayed and exported. For example: If you enter a product code of PR57 for an item and use the default Price List Prefix Codes (A-Z), The displayed and exported data will be shown as A-PR57 for the item in the first price list, B-PR57 for the item in the second price list, etc.
- Different Codes for each Price List: You can manually enter a unique product code for each price list item in every price list. Default Codes for different types of orders can be set up using Default Product Codes. If entered, these will be automatically assigned to any exported order item which does not have a specific product code set for it.
- Automatically add Product Codes to new items: If you are getting ProSelect to generate product codes, then it is recommended that you also check the Automatically add Product Codes to new items checkbox. This ensures that every new item you add has a unique product code. Click on Automatic Product Code Structure to view how these codes are generated.
If you only wish to analyze your sales by a broad category (price list item type) then you can set up the Default Product Codes and leave all the price list items Product Codes empty.
If you are using StudioCloud, then it is recommended that you have a unique Product Code for each item. StudioCloud can import your price list and then match exported orders by product code. This allows you to do sales analysis in StudioCloud.
Check the Enable Studio Management Integration box in General Settings > Integration. Once enabled, this defaults to Same Codes for All Price Lists unless you change this in the settings.