Display
Access Display Settings by going to the top menu, ProSelectEdit > Settings. The Display area provides access to the Calibration & Options, Color Management, Borders & Backgrounds, and Contextual Content tabs. Each tab contains options that will allow you to customize ProSelect to your personal preferences.
Calibration & Options
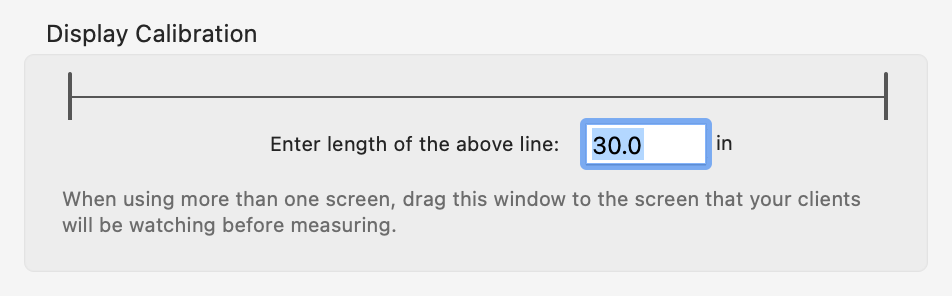
In order to display your images and products at the correct size when using Actual Size view, and Presentation Mode, you must calibrate your screen size.
When using ProSelect, you generally want to calibrate the screen that your Clients will be watching (the Presentation Screen). If you are using a projector screen or a large screen TV, make sure that the Display Calibration box is displayed on that screen when you are measuring the length of the line. If necessary, drag the Settings window over to that screen first.
If your computer is setup to use more than one screen, your current screen arrangements will be shown in a diagram like this one:
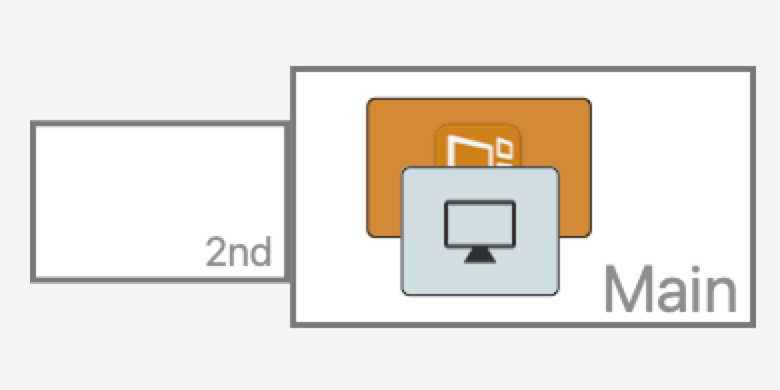
- The Main Screen is the one on which ProSelect’s main window is located. It is indicated by the orange rectangle.
- The Second Screen (Presentation Screen) has a number 2 on it. This is the one the Client will see when Presentation Mode is turned on. This can be a TV, projector, or computer monitor.
- The location of the Settings window (the gray box with the presentation screen icon) is important. It needs to be on the screen that any calibration measurement applies to.
- Drag the Settings window from the main screen to the 2nd screen. The gray box with the presentation screen icon will move to the 2nd screen.
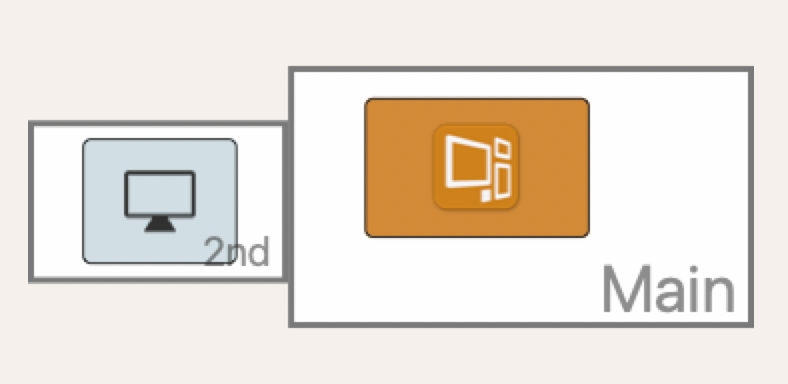
- Measure the length of the ruler line from end to end on the screen where you will display the images.
- Enter the length in the display calibration box in the units shown.
Using Three Screens
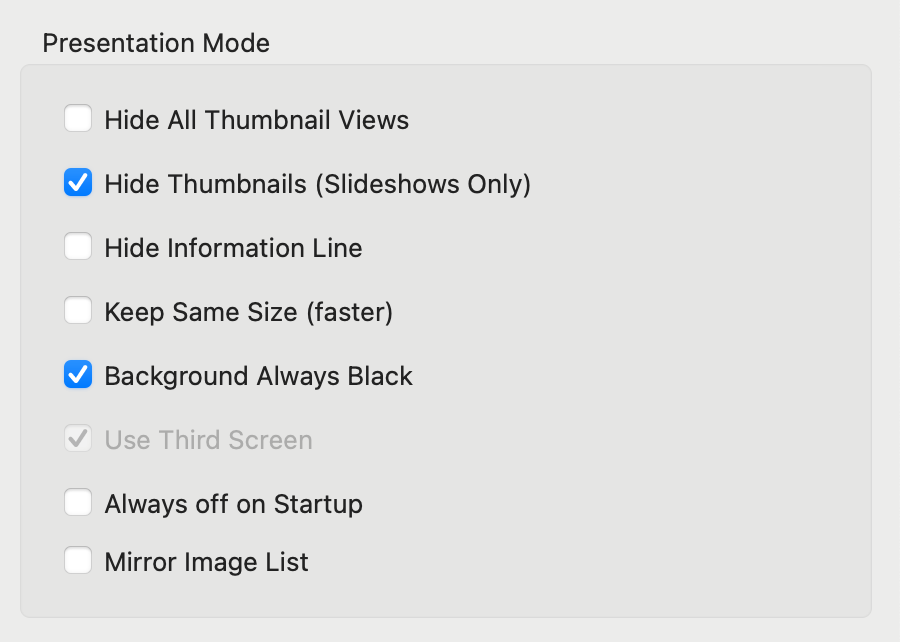
If you have three monitors connected to your computer (and turned on), you should see all three in the diagram. Checking the Use Third Screen checkbox in the Presentation Mode tab will select the third screen for use as the Presentation screen. If the Main window is located on the third screen, then the second screen will be used for the Presentation screen.
Use this section to set how you would like labels to be displayed through the program.
- Filename Extensions: Hide: Checking the box to hide filename extensions will apply to all image names throughout the program (except Production).
- Shorten Long Names from: Choose either Left side or Right side. This will apply to all images throughout the program, including in Production.
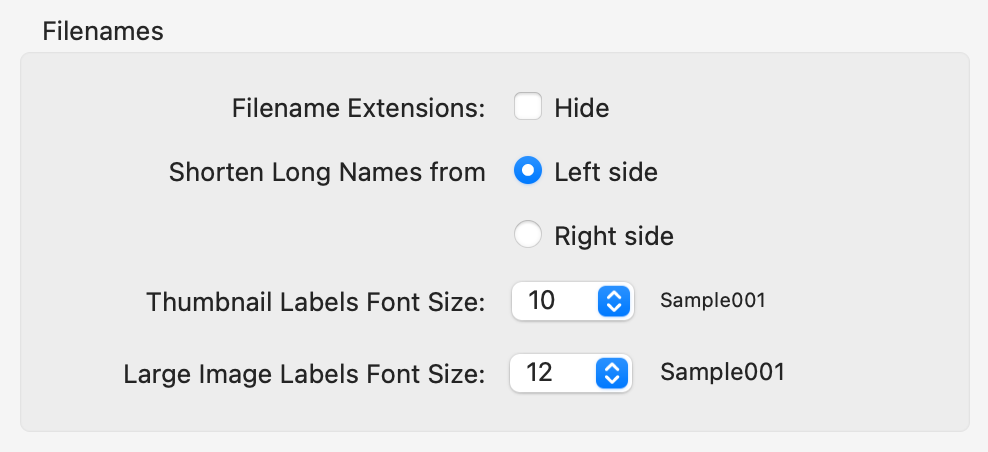
- Thumbnail Labels Font Size: Set the font size of the image label text under the thumbnails. Font size options are 10, 12, 14, 16, or 18.
- Large Image Labels Font Size: Set the font size of the image label text under large images. Font size options are 12, 14, 16, or 18.
The following example has the font size set to 10 for thumbnails and 12 for large images.
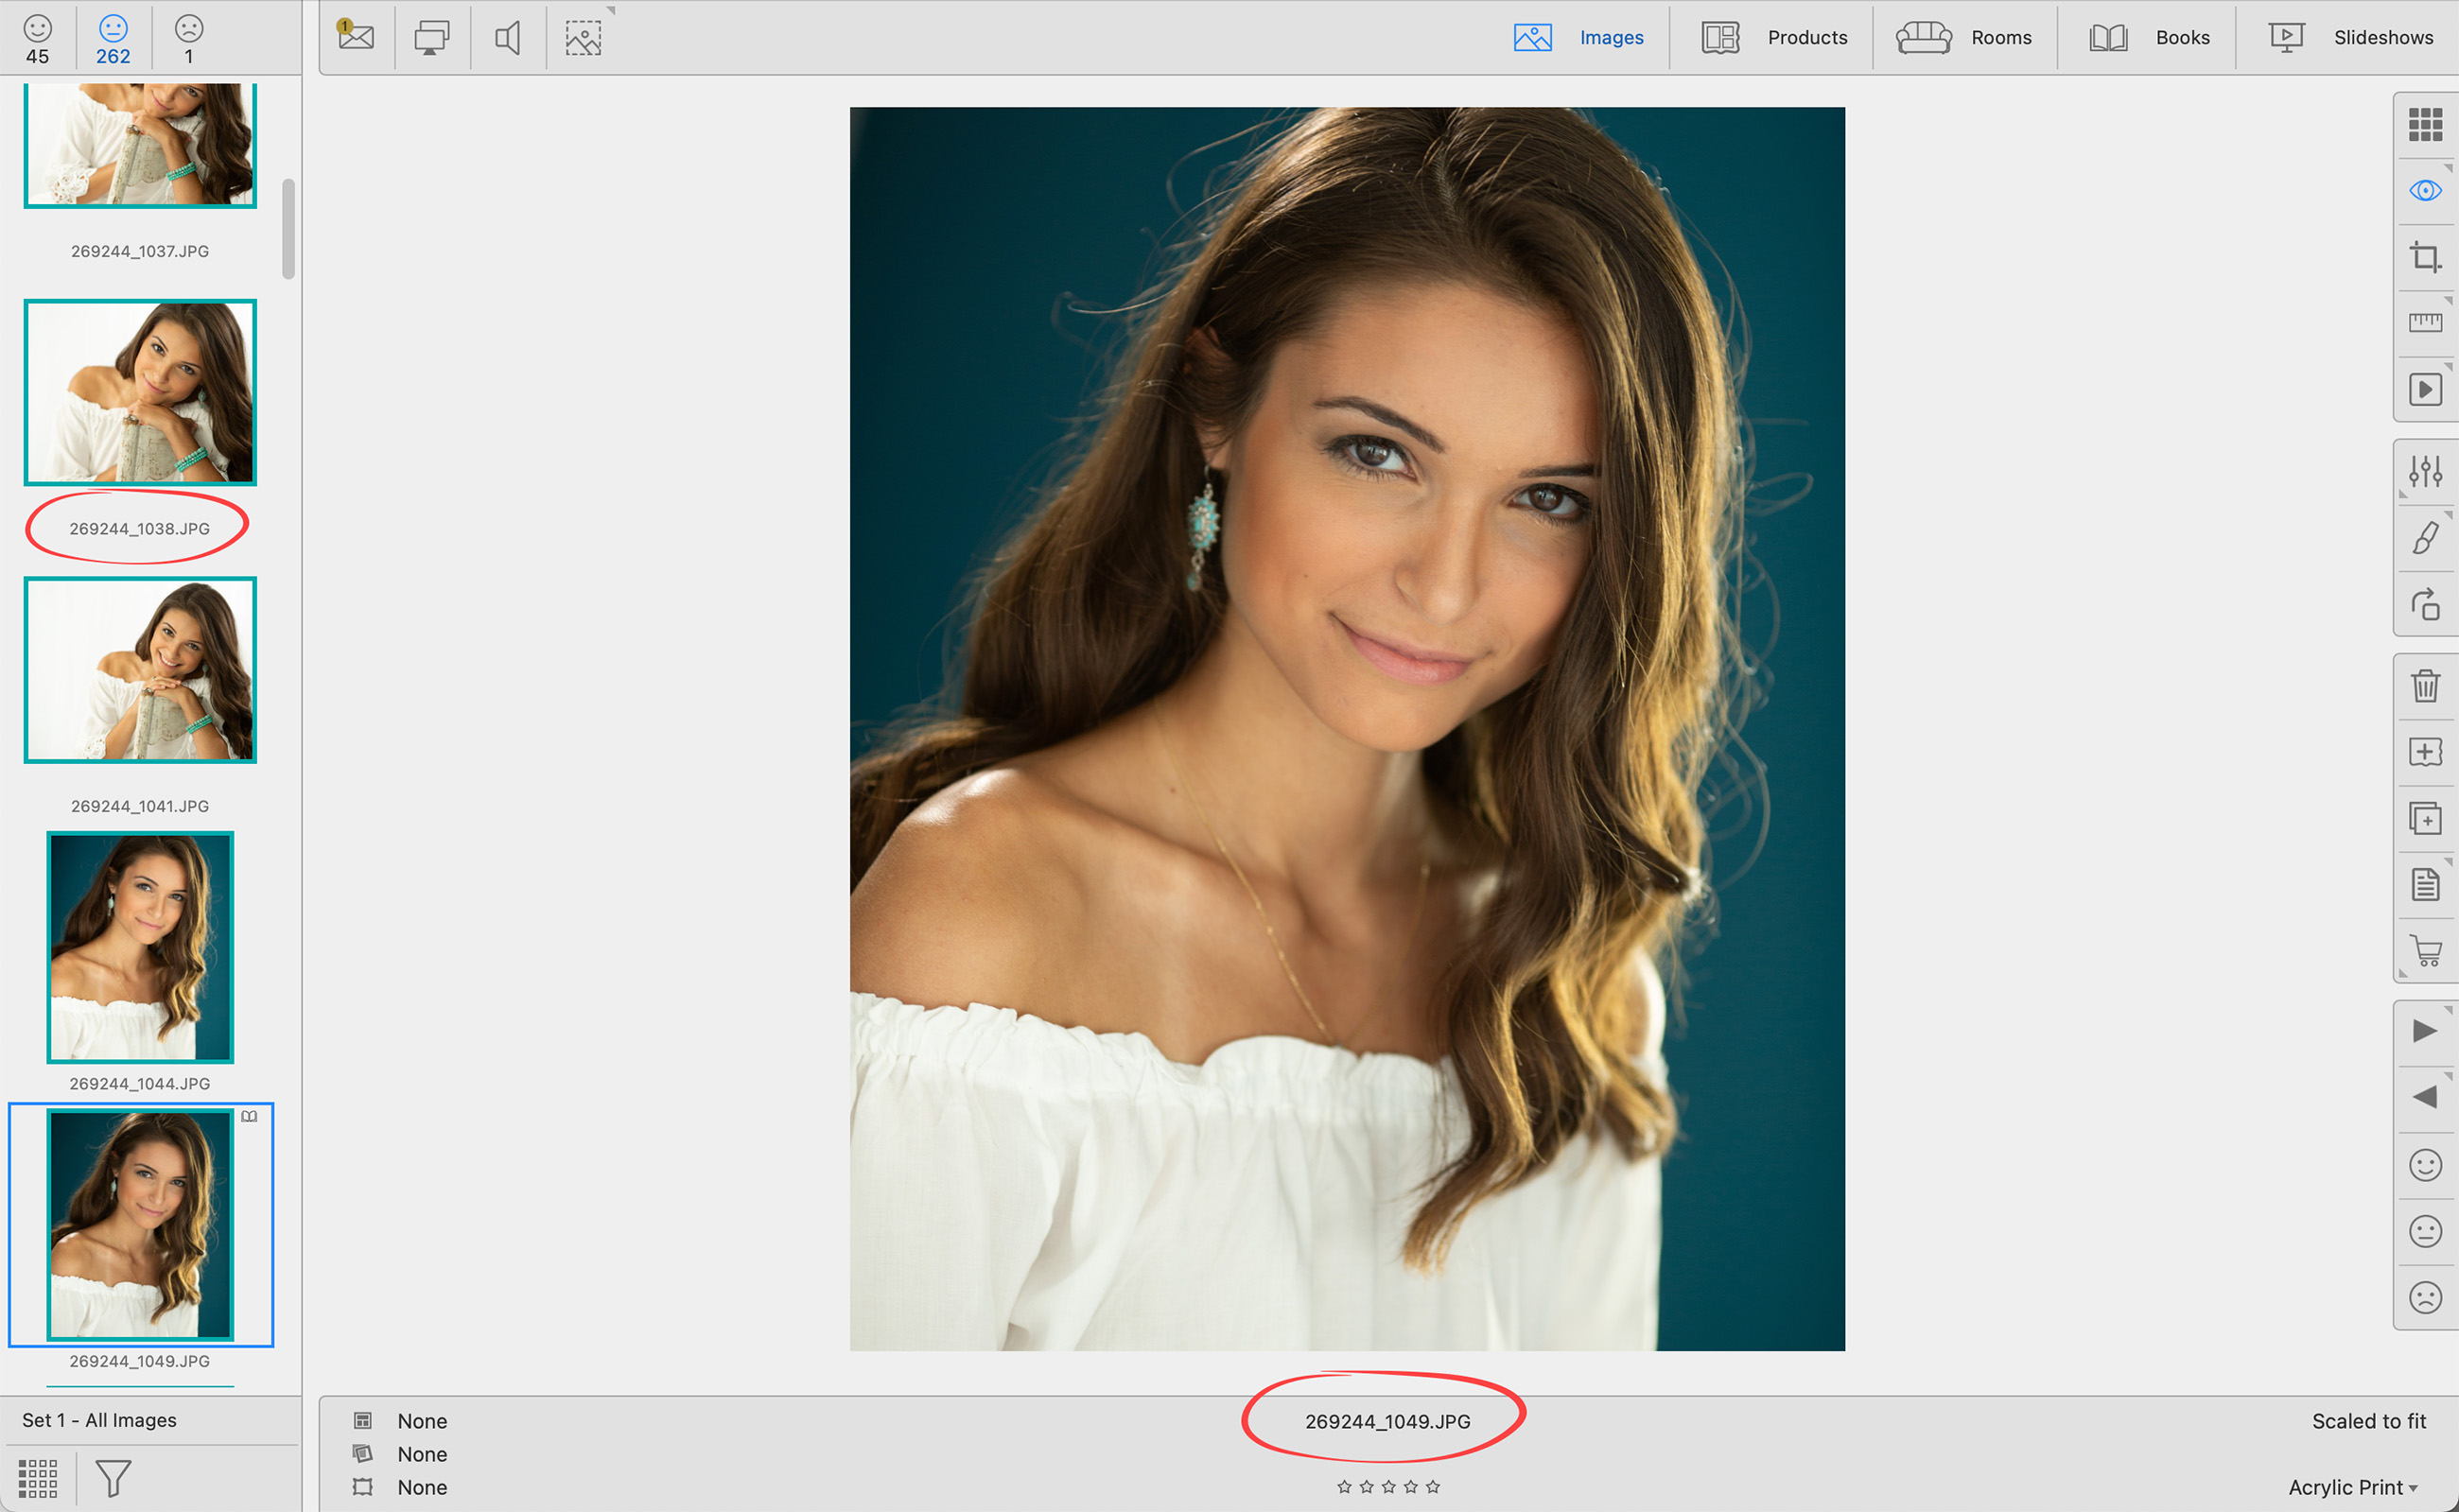
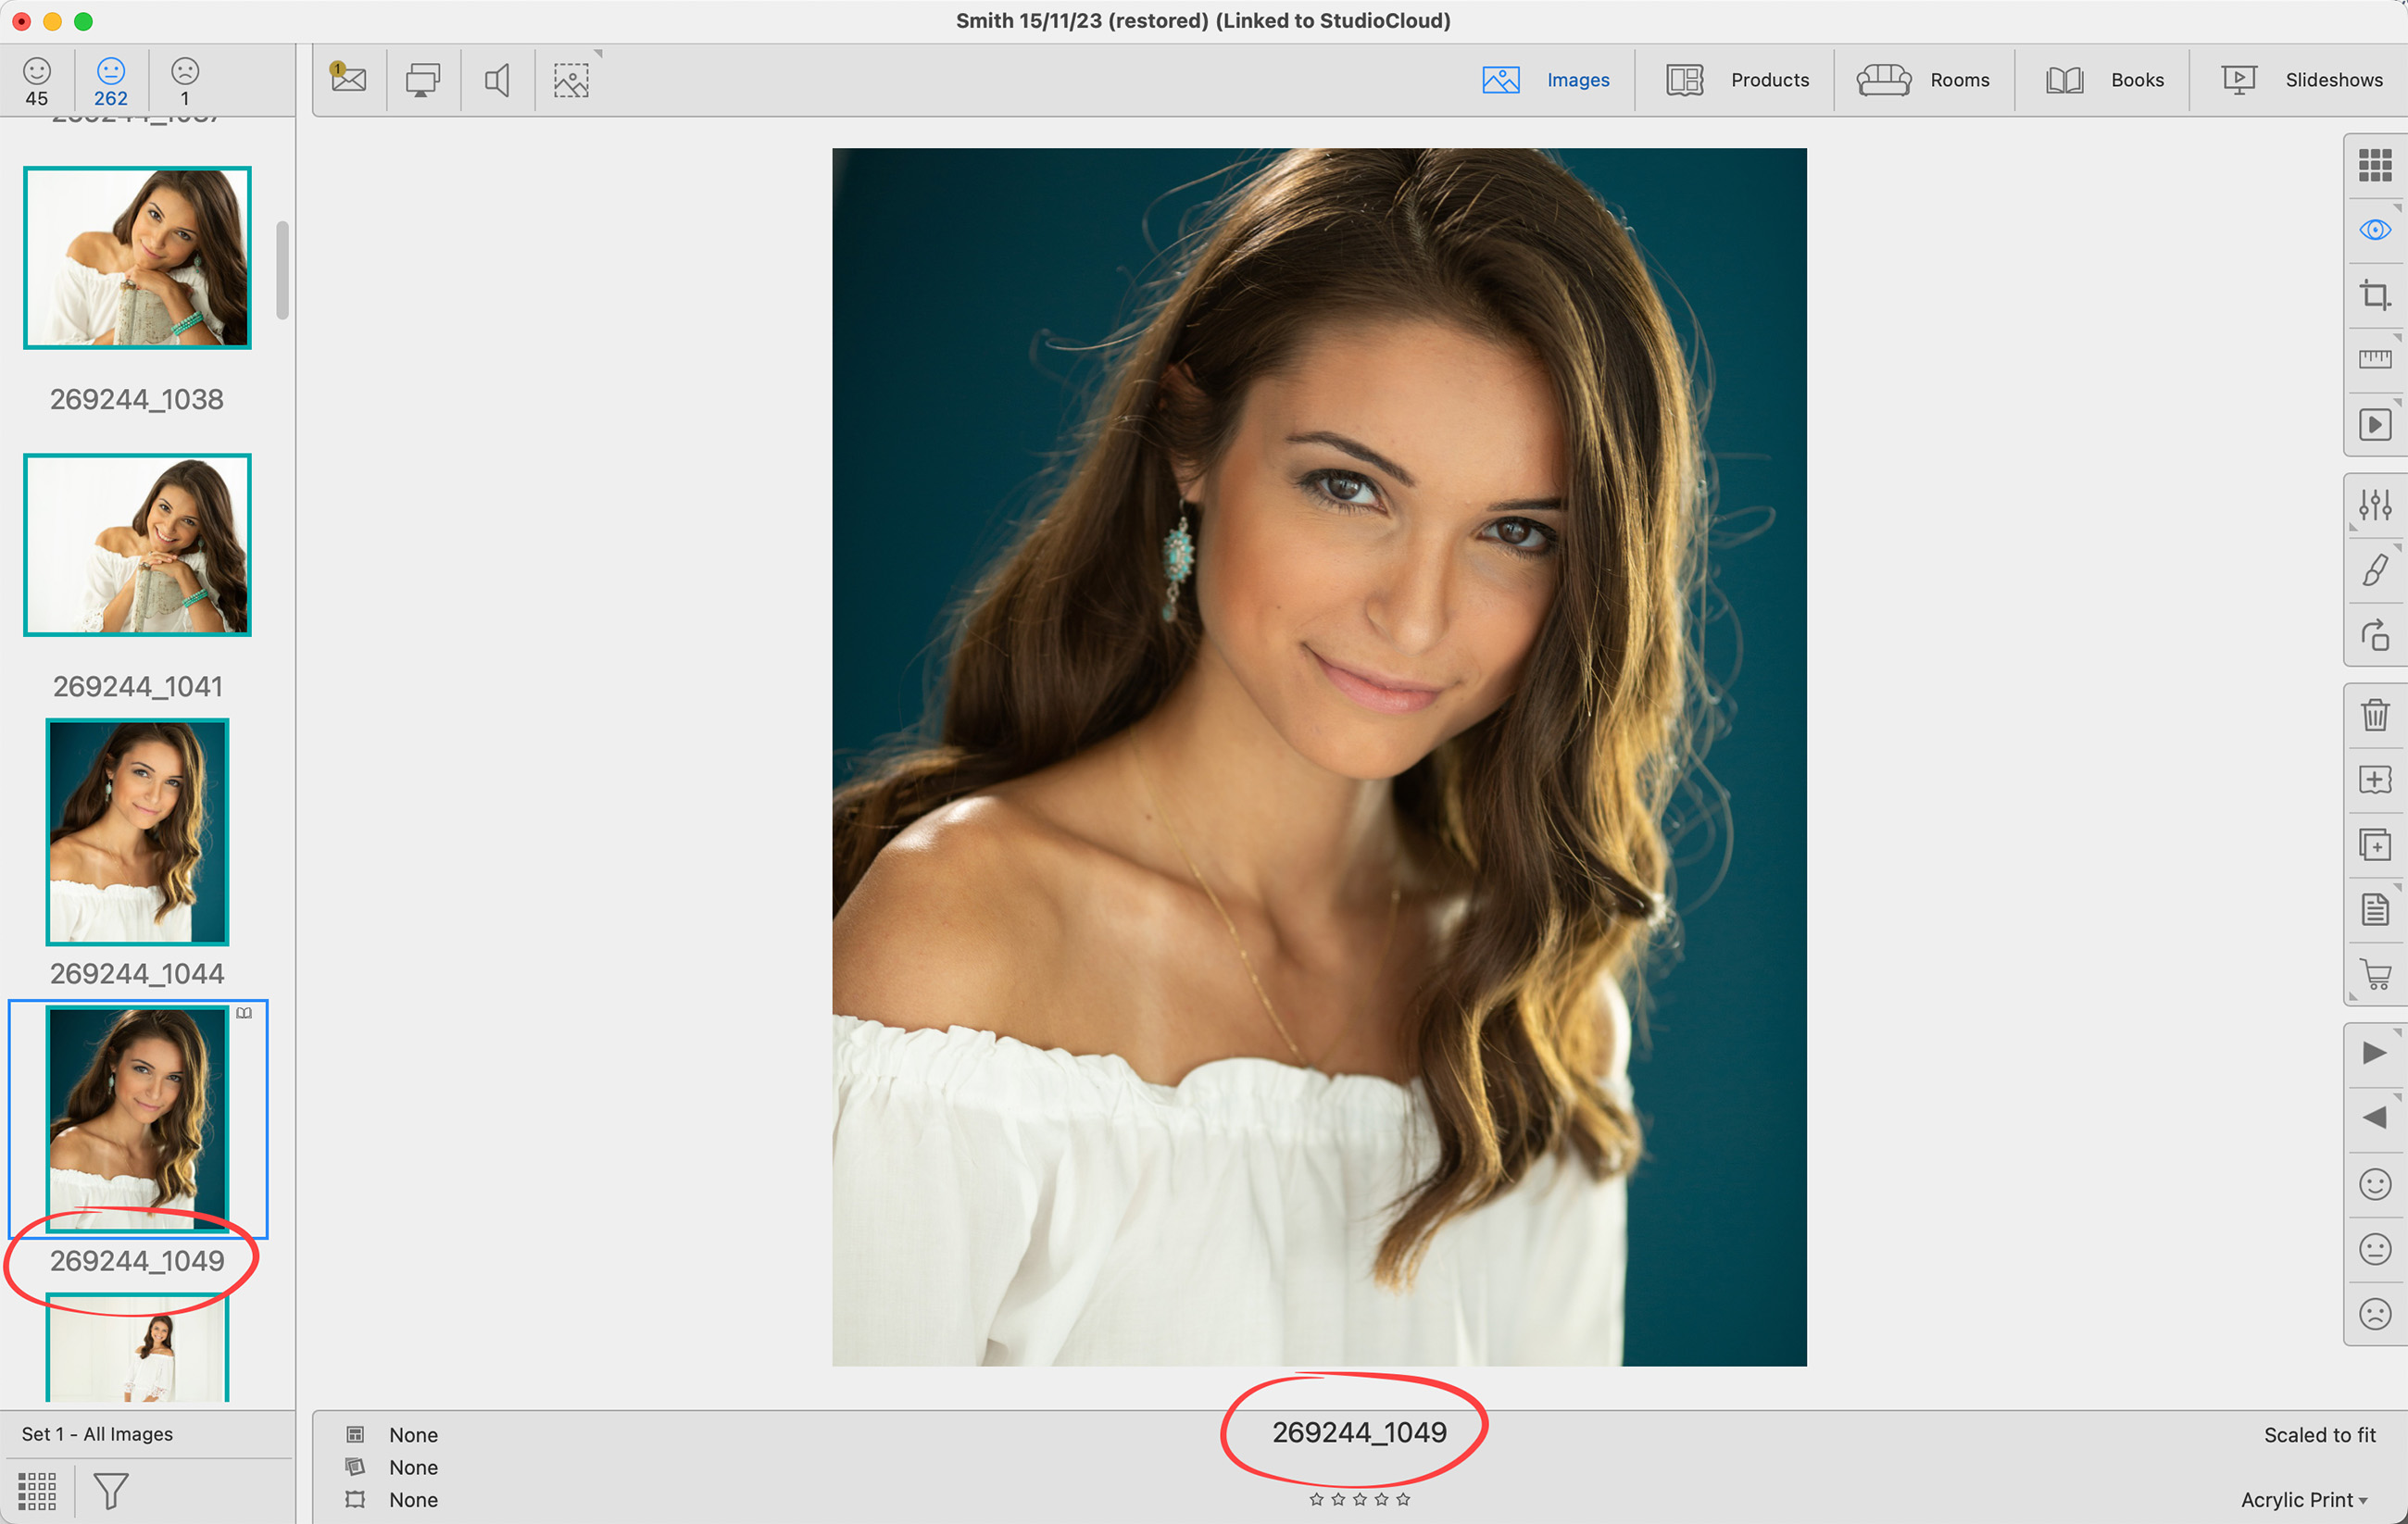
In comparison, the following example has the font size set to 18 for both the thumbnails and large images. The filename extensions are also being hidden.
Use these checkboxes to customize the Presentation Screen when in Presentation Mode. Click on Customize the Presentation Screen to learn more about each function.
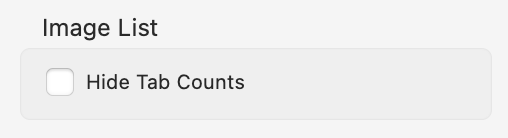
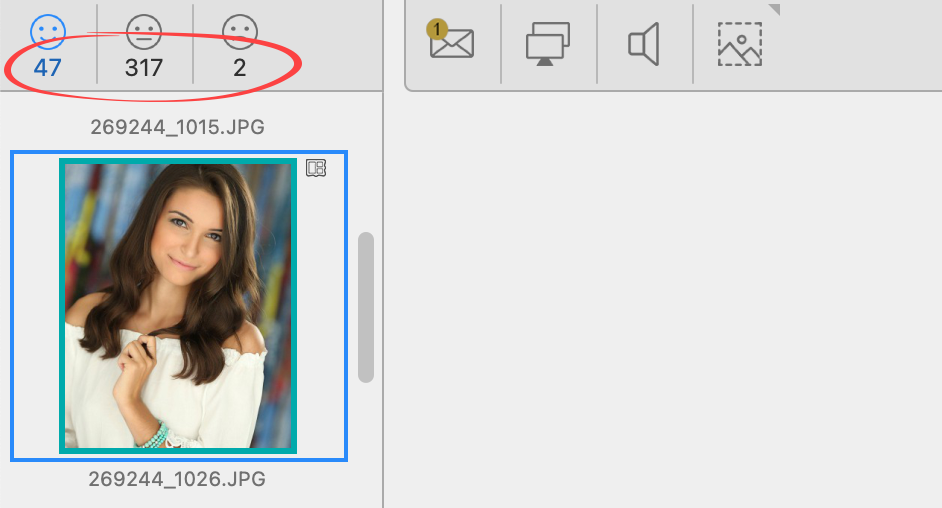
- Hide Tab Counts: Checking this box stops the display of the image counts under the faces at the top of the left-hand image list. By default, this box is unchecked and you will be able to see the tab counts.
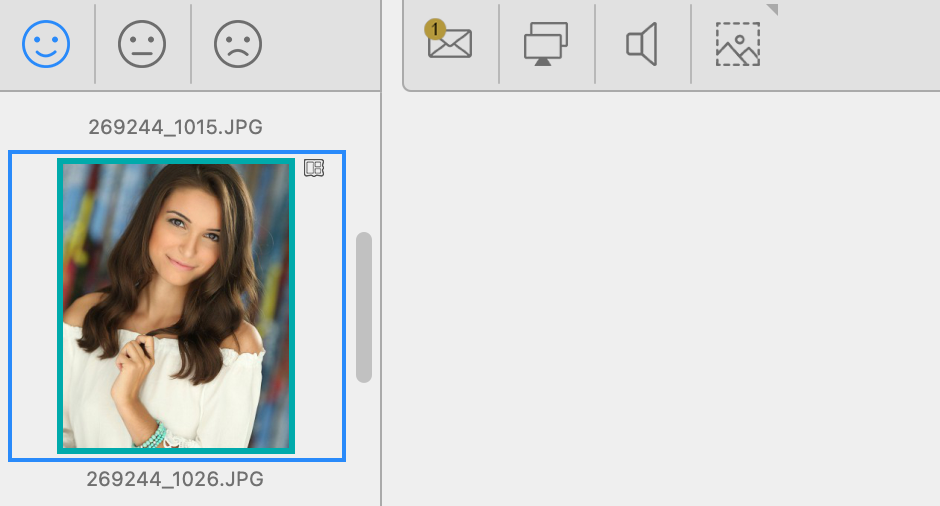
The following example shows the tab counts hidden:
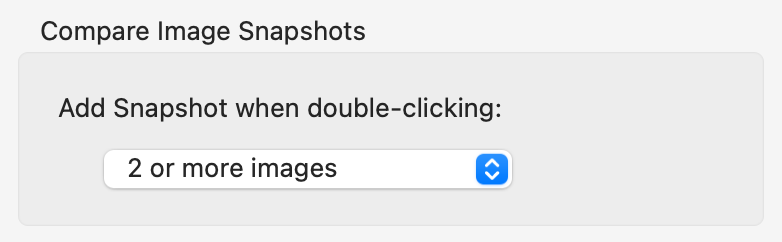
- This feature allows you to set when to automatically create a Compare Image Snapshot when double-clicking on multiple images in thumbnail view. Set to Off if you don’t wish to use this feature.
Color Management
Color management in ProSelect is handled automatically for imported 8 or 16-bit RGB images that have embedded color profiles. To ensure accurate color reproduction, it is important to understand profile handling and proper setup in Photoshop and Lightroom. For comprehensive information on color management, please refer to the dedicated Color Management section.
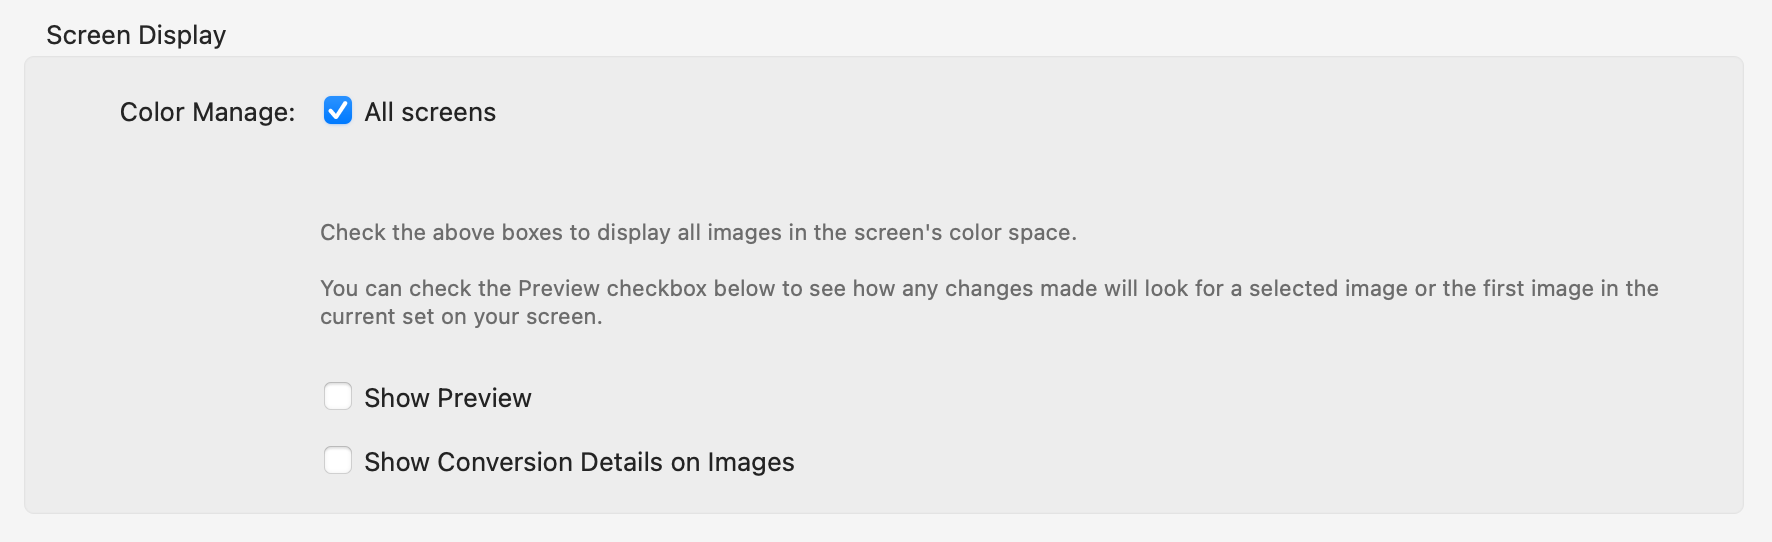
- Color Manage: If you are using a color calibrated screen, then you should set ProSelect to display your images in your screen’s color space. This conversion is done as the images are being displayed. On Windows machines, it can be enabled for the main screen and/or the second screen (the Presentation Screen). On Macs, color conversion is done by macOS and you can only turn this on or off for all screens at the same time.
- If Color Management is enabled for the main screen (or for All Screens on Macs), images will be converted from sRGB to the main screen’s color space as they are displayed.
- On Windows, if the second screen is also enabled then they will then be converted to the second screen’s color space when copied to that screen. If the main screen is not enabled, but the second screen is, the images will be converted directly from sRGB to the second screen’s color space.
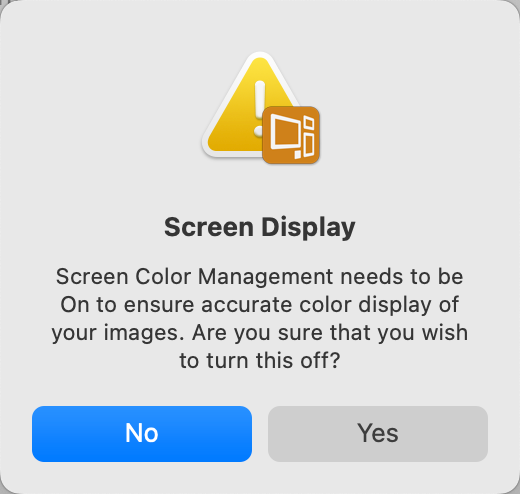
- If you choose to turn Color Manage off, a warning dialog will appear.
- Show Preview: Checking this box will allow you to see how any changes made will look on a selected image (or the current set on your screen).
- Show Conversion Details on Images: Check this box if you need to see the conversion details.
The color management settings only affect the appearance of your images when displayed in ProSelect. Because ProSelect’s high-res Production module uses Photoshop to generate the final images, color management of those images is taken care of by Photoshop.
Display Options
These particular settings are used to set the appearance of your images in different parts of ProSelect. You can preview the effect of any changes on the sample image on the right-hand side of the dialog box.
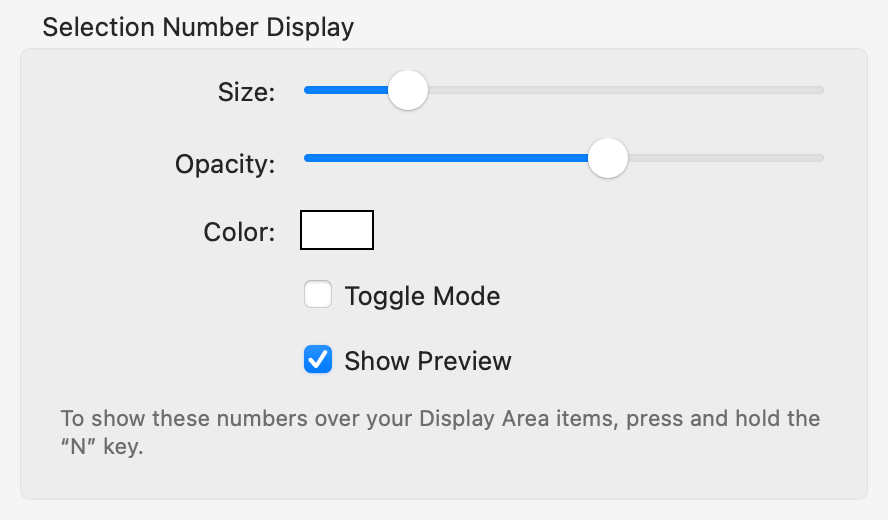
- Size: Adjust the size of the overlay number which is shown on images when you press and hold the "N" key.
- Opacity: Adjust the opacity of the overlay number.
- Color: Adjust the color of the overlay number.
- Toggle Mode: By checking this box, the selection number display will turn on and off by using the "N" key...without the need to hold the key down.
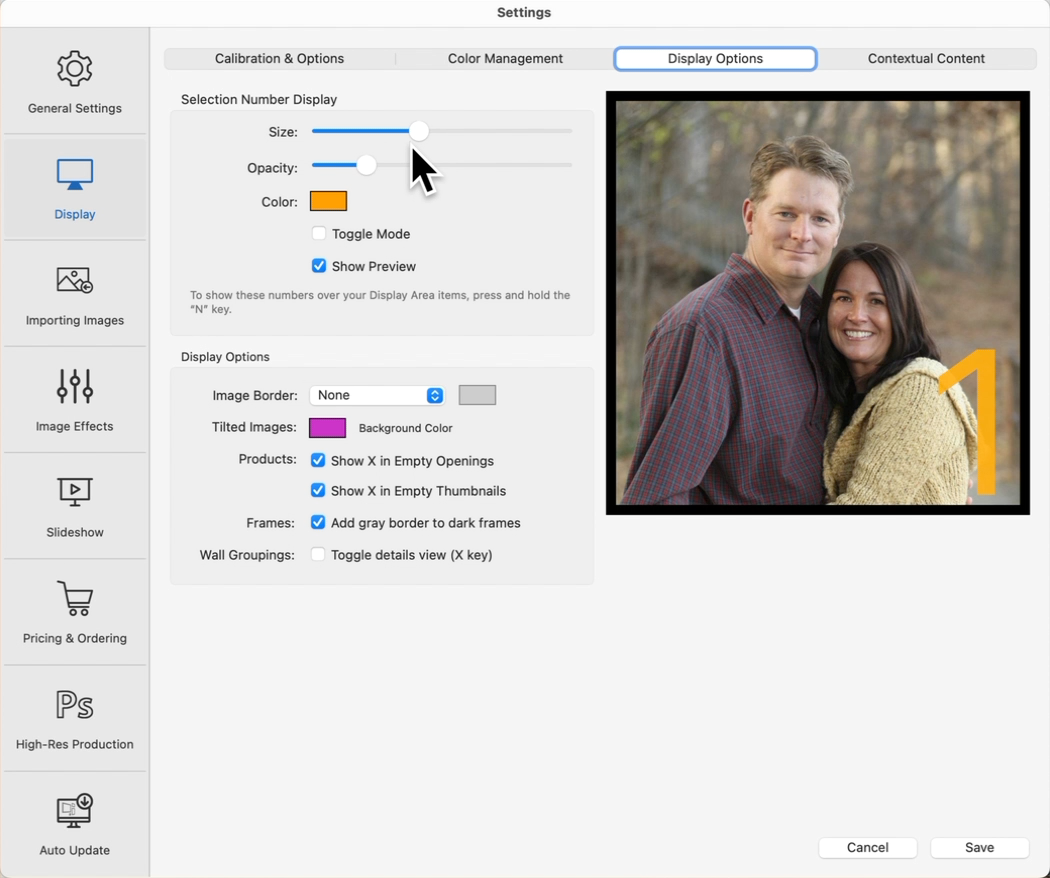
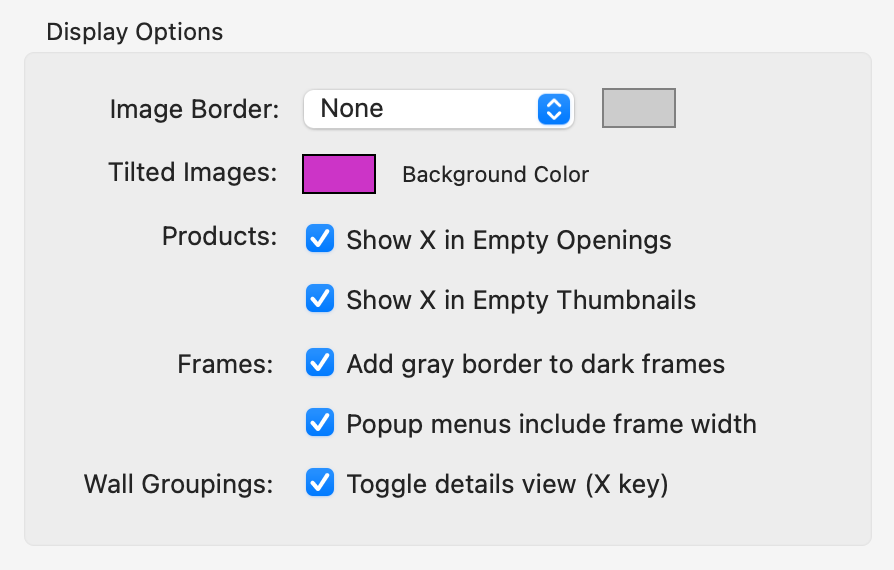
Display Options enable you to customize how images look on screen. You can change the border's size and color, adjust the background color for images that aren't square or rectangular, and improve how dark frames appear against a black background.
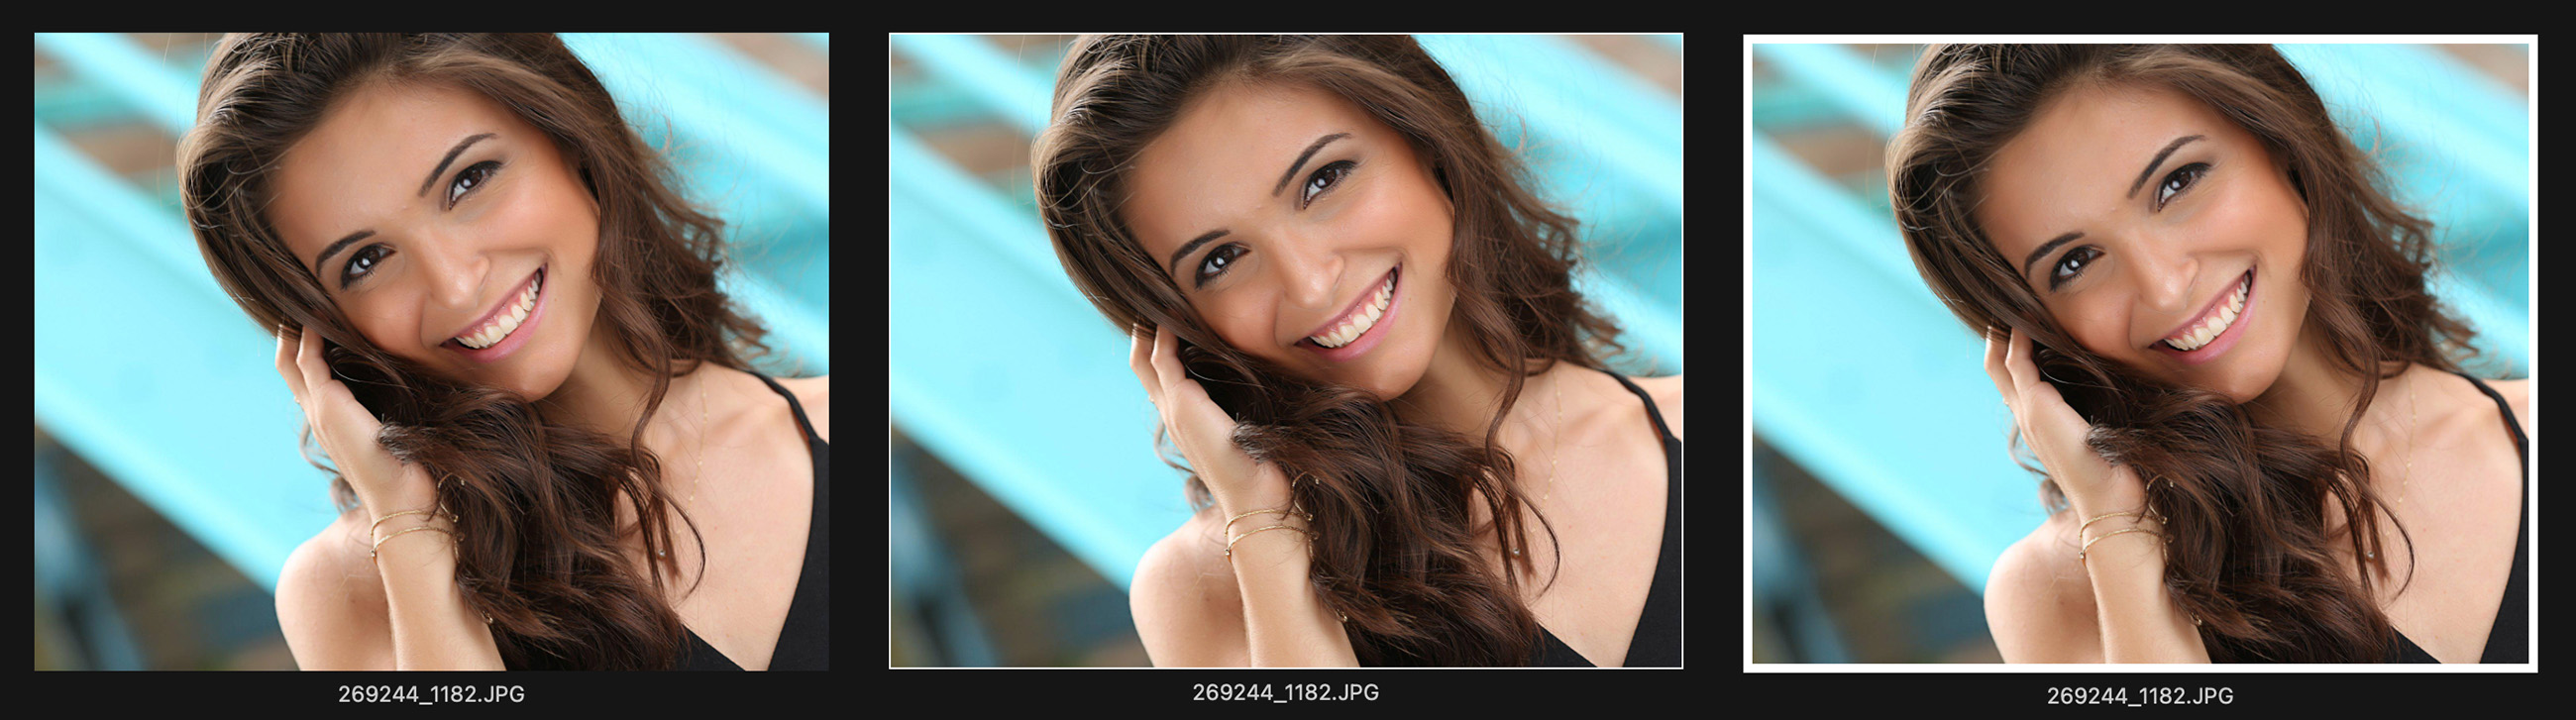
- Image Border: Use the drop-down box to select the width of the image border (or select "no" image border). The image border is helpful in defining your image when using dark mode. Click on the white rectangle to change the color of the border. In the following example, you can see the difference between an image with no image border, a 1 pixel border, and a 5 pixel border.
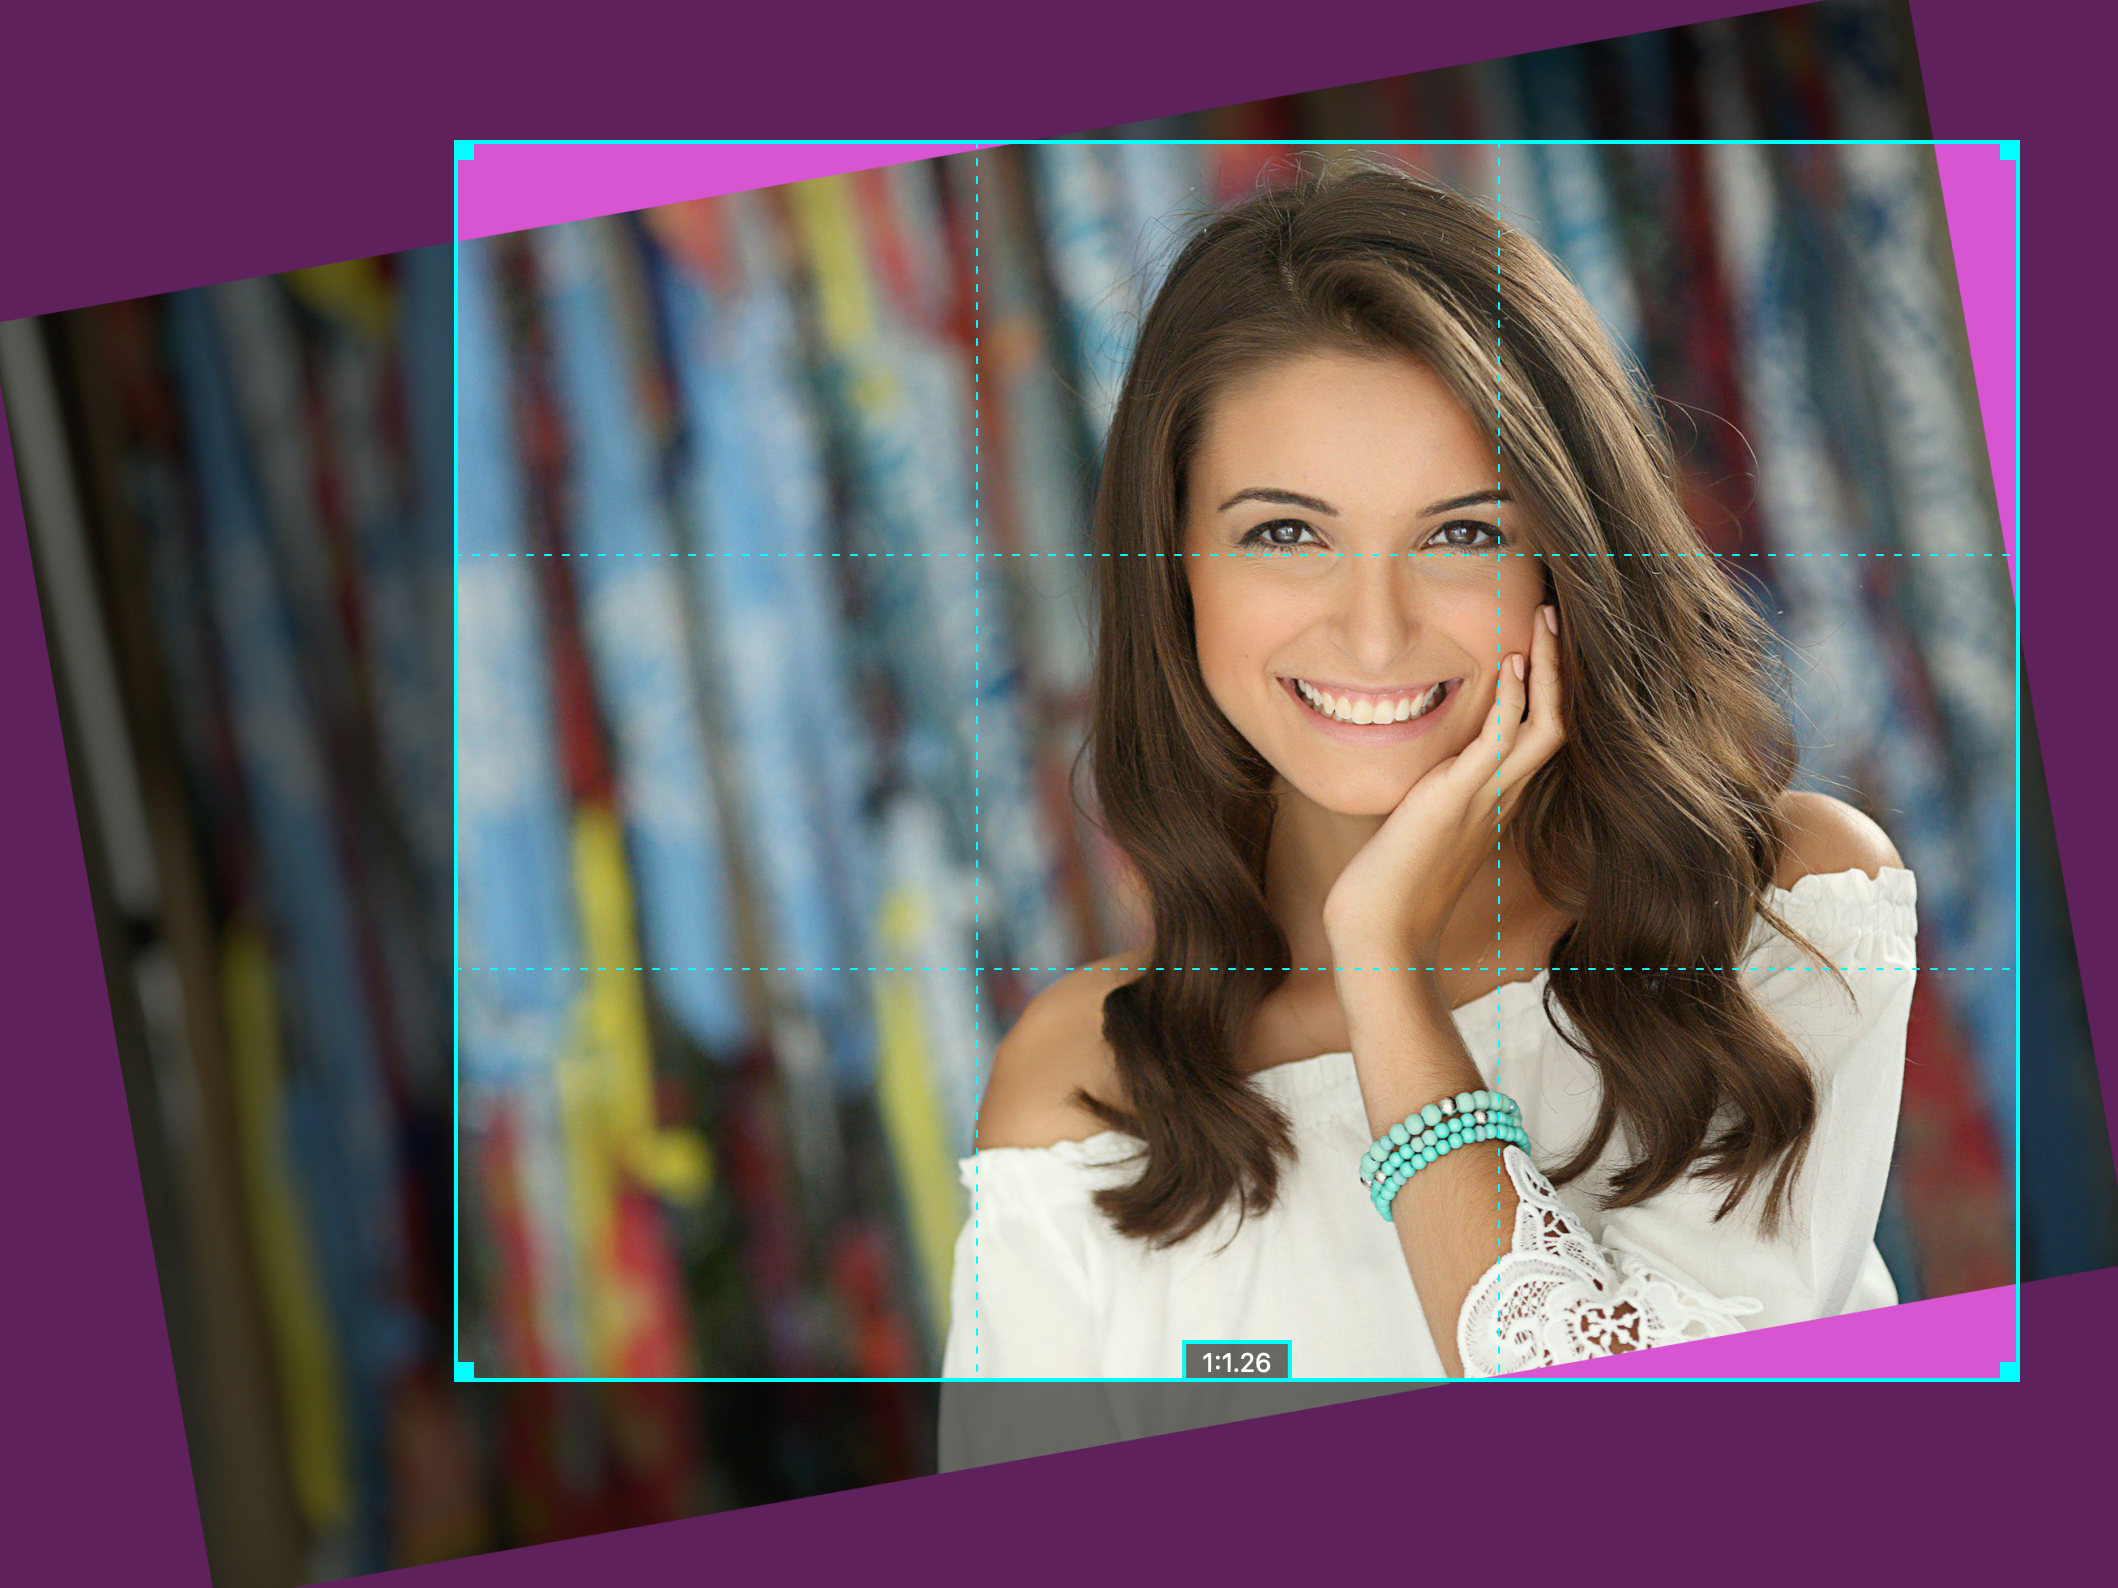
- Tilted Images: Background Color: When tilting an image, the background color allows you to easily see which parts of the image are now off the page.
- Products: Check the box to show an X on empty openings and Thumbnails. This can make it clearer which openings haven’t had any images added yet.
- Frames: Check the box to add a grey border to dark frames. This makes it easier to see the outer edges of a dark frame when you are using dark mode.
- Popup Menus display Frame Widths: Check this box to display frame widths (in square brackets next to the frame's name) in the list that appears when you use the Frame tool
 .
.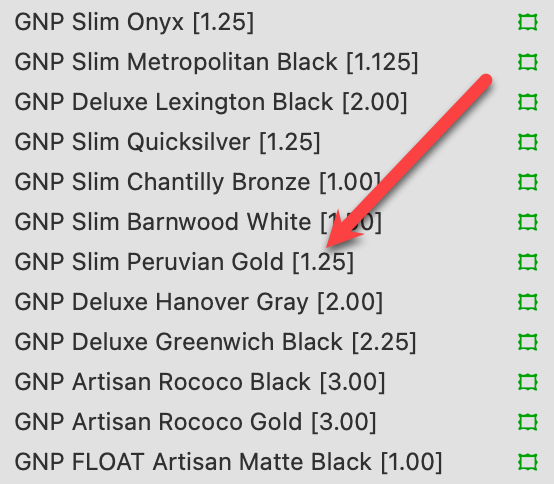
- Wall Groupings: When in Room View, holding down the "X" key will display the product details of each print in the grouping. If you check the Toggle details view box, you don't need to hold the "X" key down. Instead, just press the "X" key to turn the details view on or off.
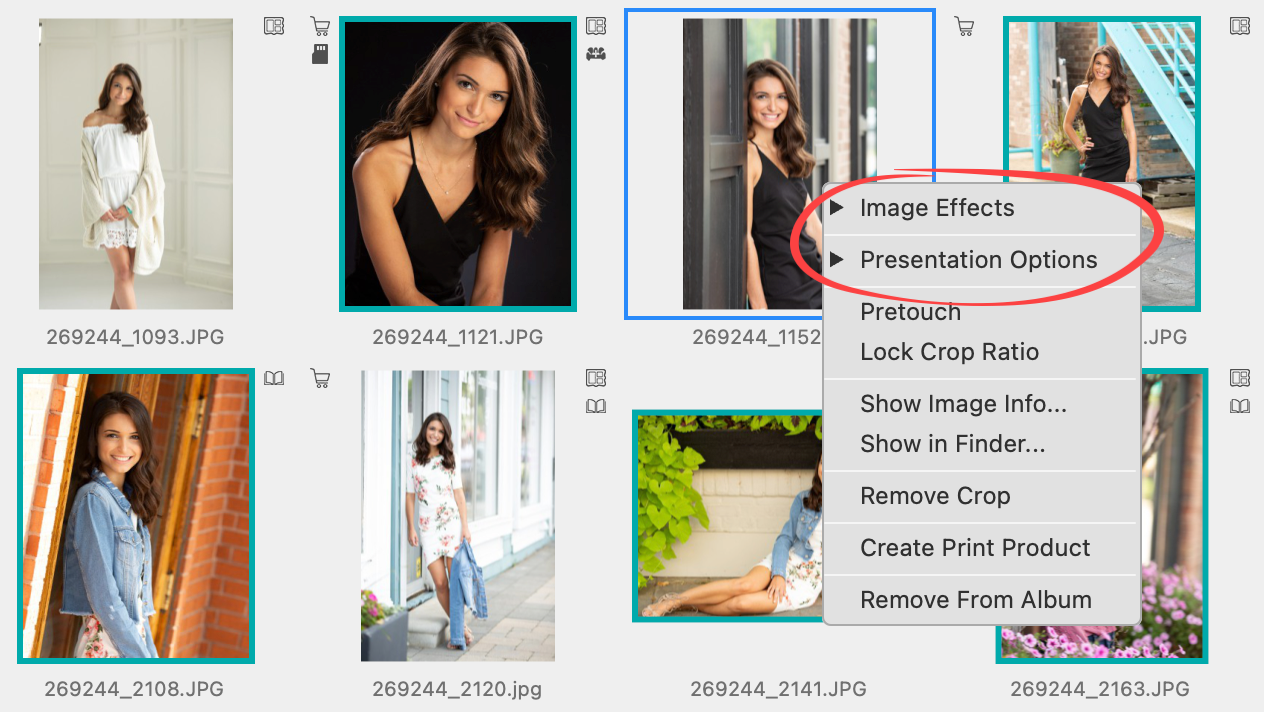
Contextual Content
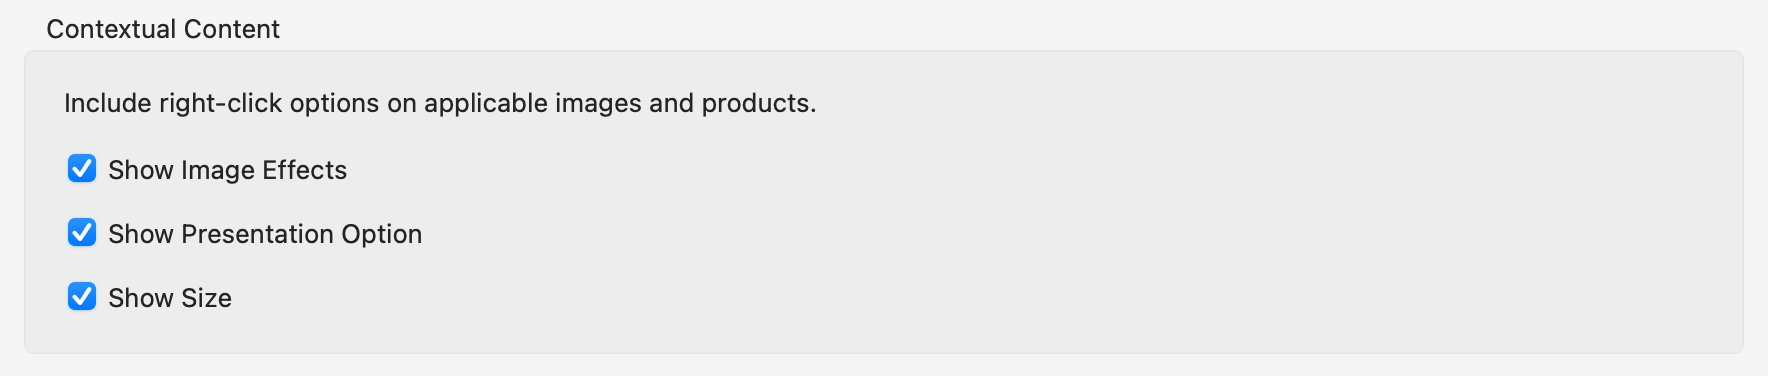
When you right-click on an applicable image or product, you can customize whether the Image Effects, presentation Options, and Size (Products only) drop-down menus appear.