Opening Alignment Tools
The Opening Alignment Tools are located on the right side of the template editing area, right below the Opening Tools. You can use these buttons or right-click on an opening to select from the available alignment options.

Align/Extend Align
The Align/Extend Align tools are available when you have multiple openings selected. They will move the position of the openings in the selection so the selected edges are aligned. If you click these buttons while holding down the OptionAlt key, the openings will be aligned by extending the shorter ones in the alignment direction. Holding down the OptionAlt AND Shift keys will extend in the selected direction AND the opposite direction.
 Align Left
 Align Right
 Align Top
 Align Bottom
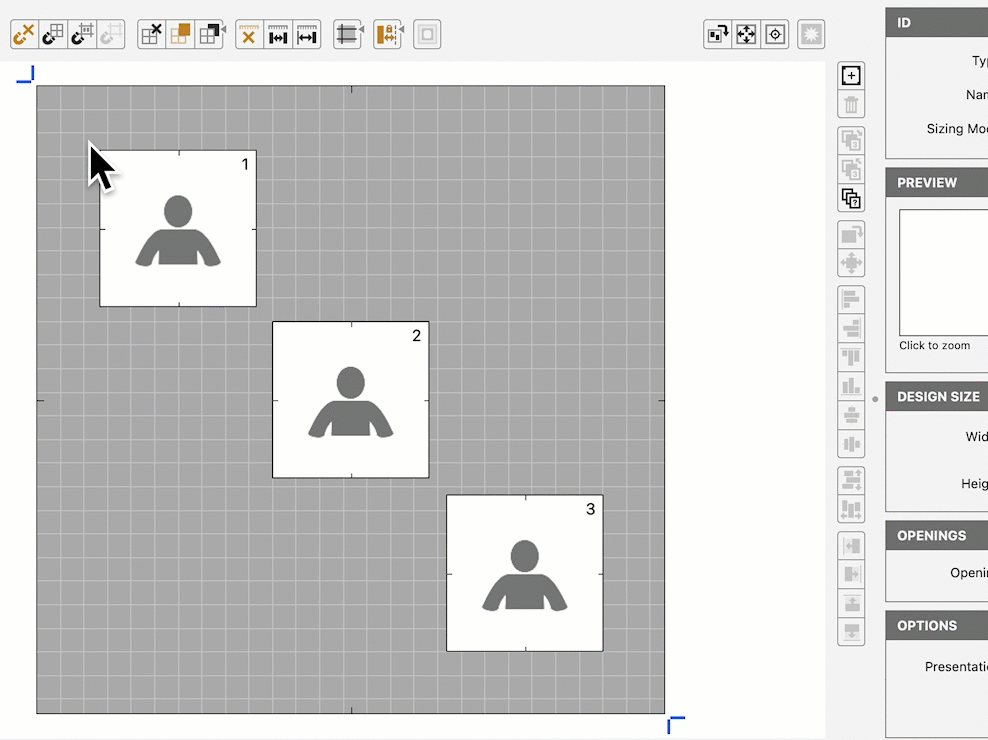
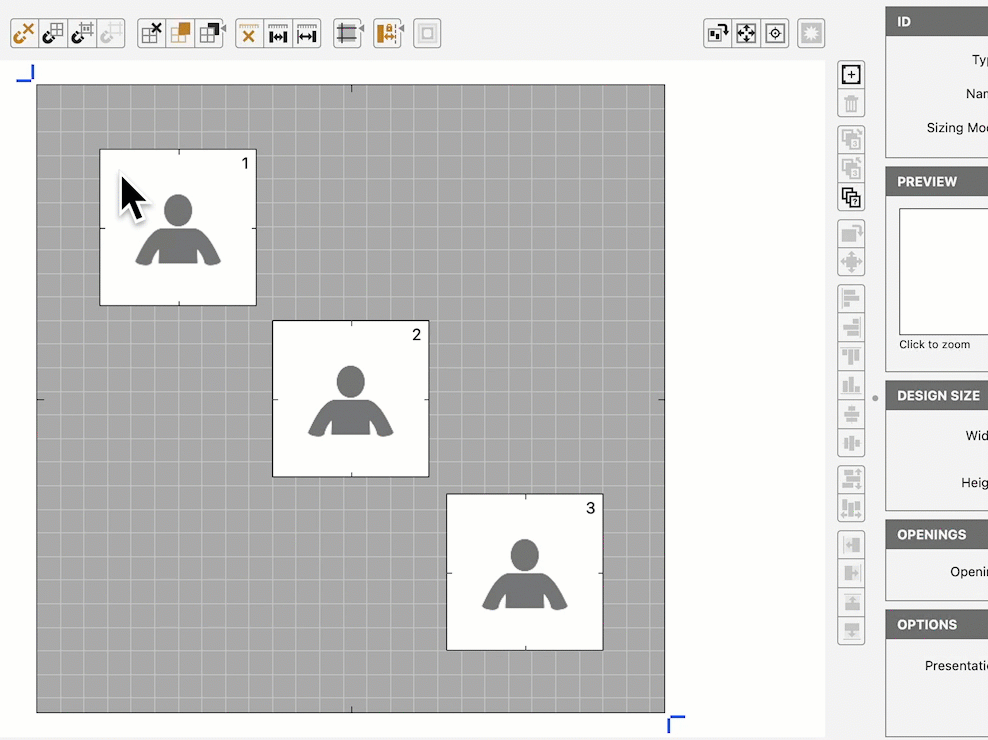
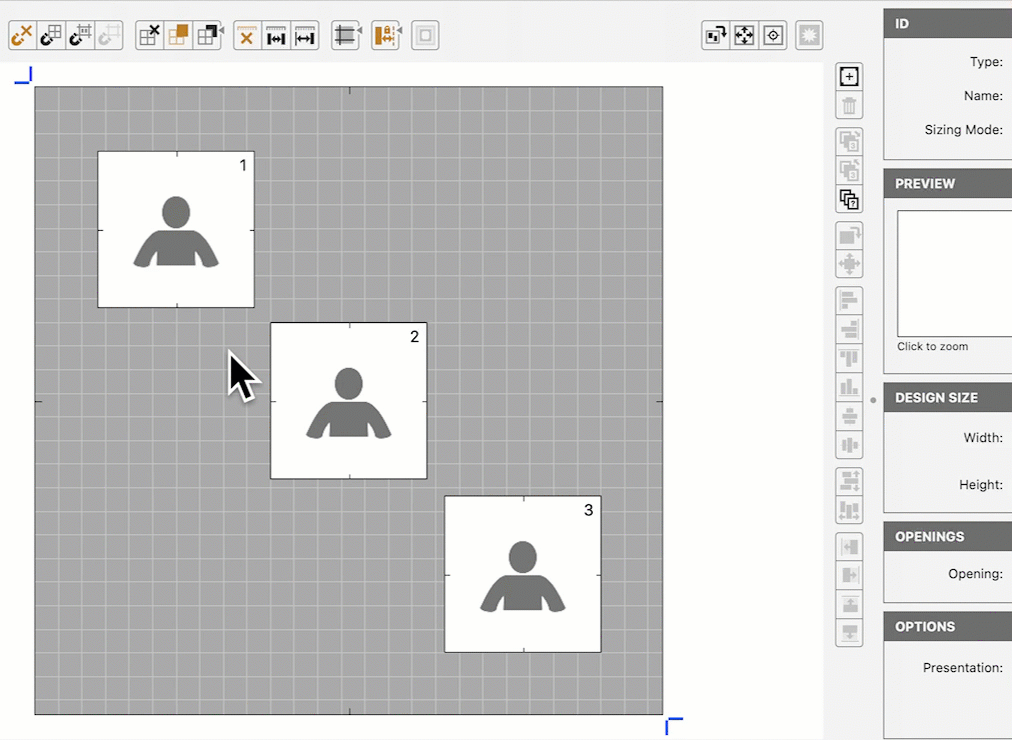
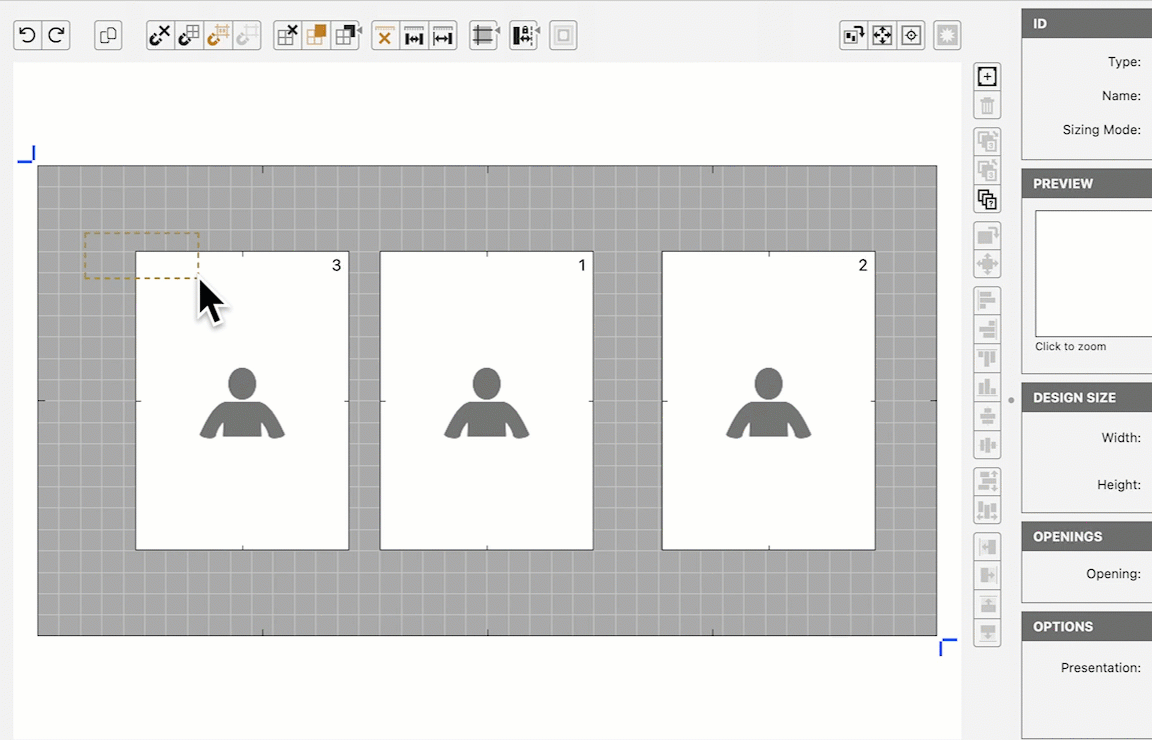
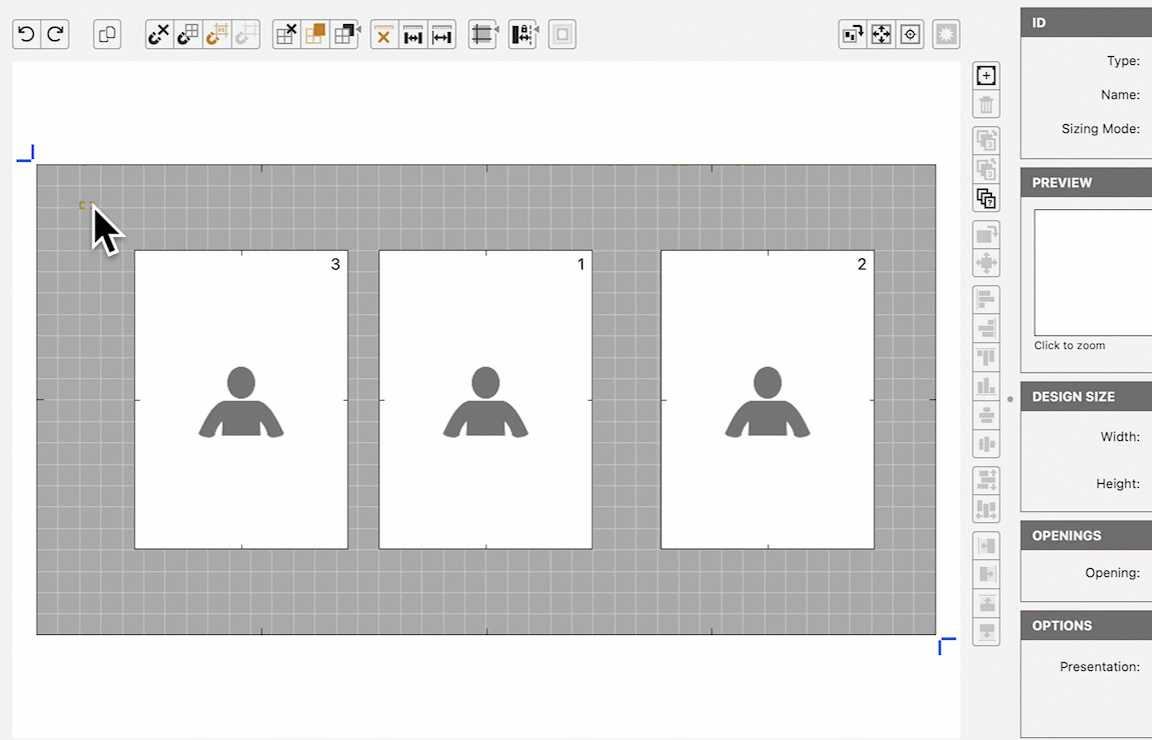
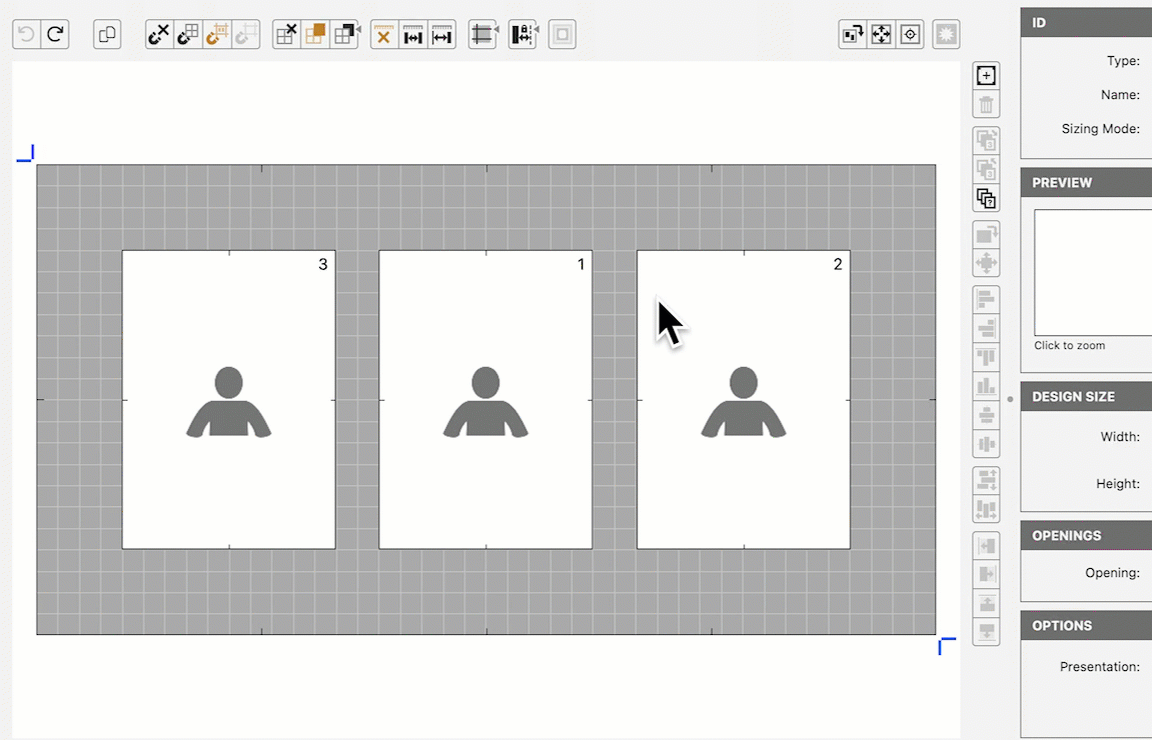
The examples below illustrate how to use the Align tools.
After selecting multiple openings, you can align them Left, Right, Top, or Bottom:
In the next example, holding the OptionAlt key while clicking the Align Left button will again align left, but the openings do not actually move, rather, they stretch. You can hold the OptionAlt key as well as the Shift key to stretch in BOTH directions.
Align Centers
The Align Centers tools can be used to align the centers of different sized openings.
 Align Centers Horizontally
 Align Centers Vertically
The example below illustrates how the Align Centers buttons work.
Distribute Opening Tools
Use these tools to evenly spread the selected opening between the template edges or closest guides. All openings will be adjusted to be the same height (if distributing vertically) or width (if distributing horizontally). If Auto-Spacing is on, then the current spacing will be set between each opening. Otherwise, the spacing will be zero (they will touch).
Using these tools while holding down the OptionAlt key preserves the current opening sizes, and adjusts the spacing between them to be zero (if Auto-Spacing is off) or the selected spacing setting (if AutoSpacing is on).
 Distribute Vertically
 Distribute Horizontally
Select the openings first, then click on the Distribute Horizontally button. All openings will be adjusted to be the same width. If Auto-Spacing is on, the selected spacing size will be set between each opening. The Distribute Vertically button works the same way.
In order to preserve the opening sizes, hold down the OptionAlt key as you click the Distribute Horizontally button. This adjusts the spacing between the openings to be zero (if Auto-Spacing is turned on, the selected spacing size will be set between each opening.
Extend Opening Tools
The Extend Left, Right, Top and Bottom tools are available with one or more openings selected. They will extend the opening in the nominated direction until it meets either another opening, a guide or the edge of the template. If you have Auto-Spacing turned on, then it will extend until it reaches another opening less the current spacing distance. The Auto-Spacing setting does not reduce the distance to a guide or the edge of the template.
 Extend Left Side
 Extend Right Side
 Extend Top
 Extend Bottom
The example below illustrates how to use the Extend Opening Tools.
| Opening Alignment Tools | |
| Option + |
Align openings by extending (stretching) the shorter ones |
| Shift + Option + |
Align openings by extending (stretching) in both directions |
| Option + |
Preserves the current opening size when distributing |