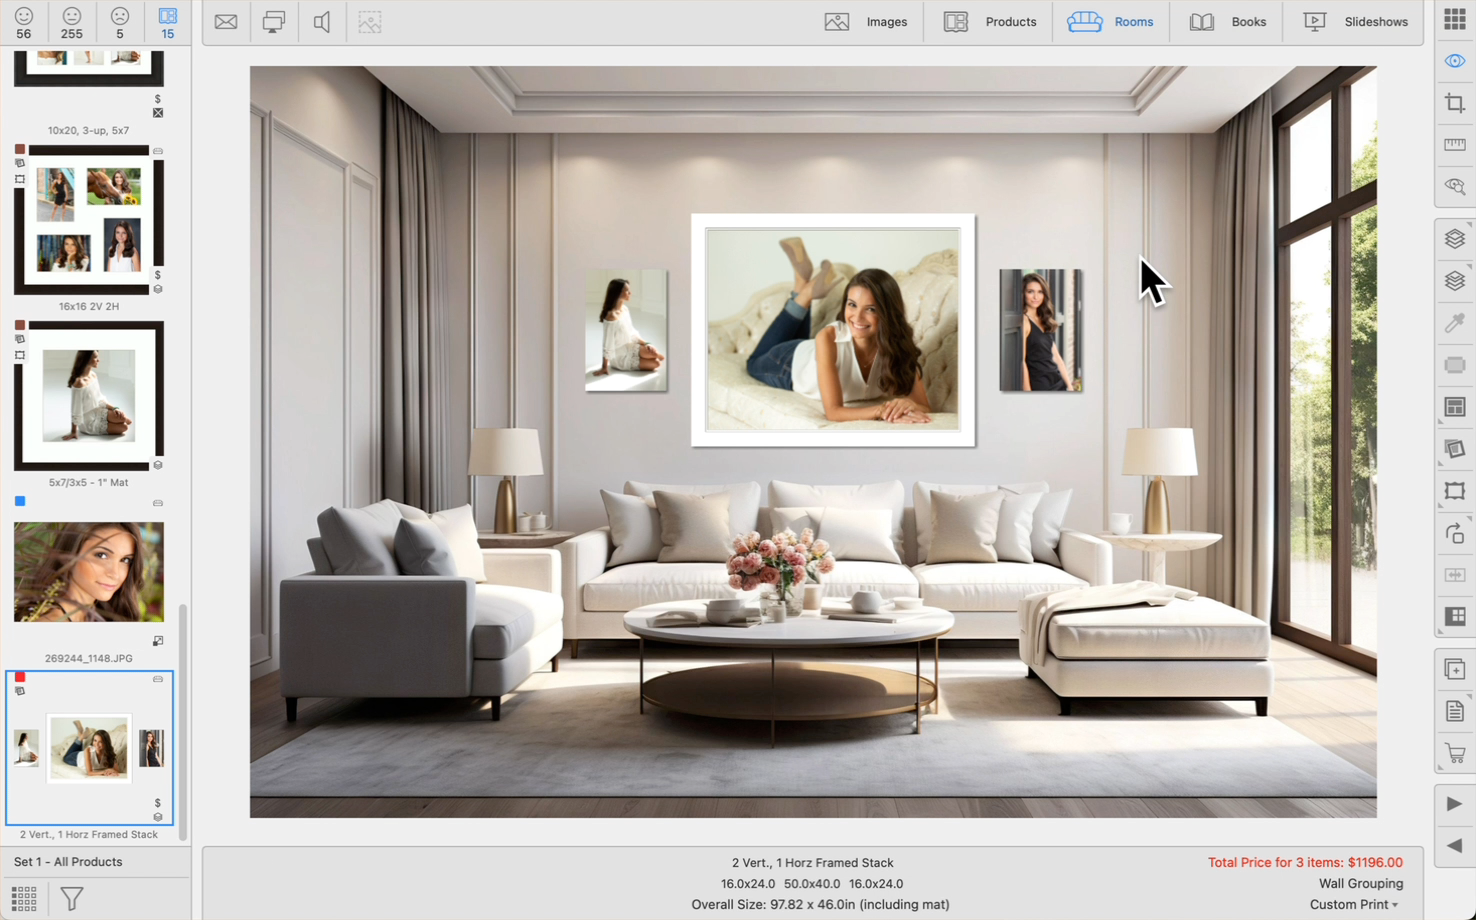
Using Wall Groupings
Wall Grouping templates can be imported from a Supplier Collection or created in the Product Editor. Wall Groupings are predesigned groups of Prints and/or Gallery Wraps. Mats and frames can be included in these designs or you add them later when Working with Products or Working with Rooms. Each item in the grouping can have the same mat and frame, or different mats and frames.

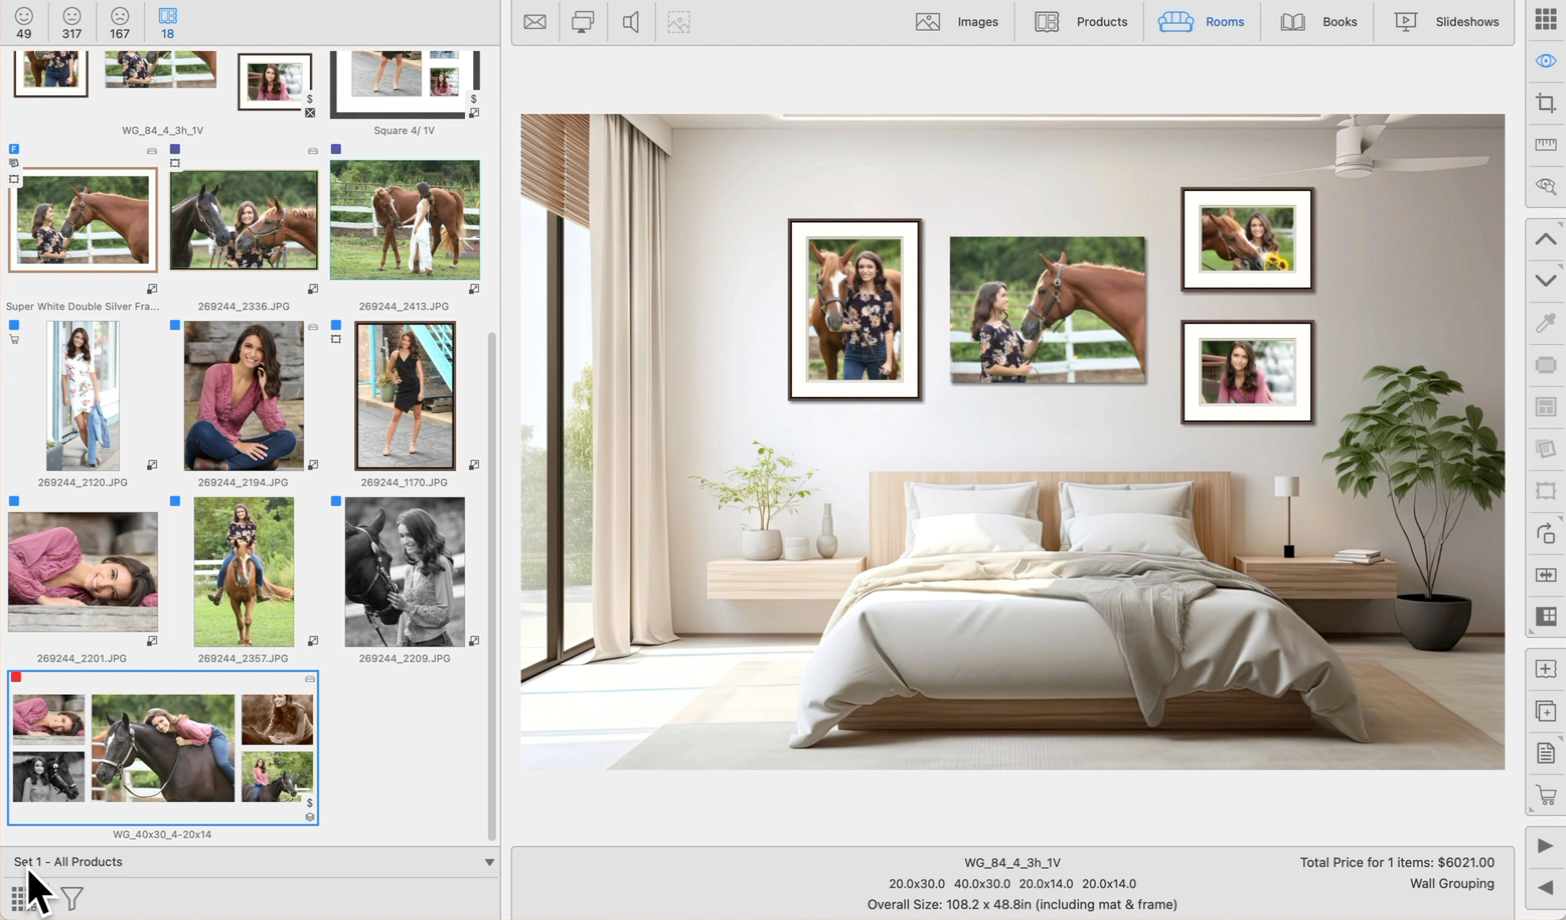
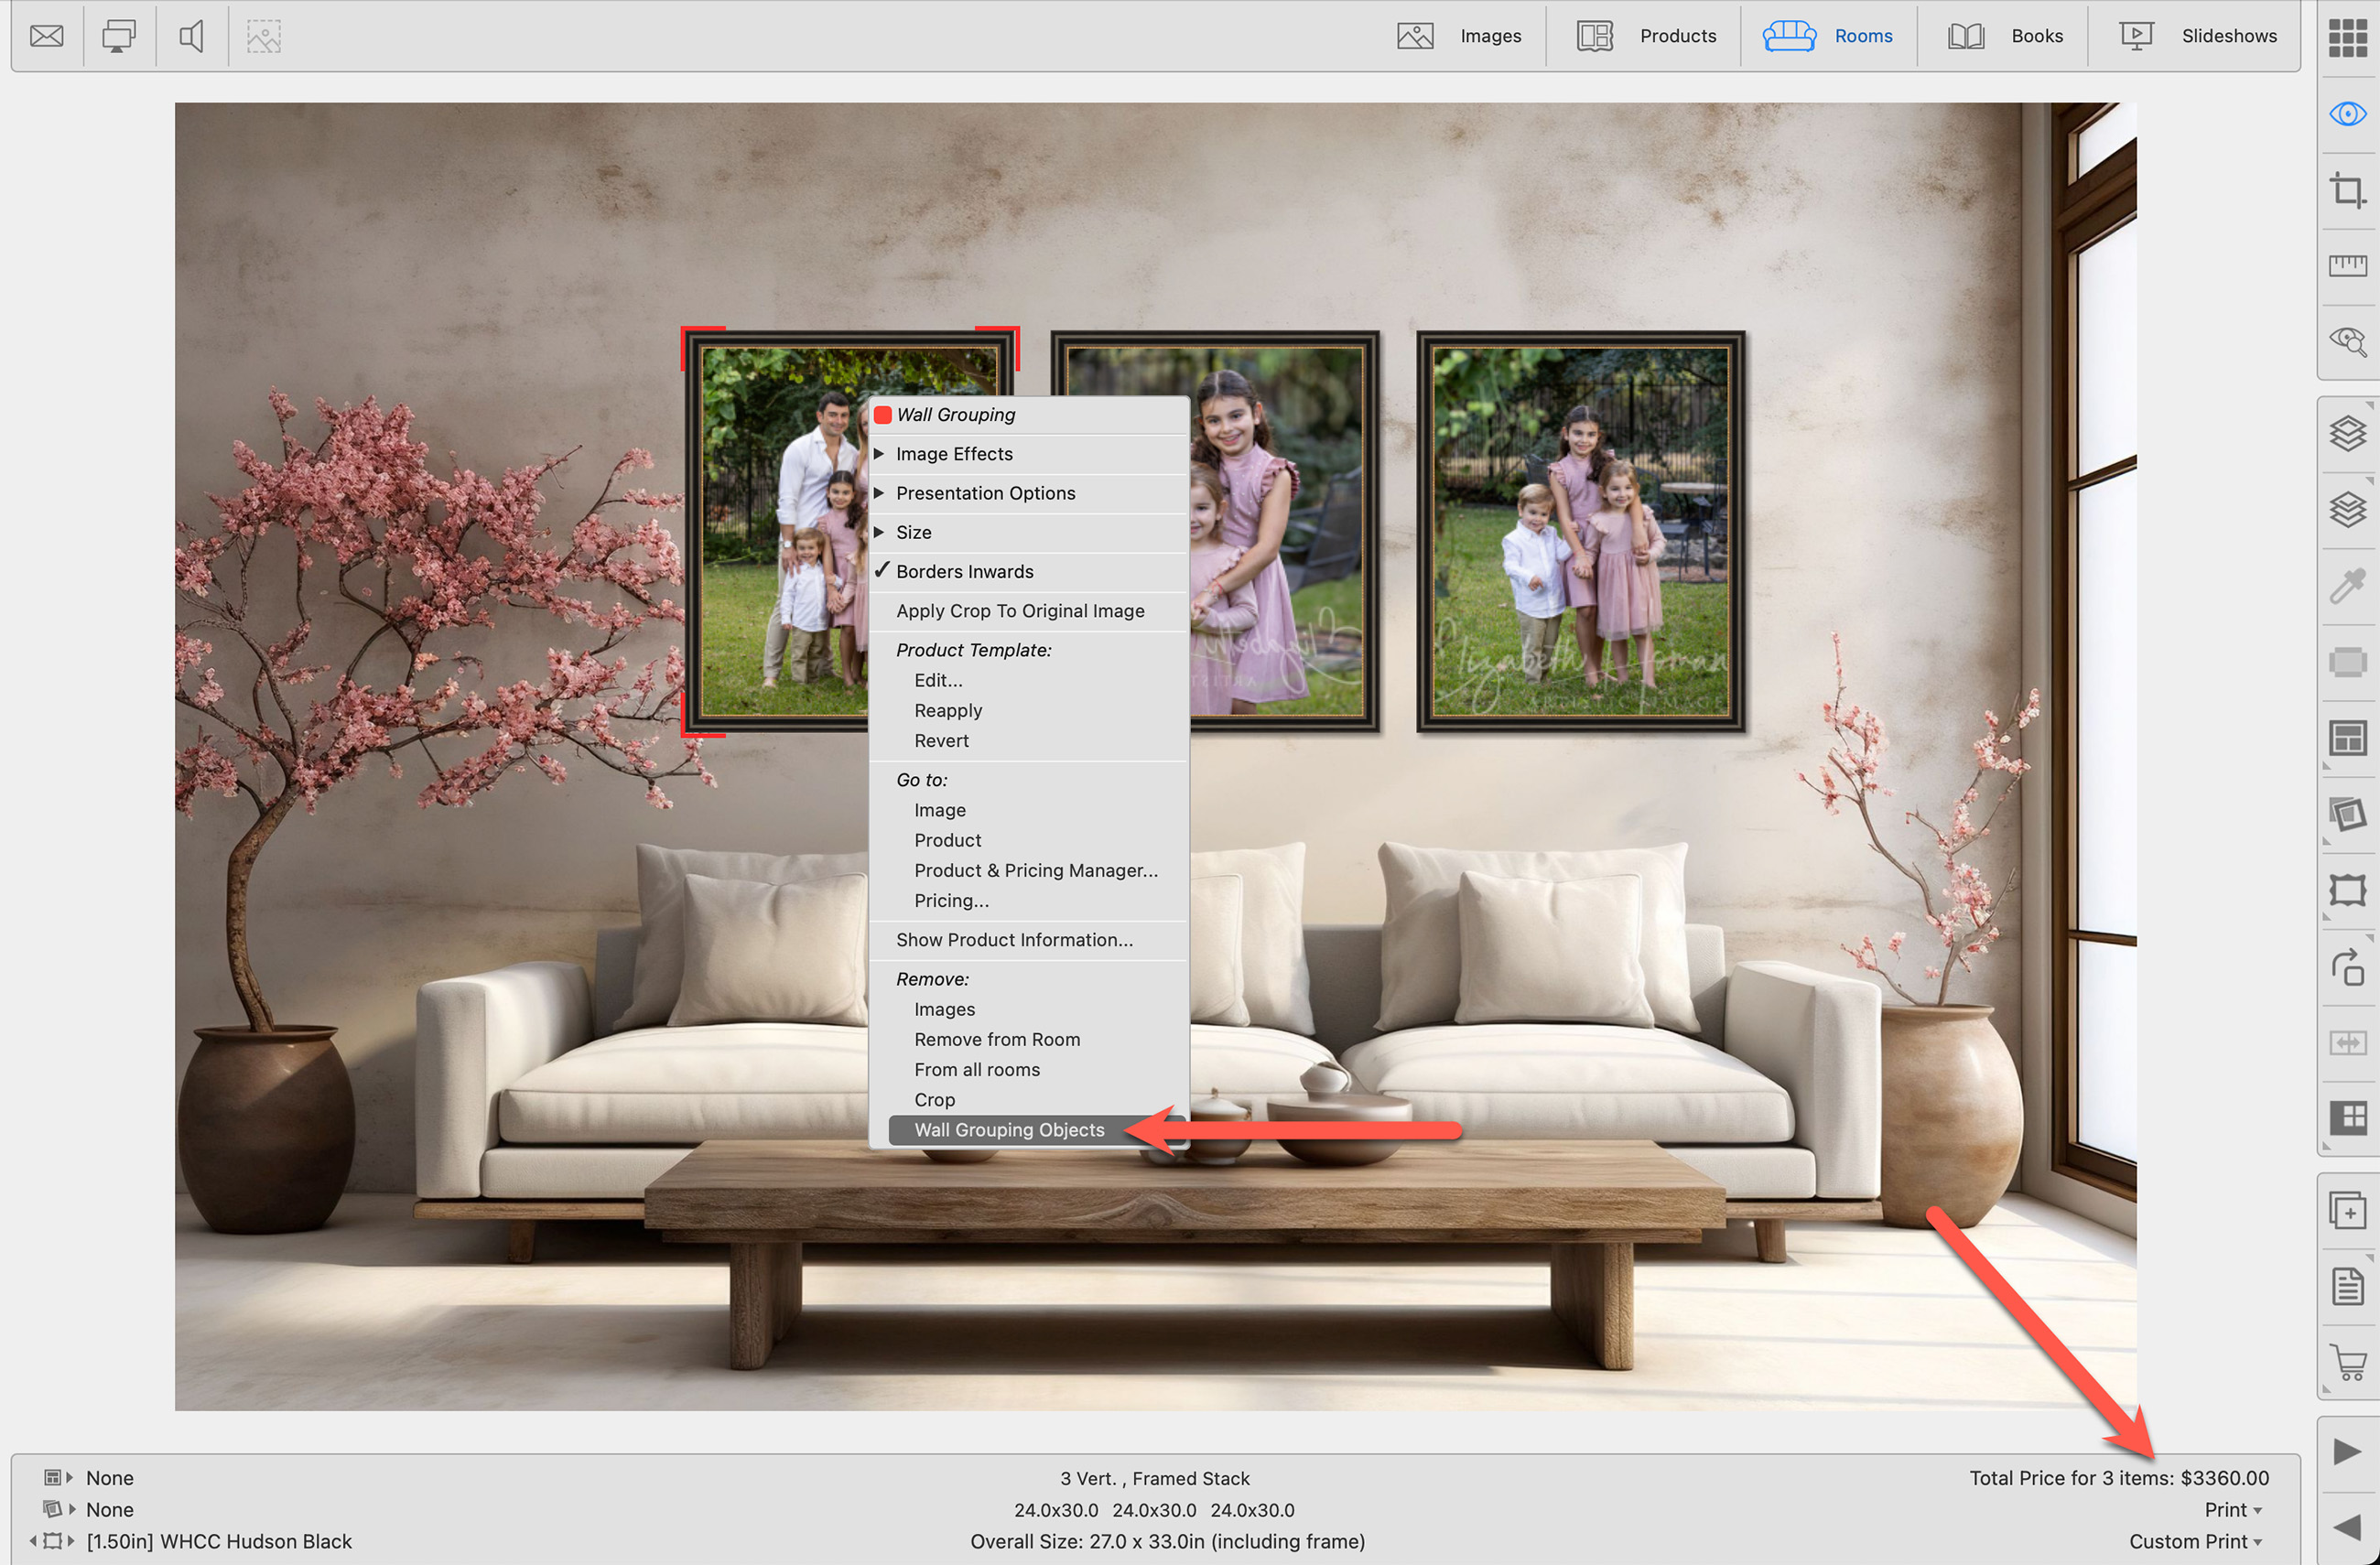
- The corners of Wall Grouping items turn red when selected.
- You can click to select a single item in a Wall Grouping and make adjustments to it.
- Click and drag a marquee to select all items, use Cmd + aCtrl +a, or Shift + Click to select all items in the grouping.
- Right-click on a Wall Grouping item to access Image Effects, change the size, remove a crop, change the Presentation Option, or go to the source image in Working with Images.
- Click on the "C" key to get to Cropping view.
Adaptive Spacing
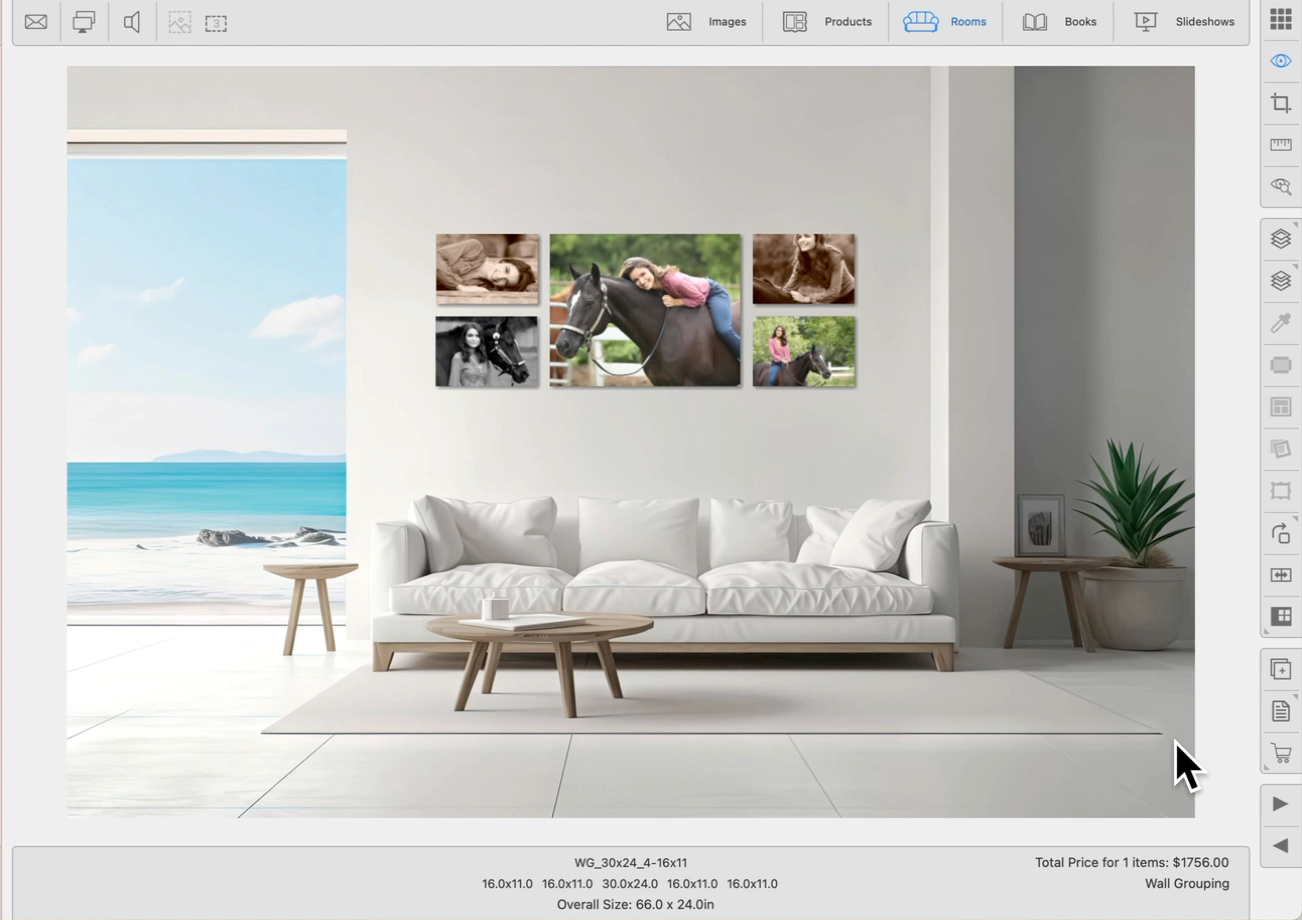
All products including wall groupings use Adaptive Spacing. Products in a room will automatically expand or contract to maintain the same spacing between items when you add, change, or remove a mat or frame.
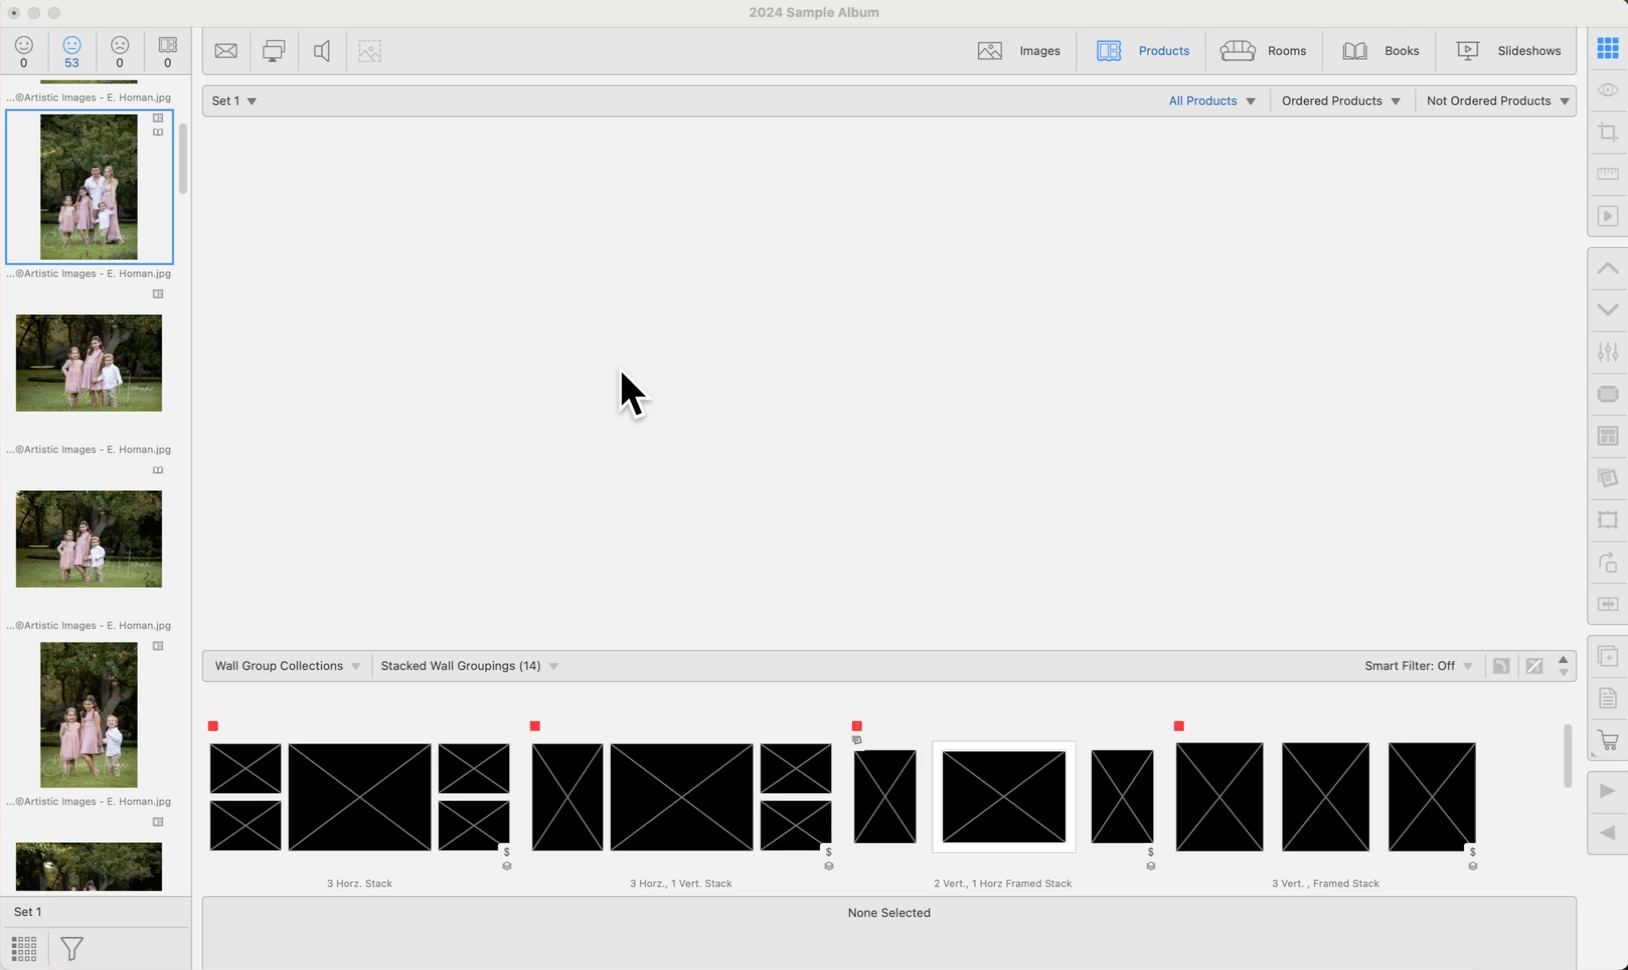
Wall Groupings are always a fixed size. In order to show different sizing options, you can create Stacked Sizes. Wall Groupings also support different configurations of the same items. Create your Stacked Sizes and configurations in the Product Editor.
- Use the up and down arrow keys to cycle through your stacked sizes.
- Click on the Previous
 or Next
  Stack tools to go up or down a size.
 - Right-Click on the Previous or Next Stack tool and choose a size from the list.
You can create various Wall Grouping configurations in the Product Editor. Although you can rearrange Wall Grouping items manually in the Room, using the Product Editor offers a faster way to explore different layout options.
- Use the Left and Right Arrow keys to cycle through the configurations set up for the Wall Grouping.
- It should be noted that if your Wall Grouping is Stacked, each Stack will have to have its own configurations set up.
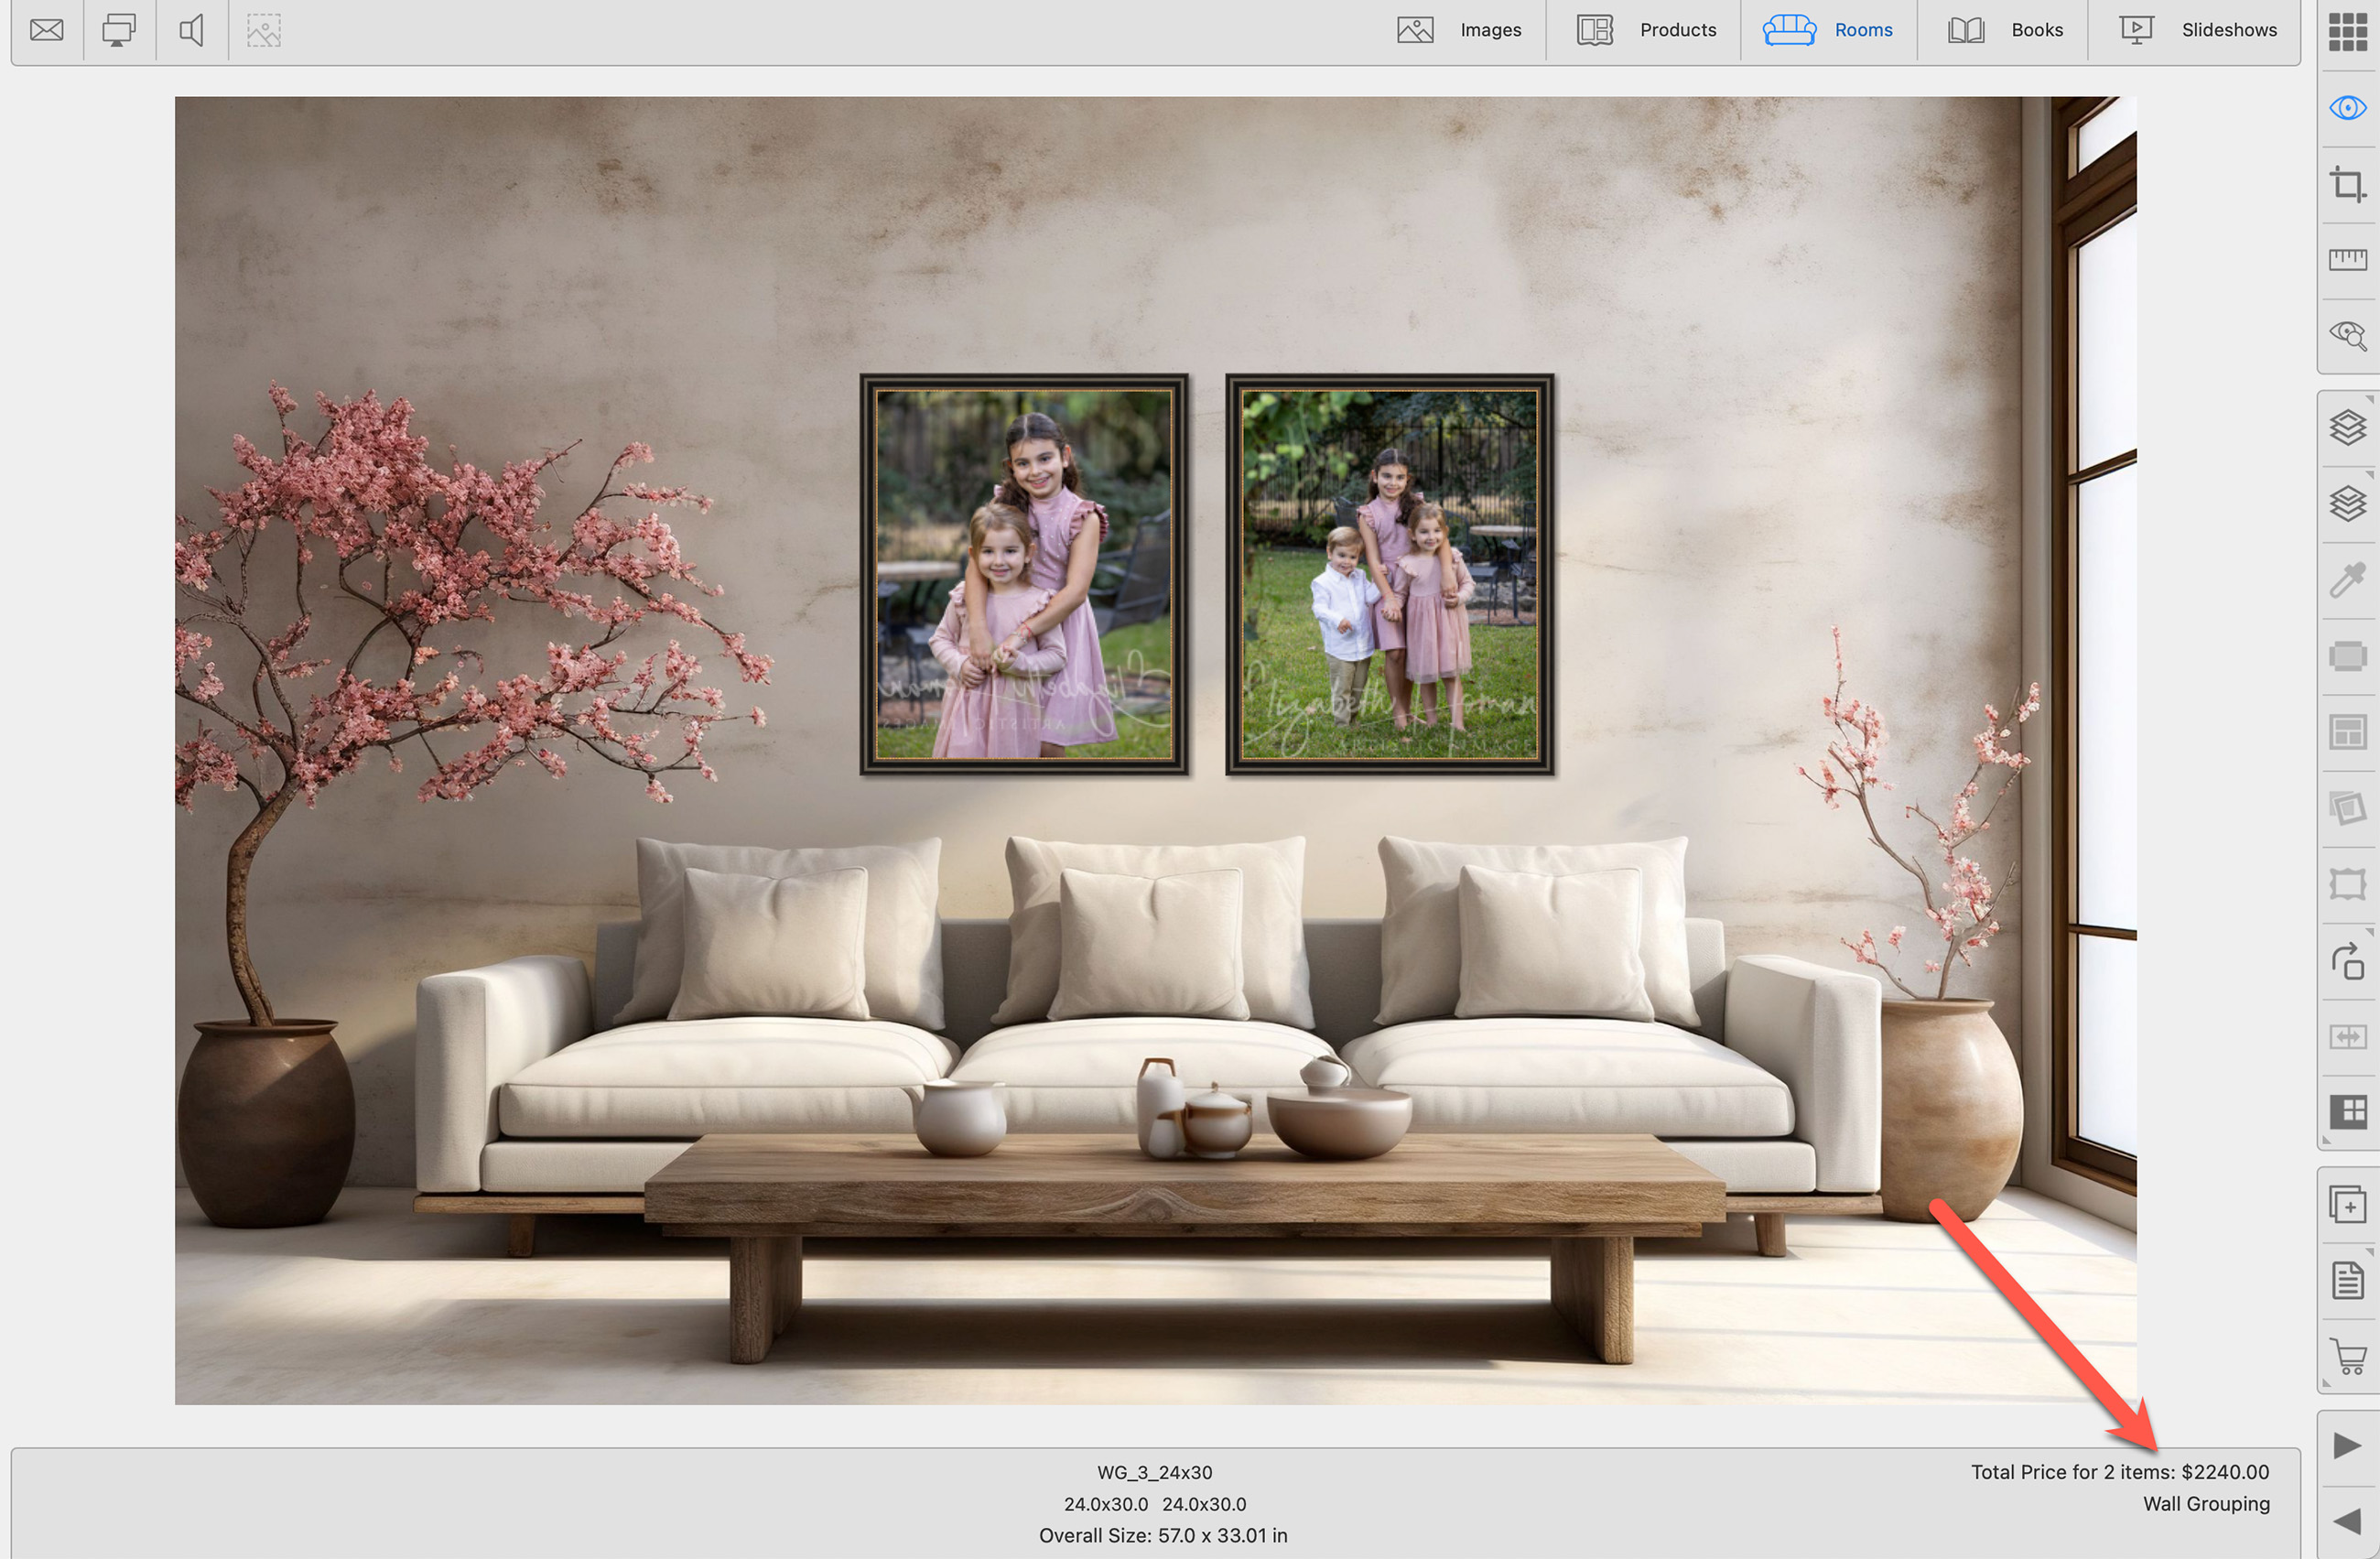
You have the option of removing an object from a Wall Grouping. Select the object and right-click. Select "Remove Wall Grouping Object" from the drop-down list.
If you have chosen to price the grouping as "Sum of Parts," the price will automatically update. If it is priced another way, you will be prompted.
You can adjust the size of an individual item within a Wall Grouping. You must first select the individual item, not the Wall Grouping as a whole. Once selected, you can use the Previous ![]() and Next Size
and Next Size ![]() tools or the Up and Down arrow keys on your keyboard.
tools or the Up and Down arrow keys on your keyboard.
Stacked Templates
Stacked Wall Groupings work in much the same way. You must first select the individual item, not the Wall Grouping as a whole. Once selected, you can use the Stack tools ![]() or the Up and Down arrow keys on your keyboard to adjust the size.
or the Up and Down arrow keys on your keyboard to adjust the size.
Right-Click
- Right-click on the item and choose a size from the drop-down menu.
- Important note: The list of sizes that appears when you right-click is determined by the Paper Sizes folder in which the current size is categorized. For example, if you are working with a standard-size item, the right-click menu will only show other standard sizes available in that folder.
- The original wall grouping template will not be affected.
If you are using the "fixed price" method of pricing your Wall Grouping, a warning will pop up if you adjust the size of an individual item. You will be prompted to reevaluate the pricing of the product. Choosing "sum of parts" pricing avoids this issue. Click on Pricing Wall Groupings for more information.
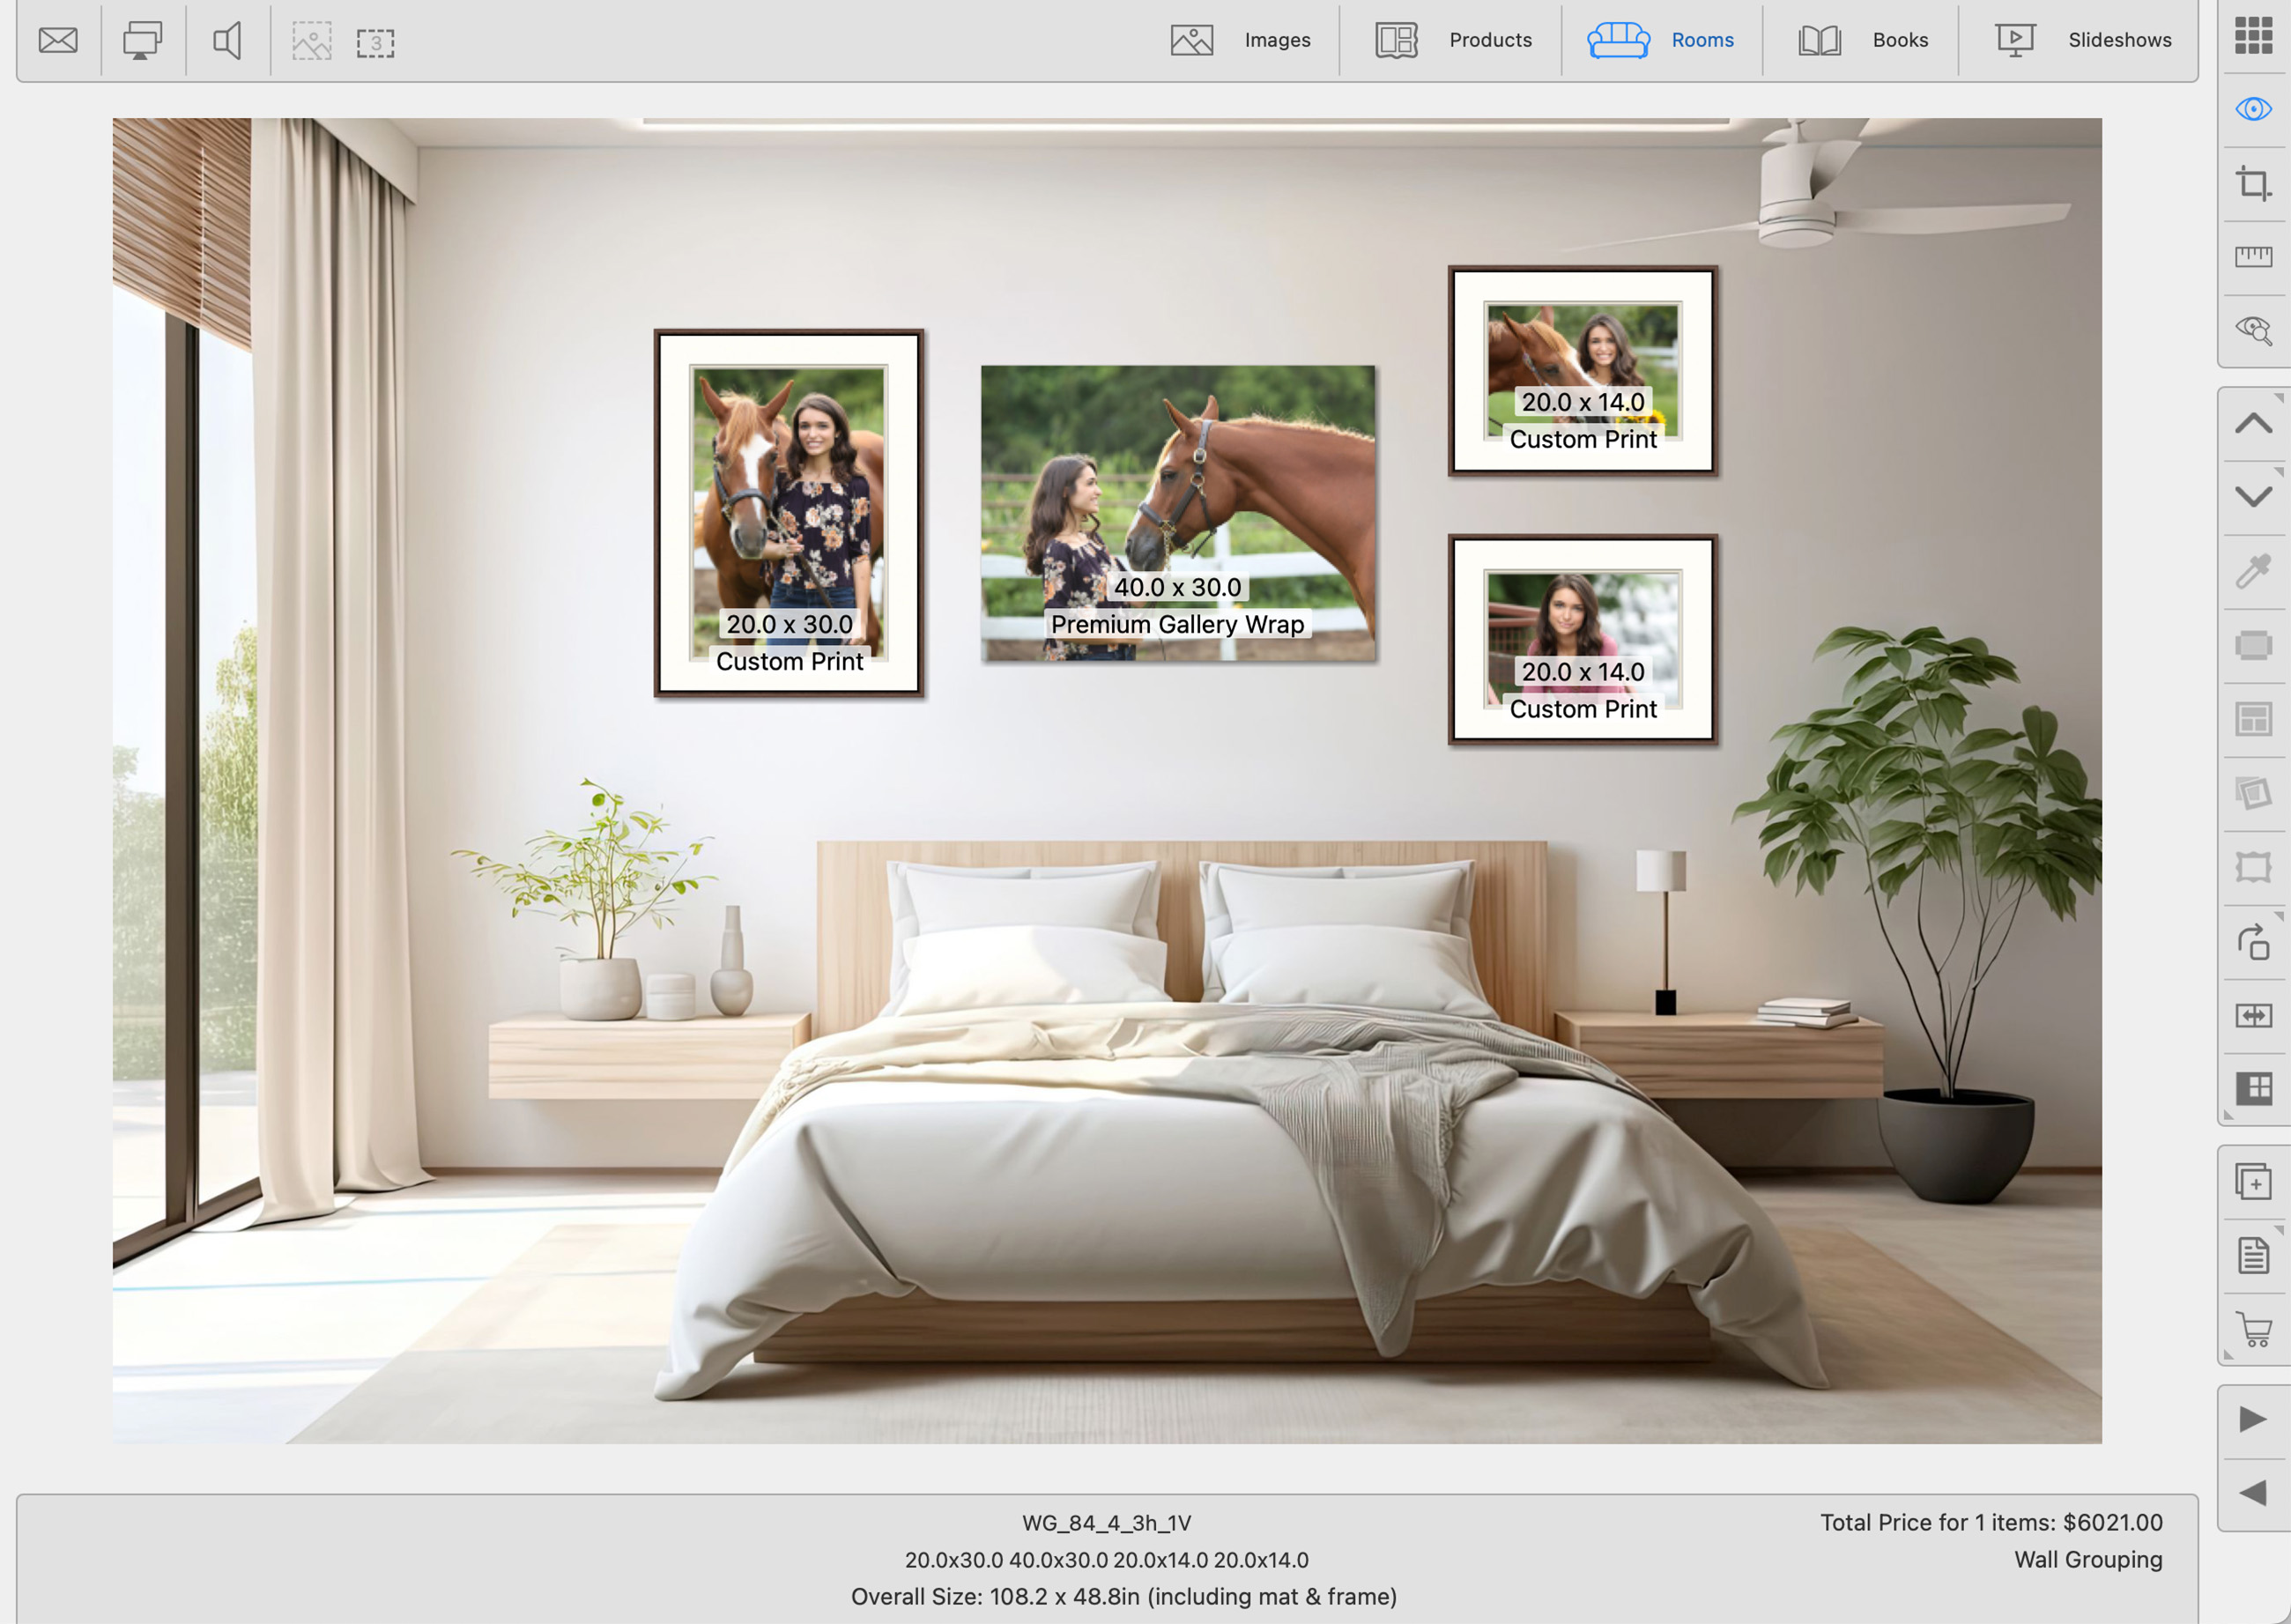
When in Room view, holding down the "X" key will display the product details of each item in the grouping. If you check the Toggle details view box in Settings, you don't need to hold the "X" key down. Instead, just press the "X" key to turn the details view on or off. Go to the top menu, ProSelectEdit > Settings > Display > Display Options.
Adjusting Wall Groupings
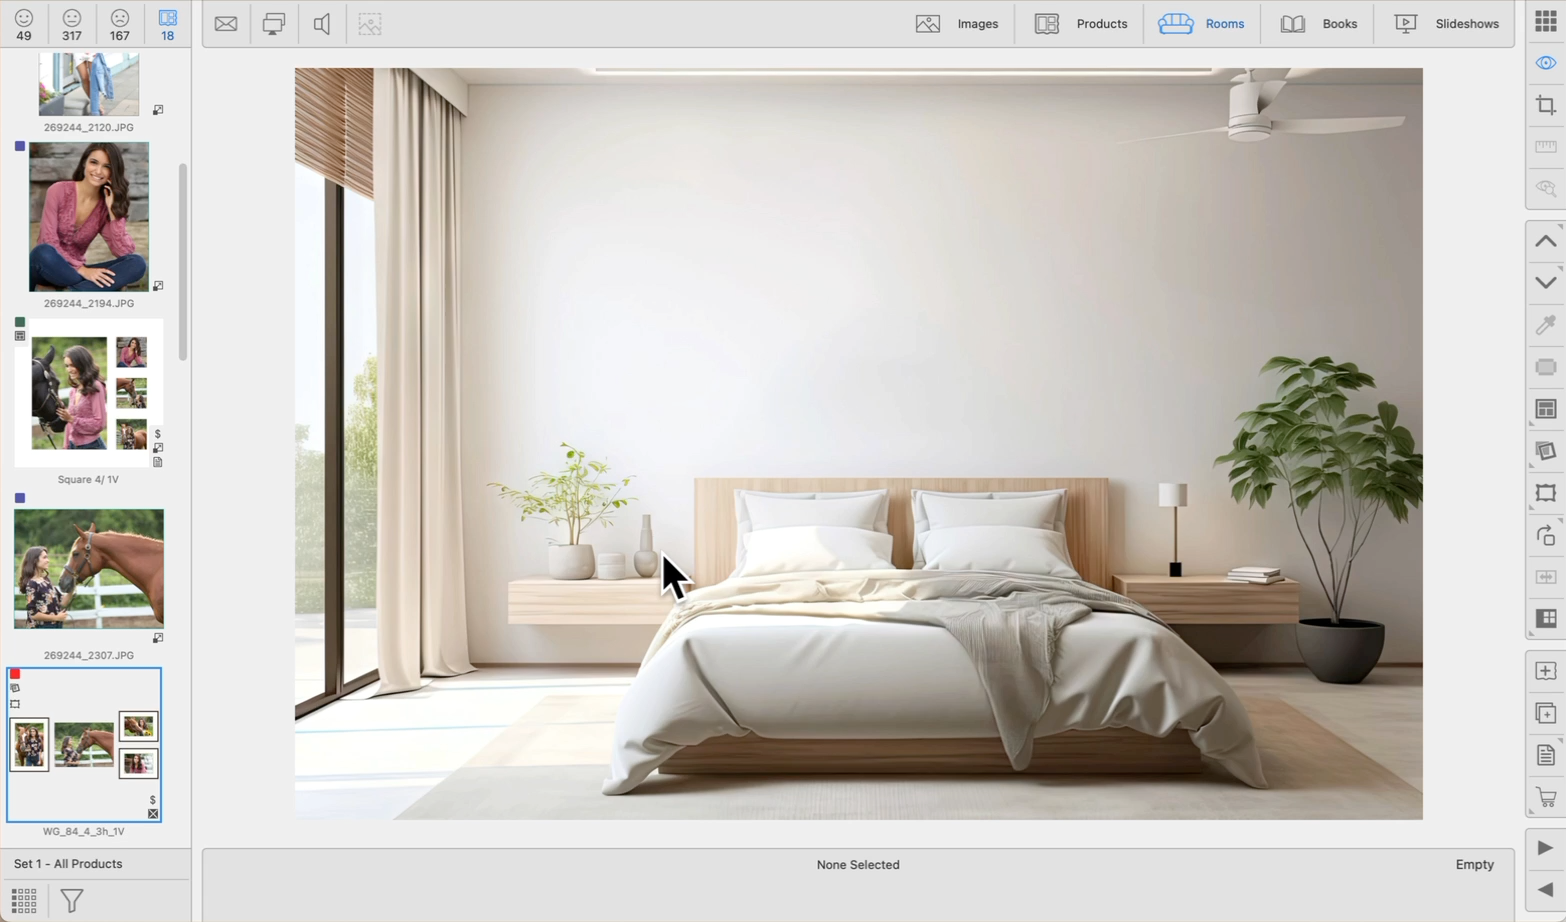
When you first add a Wall Grouping to a Room, every item in the grouping is selected. Clicking outside the grouping deselects all items. The corners of Wall Grouping items turn red when selected. You can individually adjust and move each item within the grouping, or reposition the entire group.
- Adjusting Wall Groupings does not change the original template it was created from.
- Right-click and select "reapply template" to bring back the original configuration. Any applied mats and frames will remain.
- Right-click and select "revert template" to clear out any mats and frames you have applied. The template as it was created in the Product Editor will appear.
- If you select one item within the wall grouping and remove it from the room (using the deletebackspace key), the entire wall grouping will be removed from the room.
- Use Shift + Click to select all items in a Wall Grouping.
- You can use CmdCtrl + A to select all items in the room.
- To deselect all items in a room, use CmdCtrl + D
Rotating Wall Groupings works slightly differently than other products and images.
- Clicking on the Rotate tool will rotate each object individually. By default, images will not be rotated.
- Right-Click on the Rotate tool to select a different option:
- Rotate Selected Objects Only
- Rotate Selected Objects & Images
- Rotate Product Only
- Rotate Product & Images
- Hold OptionAlt when rotating to rotate counterclockwise.


Use the shortcut Cmd + RControl + R to rotate a Wall Grouping (Working with Products mode only).
You can save an arrangement of prints and/or gallery wraps within a room setup, complete with frames and mats, as a "wall grouping template." This feature allows you to use these configurations for future albums. Once saved as a Wall Grouping, you can attach pricing to the template by going to the Product & Pricing Manager.
- Populate the room with Prints and/or Gallery Wraps.
- Add frames or mats if desired.
- Select all the items you want to save and right-click on a product.
- Select "Save as Wall Grouping Template."
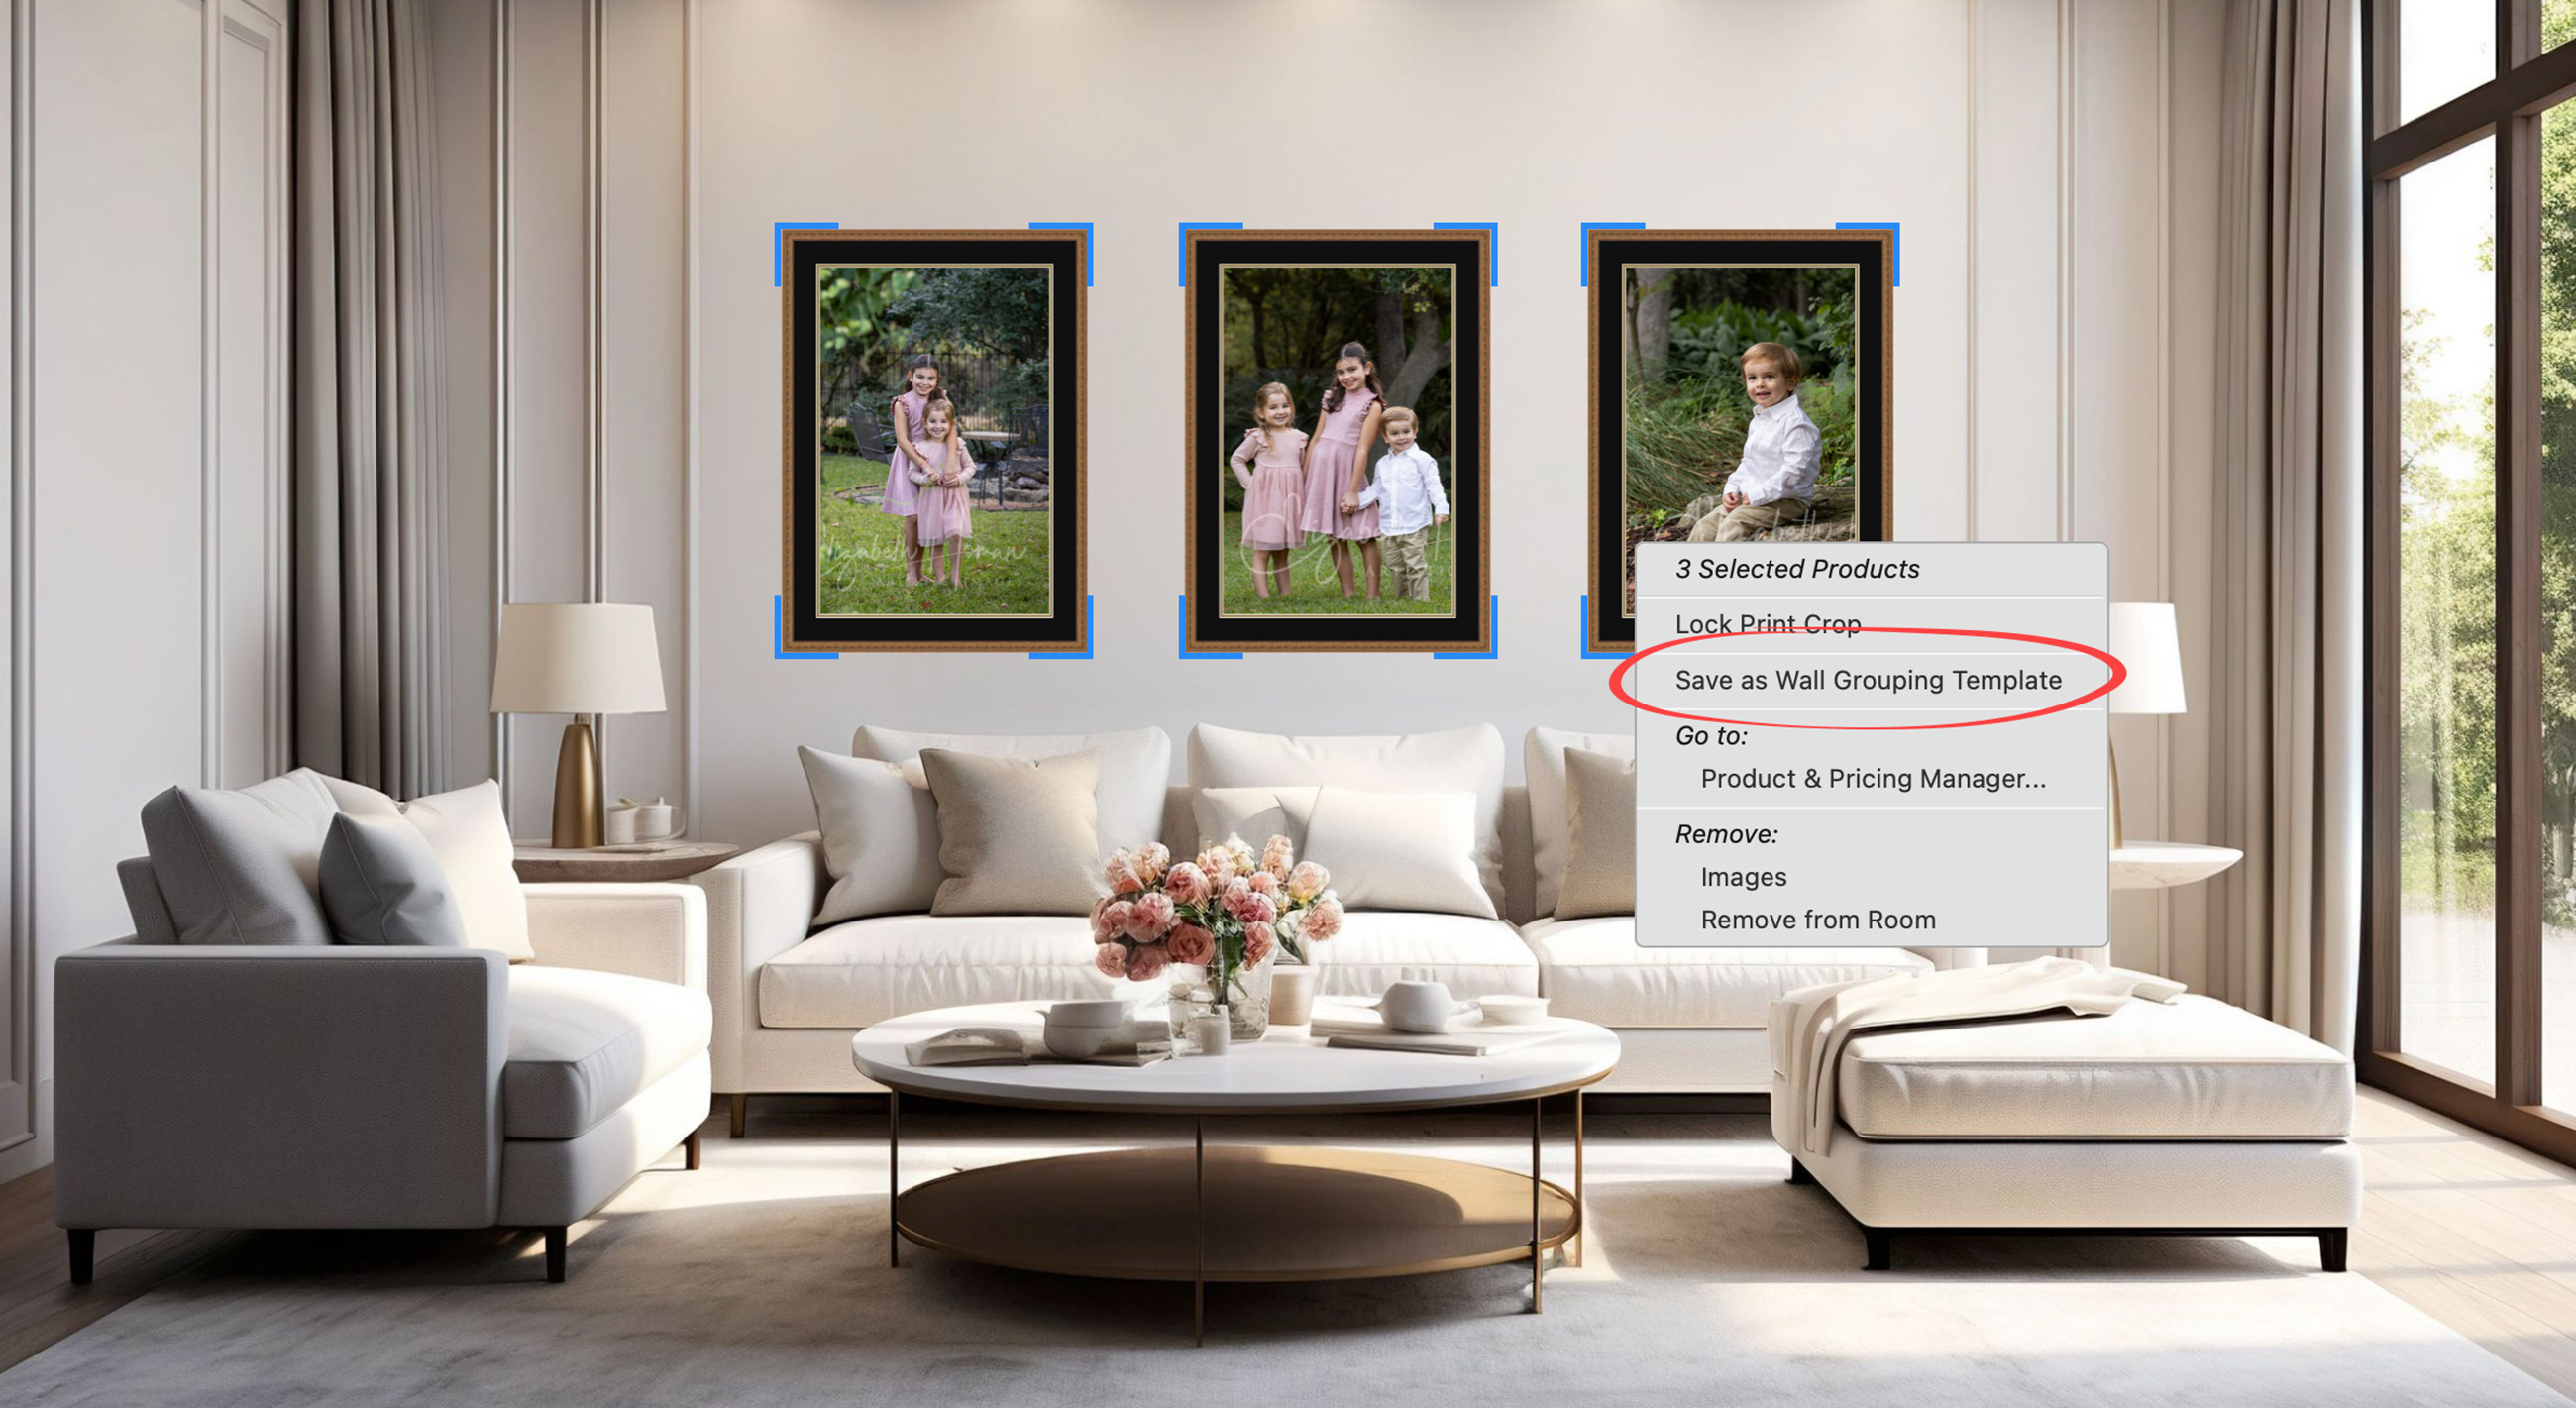
- The Save as Wall Grouping Template dialog will appear.

- Optionally assign a Supplier to the template.
- Select a folder where the template will be saved. It is recommended to create a folder "My Custom Groupings." You can do this by selecting "Manage Groupings" from the list.
- Name the product template.
- Click Save.
Using a Saved Wall Grouping Template
Once a custom wall grouping has been saved, it is available for use in all your ProSelect albums.
- Navigate to Working with Products, Thumbnail view.
- In the Template Resource Area, select "My Custom Groupings" as the Category.
- Right-click on the template and select "Pricing."
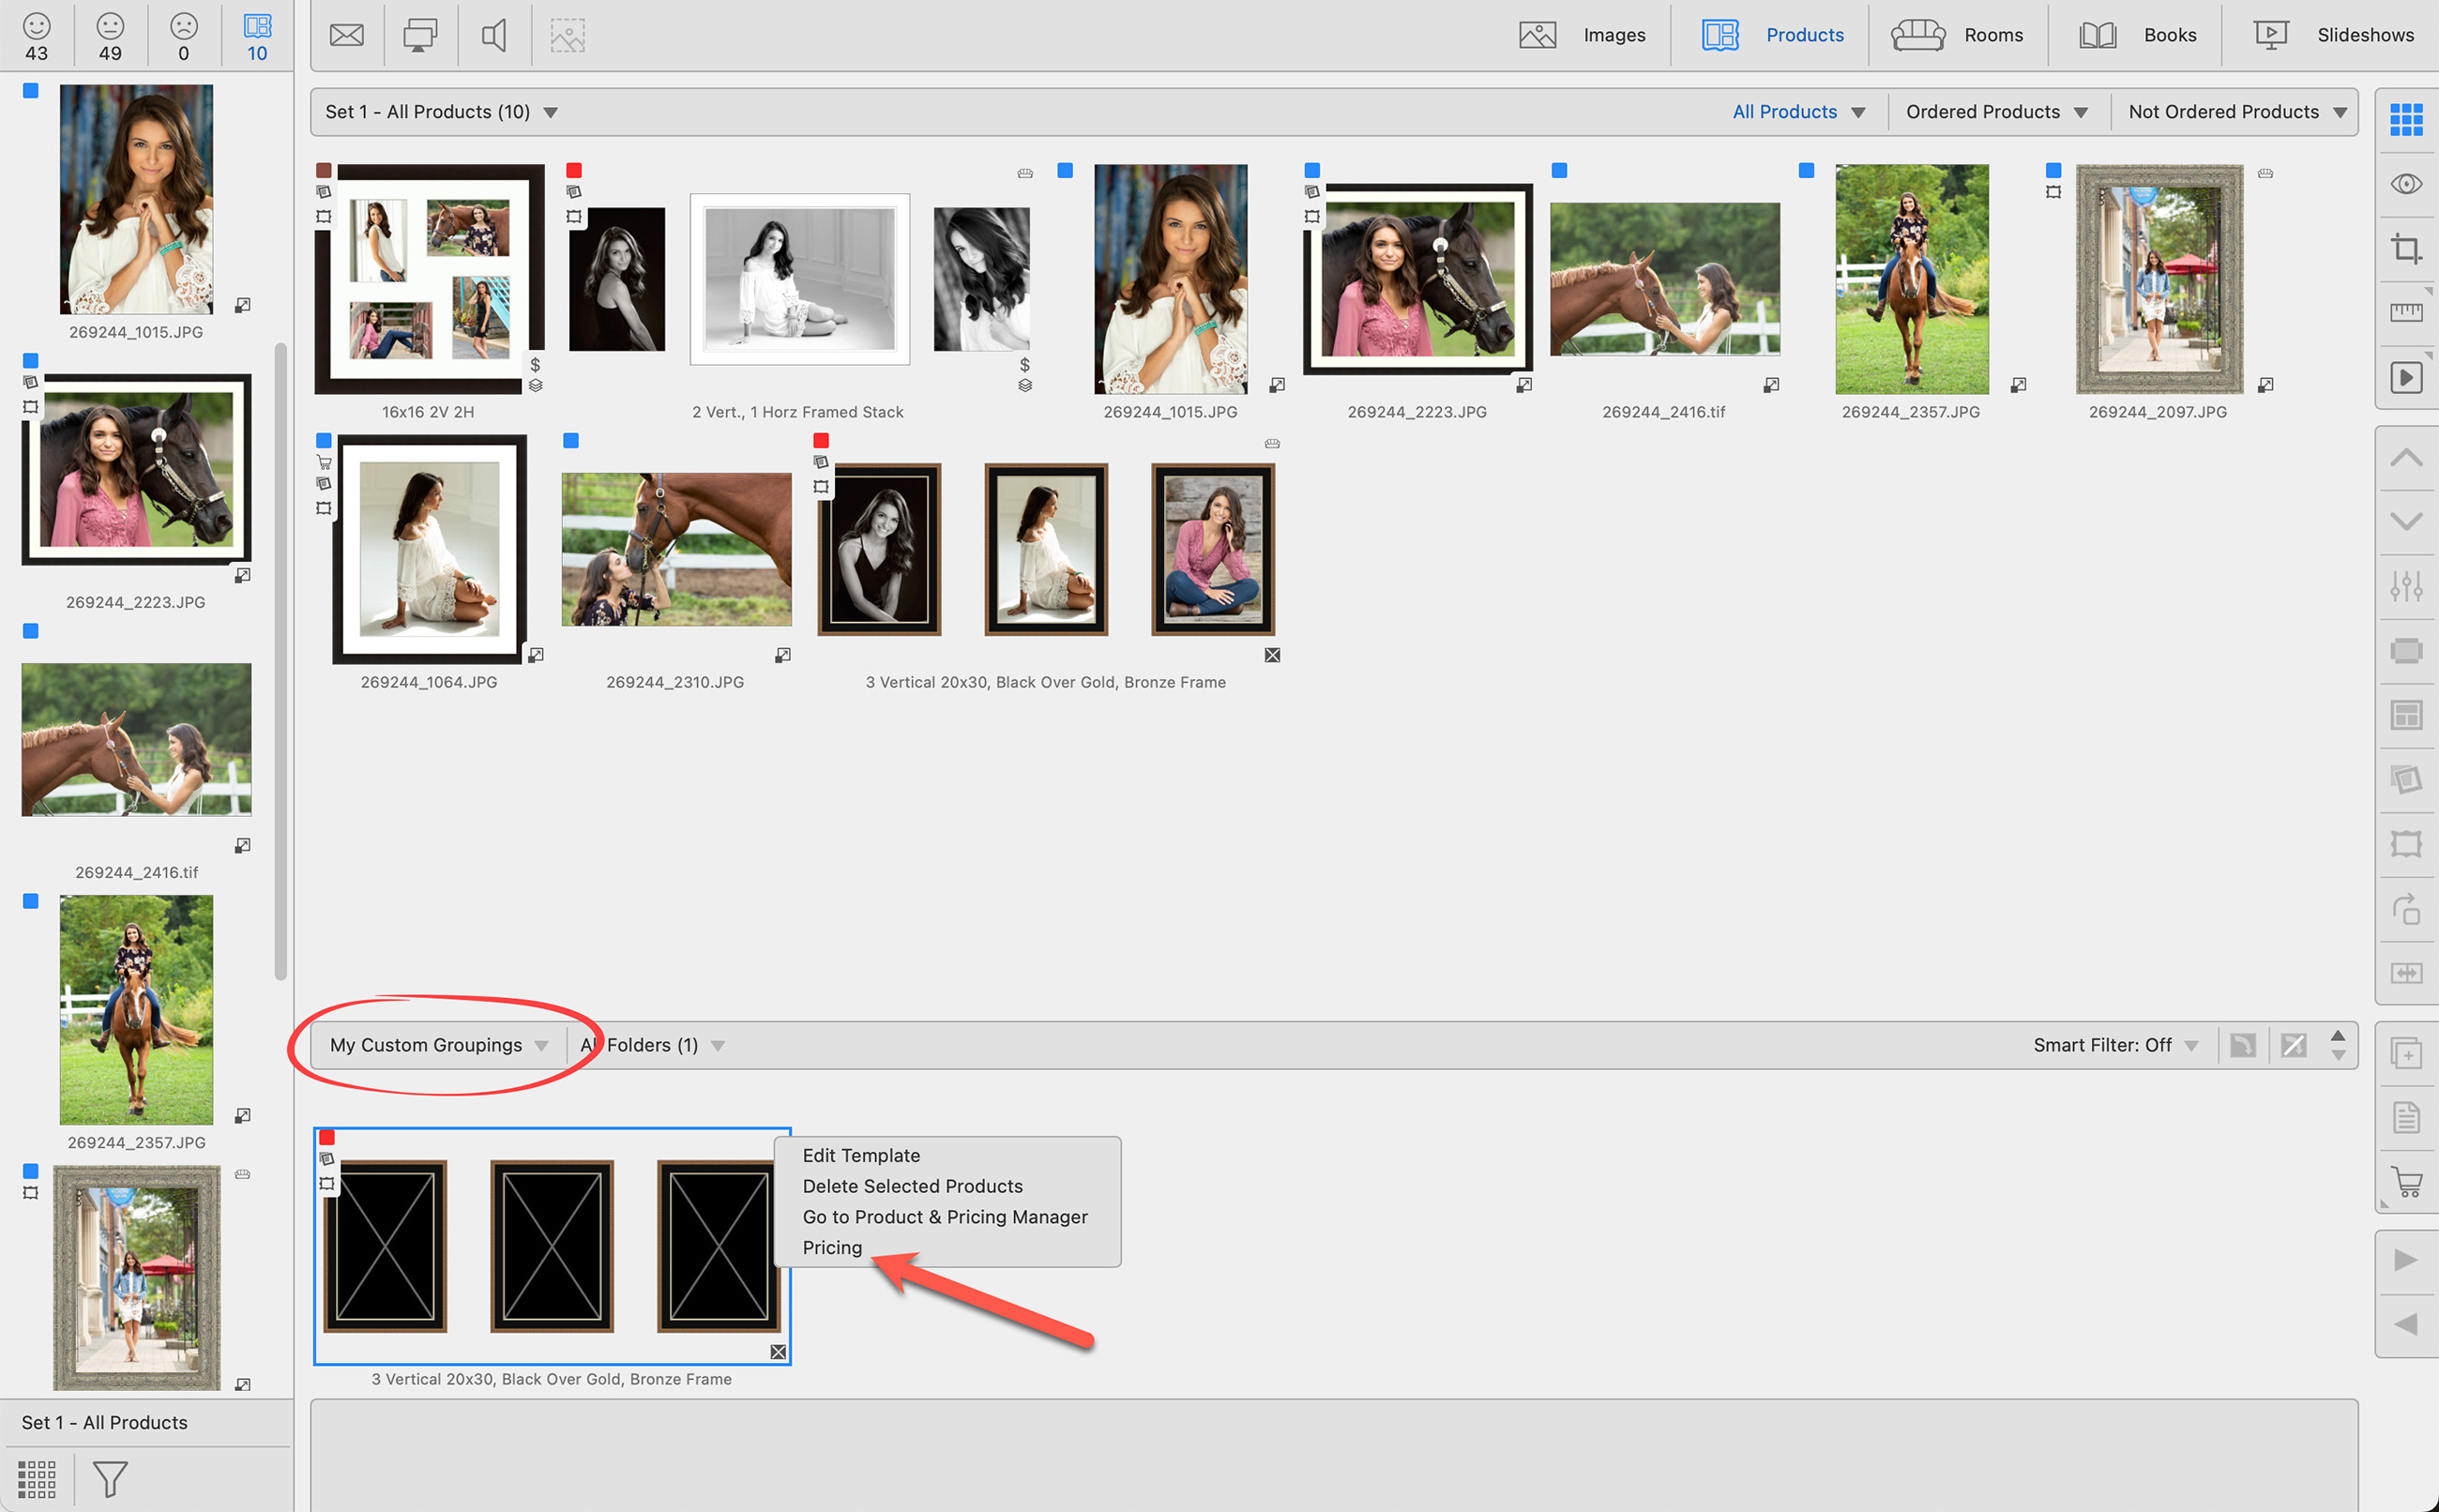
- Select a Pricing Method from the drop-down list and price the wall grouping accordingly. Click on Pricing Wall Groupings to learn more.

- Once the wall grouping is priced, it is ready to use in ProSelect.
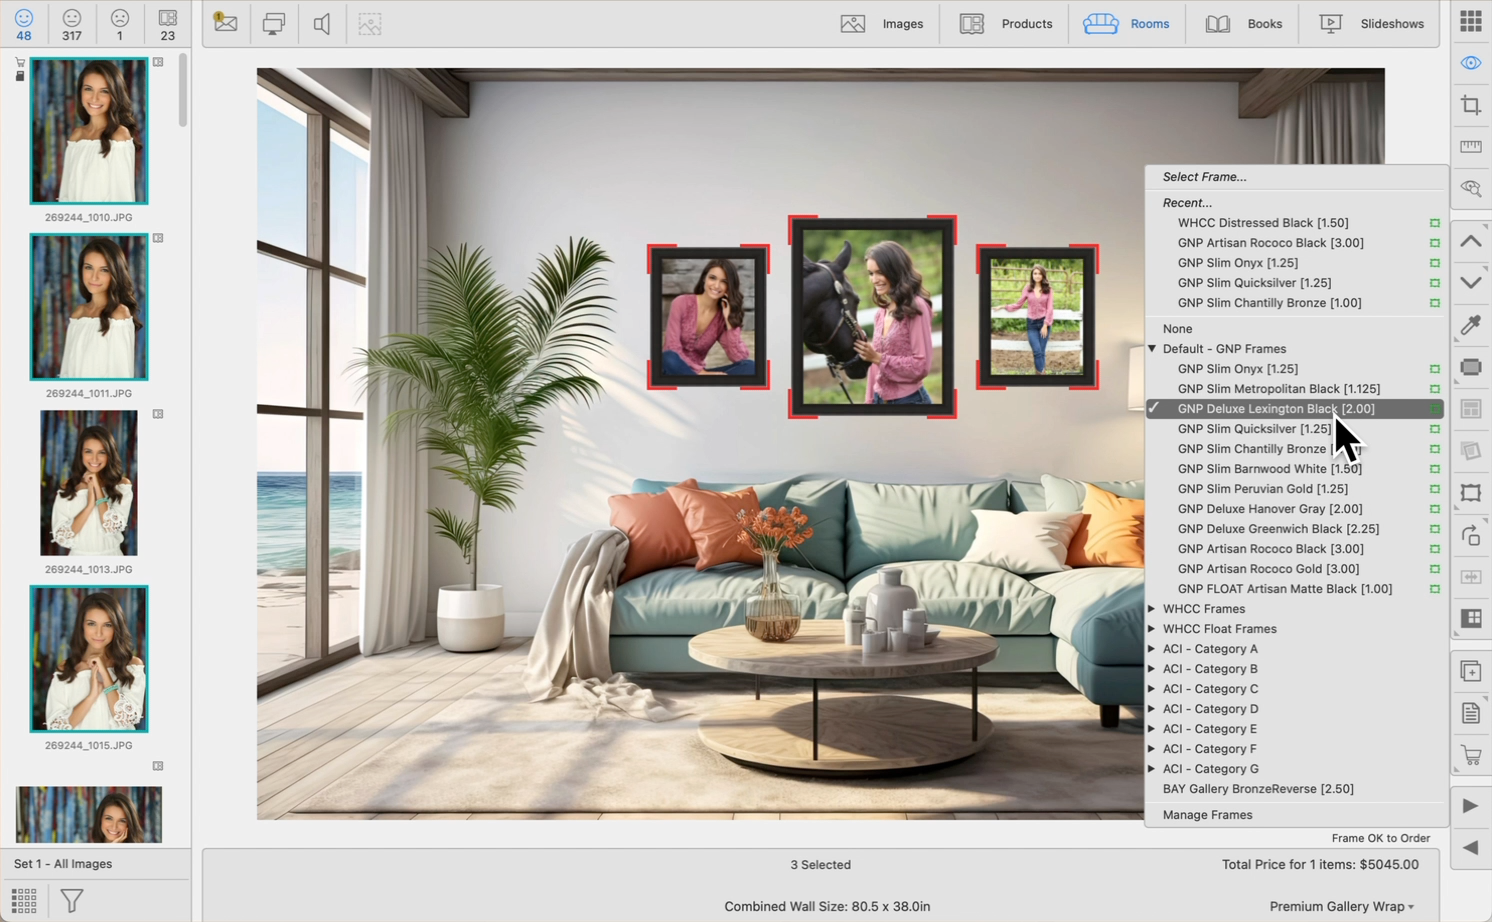
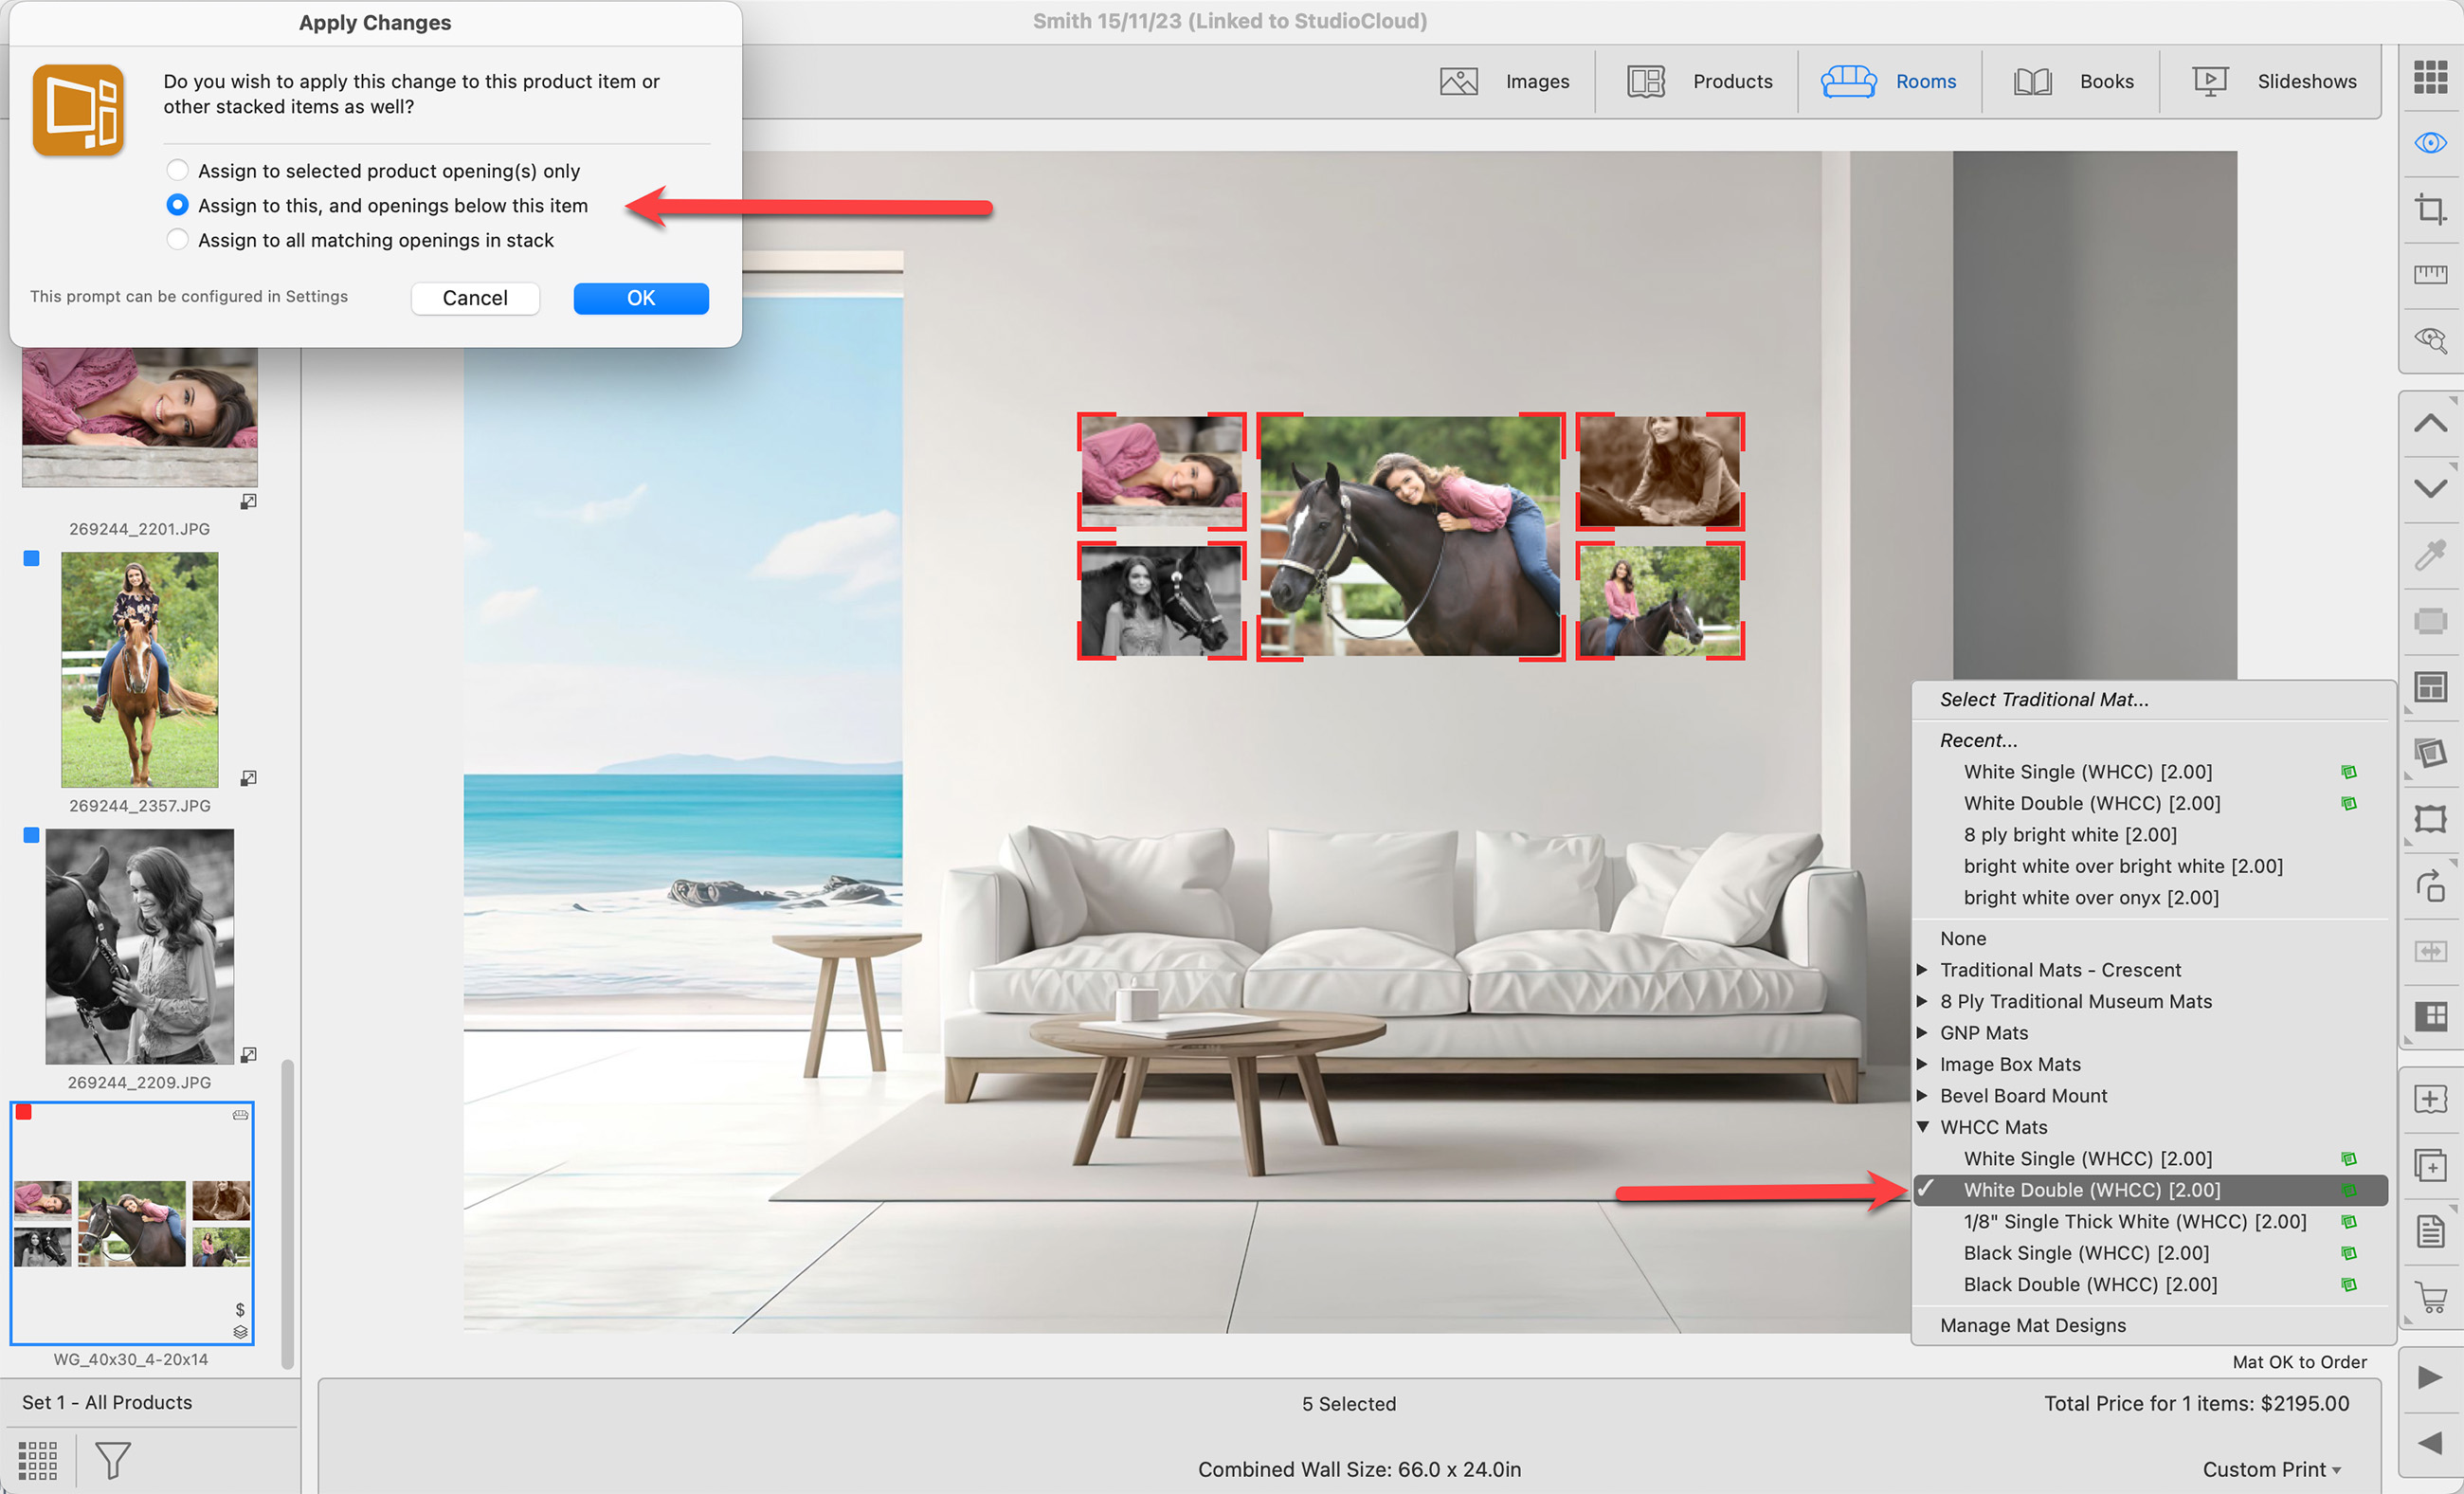
When applying mats and frames to Stacked Product Templates (Wall Groupings, Traditional Mats, etc), you will be asked to confirm where exactly to assign them. This is because you may only want to apply the selected frame or mat on the current stacked size. Alternatively, you may want to apply it to ALL the stacked sizes. The Apply Changes dialog will appear.
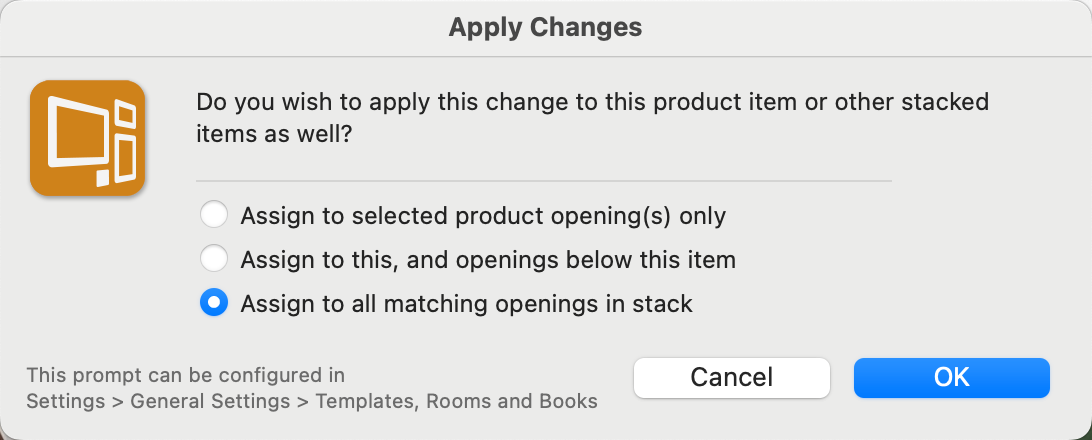
- Assign to selected product opening(s) only:
- This option applies the mat or frame to the selected opening(s) on that current layout only.
- If there are different configurations of that layout, the mat or frame will be applied to the corresponding opening(s) in any alternate configurations.
- Assign to this, and openings below this item:
- This option applies the mat or frame to the selected opening(s) on the current layout and all lower level layouts.
- If you are at the top of the stack, the mat or frame will be applied all the way down.
- If you are halfway through the stack, it will start from that point and apply the changes downward.
- If there are different configurations for those layouts, the mat or frame will be applied to the matching opening(s) in any alternate configurations.
- Assign to all matching openings in stack:
- This option applies the mat or frame to the selected opening(s) in each layout within the stack.
Because this dialog will appear every time you apply a mat or frame, you have the option to choose a selection and bypass future prompts. Go to the top menu, ProSelectEdit > Settings > General Settings > Templates, Rooms and Books > Stacked Templates.
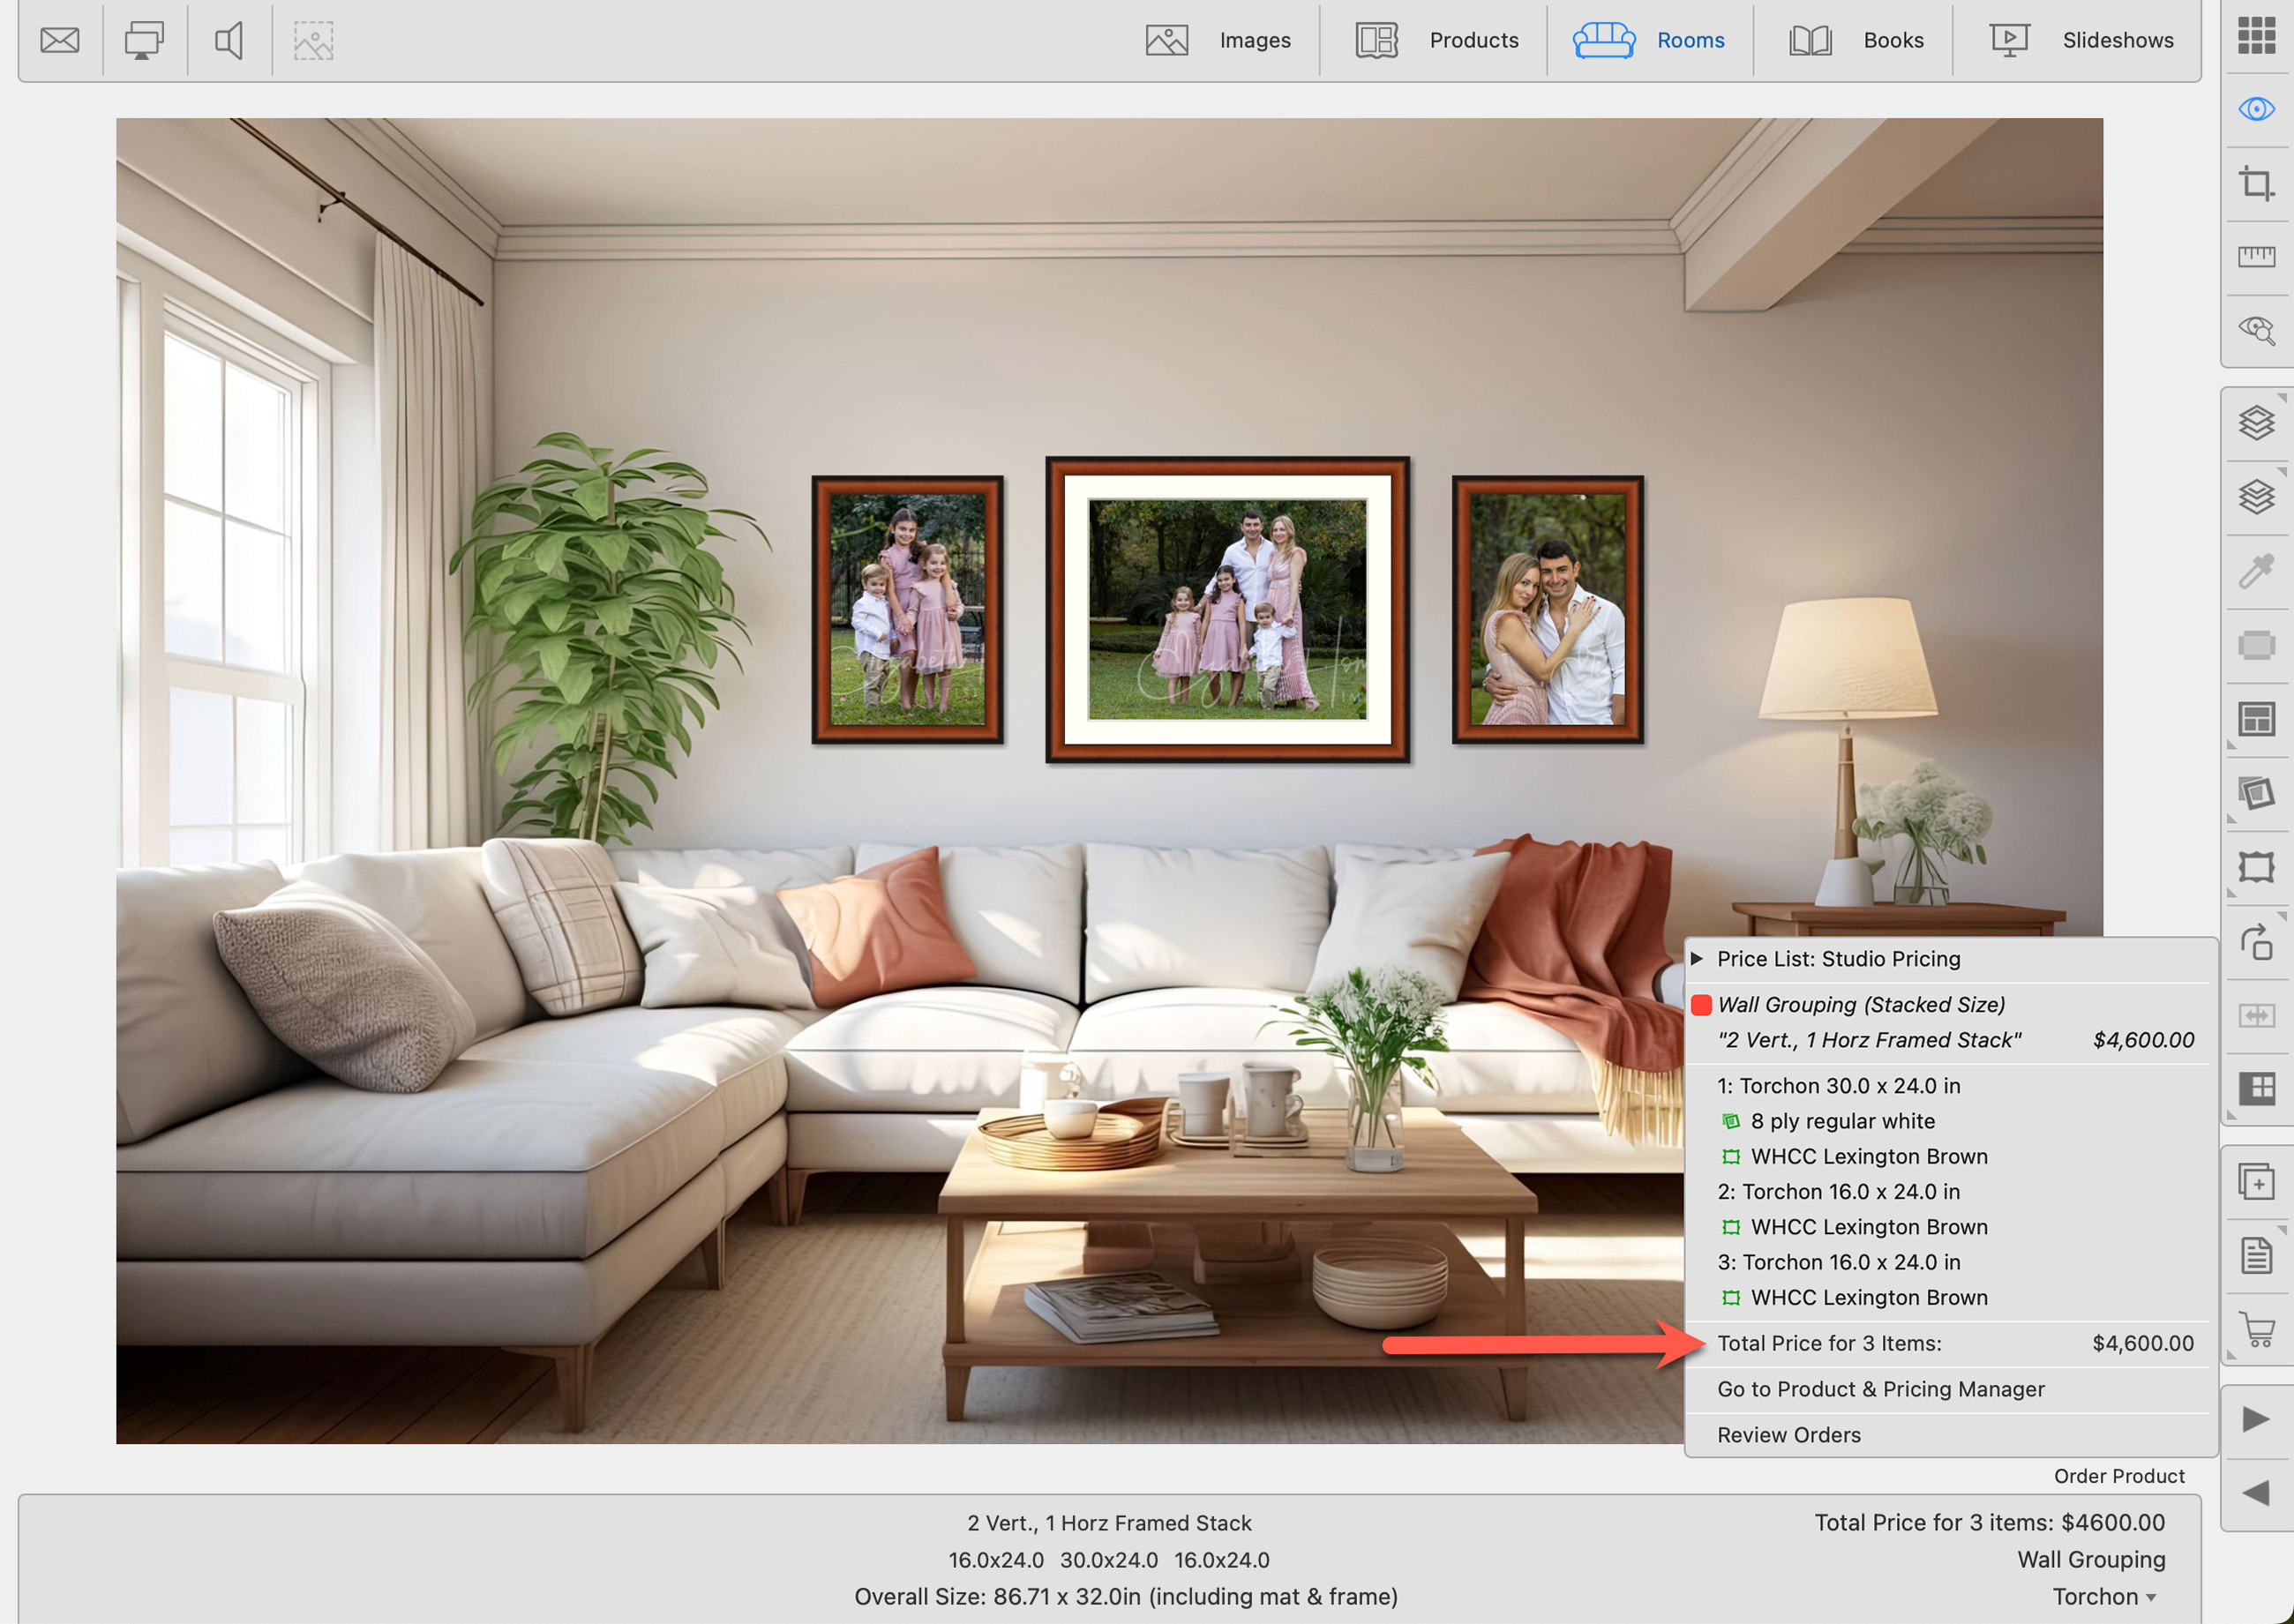
Because Wall Groupings can be priced using several different pricing methods, the appearance of the Order menu will vary based on the chosen pricing strategy. Regardless of the method, to order the wall grouping, click on the "Total Price for Items" line.
- To hide prices, go to the top menu, View > Show Prices.
- Wall Groupings are required to be ordered collectively. It's not possible to order individual items from within the grouping.
Using Fixed Price, Fixed Price by Presentation Option, or Supplier Cost x Markup
- Every item in the Wall Grouping is listed but without individual pricing. Instead, the grouping is priced as a whole. This is how pricing will appear in the Review Orders window and the Order/Invoice Report.
- In this example, the fixed price includes mats and frames.
- If frames and mats are not included, the prices will be listed next to the frame or mat.
Using Sum of Parts

- Every item in the Wall Grouping is listed along with its cost. This is how pricing will appear in the Review Orders window. On the Order/Invoice Report, however, the items are listed without individual pricing. The grouping is priced as a whole.
- Any applied mats and frames are listed under the item.
- If a discount has been applied it is listed here.
Because Wall Groupings are made up of many items, the thumbnail photos can be quite small. Try widening the Image List to see the Groupings more clearly.