
 Comparing Images
Working with Images, Show view, is primarily designed for comparing and selecting images alongside your client. This interactive process helps narrow down a final selection of "Yes" images. You can display multiple images simultaneously to allow straightforward comparisons, helping clients make decisions on their preferred shots.
These chosen images can be used to create Prints, Wall Groupings, Gallery Wraps, Albums, etc.
- Double-click on an image to enter Show view.
- Drag and drop another image from the image list into Show view. You can now see a side by side comparison.
- Continue to drag more images into Show view to compare.
- Click to select an image. Tap the 1,2,3 keys to move the images into a different tab.
If you often choose a preferred image from a sequence of similar ones during presentations, you can adjust ProSelect's Show Images view to display images in pairs. By enabling the "Show Images Two Up" option from the View Menu, ProSelect will load two images side-by-side whenever you select a new image or remove any from the Display Area. This feature facilitates direct comparison, making it easier to select the best image in the sequence. When you are using this view, the Show Images icon will change to two eyes ![]() .
.
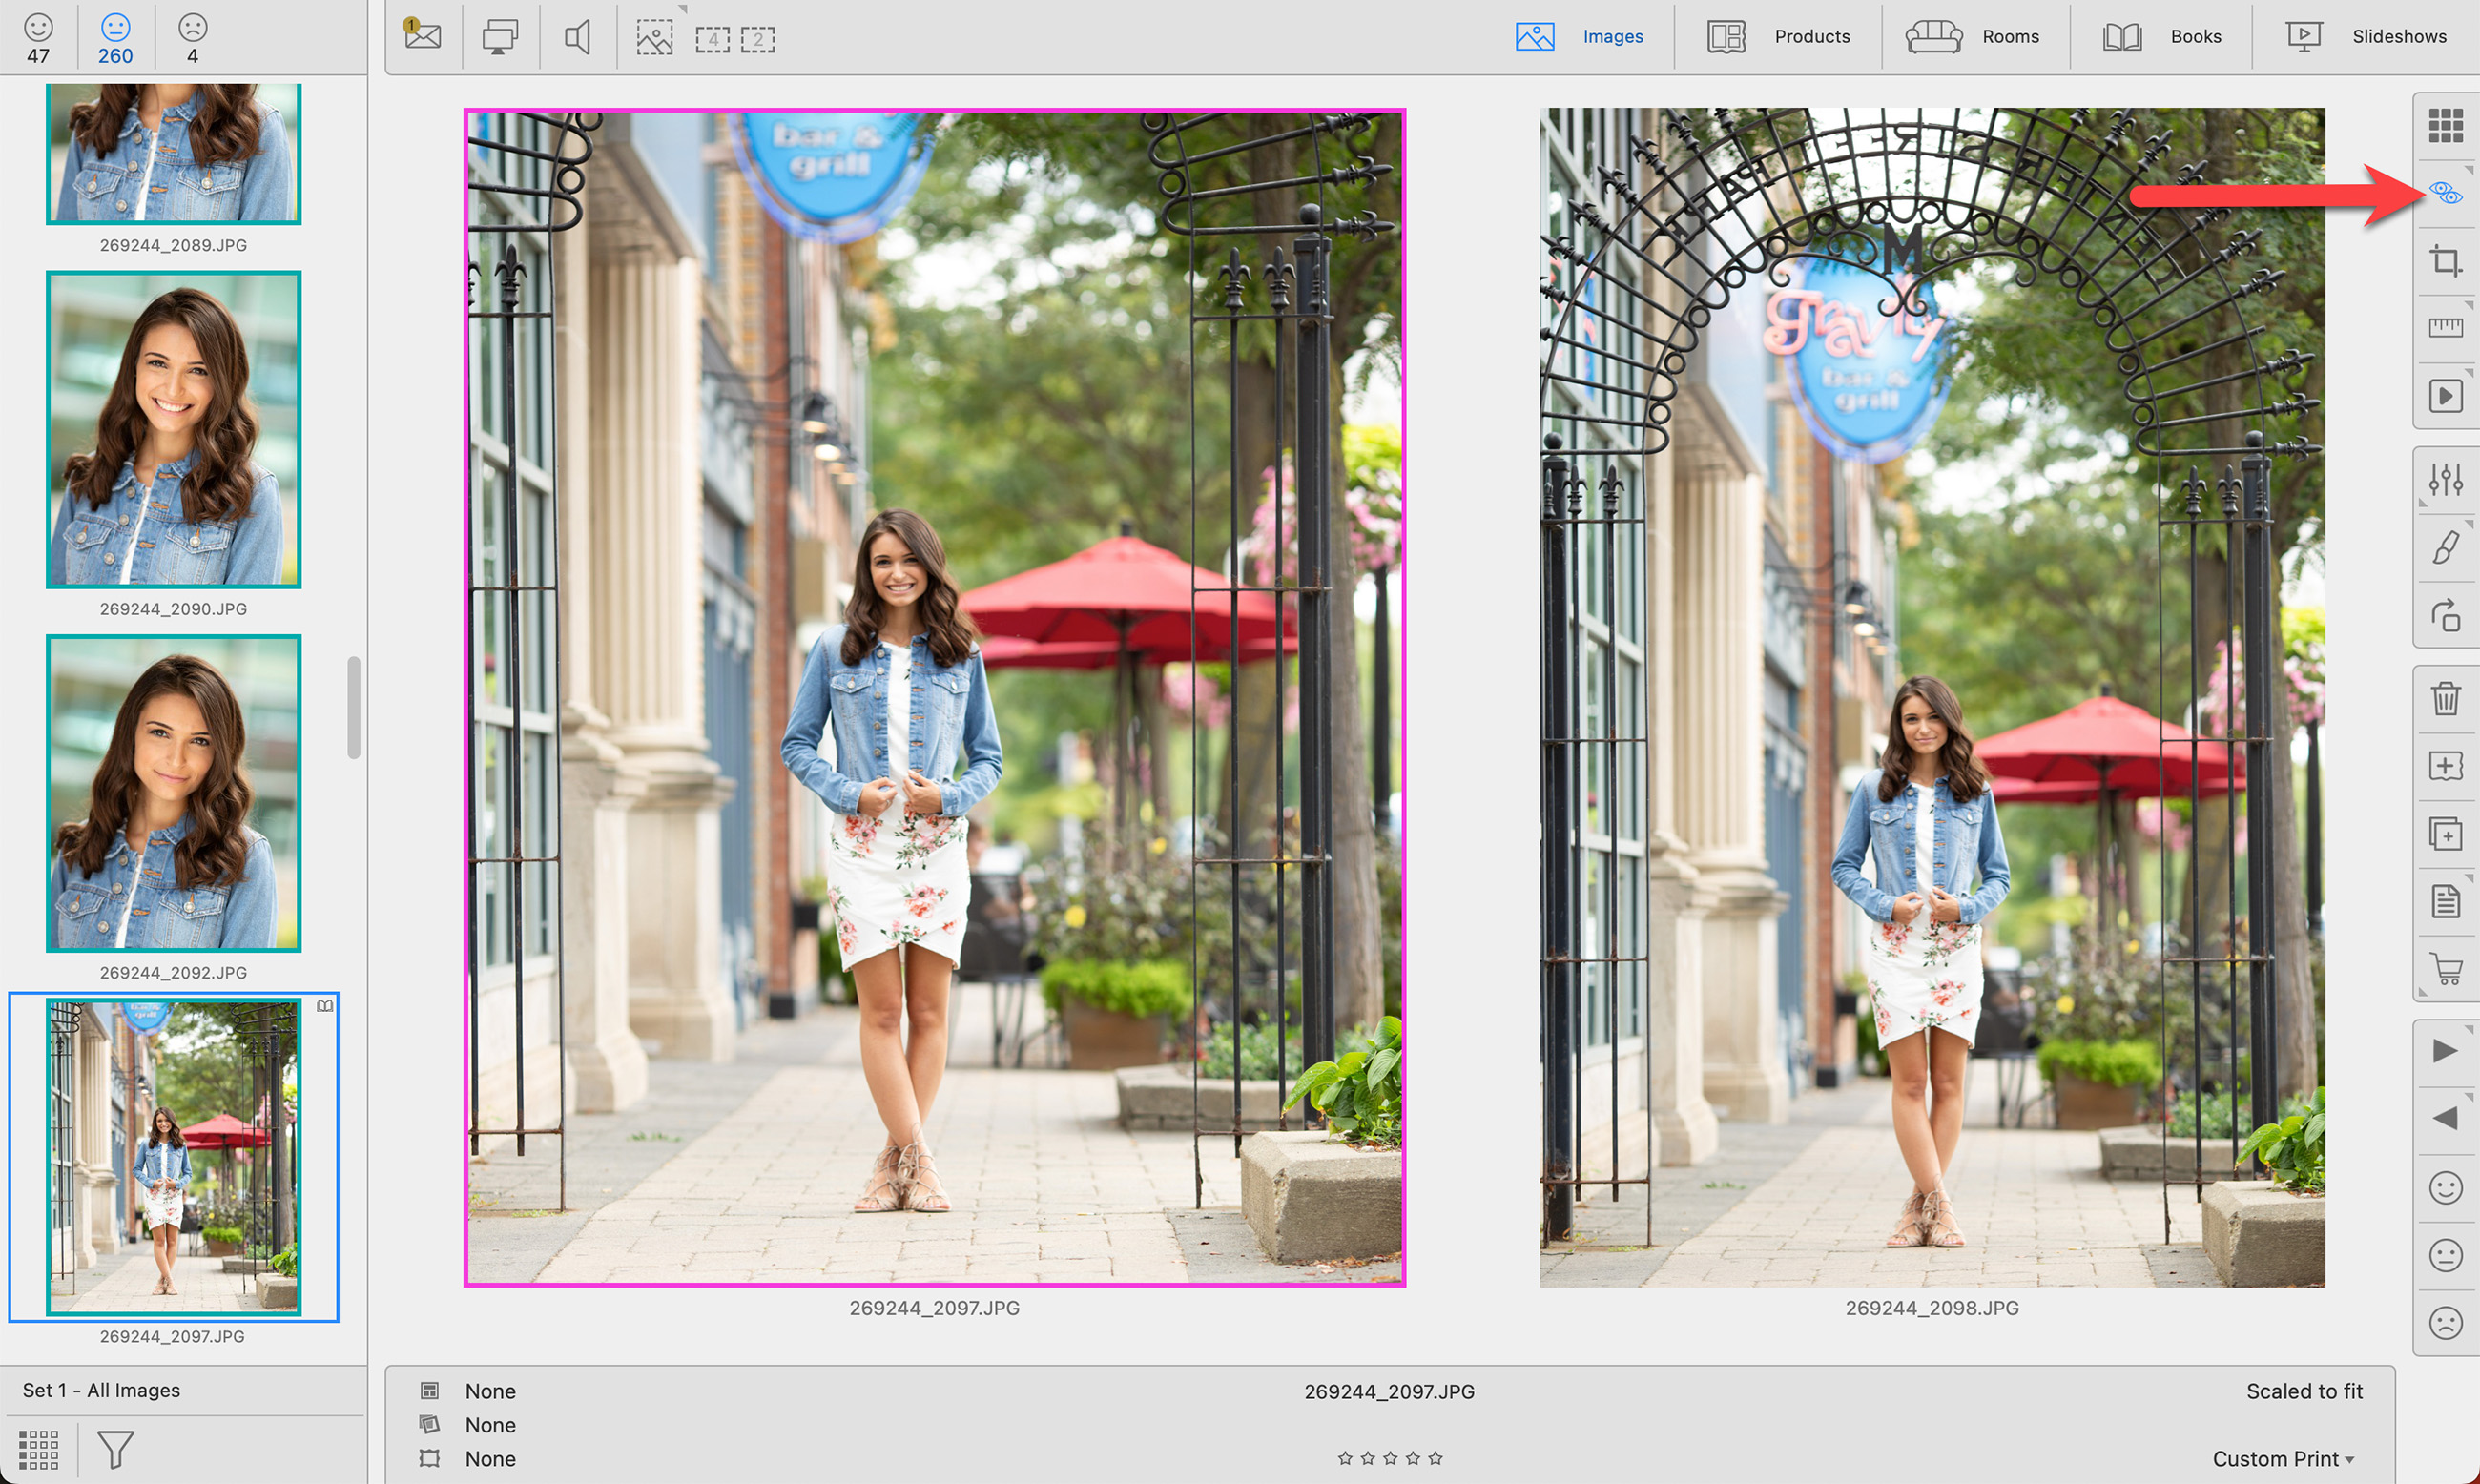
Using Show Images Two Up
- Move all your images into either the Yes or Maybe Tabs.
- Enable "Show Images Two Up" from the View Menu or by right-clicking on the Show Image View button in the toolbar.
- Double-click the first image you want to compare; ProSelect will automatically display this image alongside the next one in the sequence.
- Review the paired images. Move the image you decide against to the No tab (or back to the Maybe tab if you're reviewing images from the Yes Tab). ProSelect will then automatically load the next image in sequence for comparison. Using the keyboard shortcuts "1" for the Yes Tab, "2" for the Maybe Tab, and "3" for the No Tab, are particularly useful here.
- The second image displayed is automatically selected. You can toggle the selection to the other image by pressing the ReturnEnter key on your keyboard. This allows you to select images using the keyboard while your mouse cursor remains over the desired "Move To" button.
- If you click the Next tool
 , the first image will be removed from the Display Area, but will remain in its current tab; the second image then becomes the first, and a new image is added to the display.
 - Clicking the Previous tool
 reverses this process, effectively cycling through the images in reverse order.
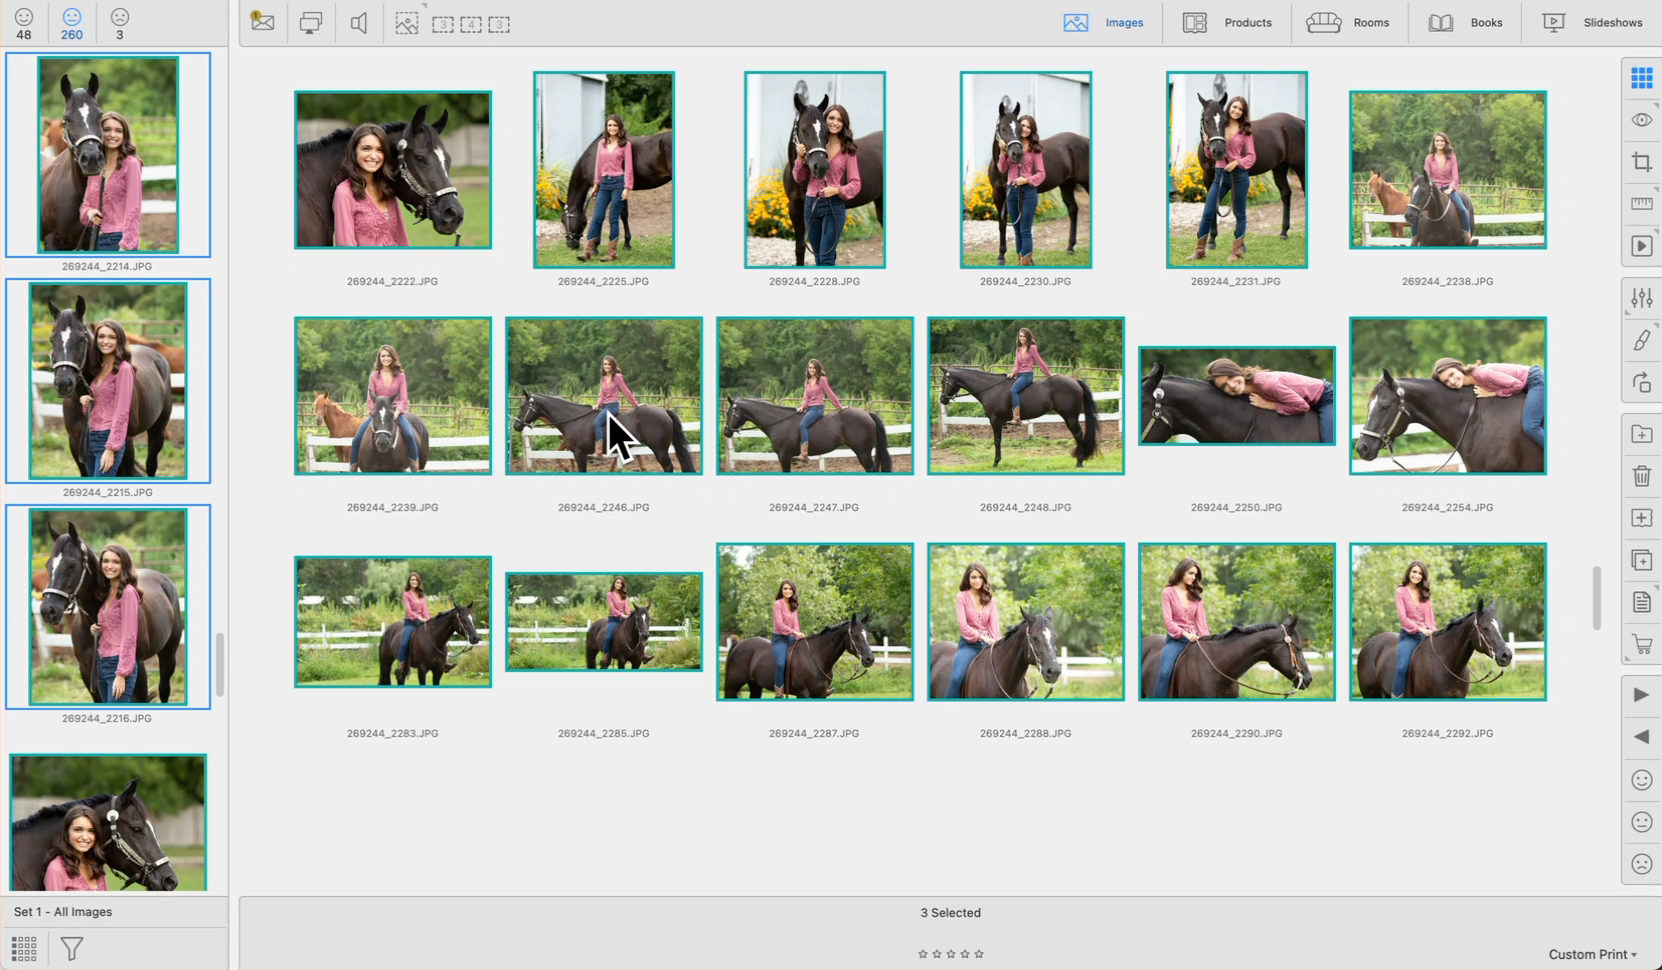
Compare Image Snapshots is a feature for reviewing and comparing groups of images with clients. ProSelect automatically saves the last five groups of two or more images that were selected and double-clicked in Thumbnail view or Show Images view. You can adjust the snapshot settings by going to the top menu, ProSelectEdit > Settings > Display > Calibration & Options > Compare Image Snapshots. From here you can decide whether double-clicking on 2 or more or 3 or more images will automatically take a snapshot. You also have the option to turn this feature off.
![]() Add New Snapshot Button: Click on this button to add a new snapshot. At least 2 images must be selected to create a snapshot. Alternatively, double-click on an image in the selection to snapshot the selected group. Right-clicking will give you options to clear the snapshots.
Add New Snapshot Button: Click on this button to add a new snapshot. At least 2 images must be selected to create a snapshot. Alternatively, double-click on an image in the selection to snapshot the selected group. Right-clicking will give you options to clear the snapshots.
![]() Snapshot: Snapshots have a dotted line around the number of images within the snapshot. This number decreases if images are moved to different selection tabs. Hovering over a snapshot will display which tab the images came from (Yes, Maybe, or No) as well as which Image Set. This information is displayed on the bottom-right of the Display Area.
Snapshot: Snapshots have a dotted line around the number of images within the snapshot. This number decreases if images are moved to different selection tabs. Hovering over a snapshot will display which tab the images came from (Yes, Maybe, or No) as well as which Image Set. This information is displayed on the bottom-right of the Display Area.
![]() Pin Snapshot: Hold the OptionAlt key while clicking on a snapshot to "pin" it. This will prevent the snapshot from being removed after the maximum number is reached. Alternatively, right-click on the snapshot and select "Pin."
Pin Snapshot: Hold the OptionAlt key while clicking on a snapshot to "pin" it. This will prevent the snapshot from being removed after the maximum number is reached. Alternatively, right-click on the snapshot and select "Pin."
Accessing Snapshots
- Snapshots can be accessed by clicking the snapshot buttons in the Working with Bar at the top of the main window.
- New snapshots are added to the right end of the Recent Snapshots area. If the limit of five is reached, the oldest snapshot is removed from the left side. Pinned snapshots are not removed.
Adding Snapshots
- Double-click on a selection of images in Thumbnail view.
- Click the Add New Snapshot button after selecting a group of thumbnails in Thumbnail view.
- If done from Show Images view, all images in the Display Area are added unless the Shift key is held down, which then only adds the selected images.
- You can also drag and drop a group of images onto the Add a New Snapshot button to create a new snapshot.
Removing Snapshots
- Snapshots are automatically removed when all images in them have been moved out (to another tab).
- Alternatively, right-click on the snapshot and select "Clear Snapshot."
- To remove all Snapshots, right-click on the Add New Snapshot button. You have the option to clear ALL Snapshots, or just the Unpinned Snapshots.
Access From Anywhere
- You can access any Compare Image Snapshots from most places in ProSelect. Clicking on a snapshot will take you back to Working with Images, Show Images view with the remaining images displayed.
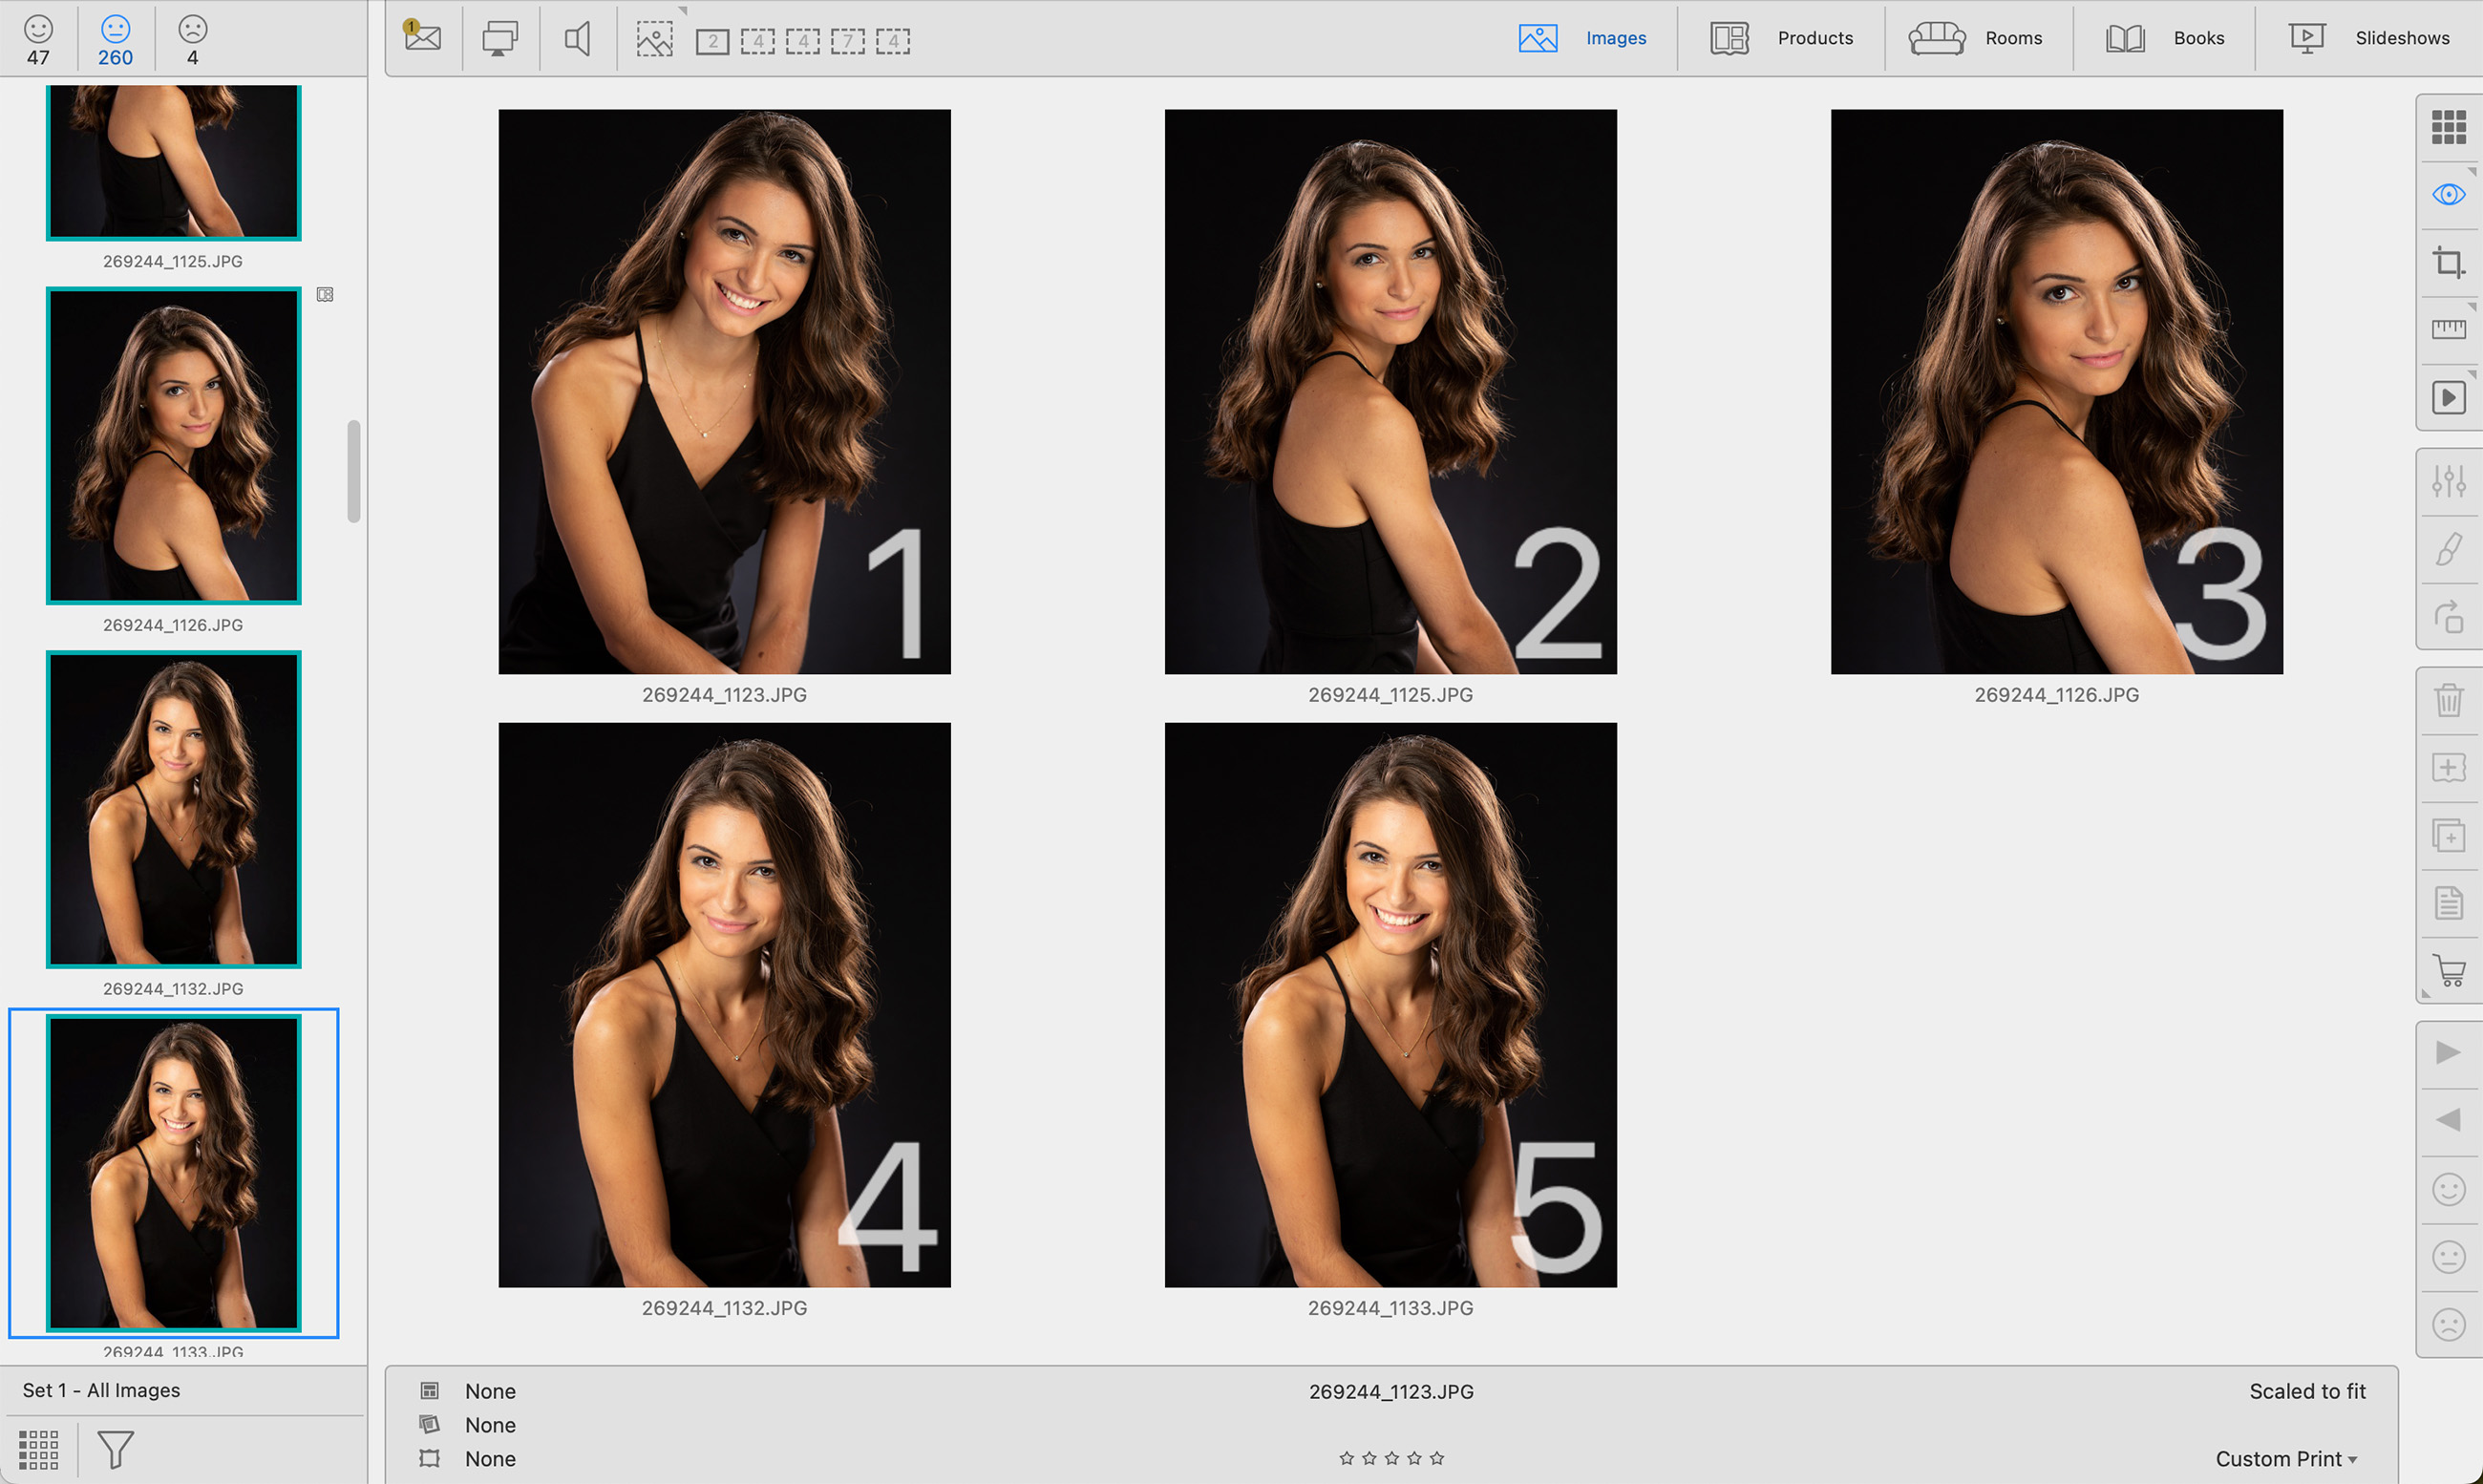
ProSelect allows you to overlay a "Selection Number" on each image or product. This feature assists clients in identifying and referencing specific images and products more easily. The selection number feature is effective on both the main screen and the presentation screen. This feature is available in Show view when Working with Images, Working with Products, as well as Working with Rooms.
The size, color, and opacity of the overlay numbers can be customized to fit the visibility needs of your clients. To adjust these settings, go to the top menu, ProSelectEdit > Settings > Display > Display Options > Selection Number Display.
Using Selection Numbers
- Temporary Overlay: By holding down the "N" key, you can overlay images with their respective selection numbers temporarily. This is useful for quick reference during discussions.
- Toggle Mode: For a more persistent display, you can enable Toggle mode in the Settings. With this mode activated, pressing the "N" key will turn the selection numbers on or off, allowing for a cleaner view when numbers are not needed.
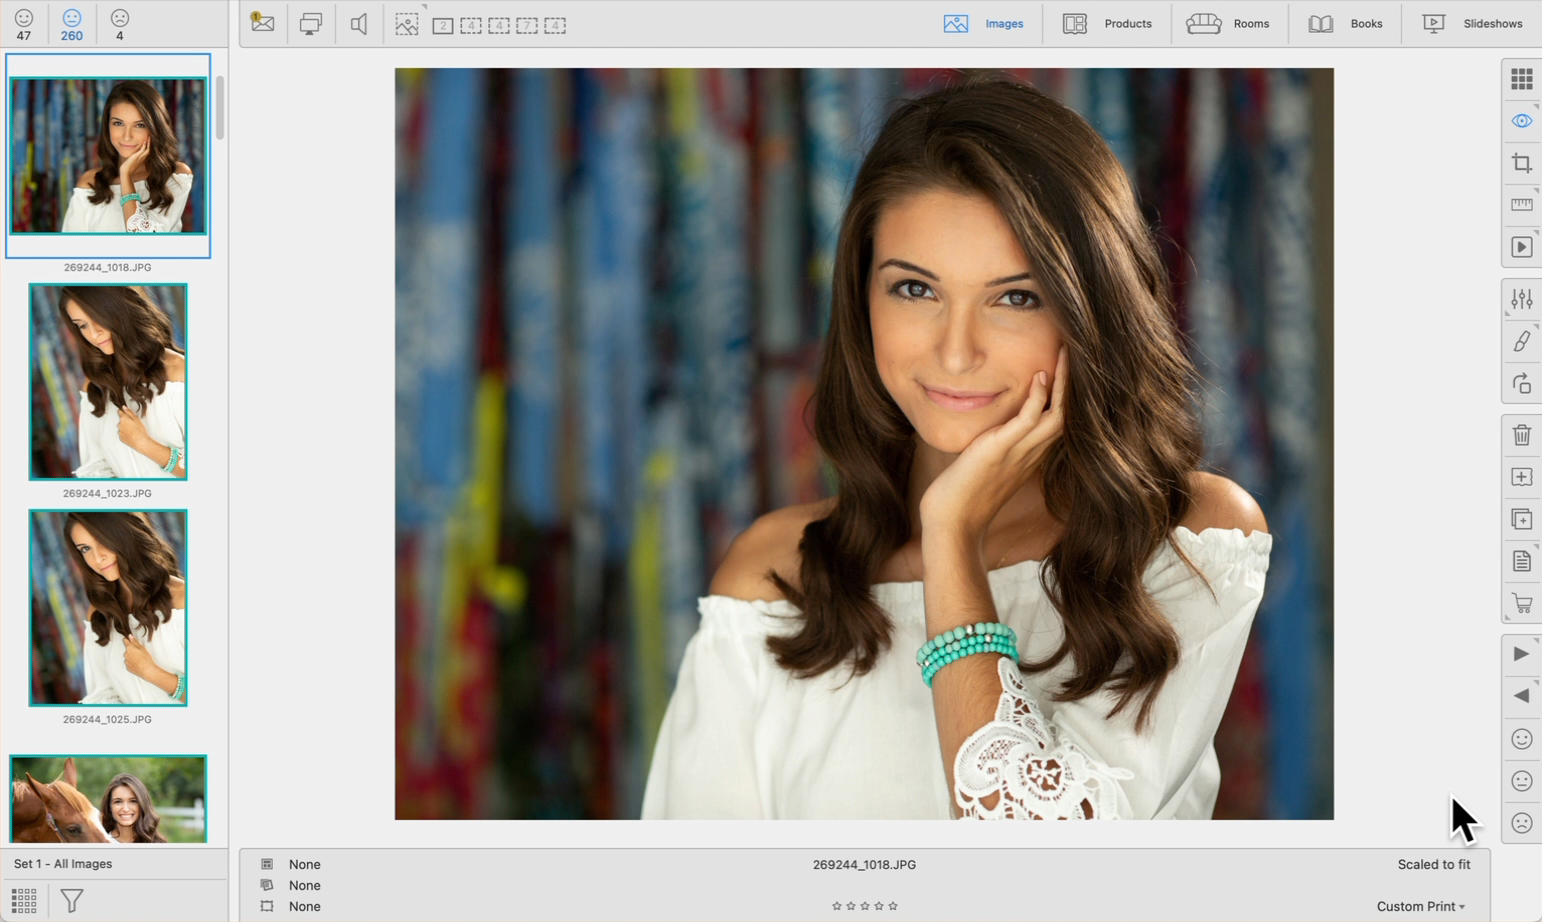
To examine finer details within an image, ProSelect offers a convenient feature known as "Zoom-clicking." You can zoom into a specific point of interest on an image by right-clicking directly on it. Each subsequent right-click will zoom in further for a closer look.
- For Mac Users: If using a Mac with a single mouse button, hold down the Control key while clicking to zoom.
- Adjusting Zoom Level: For more control over the zoom level, hold the OptionAlt key while zoom-clicking to choose your desired zoom from a pop-up menu.
- Zoom Out: Once zoomed in, a small zoom-out button appears in the bottom right-hand corner of the image. Click this button to return to the original view.
- Moving the Zoom: To adjust your view within the zoomed image, hold down the space bar and drag the image to your desired position.
Zooming with Multiple Images
If multiple images are displayed, you can apply the zoom uniformly across all visible images by holding down the Shift key while zoom-clicking. This is particularly useful for comparing details like expressions across different shots. Press the Shift key again when you Zoom out to return all images to their original view.
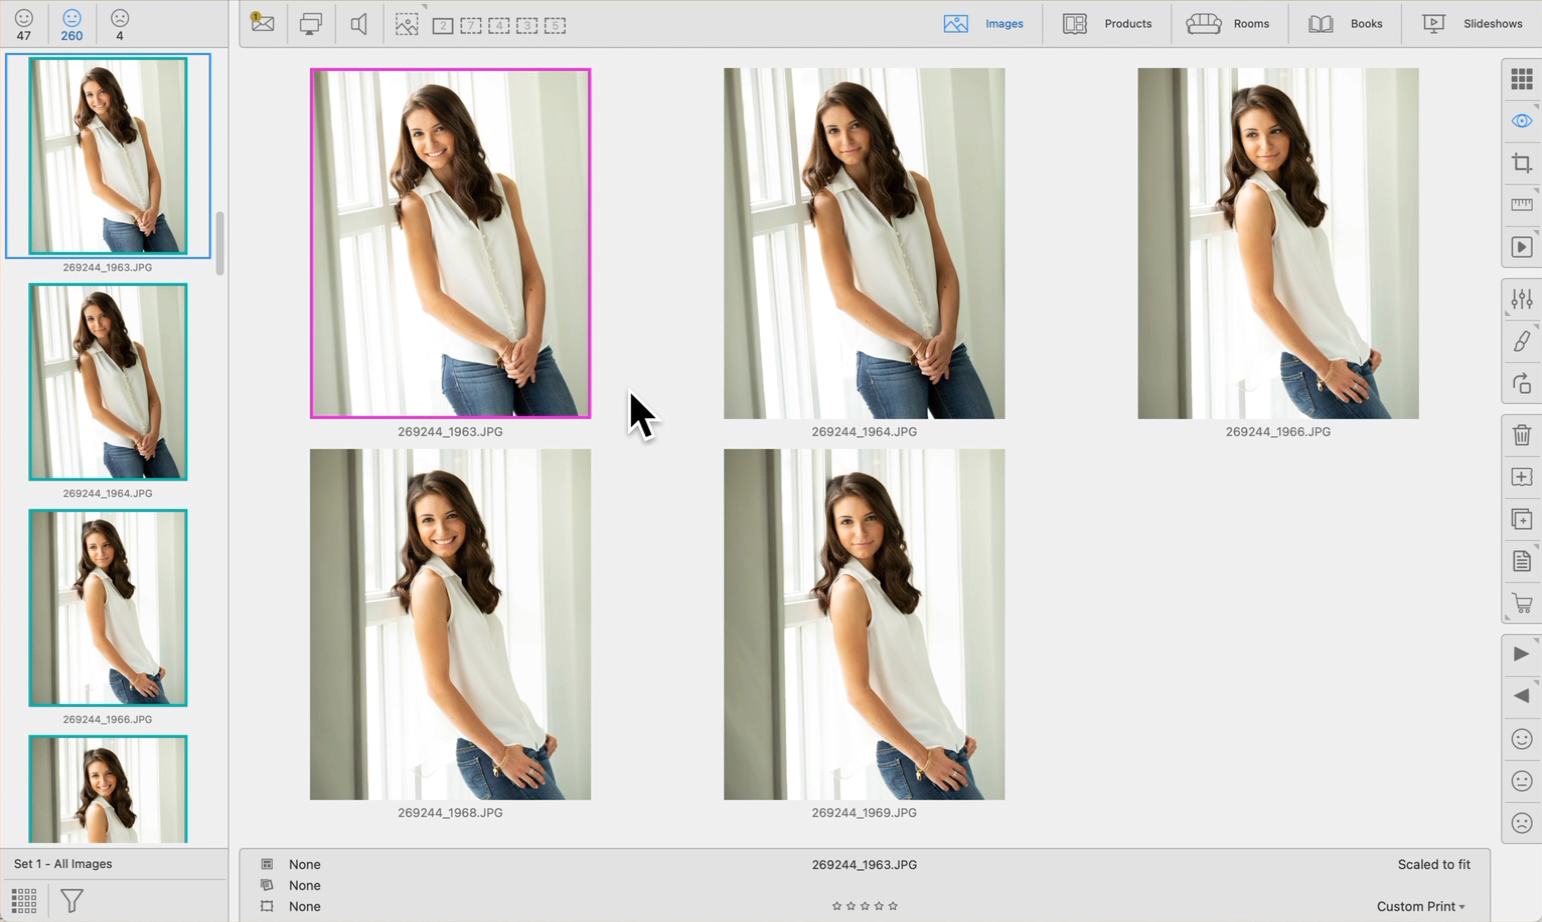
Image Quality When Zoomed
As ProSelect displays low-resolution images for faster performance, zooming in too closely may cause pixelation. To enhance the detail visibility when zoomed, you can adjust the size of the low-resolution images created for the album. Go to the top menu, ProSelectEdit > Settings > Importing Images > Adding Images. Choose a larger size than your current screen resolution using the "Resize To" option.
Right-Click Options
If you prefer to right-click and select a "Zoom Size" as opposed to Zoom-clicking, you can elect to use the popup menu instead. Go to the top menu, ProSelectEdit > Settings > General Settings > General > Mouse Options. Whichever option you choose to use, holding down the optionalt key while right-clicking, will access the other method.