Links to Original Images
Each ProSelect album file contains links to the original images' locations, essential for operations such as editing in Photoshop or Lightroom, reloading edits, and managing images tied to orders or books. Here’s a comprehensive breakdown of how ProSelect manages these links and the tools available for handling image files:
Image Location Path Types
ProSelect offers several ways to save the location of your original images to suit different working environments. Choose the method that best suits how and where you store your images and albums by going to the top menu, ProSelectEdit > Settings > Importing Images > Original Image Location.
- Relative to Album Location: This is the default setting. Links to images are saved relative to the album file’s location. This option is useful if you keep your images in the same directory as your album file or in a sub-directory underneath it. It simplifies moving the album and image files together without breaking links, which is particularly handy if stored on a shared server.
- Fixed Location: The image paths are saved as fixed locations on your computer. It’s ideal if your images are stored permanently in one location on your local hard drive.
-
Relative to Default Starting Folder: Links are saved relative to a designated starting folder. This option suits scenarios where album files are stored separately from images, yet all are kept on a shared server. Set this starting folder by going to the top menu, ProSelectEdit > Settings > General Settings > Default Folders > Default Starting Folder. This allows easy relocation of image files without disrupting links.
Select an image and go to the top menu, Images > Show selected Image Info.
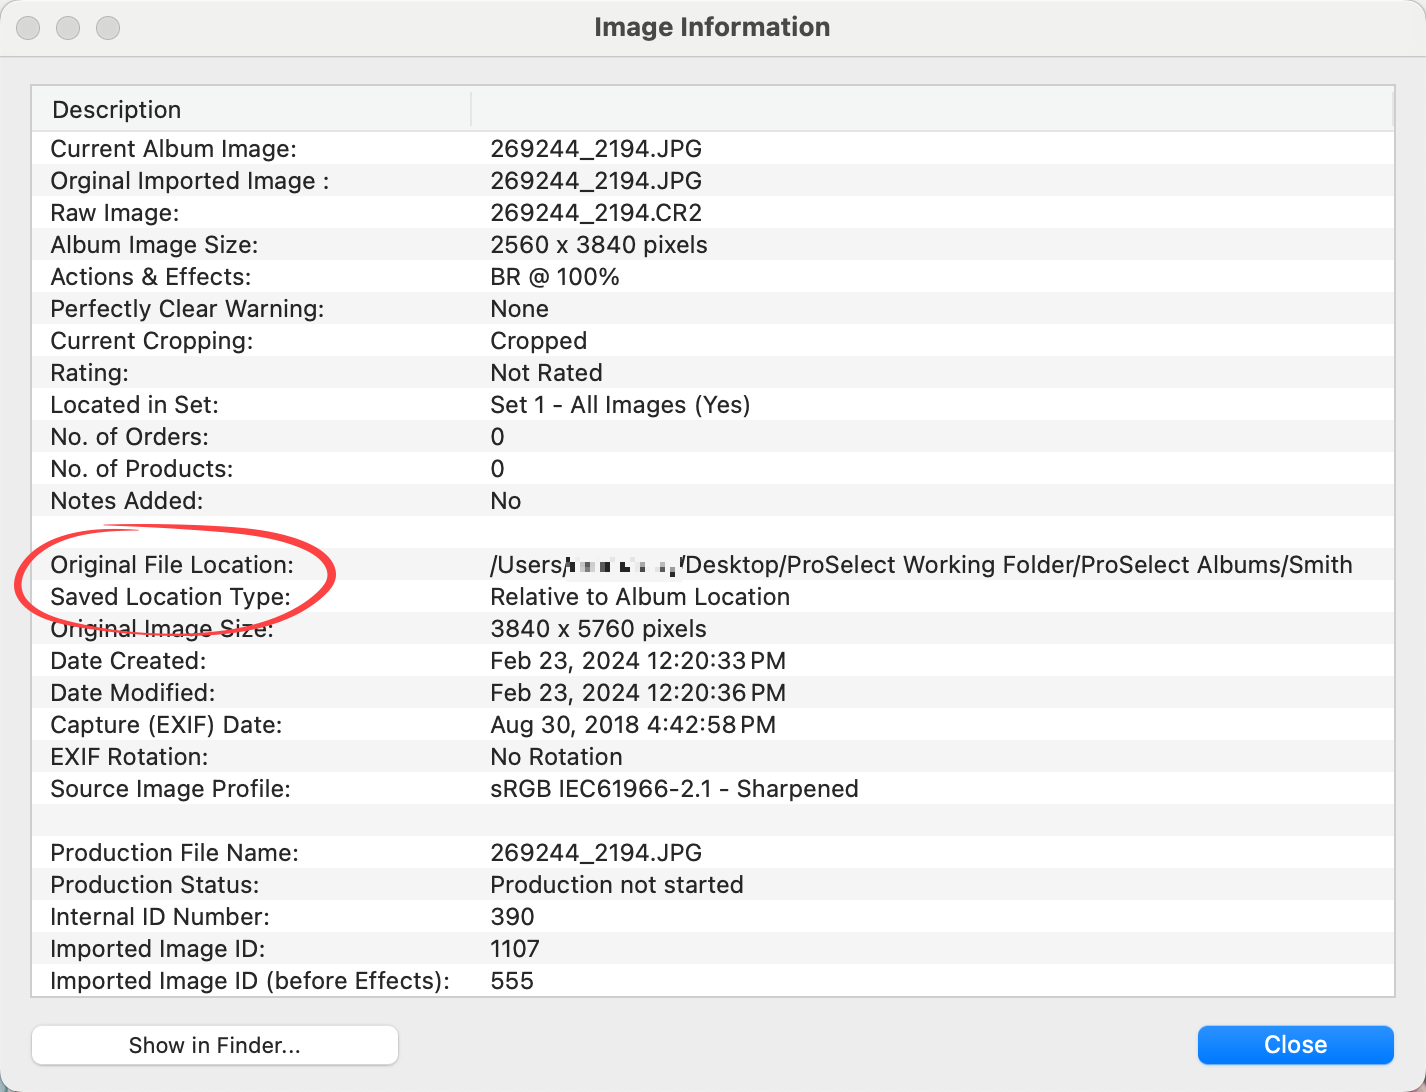
- The "Original File Location" as well as the "Saved Location Type" are shown.
- The "Current Album Image" will be the same as the "Original Imported Image" unless you have edited the image and reloaded it.
- "Raw Image" will be shown if Link/Bypass RAW Images are enabled and an associated RAW file is in the same folder.
- Clicking on the Show in FinderShow in Explorer button at the bottom of the dialog will open the folder containing that image.
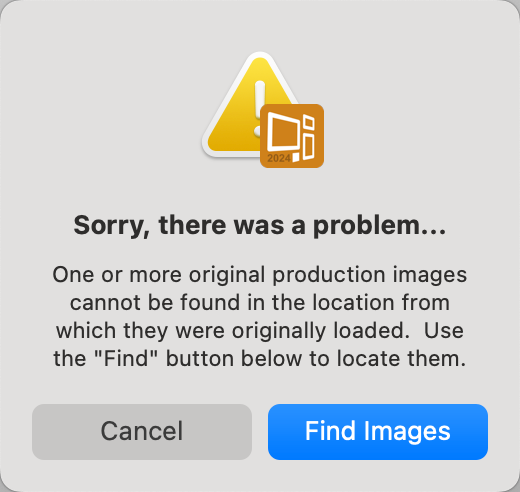
When you open an album from a different computer or a changed location, ProSelect may prompt you to locate missing original images. You can manually reconnect these links via the Image menu's “Find” options, allowing you to specify new paths for the original files. This same process works if ProSelect cannot find an original image during Pro Production.
- Finding Missing Images: If the album is accessed from a different system or the original files have been moved, ProSelect will guide you through finding and re-linking the missing images.
-
Manually Finding Moved Images: If you know your images have been moved, use the “Find” options under the Images menu to update the links. This functionality also helps batch locate and update paths for multiple images if they are moved to a new directory.
- Go to the top menu, Images > Original Images > Find All Original Images.
- The Find Original Images dialog will list all images that need to be located. They are tagged with a red status box.
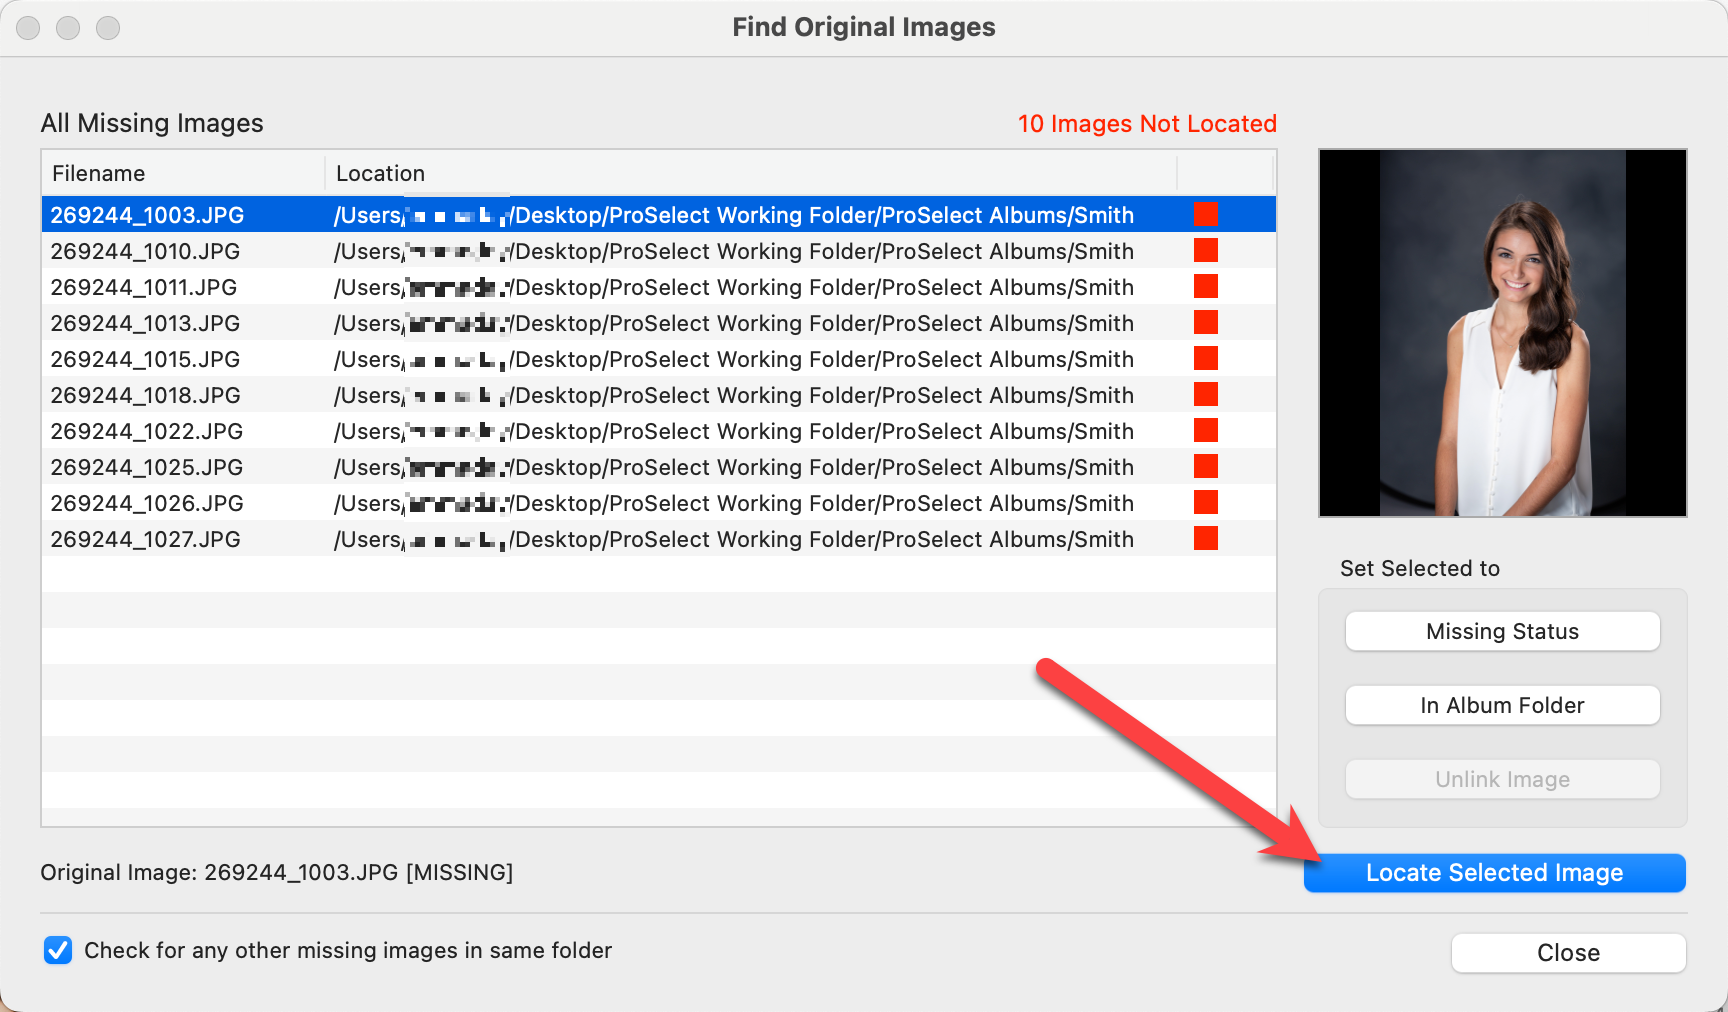
- Be sure to check the box "Check for any other missing images in same folder." Often the missing images are found together, and you then only have to go through this process once.
- Select a missing image and click on the Locate Selected Image button.
- Locate and select the missing image. Click "Open."
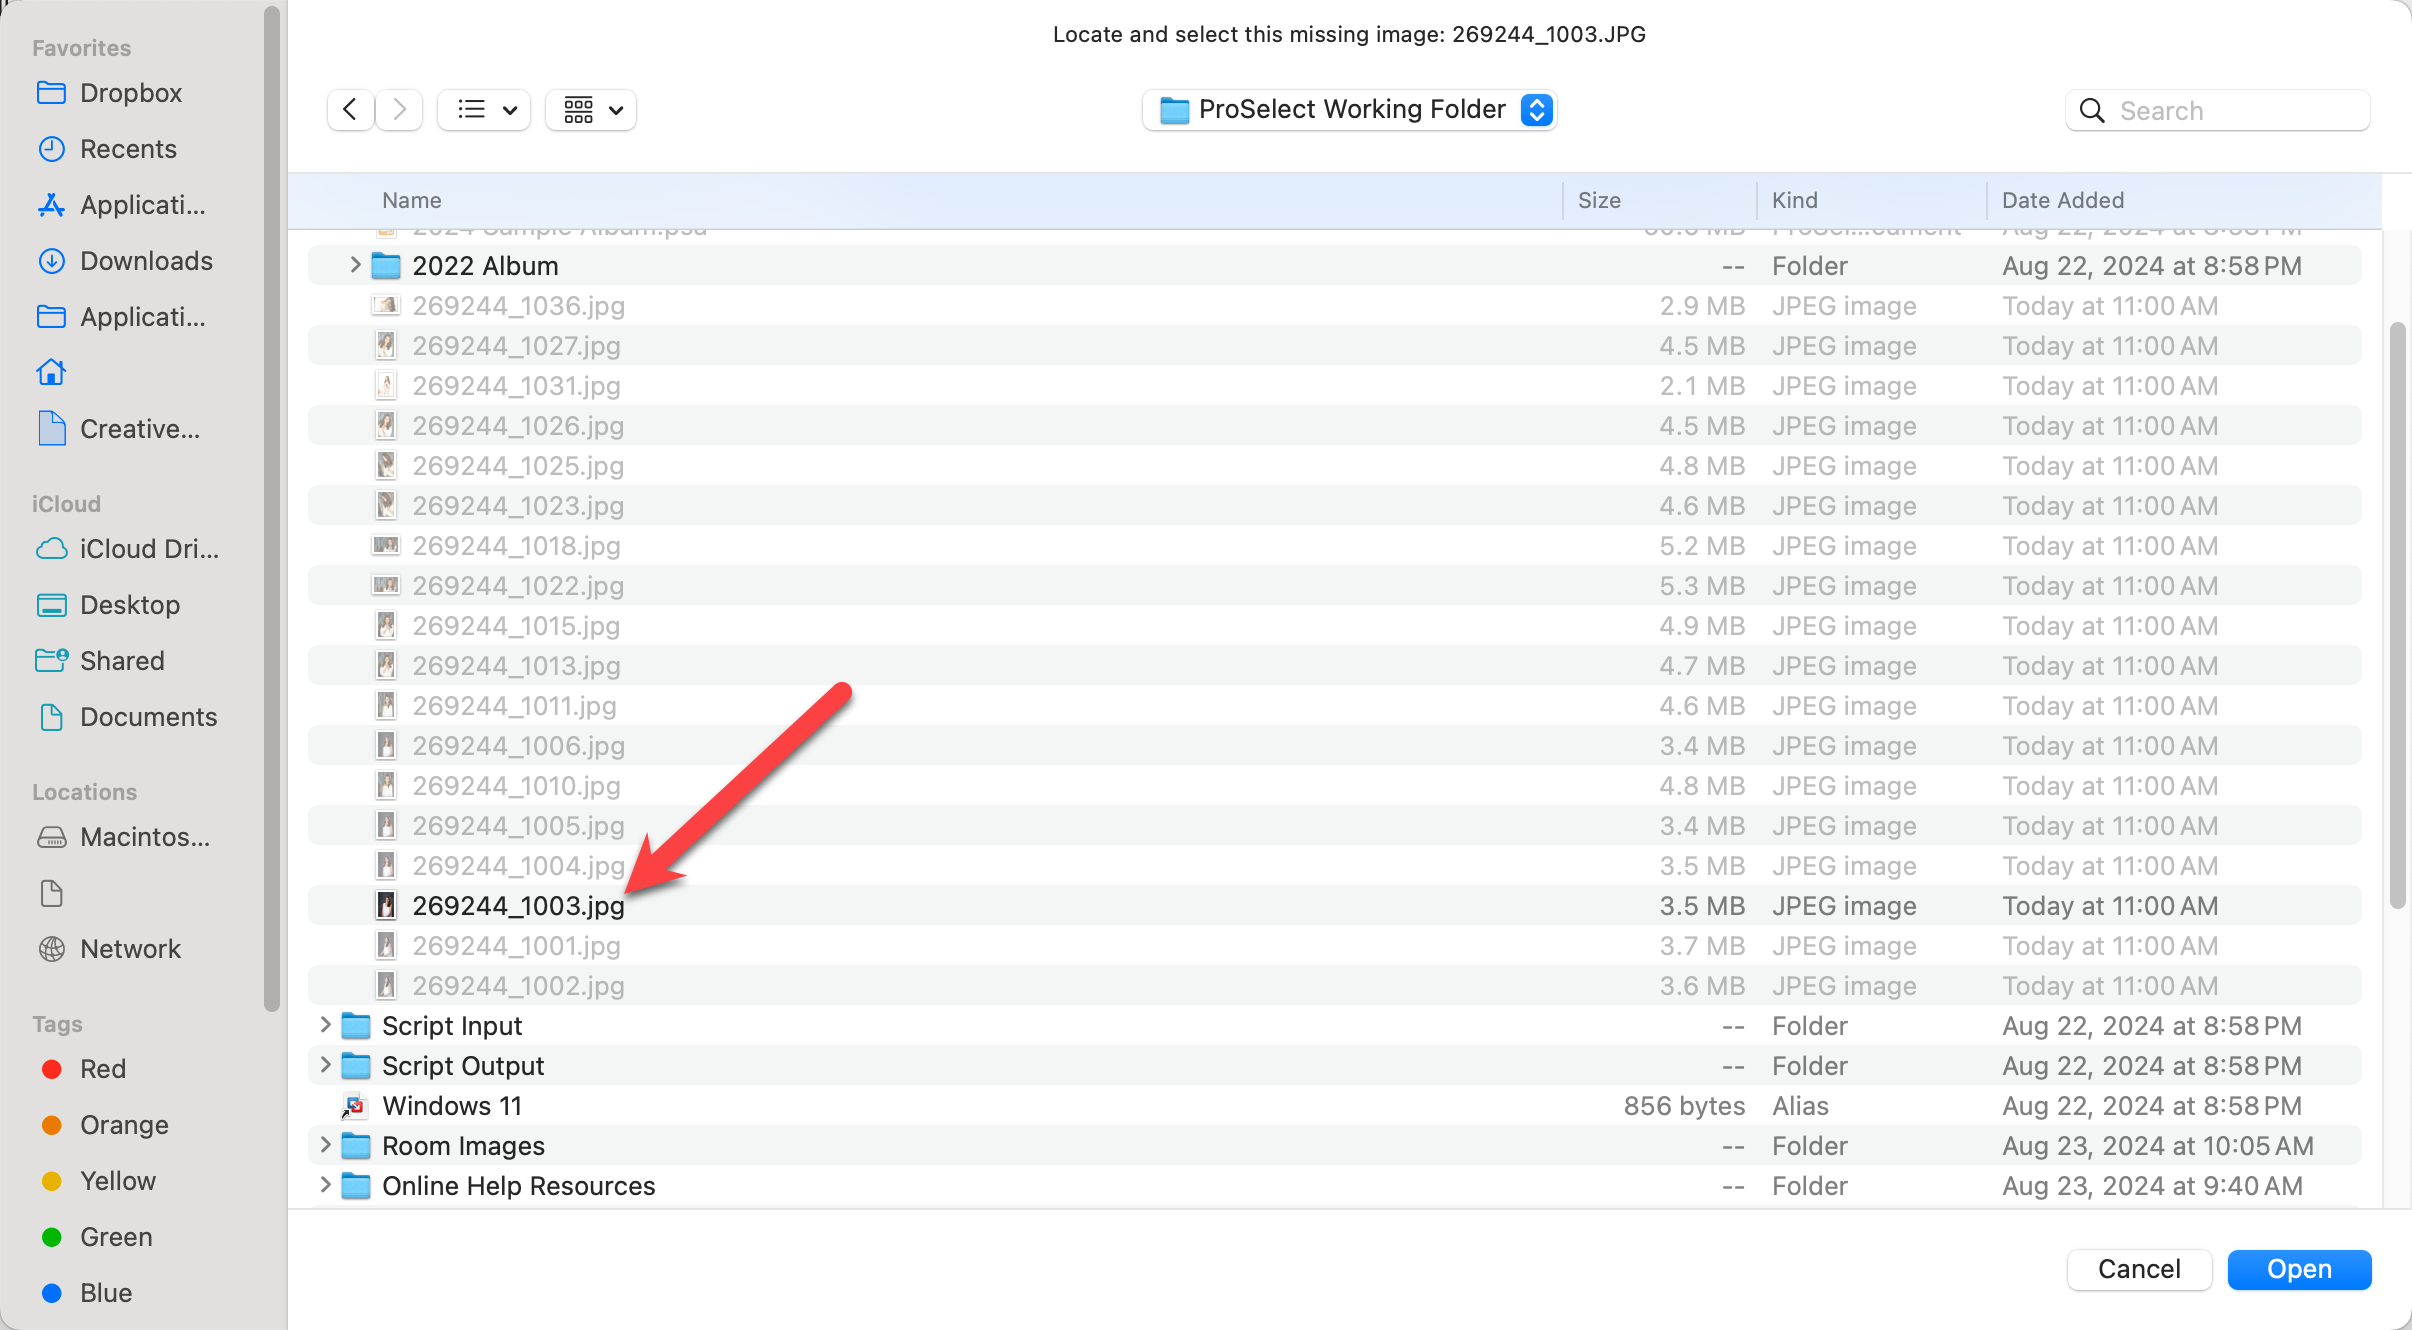
- ProSelect has now found the missing images and updated the pathway. They are now tagged with a green status box.
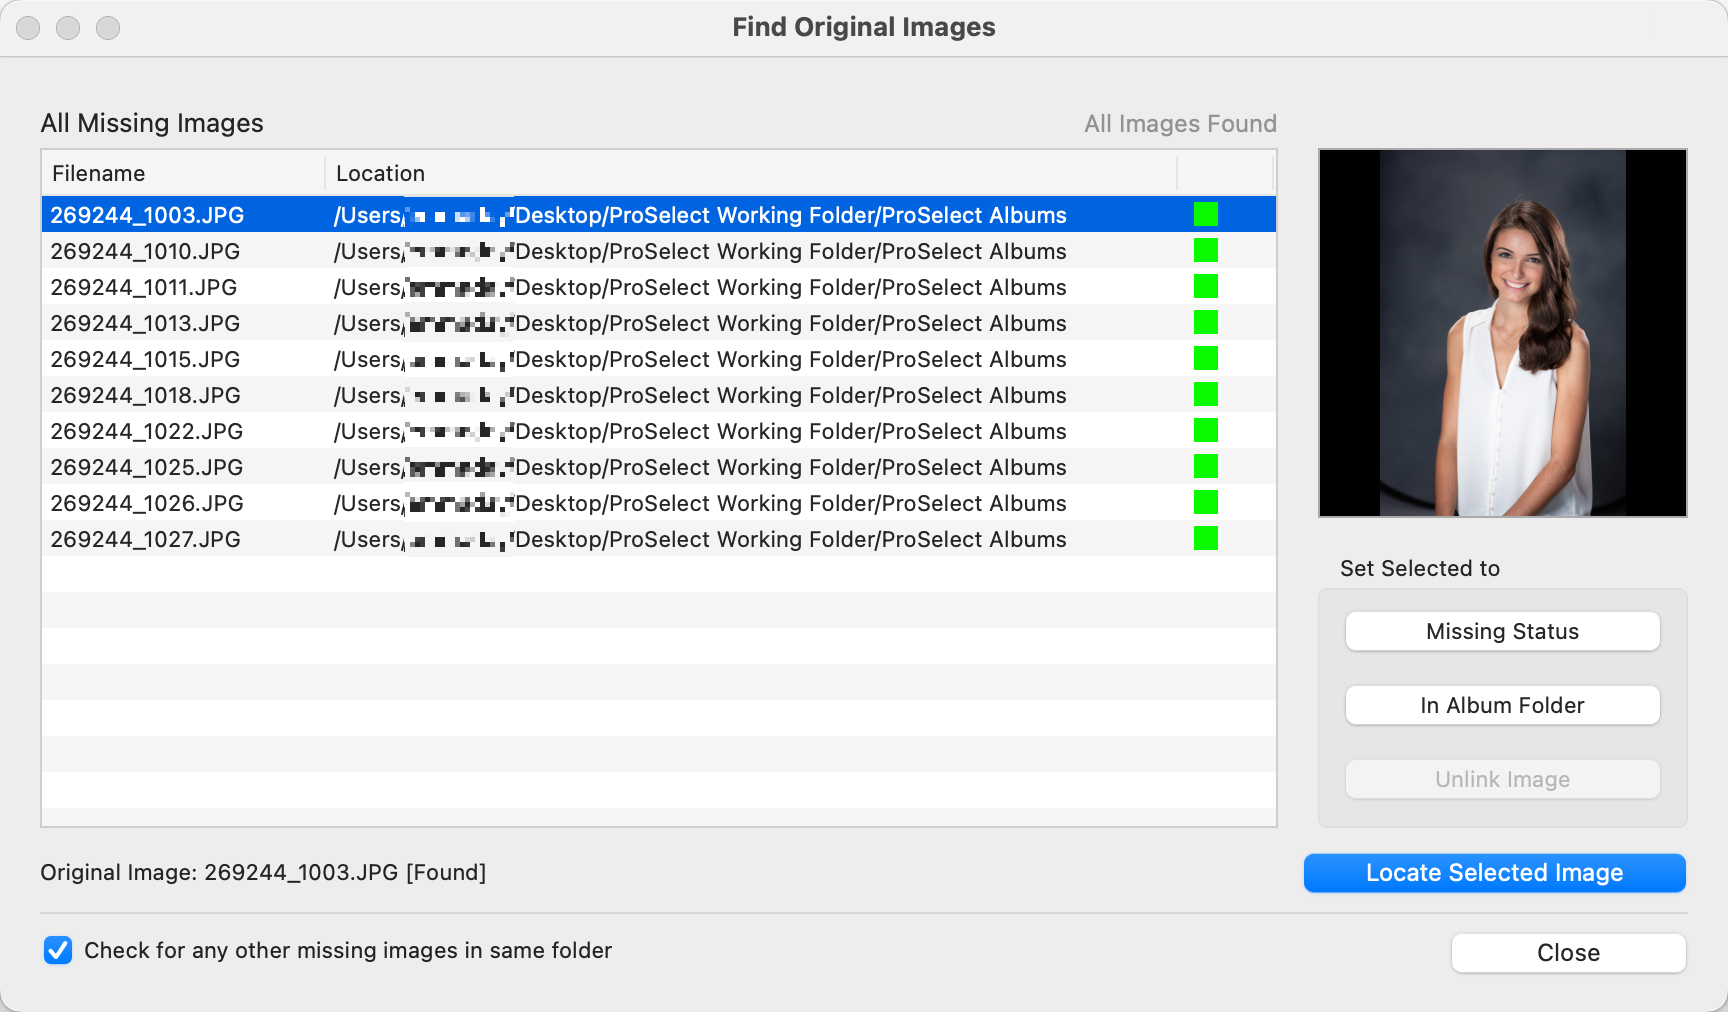
- If the missing images are not all in the same folder, repeat this process to locate all images.
Other Find Options
- If an image’s status is marked as green (found), but you need to update or correct its location, you can use the Missing Status button. Clicking this button will reset the status, marking the image as missing (red), allowing you to re-specify its location.
- If you wish all images to be recognized as located in the same directory as your currently open album file, simply click the In Album Folder button. This action sets the image paths to this central folder.
- If you have more than one copy of your original images in different folders, you can force ProSelect to change the saved locations. Hold down the Shift key while using the Images > Find menu commands. You can then reset the status of all images within a specific category (such as All, Ordered, or Books) to 'not found'. Then, by locating one image in the new desired location, ProSelect will automatically update the location for all images in that category to reflect this new directory. This feature is particularly useful for maintaining consistency across your image database when changes to file storage locations occur.