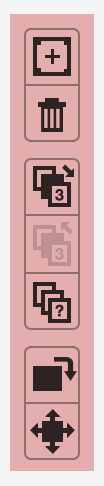
Opening Tools
The Opening Tools are located on the upper right-hand side of the Template Editing Area.
All openings have a numerical order which is displayed in the top-left corner when editing a template. The order of the openings is important.
- When you have overlapping items, the higher numbers are drawn on top of lower number items. Openings for background images or graphics elements should start from #1.
- When you create a Traditional Matted product type, the main or largest image should be set to be the #1 opening as this is used when sizing a dynamically sized template.
- When copying images from one template to another (such as when swapping templates in a product or book page) images are copied from the same opening number order. It is good practice when designing Composite Templates to keep a consistent numbering system such as starting with the low numbers on the top left side. You can change the order of the openings by using the tools.
To add an opening, click the Add Opening button. By default, the opening added will be the same size as Opening #1. If you wish to duplicate a different opening, select the opening first before clicking the Add Opening button. If you select more than one opening, then all selected openings will be duplicated. You can also use Cmd + cAlt + c to copy any selected opening(s). Use Cmd + vAlt + v to paste the opening(s) into any template.
In the example below, after clicking the Add Opening button, Opening #4 was created. It's dimensions are the same as Opening #1.
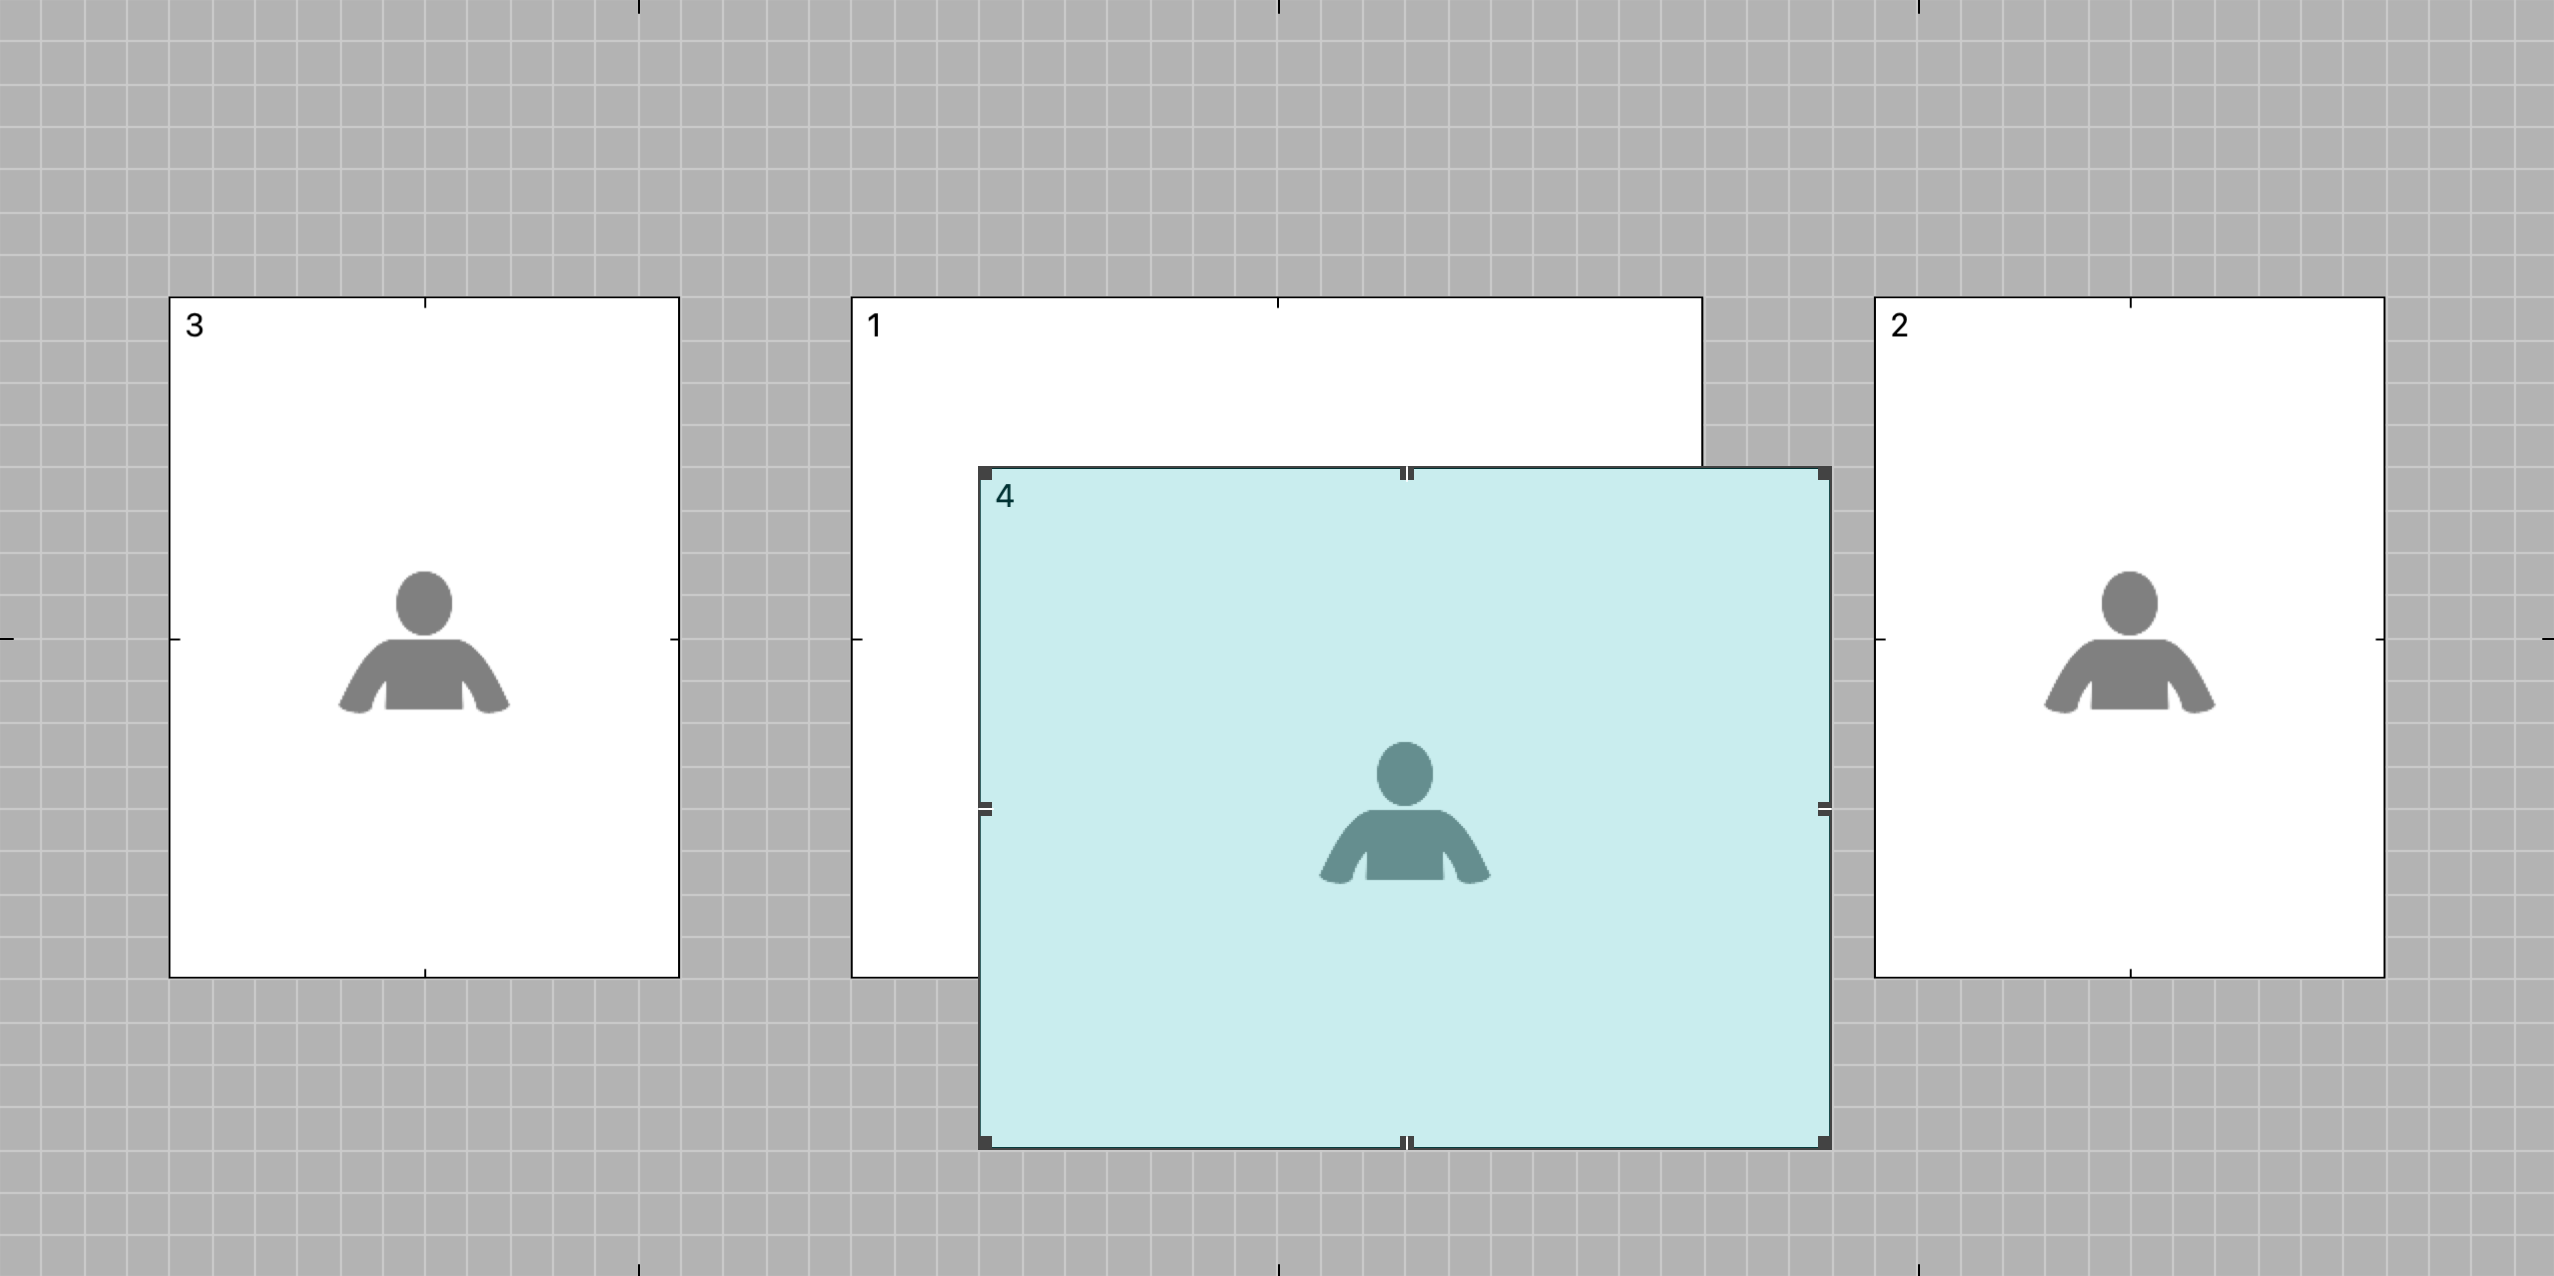
In the next example, Opening #3 and Opening #1 were selected before clicking the Add Opening button. Therefore, Opening #5 and Opening #4 were created to match the selection.

To remove an opening, select the opening(s) to be removed and click the Remove Opening button. You can also use the DeleteBackspace key to remove the selected opening(s). You can remove all openings. However, you can’t save the template unless it has at least one opening or graphic block.
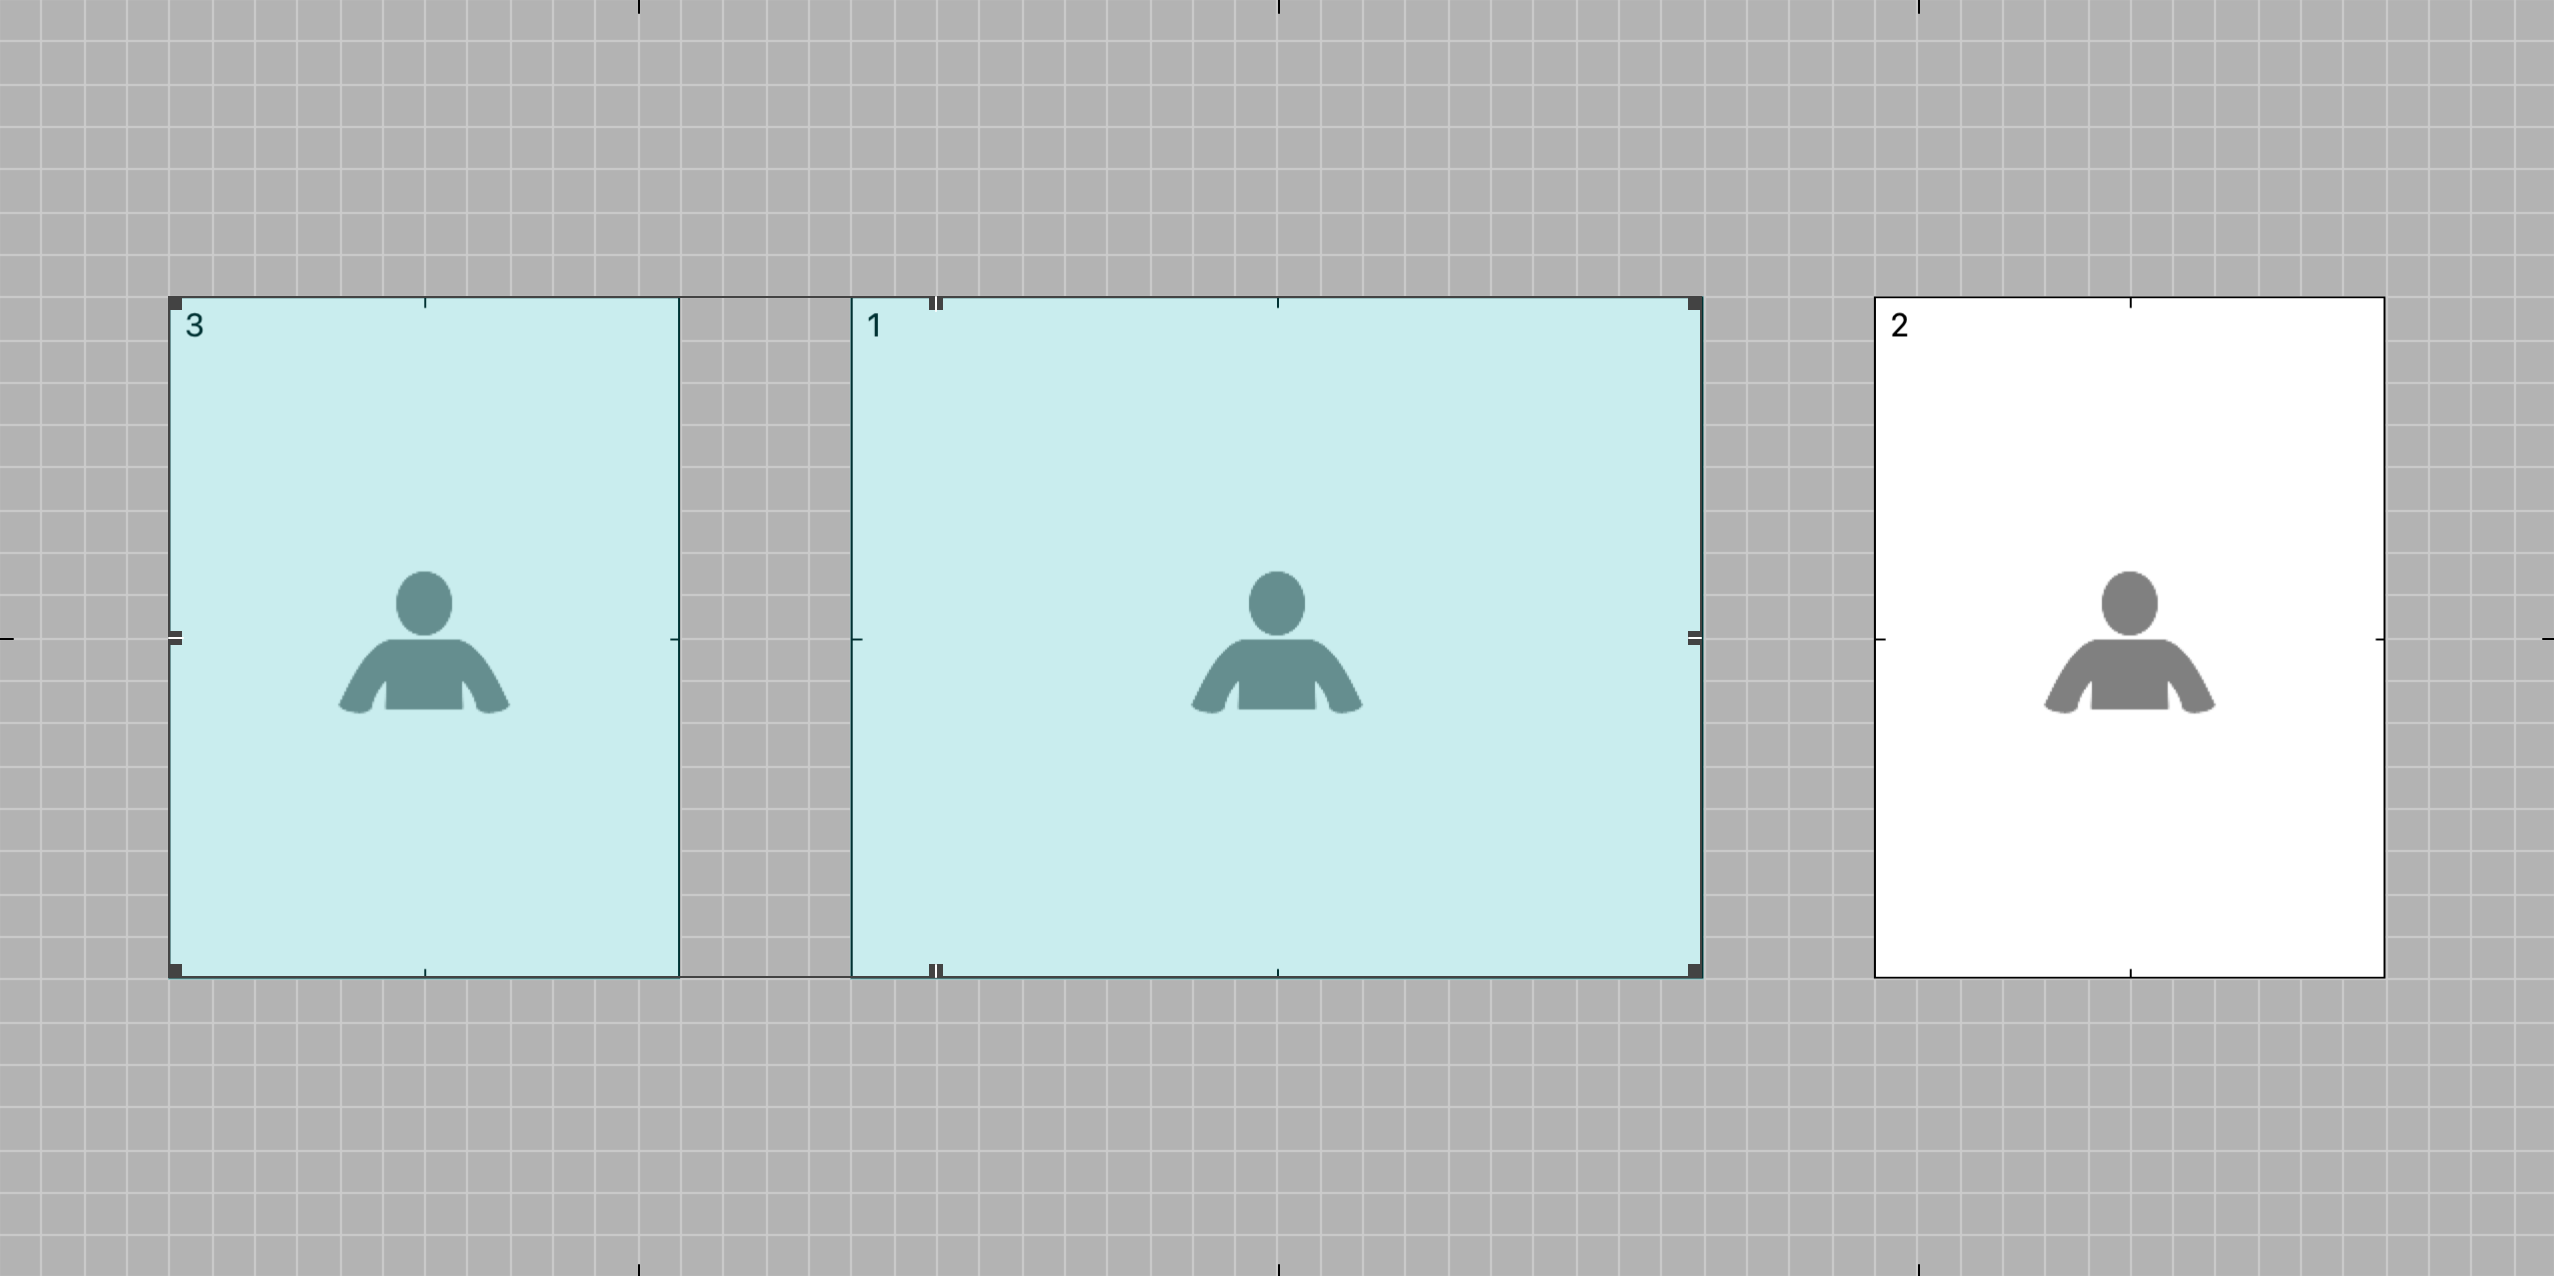
Select an opening and click the Bring Opening Forward button to bring the selected opening one place closer to the front. Alternatively, click Option + ![]() Alt +
Alt + ![]() to bring the selected opening to the very front (the highest #).
to bring the selected opening to the very front (the highest #).
Select an opening and click the Send Opening Backward button to send the selected opening one place closer to the back. Alternatively, click Option + ![]() Alt +
Alt + ![]() to send the selected opening to the very back (the lowest #).
to send the selected opening to the very back (the lowest #).
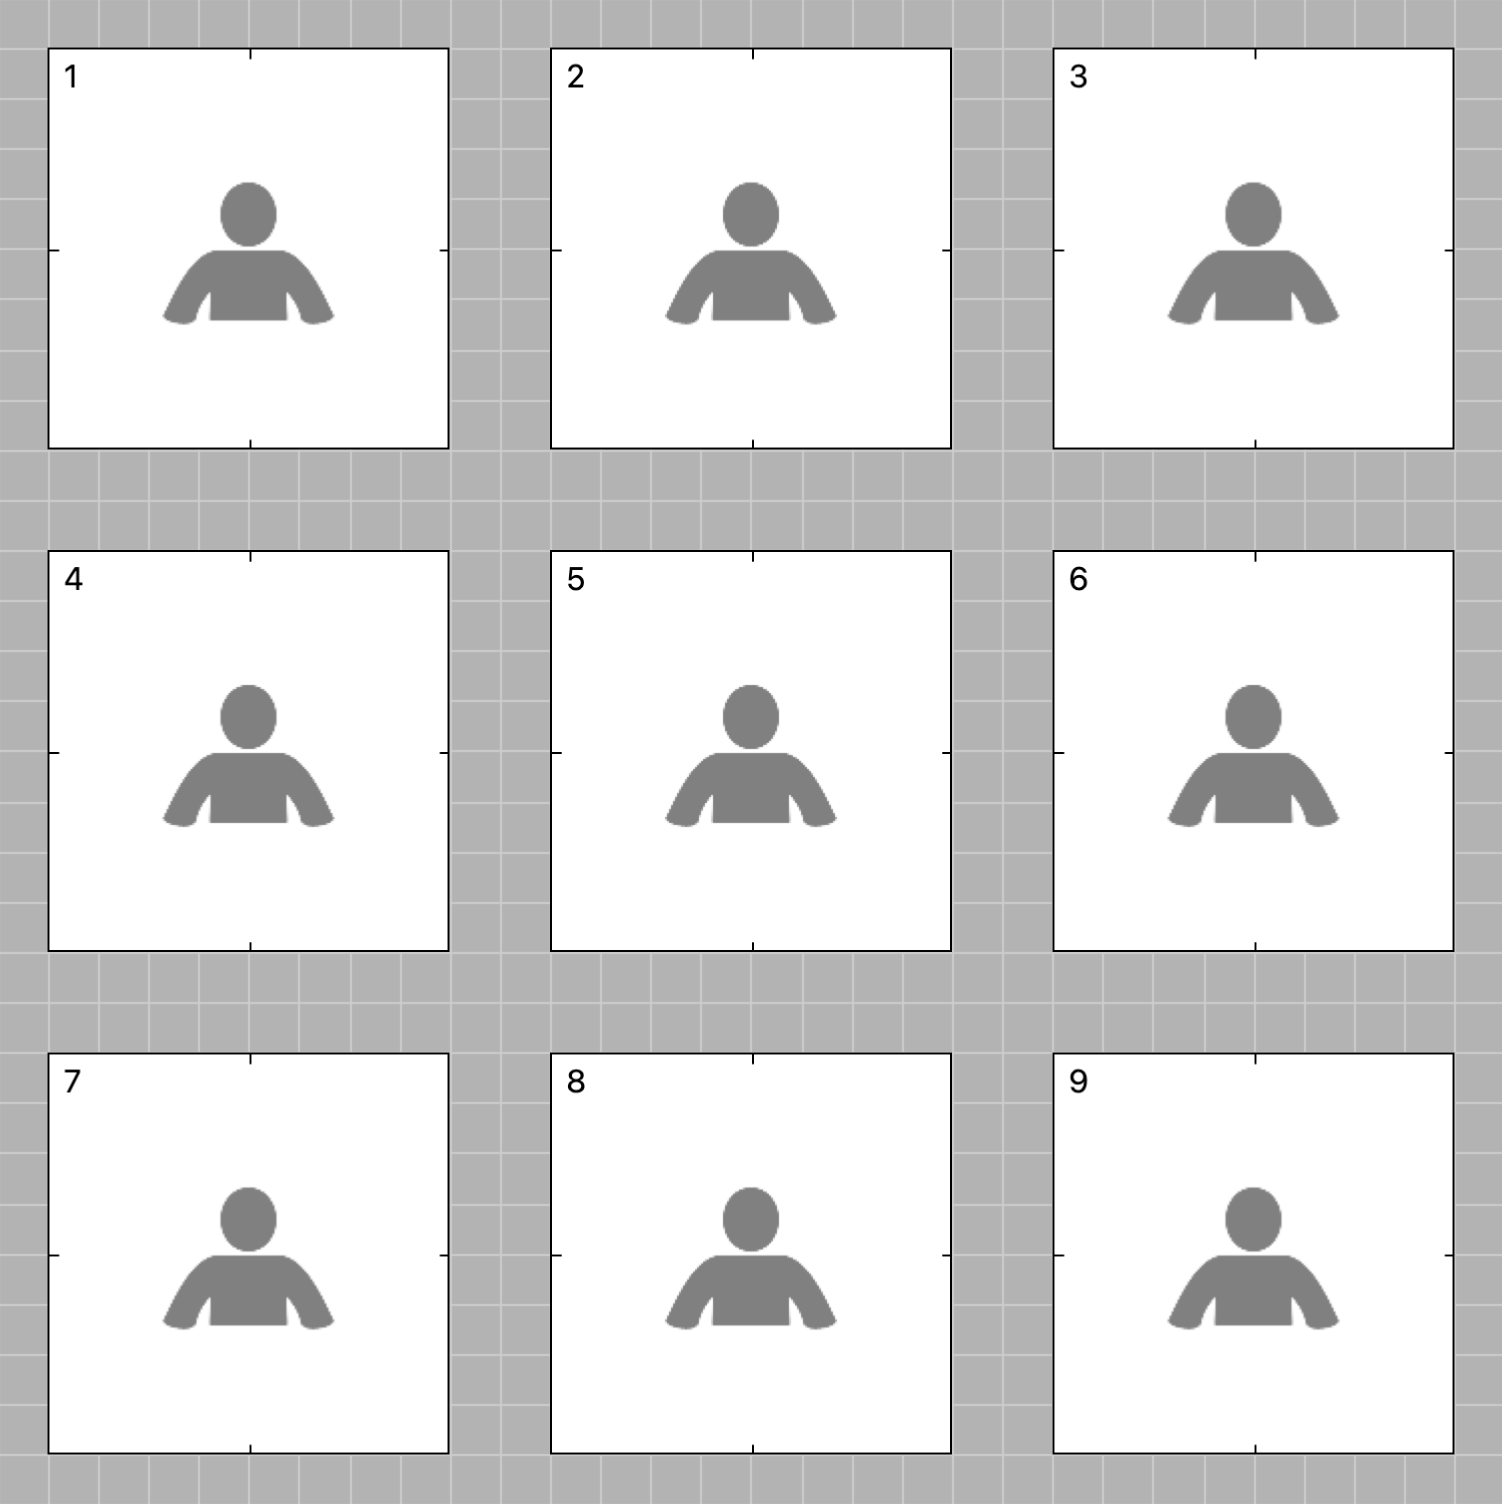
Click the Reorder All Openings button to reorder the openings starting with Opening #1 in the top-left corner of the template, increasing across and down. Alternatively, click with the OptionAlt key to start with Opening #1 in the bottom right.
The following is an example of clicking the Reorder All Openings button. Opening #1 is in the top-left corner of the template, the other openings increase in number across and down.
Next is an example of clicking the Reorder All Openings button while holding down OptionAlt. Opening #1 is now on the bottom right.
You can click the Reorder All Openings button while holding the Shift key down to make the largest opening the #1 Opening. The remaining openings will be numbered from top left.

To rotate an opening or multiple openings, select the opening(s) and click the Rotate Opening button.
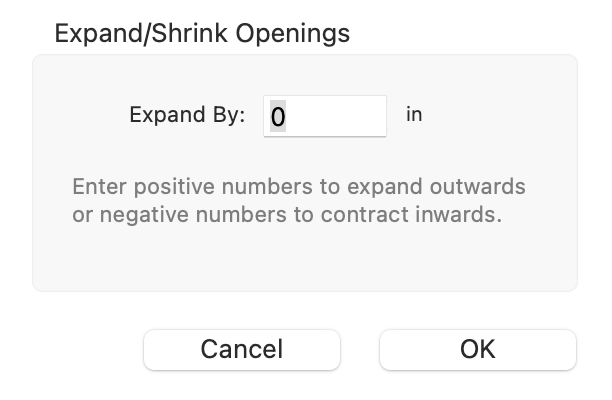
When you click the Expand/Shrink Openings button, a dialog box appears where you can enter a value to expand or shrink an opening by a specific amount on all sides. Enter a positive number to expand the opening, and a negative number to shrink the opening.
| Opening Tools | |
| Cmd + cAlt + c | Copy selected opening(s) |
| Cmd + vAlt + v | Paste selected opening(s) |
| Option + |
Bring opening to front |
| Option + |
Send opening to back |
| Option + |
Reorder all openings starting with #1 in the bottom left |
| Shift + |
Reorder all openings making #1 the largest opening |