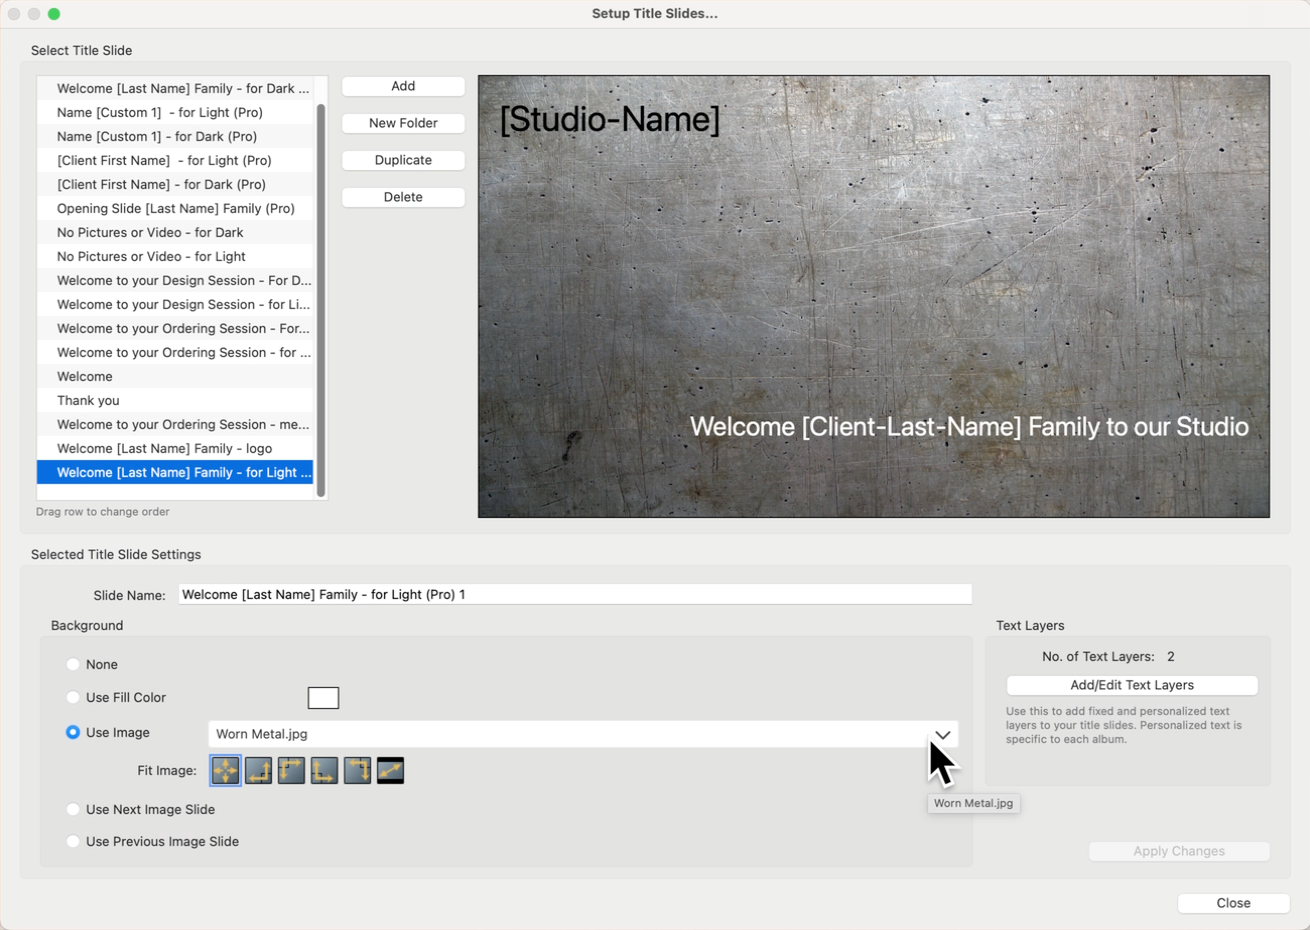
Title Slides
Title slides are great for breaking up a slideshow into sections, making it easy for viewers to follow along. They help introduce different parts of the slideshow, adding text descriptions or branding that make the slideshow look better and communicate important information. Title slides in ProSelect are created and configured in the Setup Title Slides window. Go to the top menu, Slideshow > Setup Title Slides. Once set up, these slides are stored as resources and can be incorporated into any slideshow you work on.
- Each title slide includes a background that can be plain, color-filled, or feature an image such as a studio logo.
- Add text layers to the slides to create transitions within the slideshow.
- ProSelect Pro users can use dynamic text [text tags] to personalize the slides.

To create or edit title slides, go to the top menu, Slideshow > Setup Title Slides. This will open the Setup Title Slides window.
- Select a title slide to work with from the list on the top-left side. A preview of the slide appears to the right. You can edit the name of the slide in the "slide name" box.
- Add a new title slide by using the Add button. Alternatively, select and duplicate an existing title slide and modify it. Name the slide using the "slide name" box.
- You can group together title slides using the New Group button. When added to a slideshow, all title slides in the group will be added at once.
- Once you name your "New Title Slide Group," you can drag title slides into the group from the list.
- Drag and drop title slides under the group name.
- The disclosure arrow will show/hide the slides within the group.
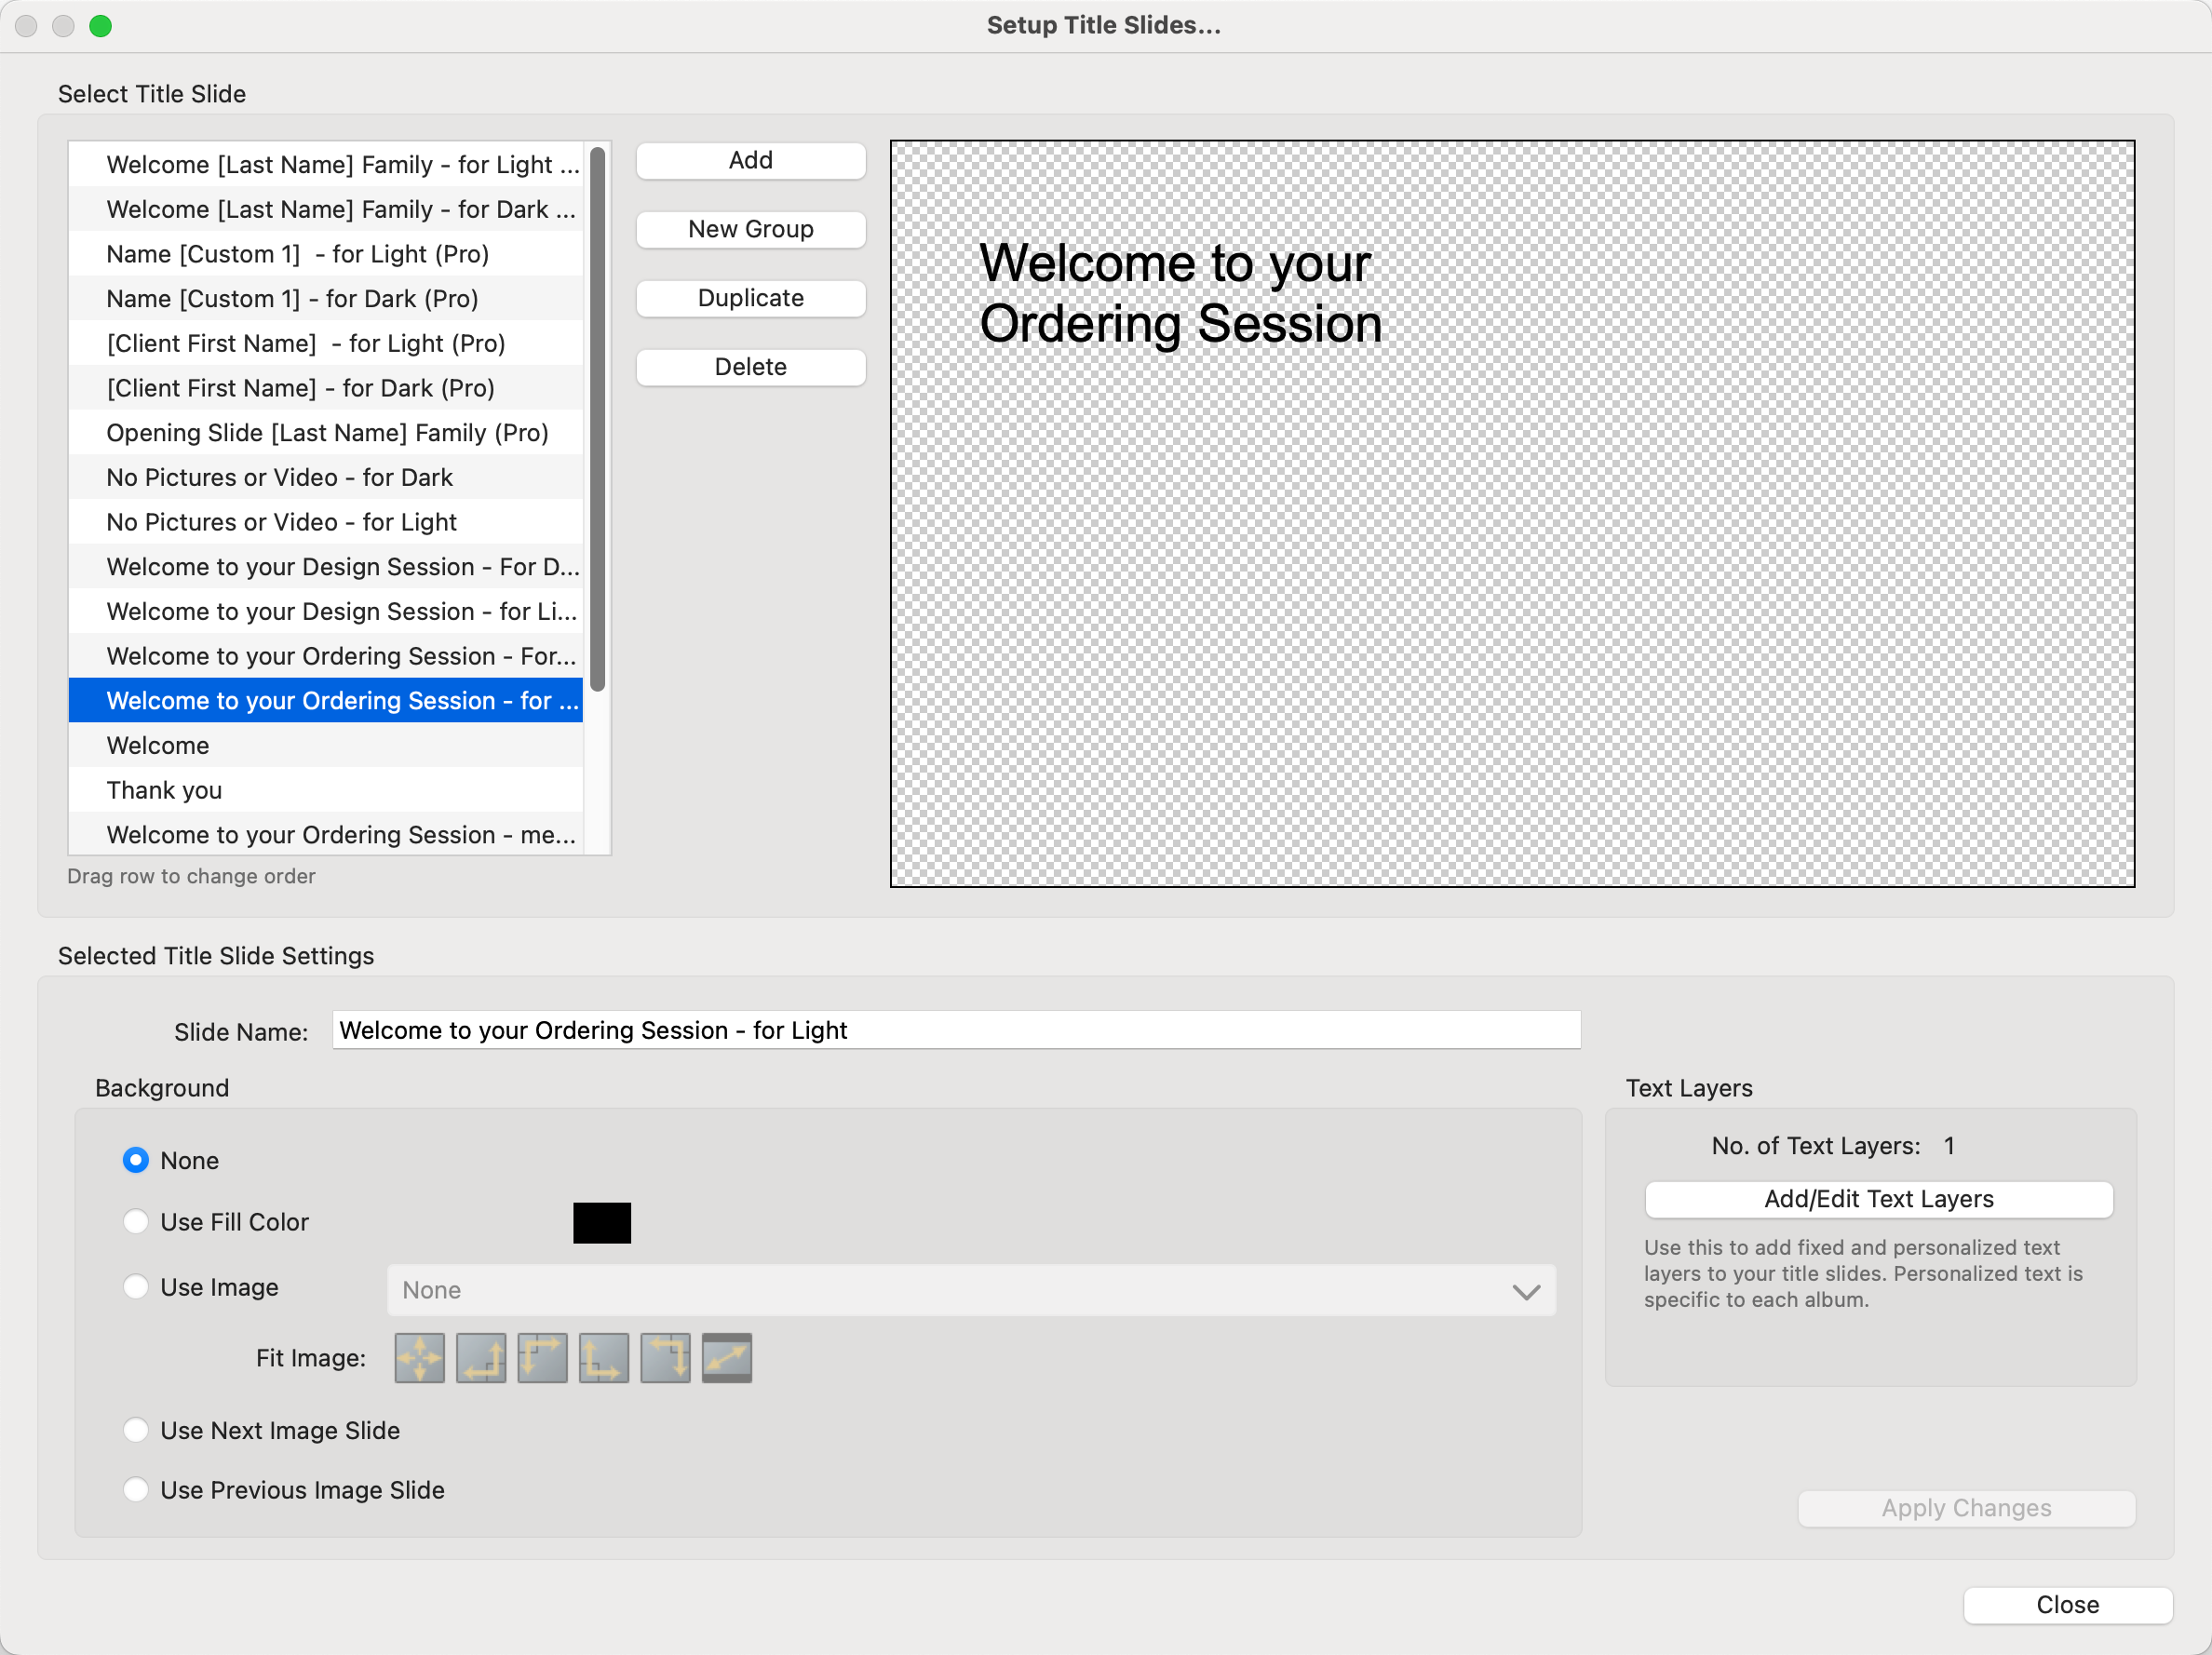
There are several different options for the background of a title slide. When selecting a background, be sure to click the Apply Changes button to preview the title slide.

- None: This option leaves the background transparent. The title slide will use the underlying Slideshow Styles background.
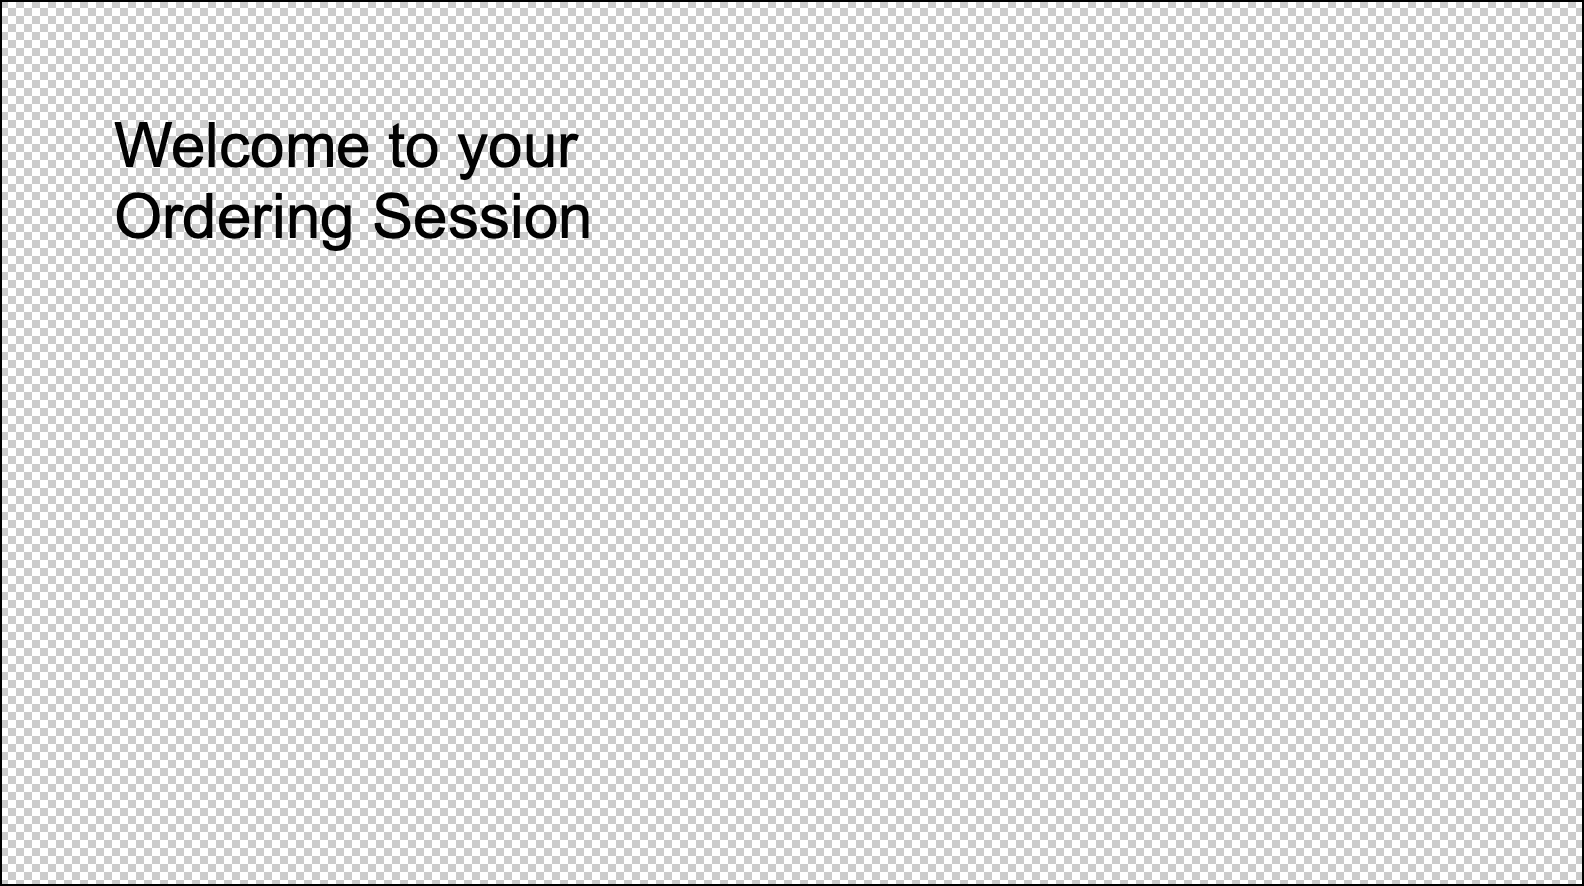
- Use Fill Color: Choose a color for the background by clicking on the color box. This is the same method as selecting a fill color for the background of a Slideshow Style.

- Use Image: Slideshow images are saved in the ProSelect Resources Folder. You can either "Select" an image from here or click on "Manage" to add a new image to the Resources.
- The Graphics Library offers ProSelect users access to over 200,000 high-resolution, royalty-free images. You can download an image from the Graphics Library to use as a title slide background.
- You can also add your studio logo to the resource images and use it as the background image.

- Image Fitting on Title Slides: You can "fit the image" by anchoring it to the corner, top, or bottom, or have it stretch. Image fitting options are similar to those used with slideshow styles. Click on Image Fit Options to learn more.
- Use Next/Previous Image Slide: This option overlays a text layer over the background of the next/previous image in your slideshow. As the slideshow transitions, the text will fade out or slide out, revealing the next image. It is a dynamic way to transition between sets or sequences of images. This feature is particularly useful when introducing or concluding sections within your slideshow.
- For instance, if you’re transitioning from a wedding ceremony to a reception in the slideshow, using the "Next Image Slide Background" with text such as “Reception Highlights” can seamlessly introduce the new section.
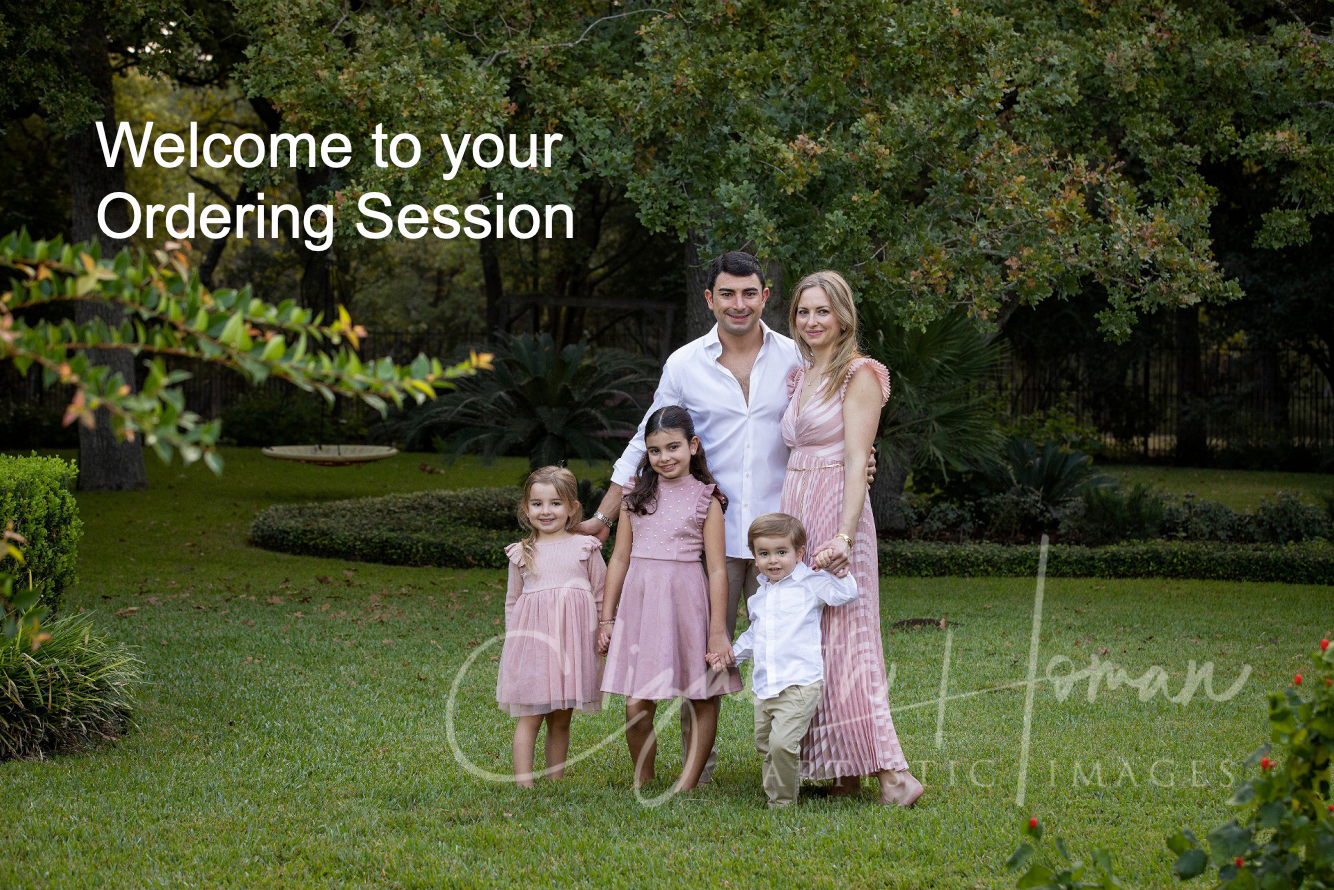
- For instance, if you’re transitioning from a wedding ceremony to a reception in the slideshow, using the "Next Image Slide Background" with text such as “Reception Highlights” can seamlessly introduce the new section.
Text layers can be added to your title slides. These text layers can be styled with different fonts, sizes, colors, and alignments, and can be set to either transparent or opaque. ProSelect Pro users can personalize these text layers with specific client information by using Personalized Text Tags, which pull data directly from your album file—like client names or event dates. This feature allows each slide to display relevant details uniquely tailored to the client or event. Additionally, you can adjust the position and size of text layers using your keyboard, ensuring they fit well on any screen size. While ProSelect Basic includes some sample slides with text tags, editing these tags is a feature reserved for ProSelect Pro users.
- Select the title slide you want to work with in the Setup Title Slides window.
- Click on the Add/Edit Text Layers button (located on the bottom-right side of the window).

- The Text Layer dialog will appear. From here you can add a new text layer, edit the text within a text layer, duplicate or delete a text layer.
- Type the required text into the "Selected Layer Contents" area. You can have multiple text layers in each title slide.
- Use the "Layer Properties" to make adjustments to the font, color, alignment, etc.
- Adjust the height using a percentage value. This ensures the text will remain correctly proportioned on any sized screen.
- Click OK when you are done.
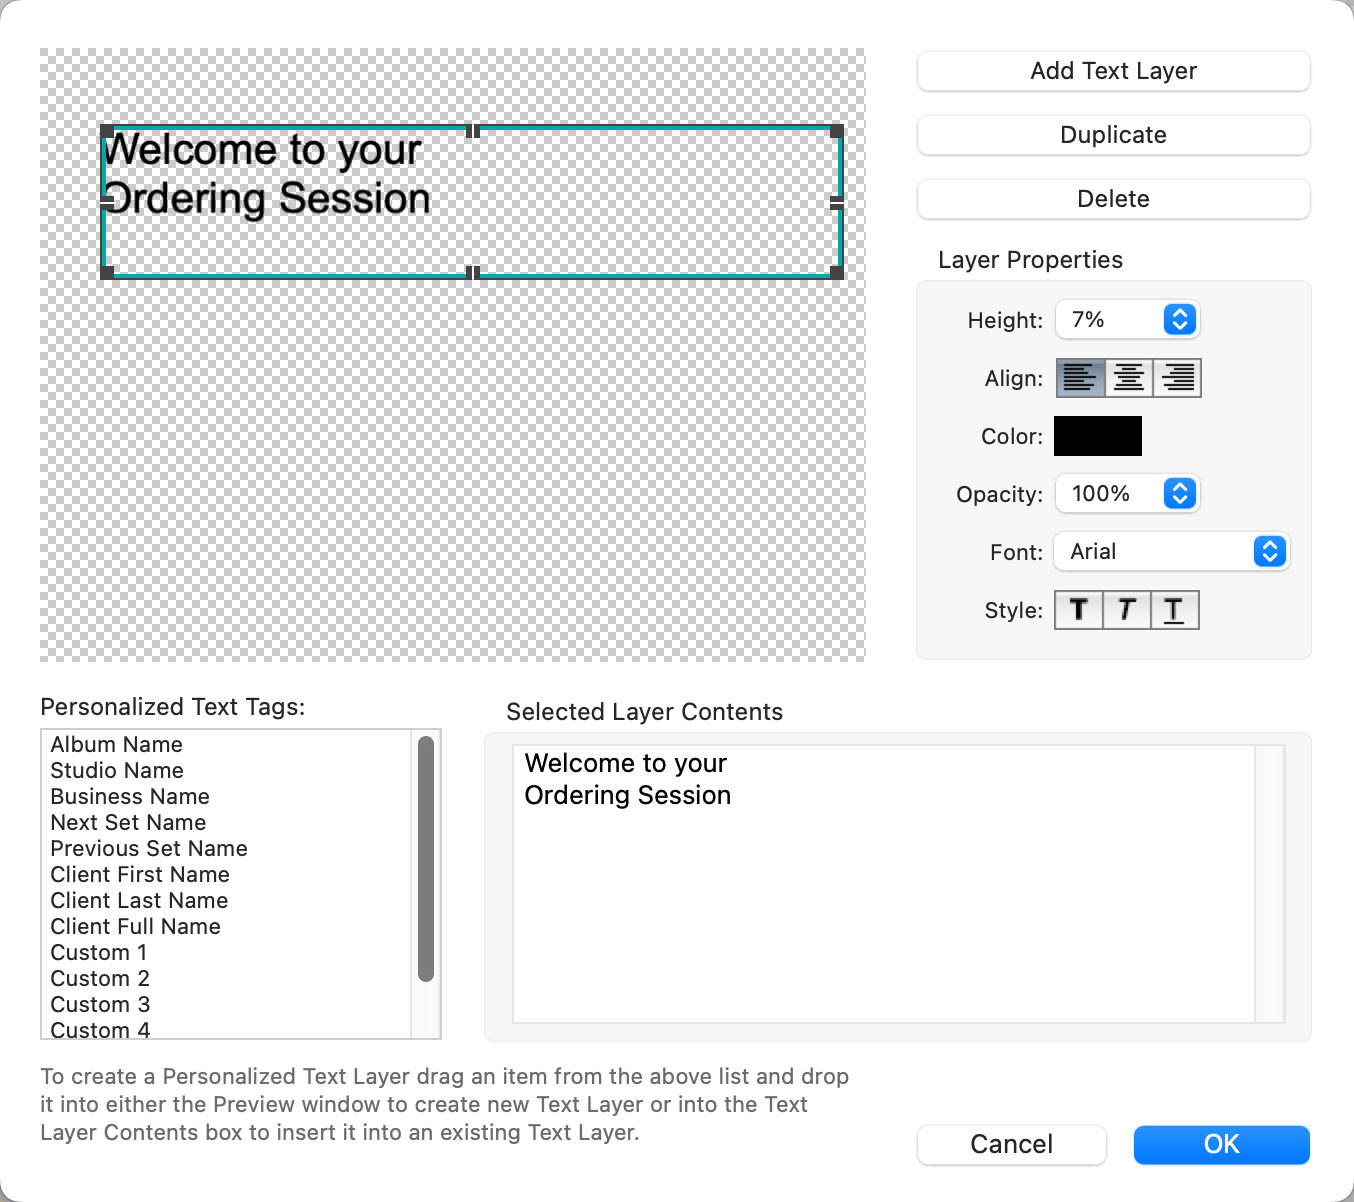
- Click and drag the text layer to position it within the title slide. Nudge the text layer box using the up and down arrow keys on your keyboard.
- Use the grab handles on the text layer box to adjust the size of the box.
- Personalized Text Tags are a ProSelect Pro feature. Click on Using Text Tags to learn more.
Personalized Text Tags in ProSelect allow you to dynamically display information specific to each client or event directly on your title slides. These tags can automatically pull and show data like client names or event details set up in the album file.
Using Text Tags is a Pro feature. Upgrade your subscription to Pro on the Pro Studio Software website.
For example, when using text tags like [Client-Last-Name], you create a single title slide template that automatically updates for each client. Your title slide might read, "Welcome [Client-Last-Name] Family to our Studio". As you prepare each client's slideshow, simply enter their last name into the client details, and ProSelect will replace the [Client-Last-Name] tag with the actual last name on the slide. This allows you to use the same template for all clients, streamlining your workflow while ensuring each slideshow is personalized.

- Tags like Client or Set Names automatically display information from the album file.
- You can create up to five custom tags for details such as dates, children’s names, school names, or other relevant occasions.
- Tags can be customized for individual slideshows within an album or set to display uniformly across all slideshows.
Adding a Text Tag
- Select the title slide you want to work with in the Setup Title Slides window.
- Click on the Add/Edit Text Layers button (located on the bottom-right side of the window).
- The Text Layer dialog will appear.
- Drag a personalized text tag from the box and drop it into the preview above. This will add the text tag as a new "text layer."
- Alternatively, drag a personalized text tag and drop it into the "Selected Layer Contents" box. This will insert the text tag into an existing text layer.
- You can have multiple text layers in each title slide.
- Use the "Layer Properties" to make adjustments to the font, color, alignment, etc. just like you would for a normal text layer.
- Adjust the height using a percentage value. This ensures the text will remain correctly proportioned on any sized screen.
- Click OK when you are done.
- Once you have created your title slide, you can use it in a slideshow. Click on Handling Text Tags in a Slideshow to learn more.
Tag Validation
When you add a title slide with text tags to your slideshow, ProSelect checks to ensure all tags have values. Missing tags are indicated by a caution symbol ![]() on the slide thumbnail as well as the Edit Slideshow Personalized Text button.
on the slide thumbnail as well as the Edit Slideshow Personalized Text button.

Handling Missing Tags
- Click on the Edit Slideshow Personalized Text button
 . Alternatively, go to the top menu, Slideshow > Edit Slideshow Personalized Text.
 - The Edit Slideshow Personalized Text dialog will display the missing text tag information in red.
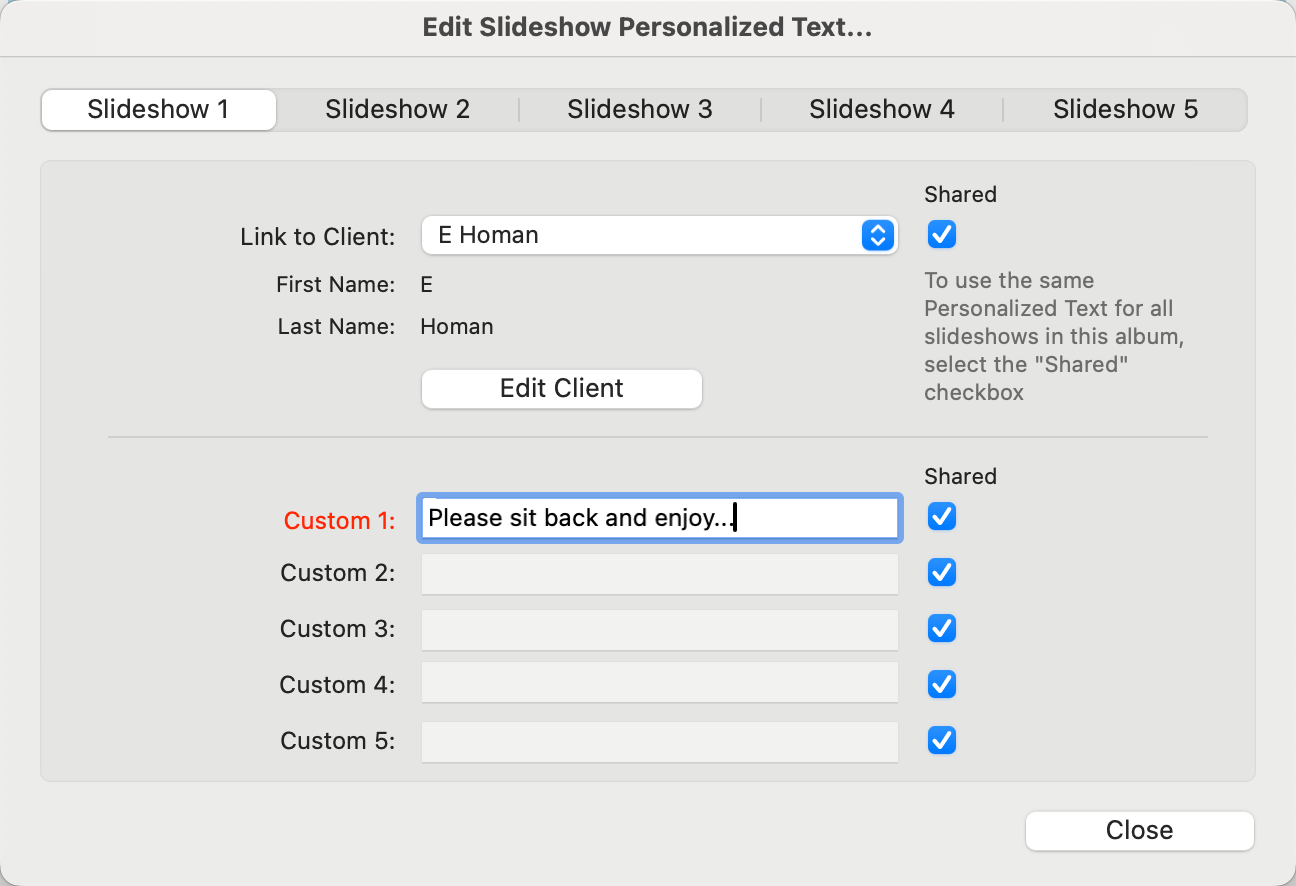
- Fill in the appropriate information to resolve the text tag.
- Use the checkboxes to share the info across all slideshows, or use the Slideshow Tabs along the top to enter different information in each one.
- Although linked by default to the first client’s information, each slideshow can be linked to different clients if needed. Select the Slideshow Tab at the top, then use the "Link to Client" box to select the client.
- Click the Close button.
- The caution symbol will have disappeared. Double-click on the title slide to preview the title slide with the text tag information replaced.

Preview
It is important to check how title slides will look, including text substitutions, by selecting a slide and viewing it in Preview Slides view.
When you add title slides to a ProSelect slideshow, they are stored in the album file as copies of the original resources. If you later update the original title slide in your resources, these changes will not automatically apply to the slideshows where you've used this title slide. To reflect the updates, you will need to manually replace the title slides in each slideshow within each album where they have been used.
