The Production Window
Access the Production window by going to the top menu, Production > Production Manager. You can also access Production by right-clicking on an ordered product and selecting "Go To Production."
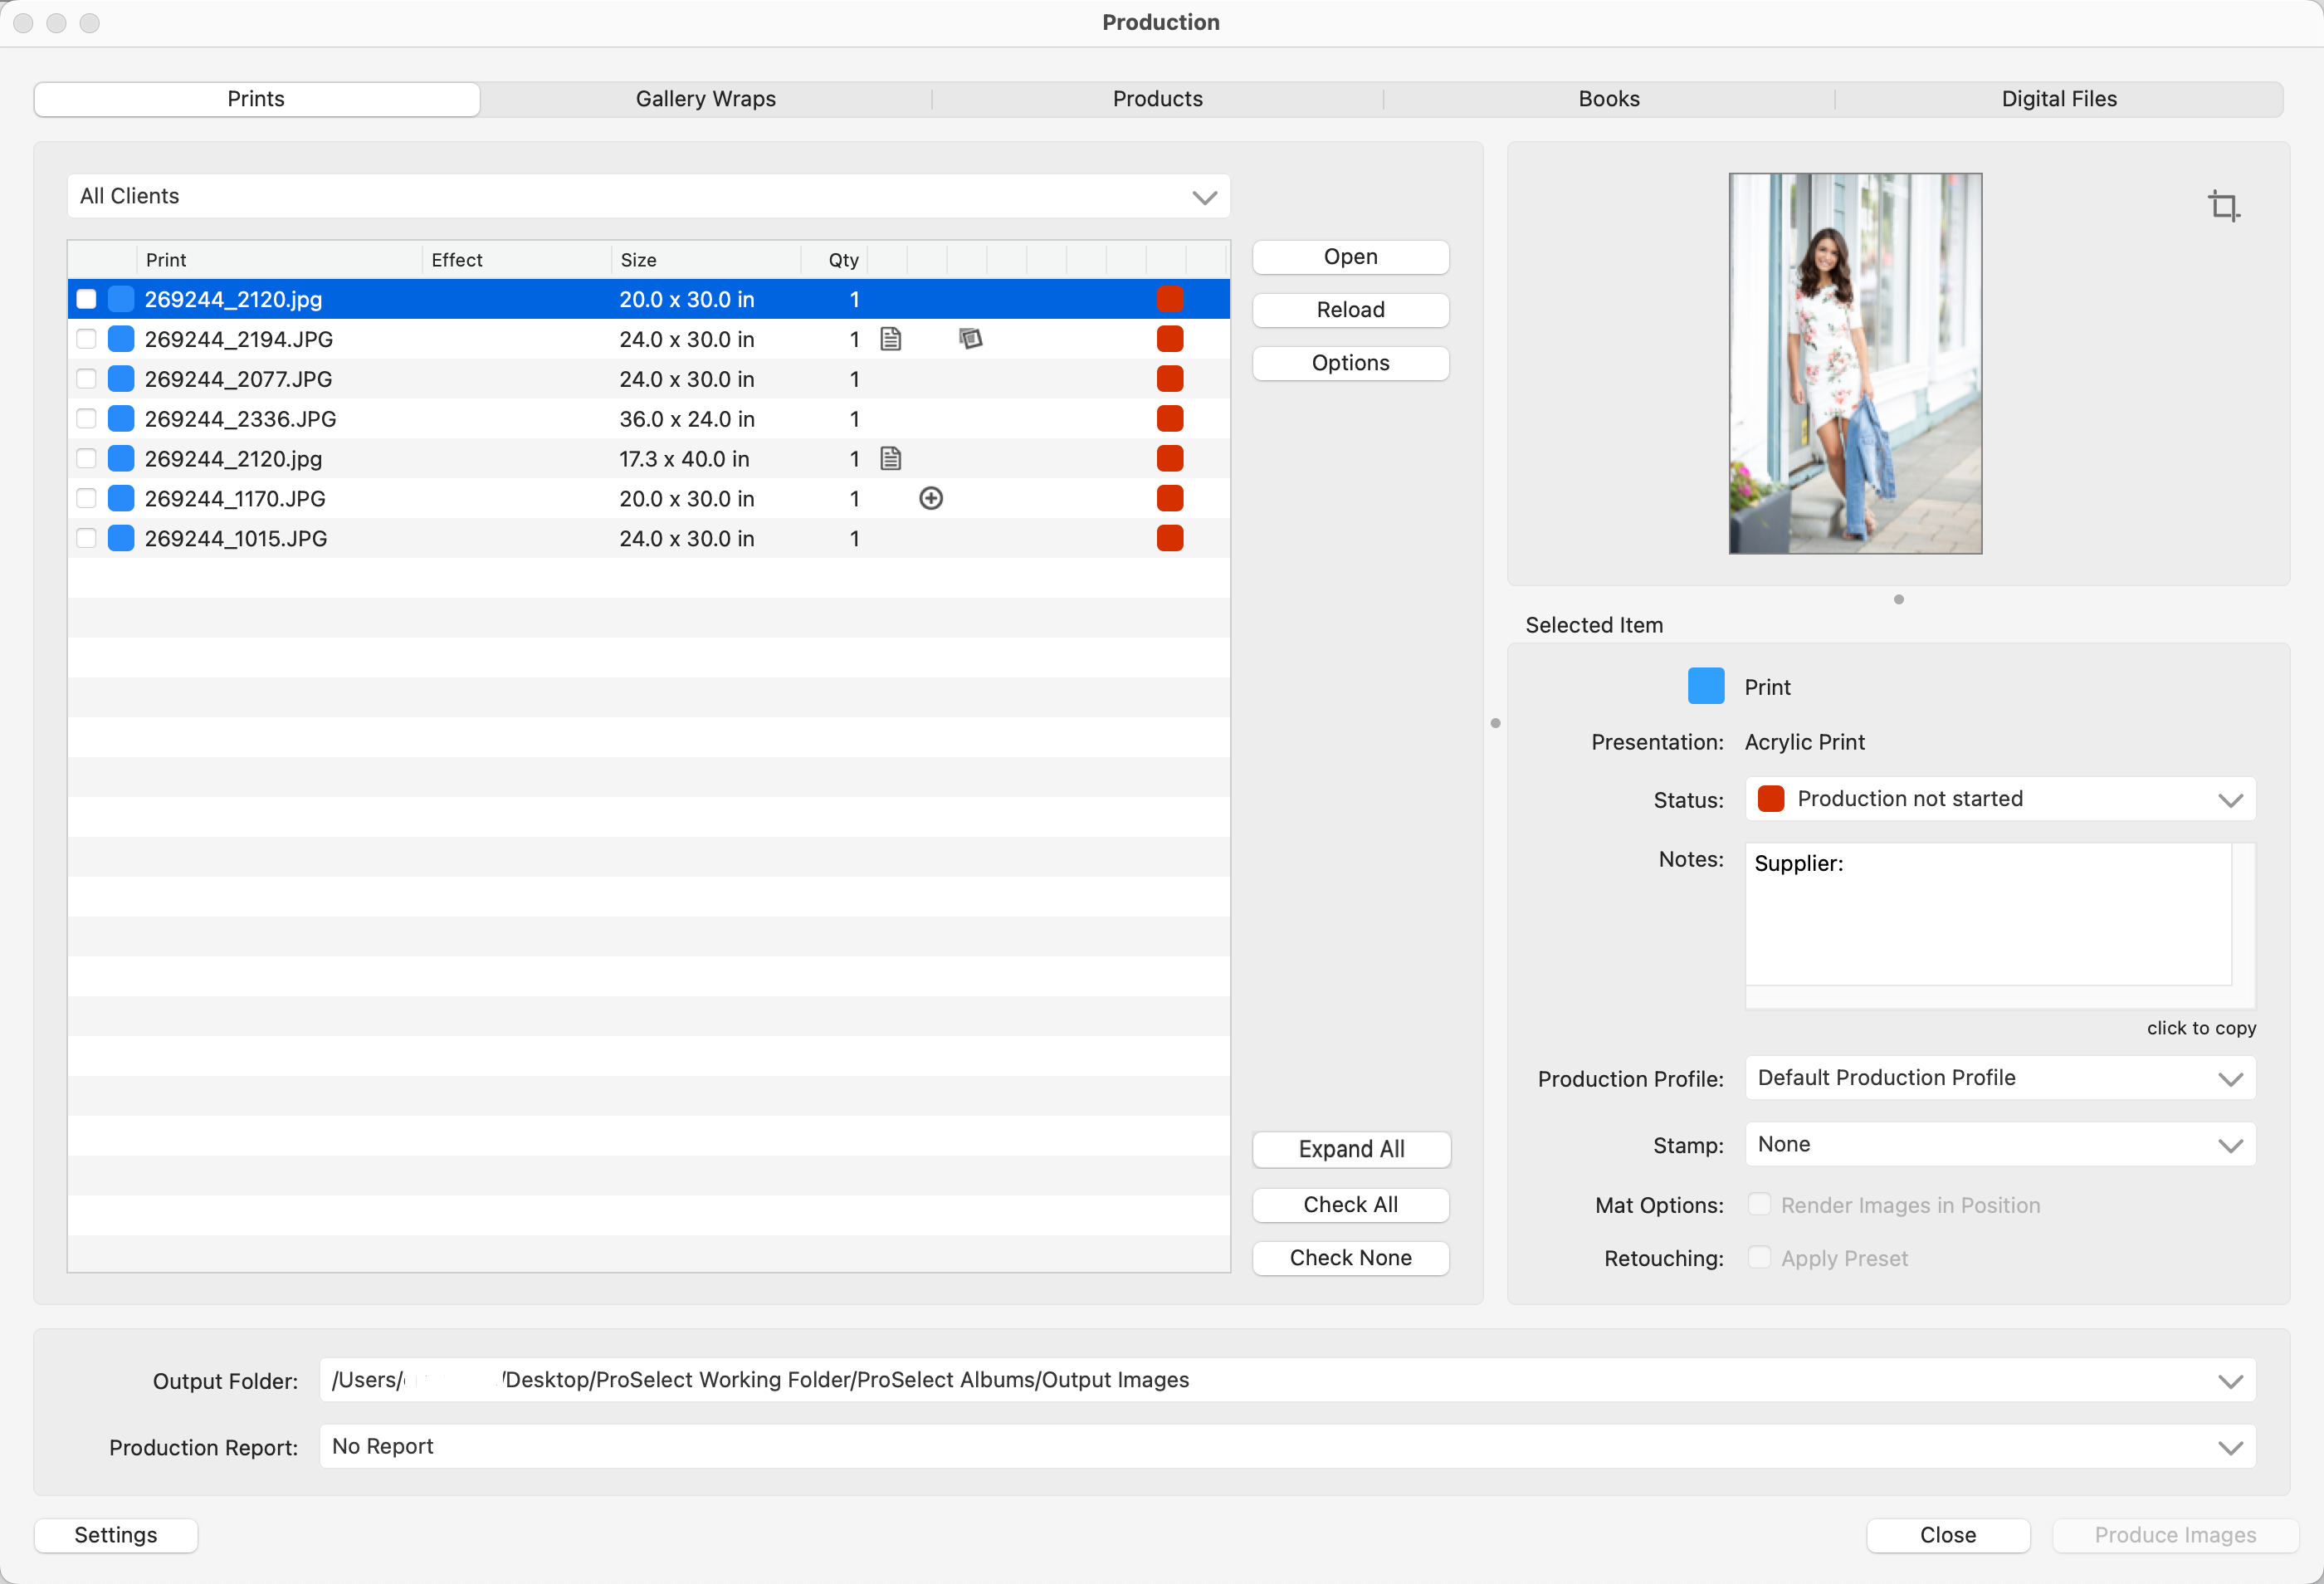
- Select a line item to view the Preview and Selected Item Details (right-hand side).
- Adjust the cropping of an image using the Cropping tool
 located in the Preview area.

 The Status of an image can be adjusted using the Status drop-down list. The status of each item in an album is stored, allowing you to return to a partially completed album and easily identify where you left off. You can select multiple images at once to update their statuses simultaneously, streamlining the workflow tracking process.
- Notes including supplier details, added effects, virtual styles, mats, and library notes are all listed in the "Notes" box. Copy the notes to the clipboard by clicking the words "click to copy" just below the notes box.
- Options such as selecting the Production Profile, applying a Stamp, Rendering Images in Position, and Applying Presets are available.
- A shortcut to Settings > Pro Production is available using the Settings button on the bottom-left of the window.
- Use the Expand All button to view all images grouped together (such as wall grouping images or book pages). Hold down the OptionAlt key while clicking the button to "Collapse All."
When producing images, ProSelect sorts images into different product tabs. The product tabs are located at the top of the Production window. Tabs include Prints, Gallery Wraps, Wall Groupings, Products, Books, and Digital Files. Select the tab to view and work with images associated with that product. Listed images may also contain Image Tags to provide additional information about the product.
- Product tabs appear only when needed. For instance, if your order doesn't include a Wall Grouping, that specific tab will not be displayed.
- Reference Products serve solely as guides and are not meant for production, therefore they do not show up in the Production window.
- Products marked as "exempt from production" will not be displayed.
Use the drop-down list below the product tabs to select which client order you wish to work on. By default, "All Clients" is selected.
In the Production window, tags next to each production item or image give you information about the item's status or characteristics.
![]() Notes Added
Notes Added
![]() Ordered with Extras
Ordered with Extras
![]() Traditional Mat applied
Traditional Mat applied
![]() Virtual Style applied
Virtual Style applied
![]() Image Status: Production Not Started: This is the default status set for each image when they are first ordered.
Image Status: Production Not Started: This is the default status set for each image when they are first ordered.
![]() Image Status: Edited/Retouch Complete: Changing the status to yellow could signify that the image has been retouched and is prepared for production.
Image Status: Edited/Retouch Complete: Changing the status to yellow could signify that the image has been retouched and is prepared for production.
![]() Image Status: Approved for Final Production: Changing the status to green might indicate the final files have been reviewed and are ready to be uploaded to the lab.
Image Status: Approved for Final Production: Changing the status to green might indicate the final files have been reviewed and are ready to be uploaded to the lab.
![]() Reloaded
Reloaded
![]() Stamp applied
Stamp applied
![]() Pretouched
Pretouched
![]() Perfectly Clear Disabled
Perfectly Clear Disabled
![]() Completed: Appears when the images have been produced. *This tag can be removed using the Options button. Select "Reset Output Done" from the options list.
Completed: Appears when the images have been produced. *This tag can be removed using the Options button. Select "Reset Output Done" from the options list.
Select one of the options to open the selected image and retouch. See the individual Retouching pages for more information.
Use one of the listed Reload options to Reload Retouched Images.
- Go to Product: Opens the selected product in ProSelect's main display in Working with Products.
- Go to Image: Displays the selected image in ProSelect's main display in Working with Images.
- Go to Order: Opens the Review Order window, displaying the selected product.
- Show in FinderFile Explorer: Reveals the location of the selected image in Finder.File Explorer.
- Reset Output Done: Selecting this action will remove the Completed tag
 from the selected image(s).
The Output Folder indicates where your high-res files will be saved after producing them. This location is saved in each album file so the same location will be used each time. The Output Folder location is set in Settings. Click on the Settings button on the bottom-left of the Production window.
- Use the drop-down list to select a different Output Folder location.
- Alternatively, you can reset to default (which is what is set in your settings).
- By default, images are placed in sub-folders within the Output Folder. The sub-folders can be based on print size or Presentation Options. This is also configured in Settings.
- Display Names: If you are using Display Names for any of your Presentation Options, note that when Production is run, the Presentation Option sub-folder will revert back to the original name provided by the Supplier, not the Display Name. This is to aid in placing lab orders.
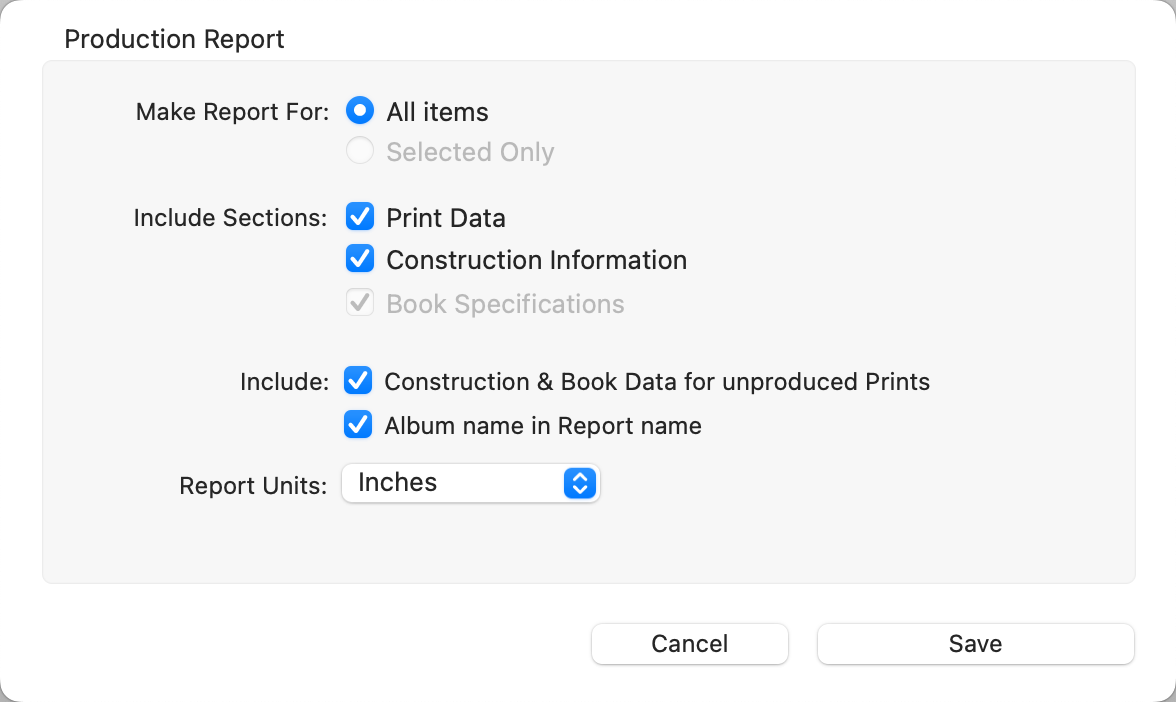
During Pro Production, ProSelect offers the option to generate a Production Report in various formats for different uses. This Report can also be included when Exporting a Production Package. You have the option to set the report to automatically update each time Pro Production is run (Save After Production). This report will be saved in the Output Folder Location specified in your settings. Use the Setup button to configure the format and details.
- XML format and JSON format are typically utilized by software for automated processing.
- Readable Text format is designed for easy human comprehension.
- Custom XML Type NL is another structured format for specific requirements.
These reports comprehensively detail all aspects of the production order, including:
- Names of original and output images
- Print sizes and quantities
- Product Template specifics
- Book design and construction information
- Details of applied mats
The specifications for these Production Reports are openly available, allowing any lab or book supplier to integrate them for streamlined product fulfillment. Specifically, the XML format Production Report can be used with Pro Studio Software’s Mat Cutter Conversion program, aiding in the preparation of mat cutter files for templates and books.
If you want to use Production Reports, you need to enable them first or they will not appear. Go to the top menu, ProSelectEdit > Settings > Pro Production > Output Settings > Options, and check the "Enable Production Reports" box.