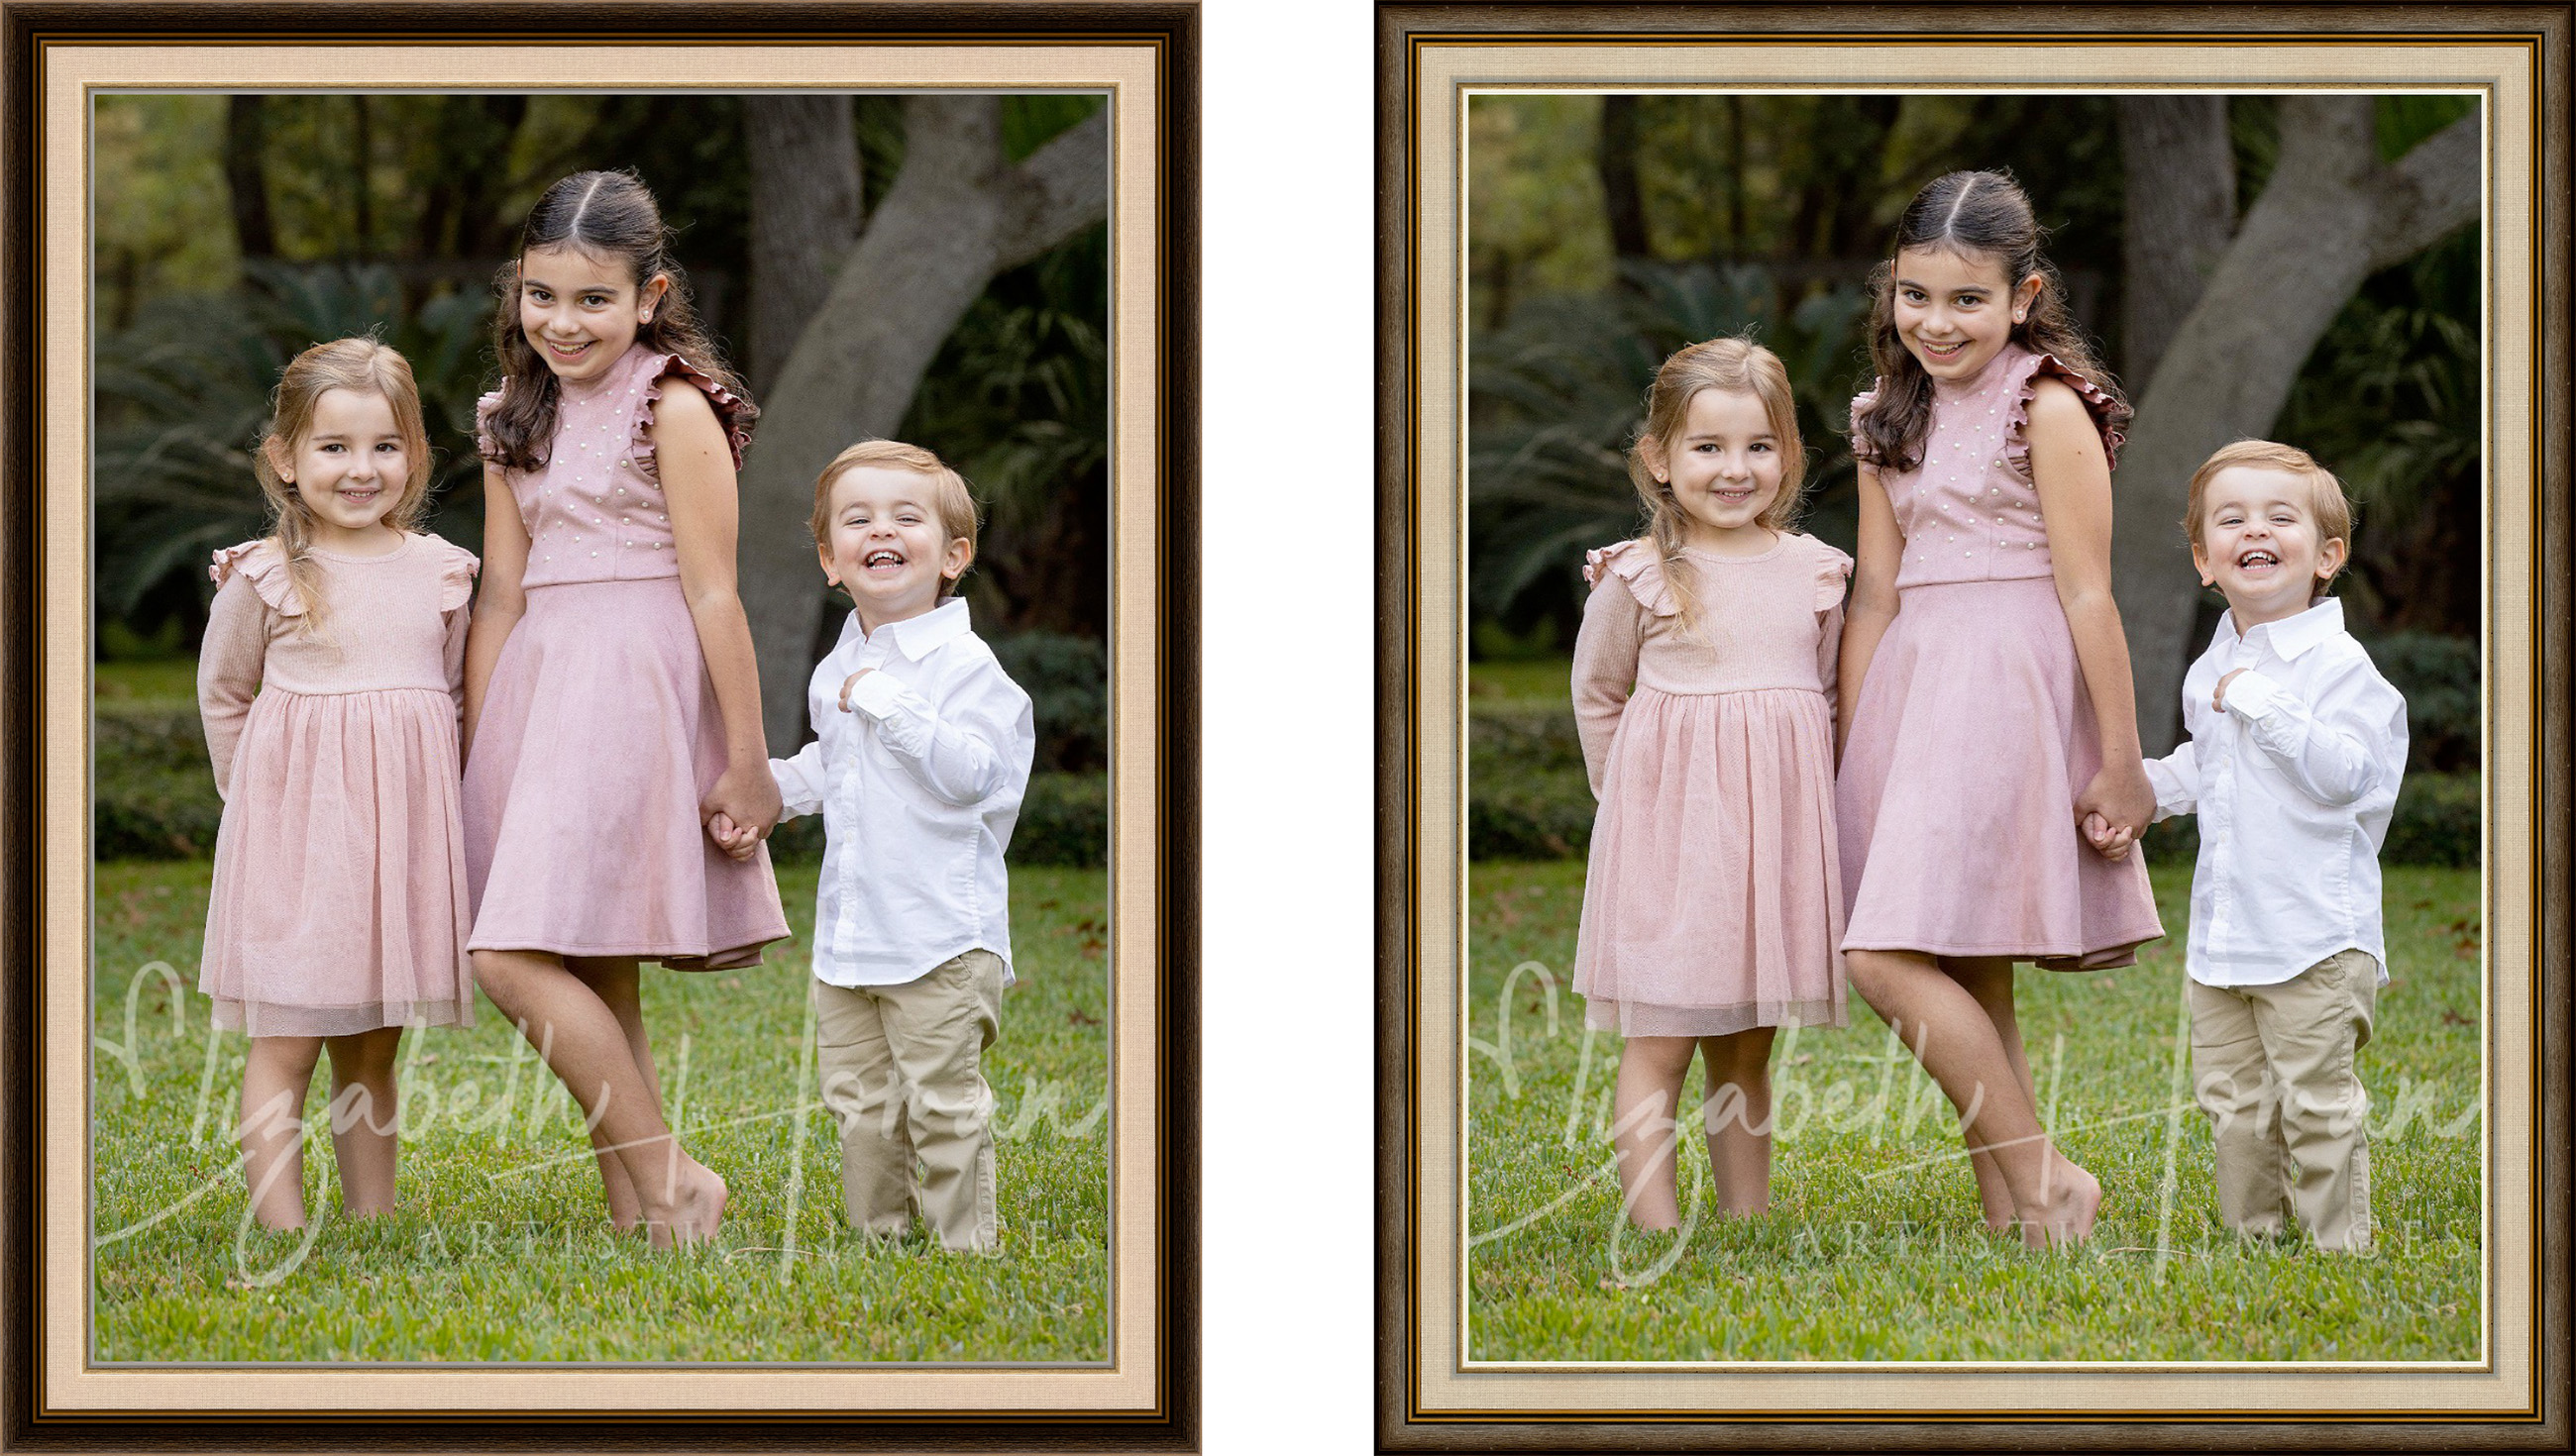
Creating Standard Frame Images
You can create your own frame images for use in ProSelect. These can be created from photographs, or pulled from a supplier website.
File Format and Color Space
Your frame images must be saved as JPEG files (.jpg) in RGB format. It is recommended to use the sRGB color space for optimal color management and compatibility.
Image Naming
The filename of each frame image should include both a descriptive name and the physical dimensions of the frame. The format should be as follows:
- General Format: “descriptive_name_NNNuu.jpg”
- For Directional Patterns: “descriptive_name_NNNuu_A.jpg”
Here, “NNN” represents the numeric size of the frame's width from its inside edge to outside edge, and “uu” denotes the unit of measurement (inches - “in”, millimeters - “mm”, or centimeters - “cm”). The underscore (“_”) separates the name from the size, and it is essential for ProSelect to correctly interpret the file name.
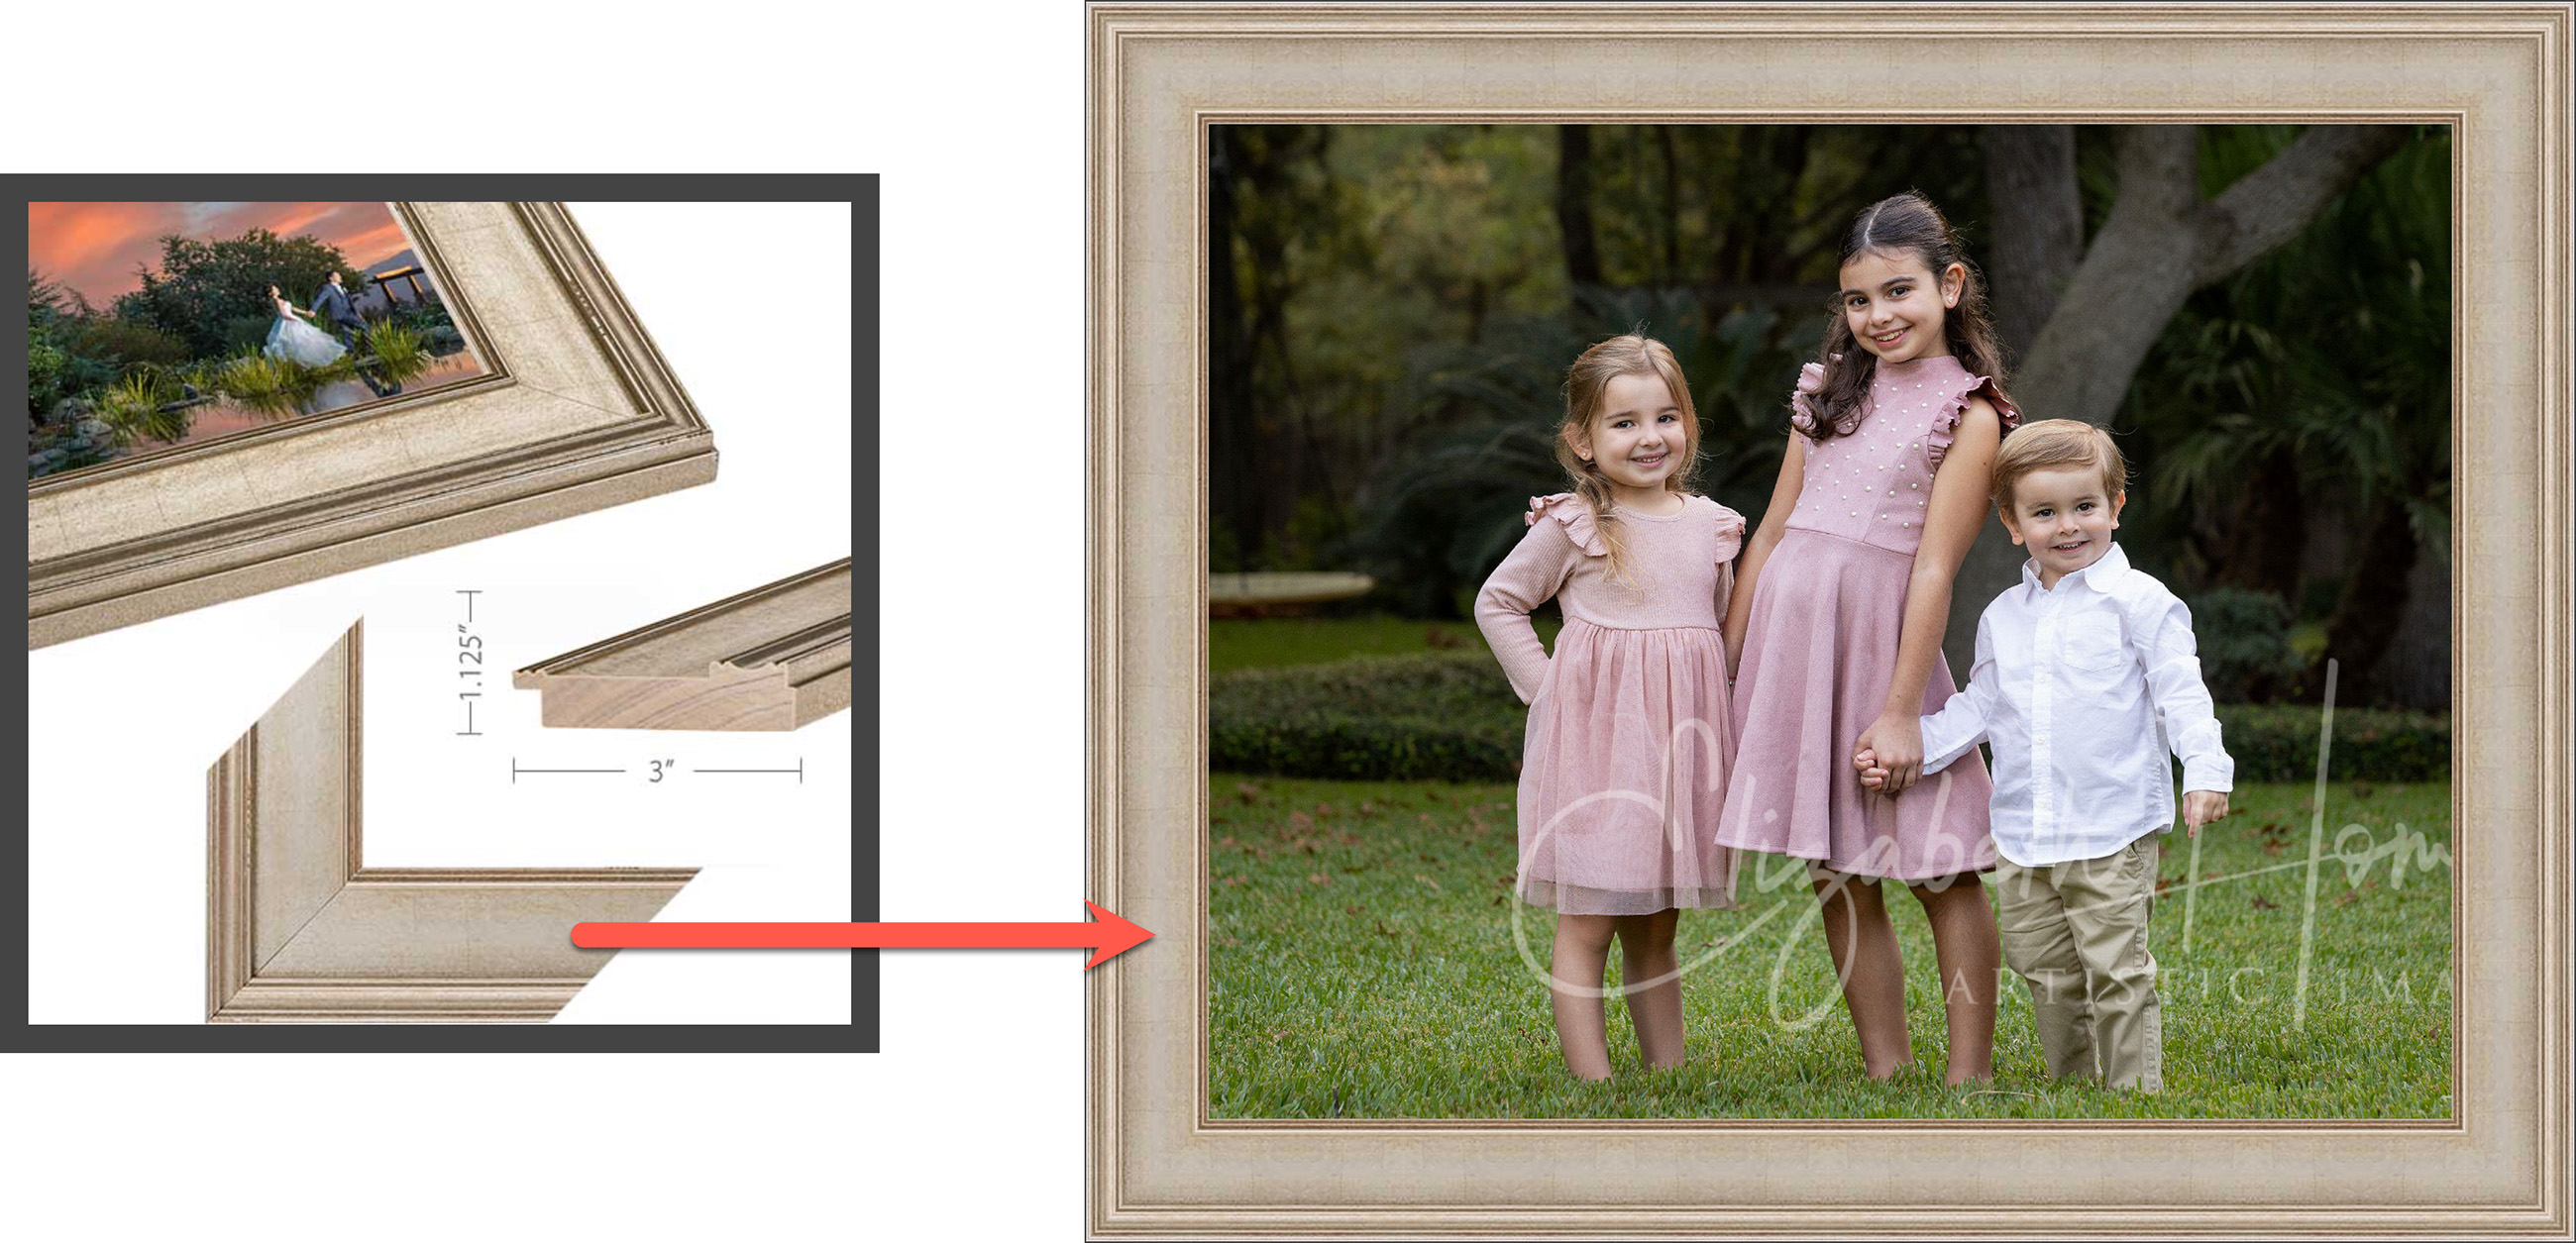
The suffix “_A” at the end of the filename is optional and should be used for frames with a directional pattern. This suffix instructs ProSelect not to flip every alternate frame image when tiling them around an image, which helps maintain the visual integrity of the pattern. For example, the frame below has a pattern that goes in one direction. Use an "_A" at the end of the filename to ensure the ProSelect does not flip the image.


Examples
- Antique Gold_1.5in.jpg
- Plain Black (GNP)_25mm.jpg
- GWP-1027_2in_A.jpg
It is possible to use an image from a supplier website to create a frame image for import into ProSelect. What you need to create is a segment of a frame, which can then be tiled around an image.
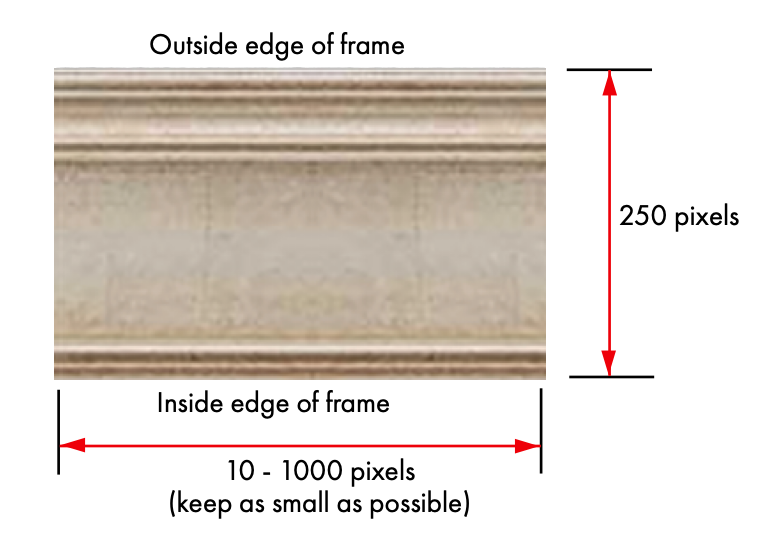
- Image Dimensions: The frame image must be 250 pixels in height. The width should range between 10 and 1000 pixels, depending on the actual width of the frame you want to represent.
- The top edge of the image you create will represent the outside edge of the frame.
- The bottom edge will correspond to the inside edge of the frame where it would meet the artwork or photo.
- Navigate to your Supplier website and locate the frame you want to use.

- Take a screenshot of the image.
- Open the screenshot in Photoshop.
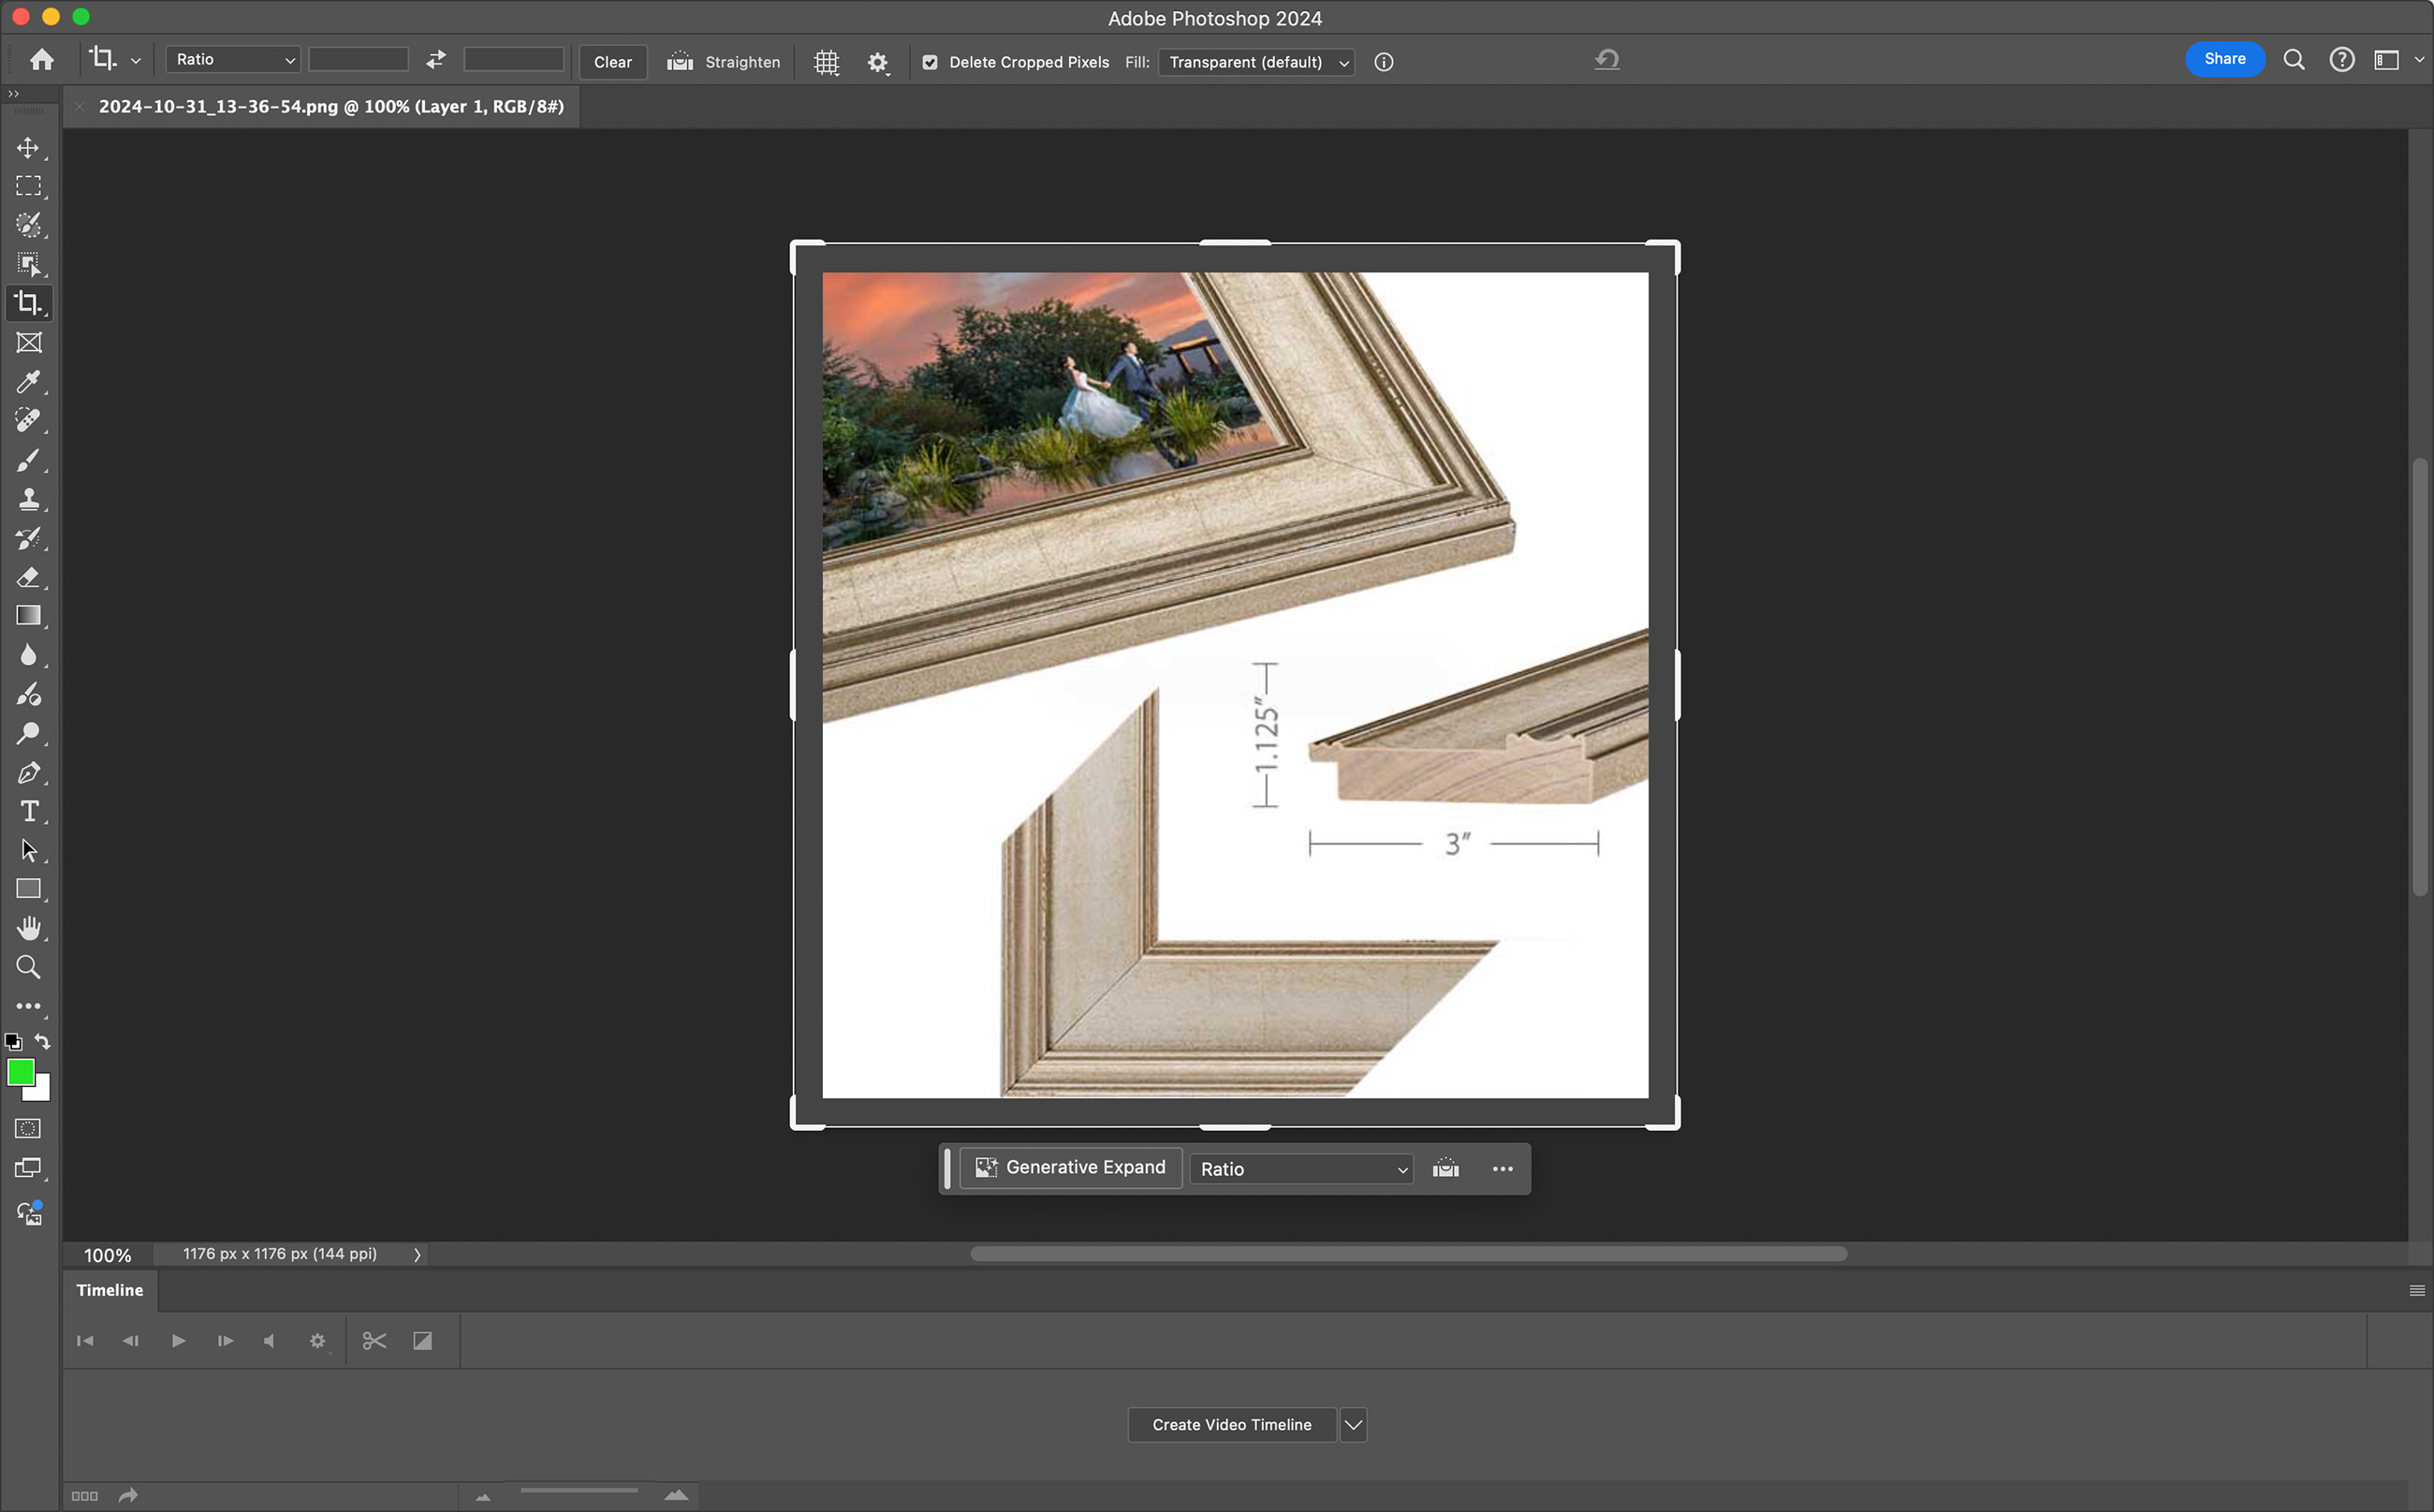
- Crop the image in order to get a small segment of the frame. Do not use the corners.
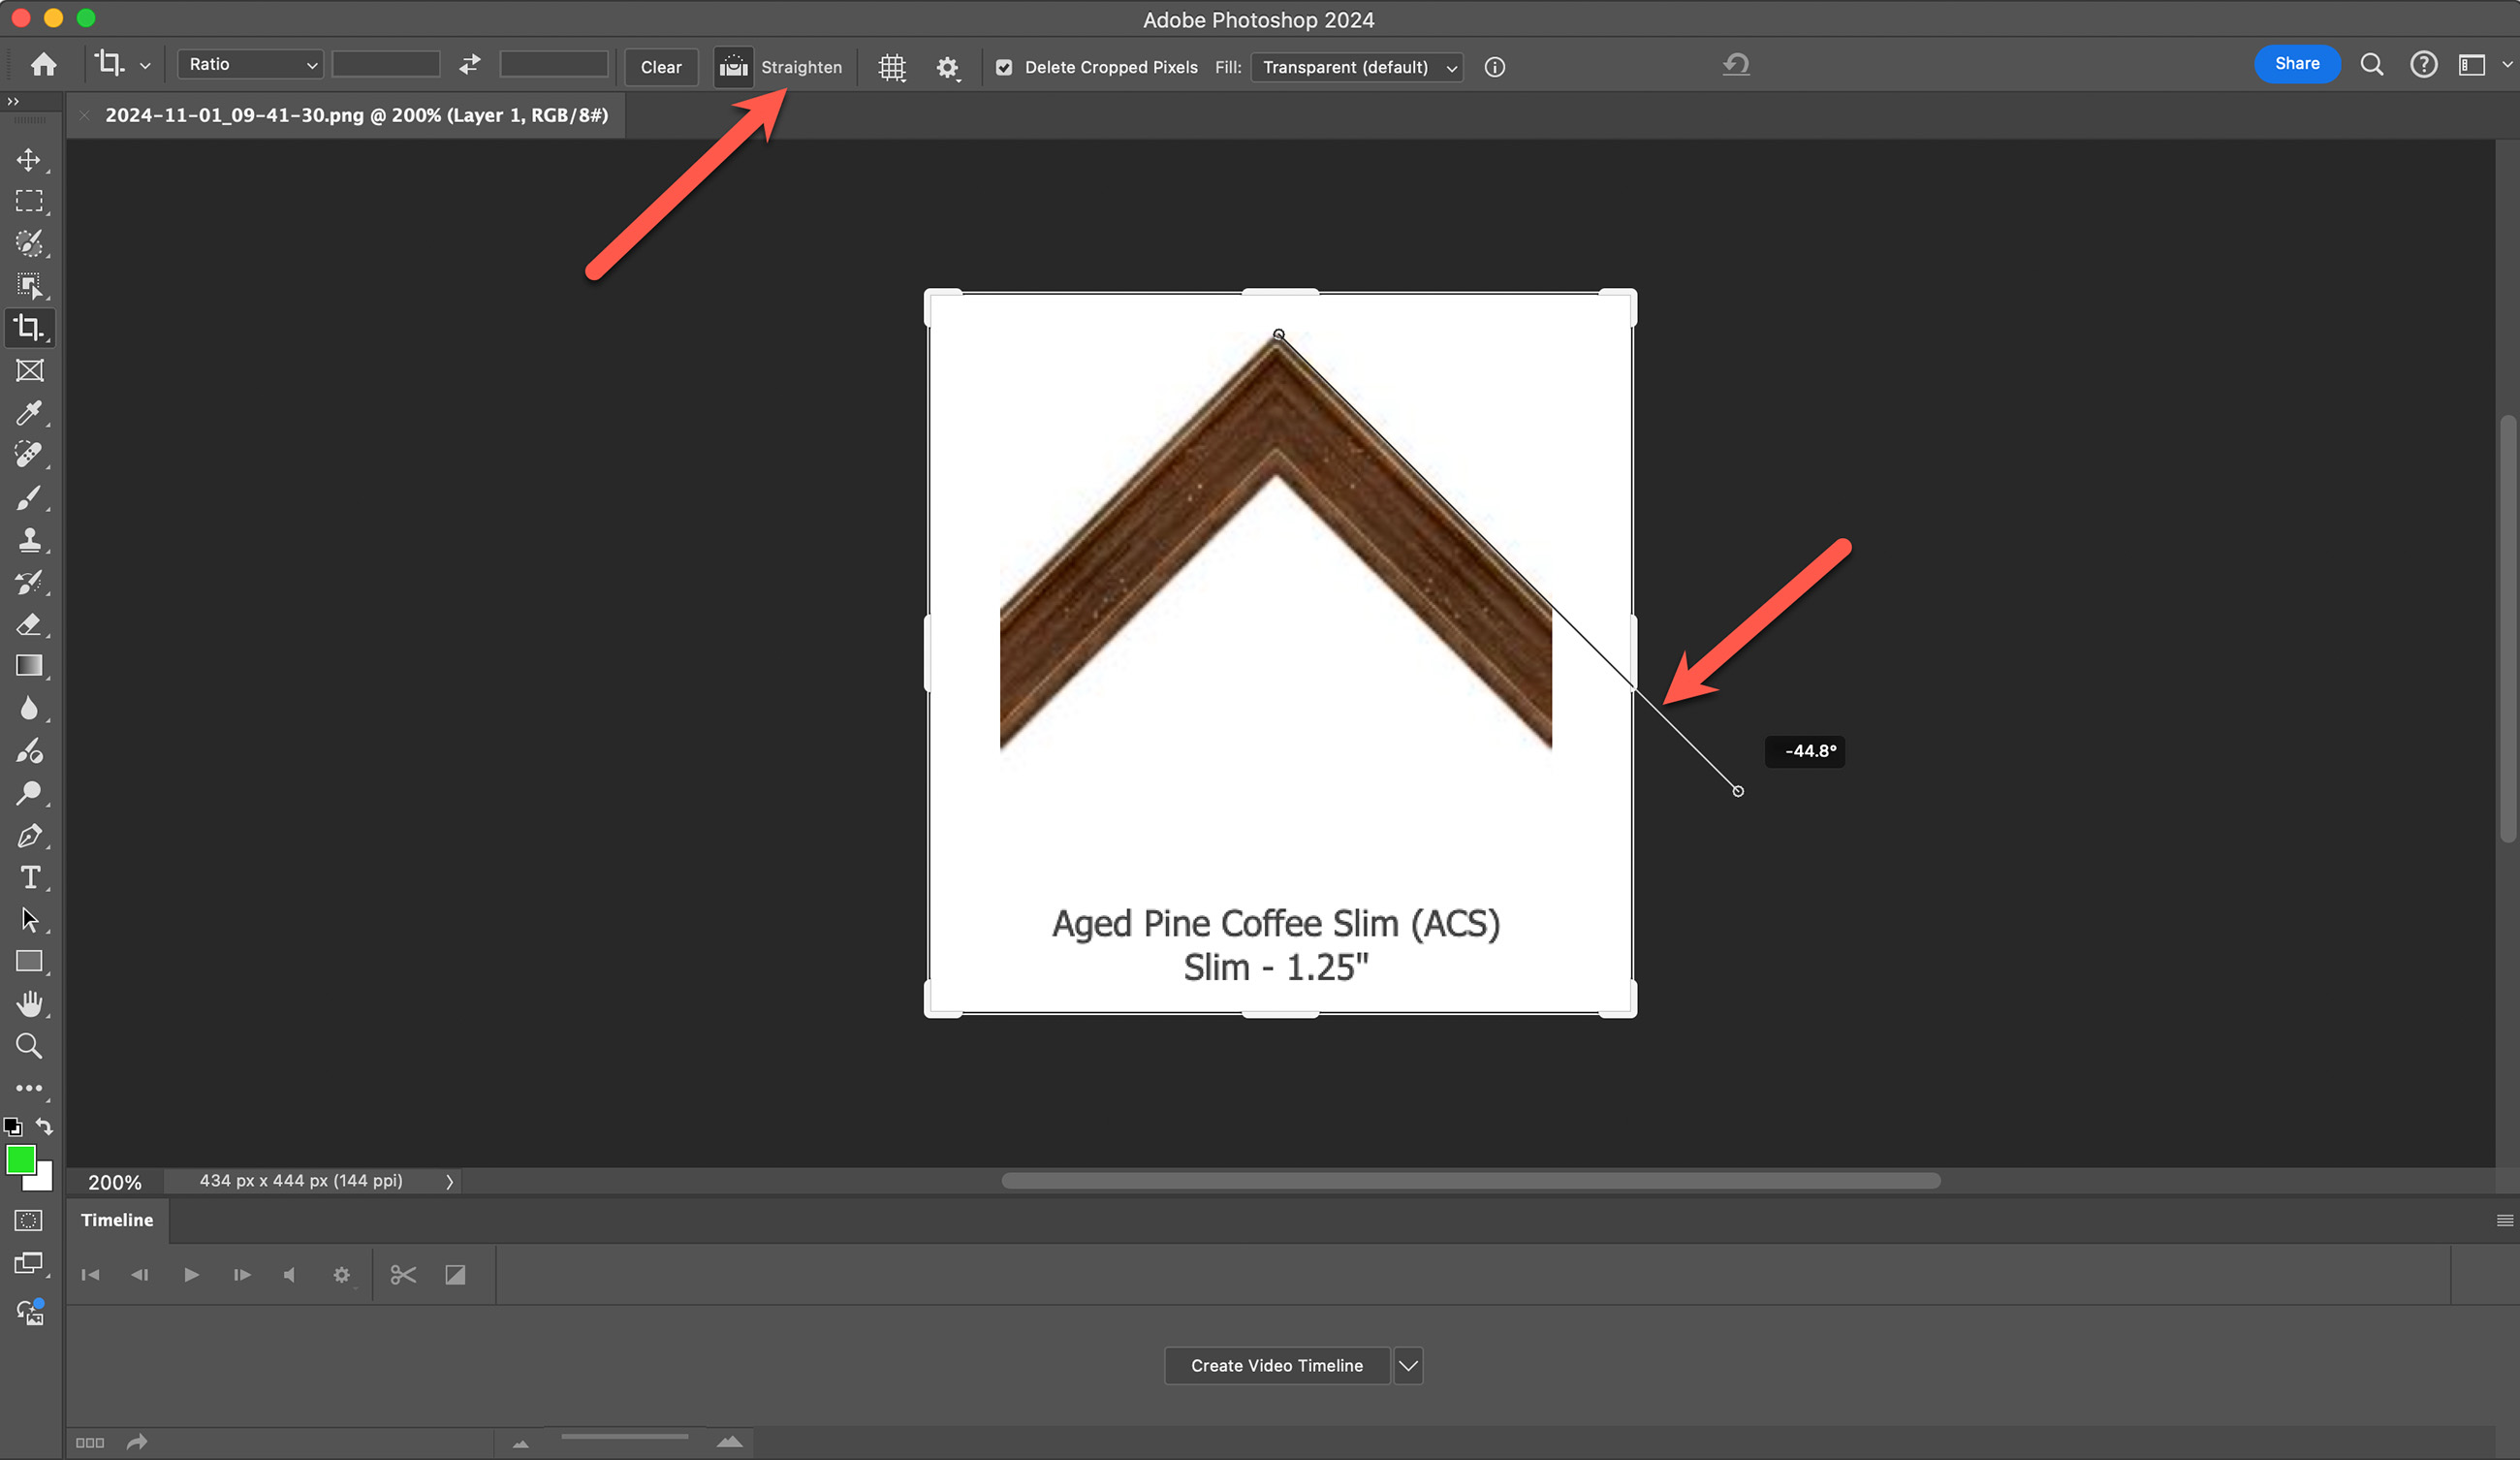
- Straighten the image if necessary.
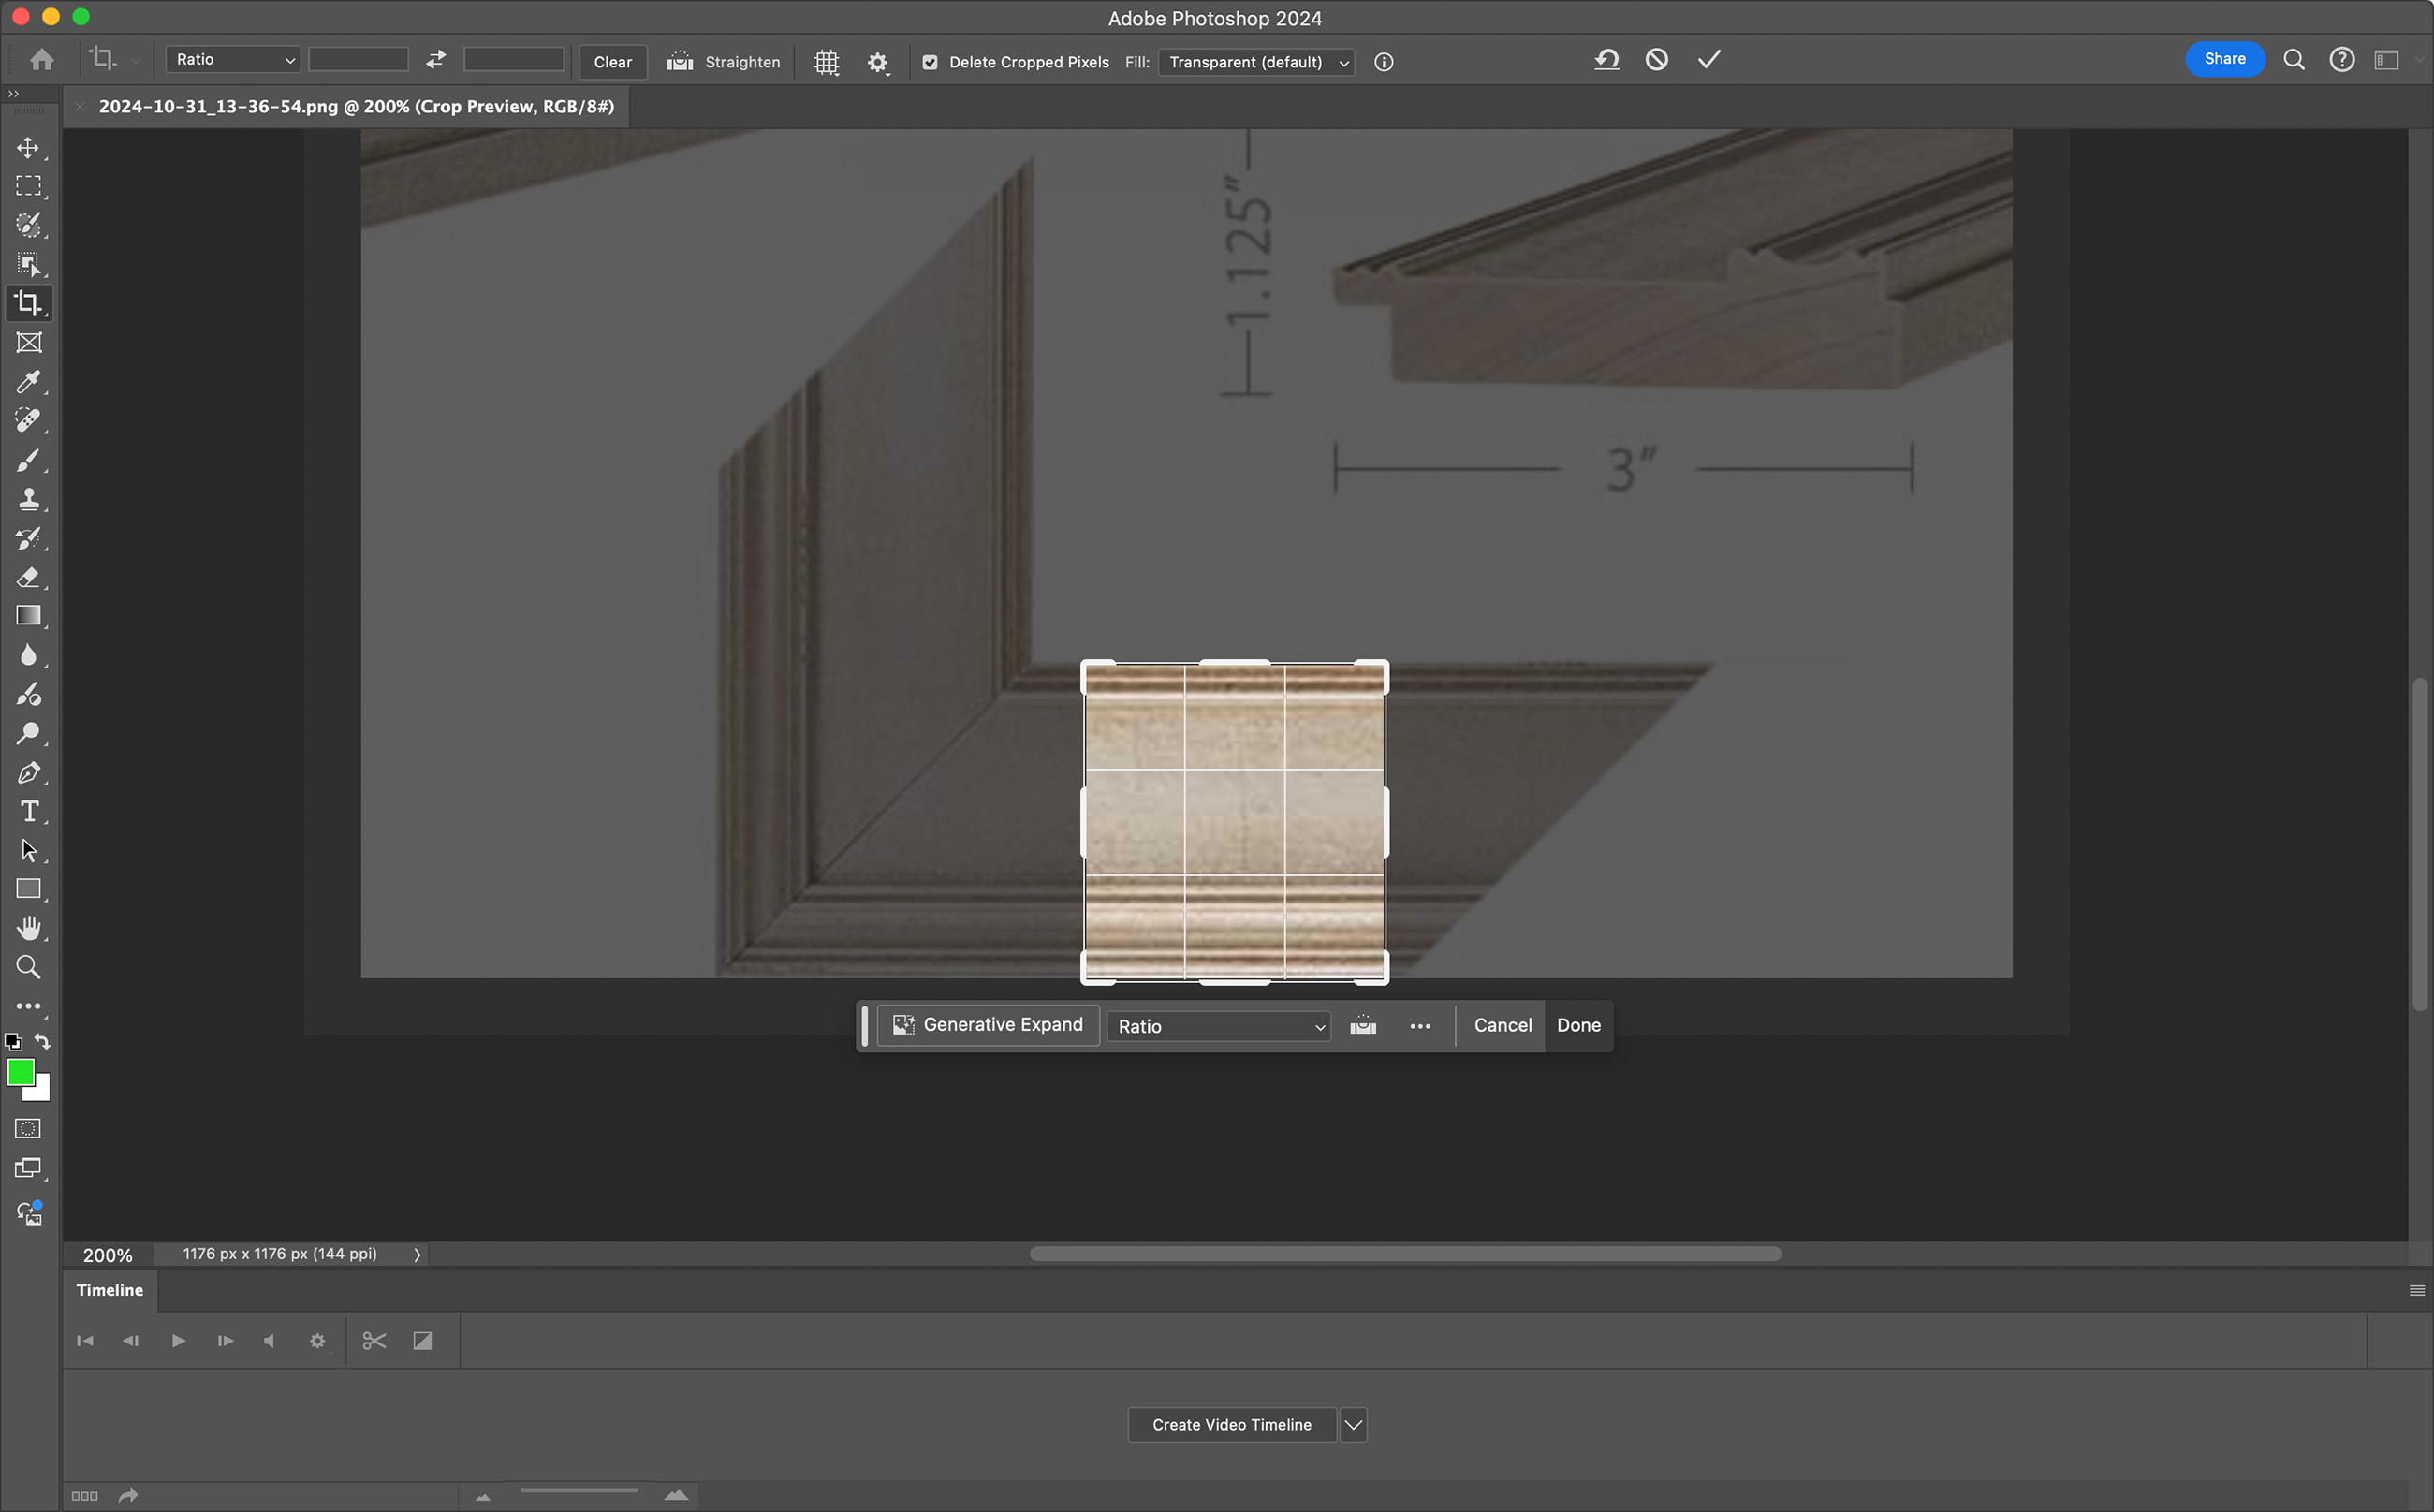
- Flip the image vertically if necessary. Remember in ProSelect the top edge of the image is the outside of the frame. In this example, the image needed to be flipped.
- Resize the image to 250 pixels in height.
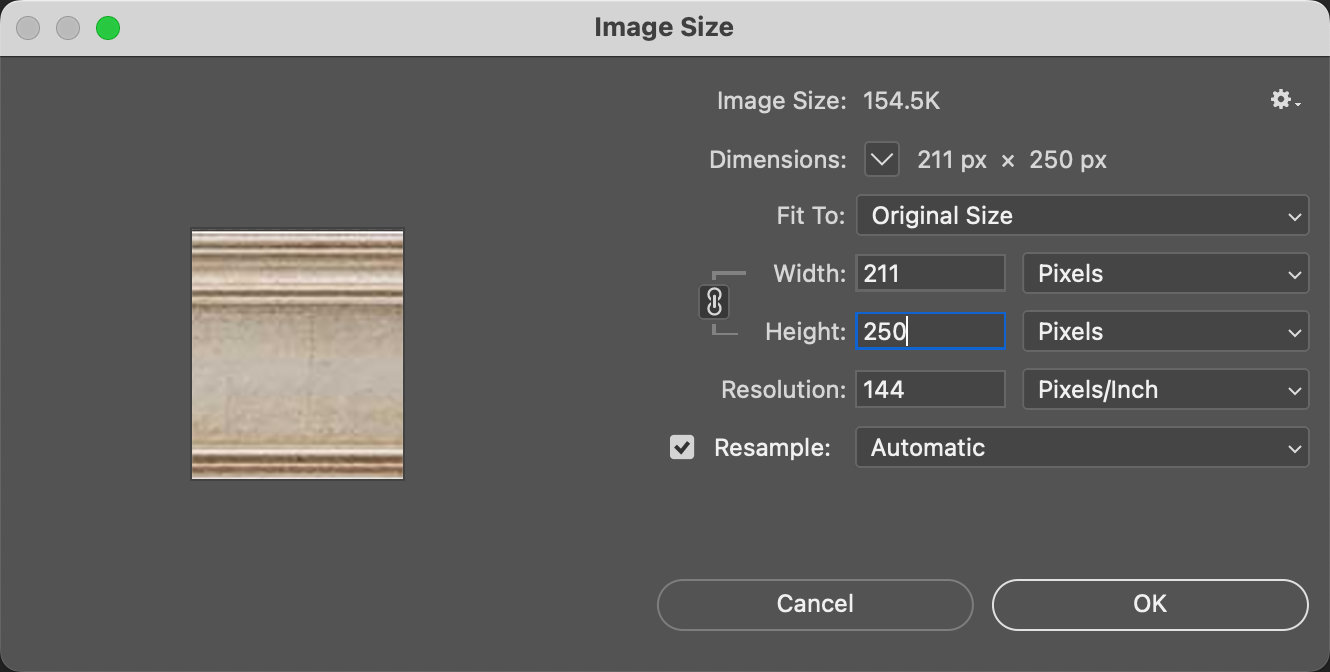
- Resolution: Any resolution is OK.
- Resample: be sure this box is checked to be able to set pixels.
- Save the image as a JPEG and use the naming guidelines.
- The frame is now ready to be added to ProSelect.
When creating a frame image by photographing a physical frame, it's important to capture a clean, evenly lit, from edge to edge, clear portion of the frame that represents its overall style and texture. Keep in mind the segment will be repeated around the edges of an image for a cohesive look.

- Image Dimensions: The frame image must be 250 pixels in height. The width should range between 10 and 1000 pixels, depending on the actual width of the frame you want to represent.
- The top edge of the image you create will represent the outside edge of the frame.
- The bottom edge will correspond to the inside edge of the frame where it would meet the artwork or photo.
- Take a photograph of the physical frame. Keep the following tips in mind:
- Keep the lighting uniform along the horizontal direction of the image.
- Do your best to keep the image horizontal (images can be straightened in Photoshop later).
- Capture a segment of the frame that is clean with no imperfections.
- Take a picture of the top edge of the frame (although you can flip it later in Photoshop).
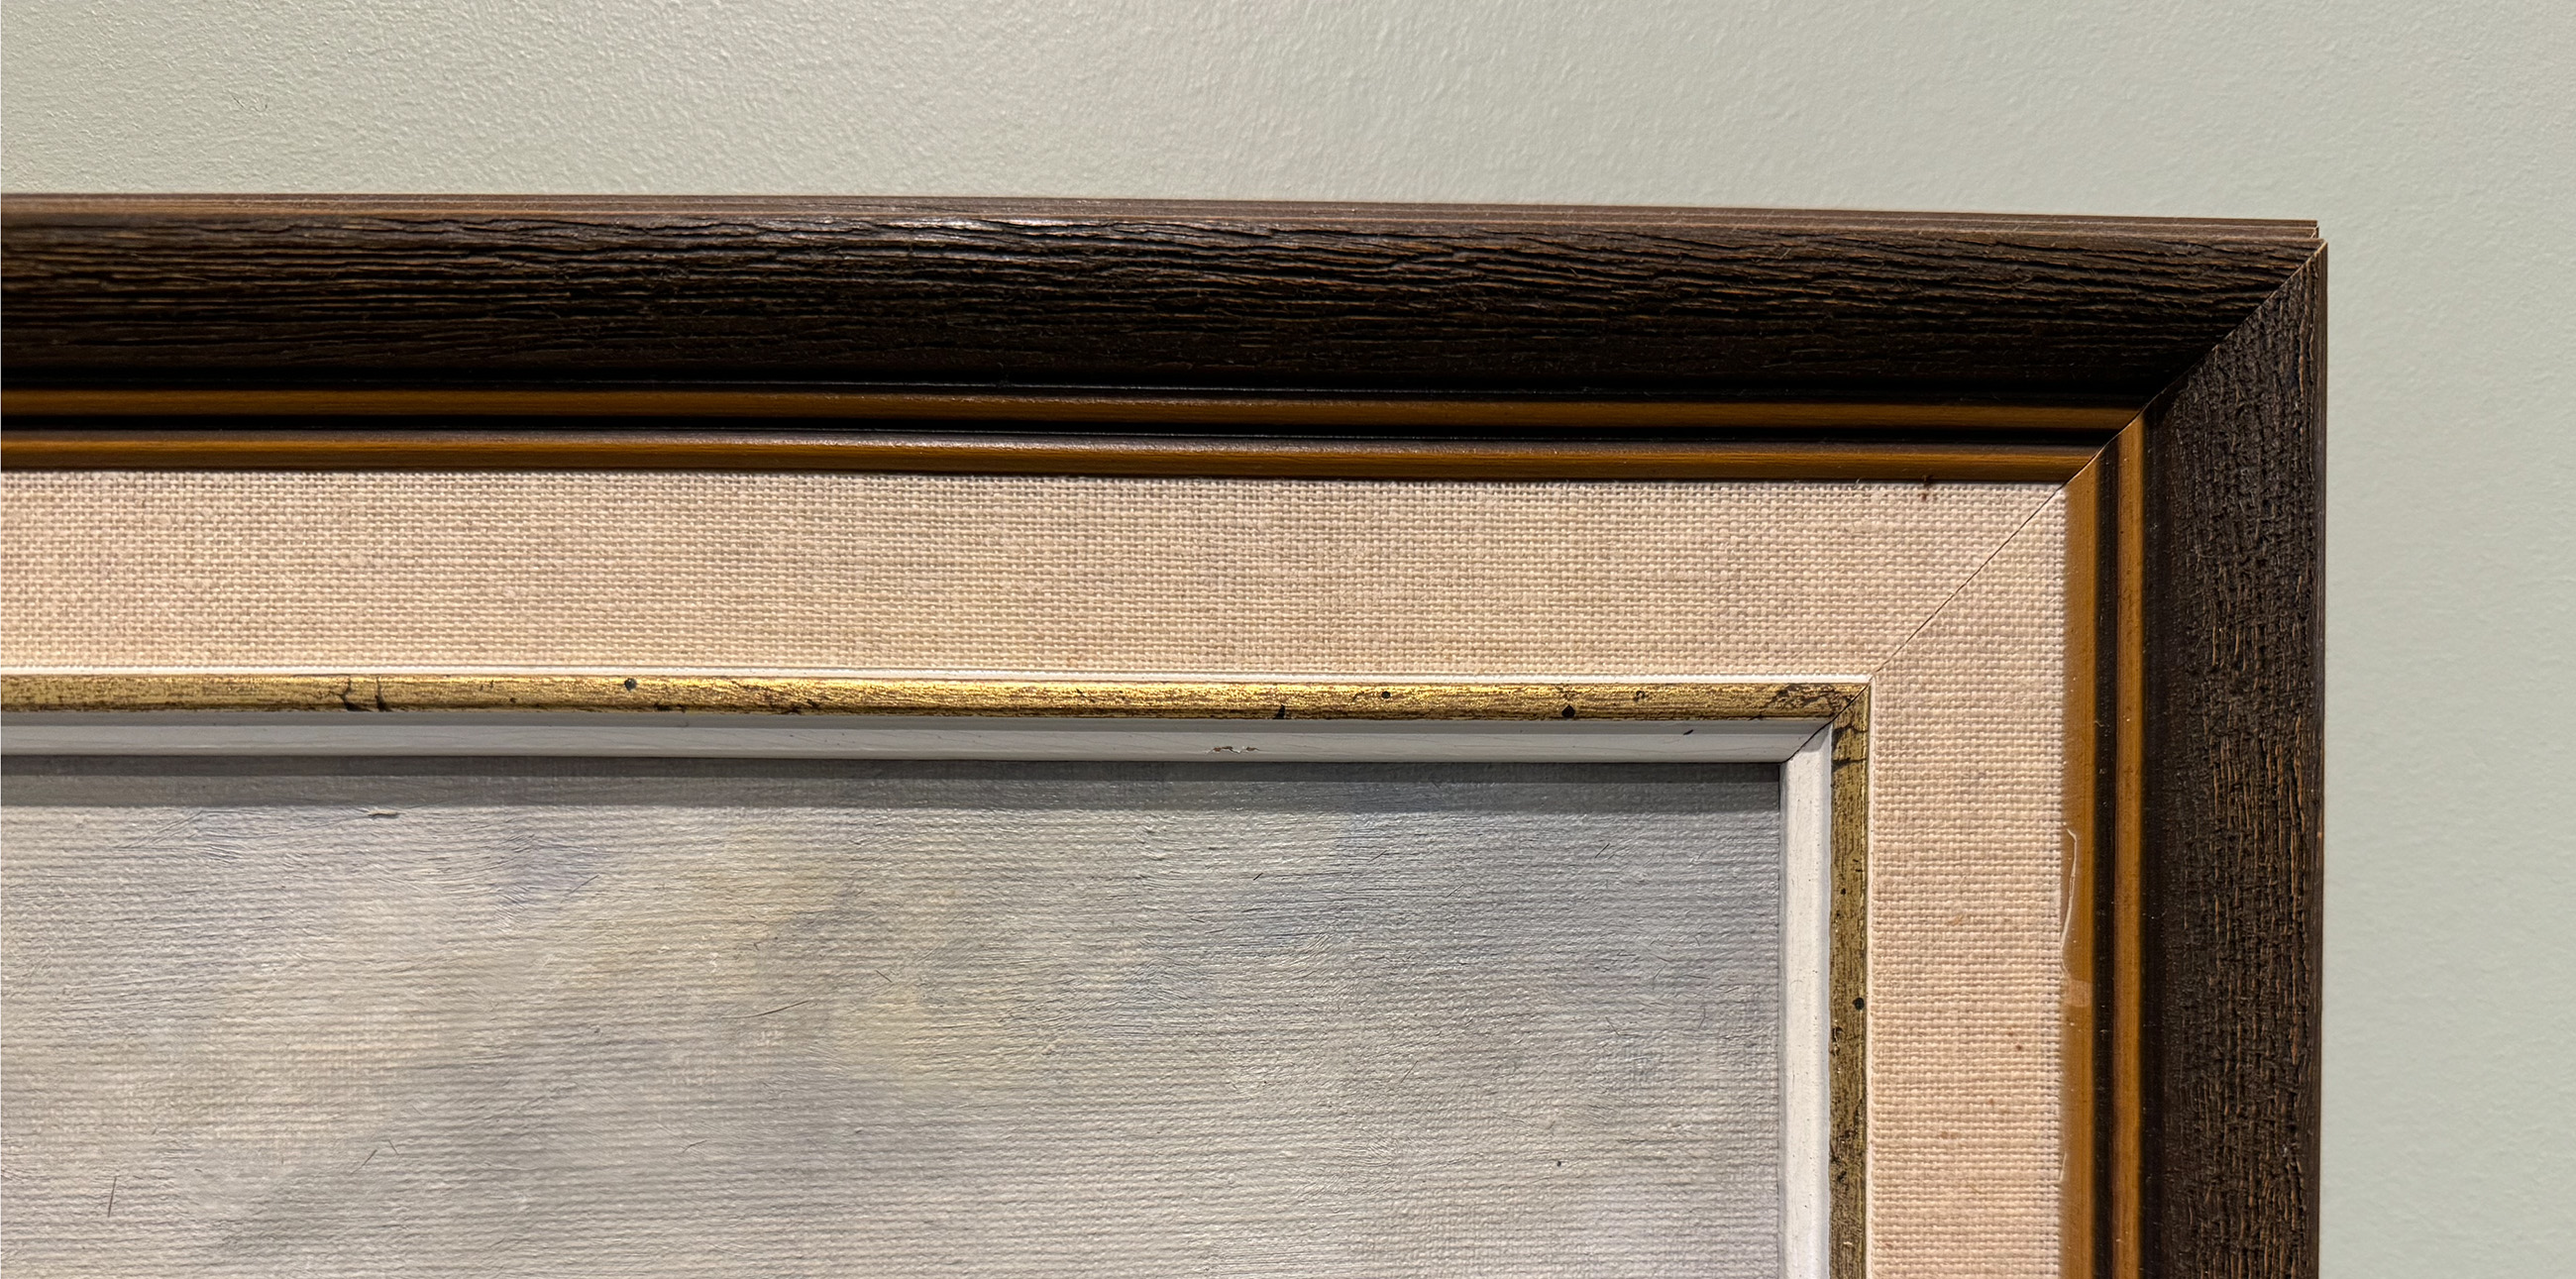
- Open in Photoshop.
- Crop the image in order to get a small segment of the frame. Do not use the corners.
- Straighten the image if necessary.

- Flip the image vertically if necessary. Remember in ProSelect the top edge of the image is the outside of the frame.
- Resize the image to 250 pixels in height.
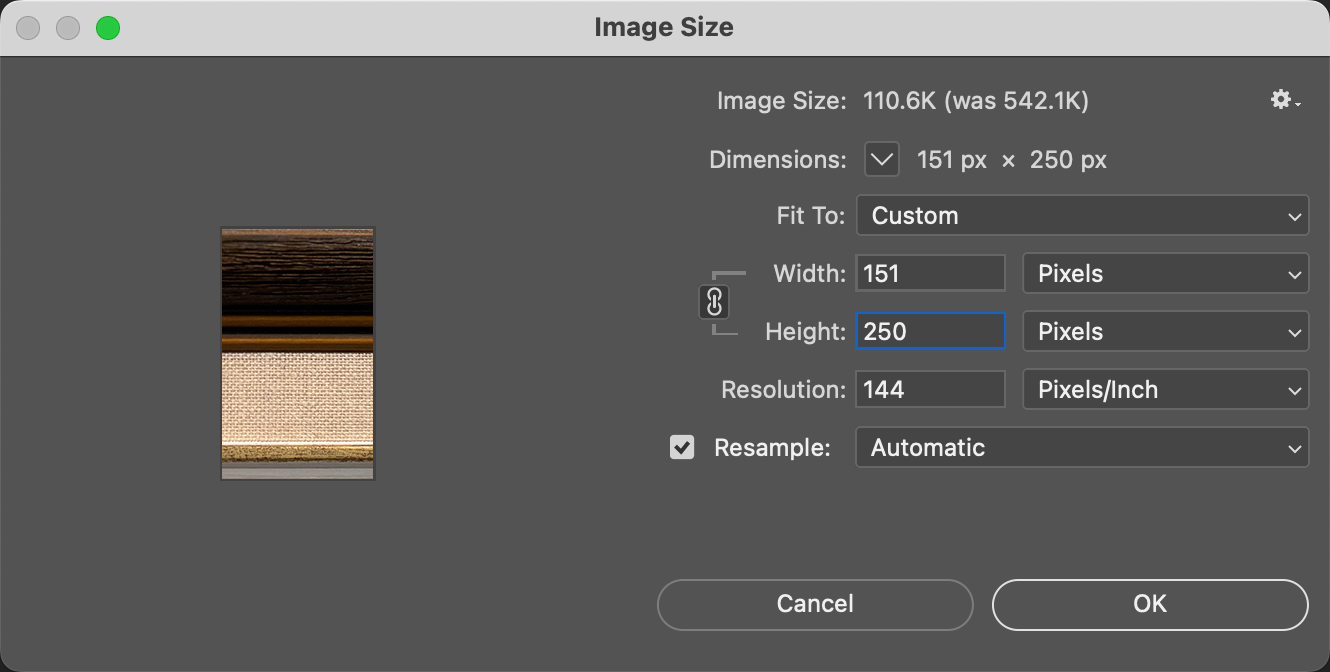
- Resolution: Any resolution is OK.
- Resample: be sure this box is checked to be able to set pixels.
- Save the image as a JPEG and use the naming guidelines.
- The frame is now ready to be added to ProSelect.
Whether you're using an image from a Supplier website, or taking your own photo, here are some tips for creating frame images for ProSelect:
Avoid Large Segments
- ProSelect can easily tile small segments of frames to create a cohesive look around an image, which is why using a small segment of a frame is typically more effective than using a large one. Smaller segments allow for a more seamless integration when tiled repeatedly around an image. Additionally, using a smaller segment reduces the visibility of any imperfections within the frame's design or texture. Larger segments can magnify flaws and inconsistencies in the frame, potentially disrupting the uniform appearance when the segments are tiled together around an image.
Straighten Images
- Keep the camera parallel to the frame to prevent perspective distortion. You can straighten frame images using Photoshop.
Avoid Lighting Glares
- If a glare appears, it will repeat as the image is tilled.

- By using a smaller segment, we are able to crop around the glare.

Frames With Embellishments
- If the frame has embellishments, be sure to crop the sides of the segment so that they can tile seamlessly. Otherwise, there will be a disruption in the pattern.

- If a disruption occurs, crop the segment with tilling in mind.

Lighting
When photographing physical frames, consider how your lighting setup affects the appearance. Shadows, influenced by the direction of light, can make frames appear lighter or darker. This is especially common with overhead lighting, which might make the top of the frame look darker than the bottom. Adjust your lighting or camera angle to minimize these effects for more consistent results. Here's an example showing two frame segments from the same frame, each photographed under different lighting angles.
