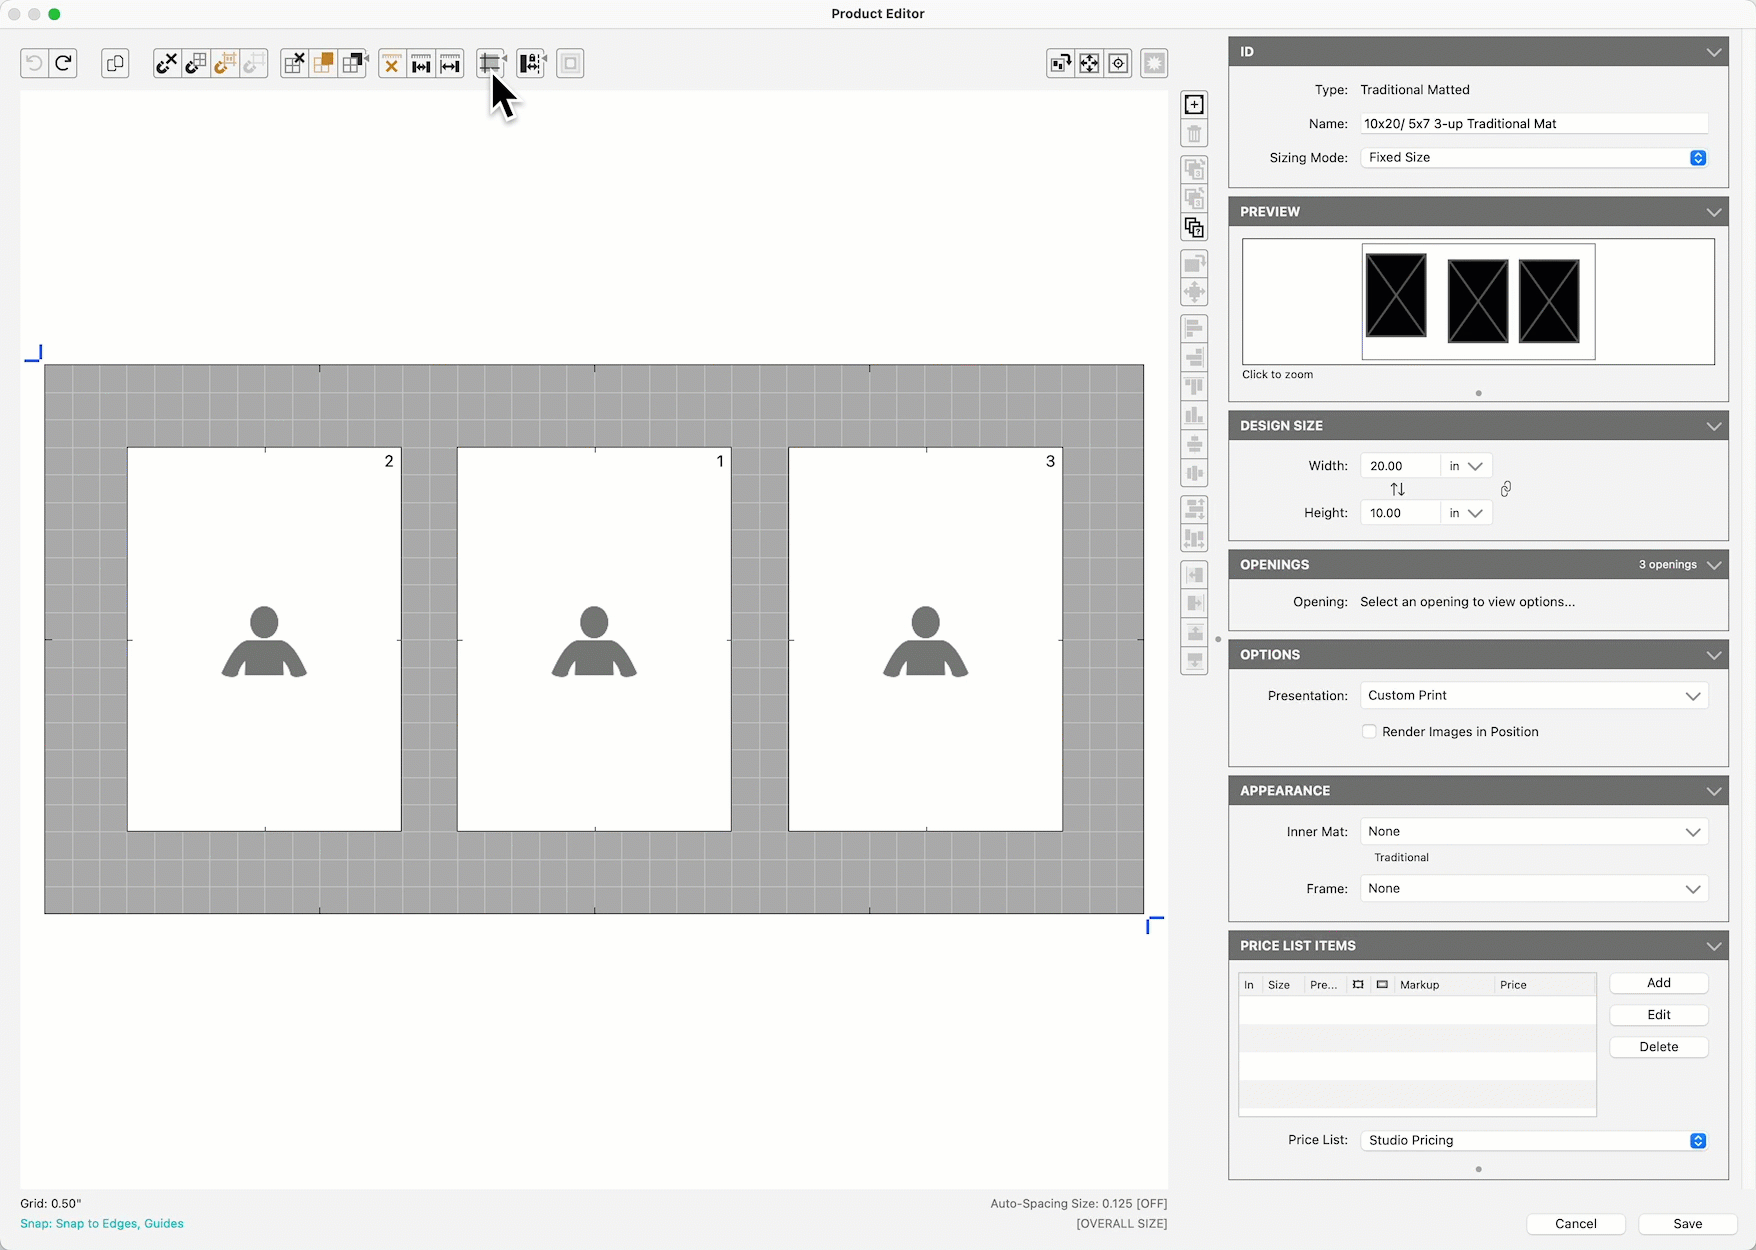
Guides, Auto-Spacing, Mat & Frame Space

You can add both vertical and horizontal guides to your templates. These can be relative to the left or right, top or bottom edges. You add a guide by dragging from within the “blue angles” in the top-left or bottom-right corners. When mousing over a guide handle or dragging it, the distance to the relevant edge is shown next to the guide handle. The blue arrow shows the direction to the side from which the measurement is taken. Use the "G" key on your keyboard to toggle the Guides on or off.
- By default, guides are relative to the corner that they were dragged from, however, you can swap sides by holding OptionAlt and clicking on the guide handle.
Snapping to Guides
When shown, guides act as snap points (if you have snap set to Snap to Edges/Guides or Snap to Guides Only) and the Align and Extend tools will use the nearest guides beyond the currently selected item(s) as an endpoint.
Saving and Loading Guides
Guide positions are saved with each product template. A set of guides on a product template can be saved as the “Default Set” using the right-click option on the Show Guides tool button. This set of guides will be automatically applied to any product templates without any guides attached.
Once a set is saved, you can use the Load from default option to change an existing set of product template guides to the current default set. The default set of guides is saved in your Preferences file. When dragging a guide, it will automatically move in 0.125” (2mm) increments depending on your Working Units Setting. Pressing the ControlCtrl key while dragging a guide will allow free movement.
Removing Guides
To remove a guide, use its handle to drag it back to the corner or right-click on the Guides On/Off button and select Clear (to remove all guides).
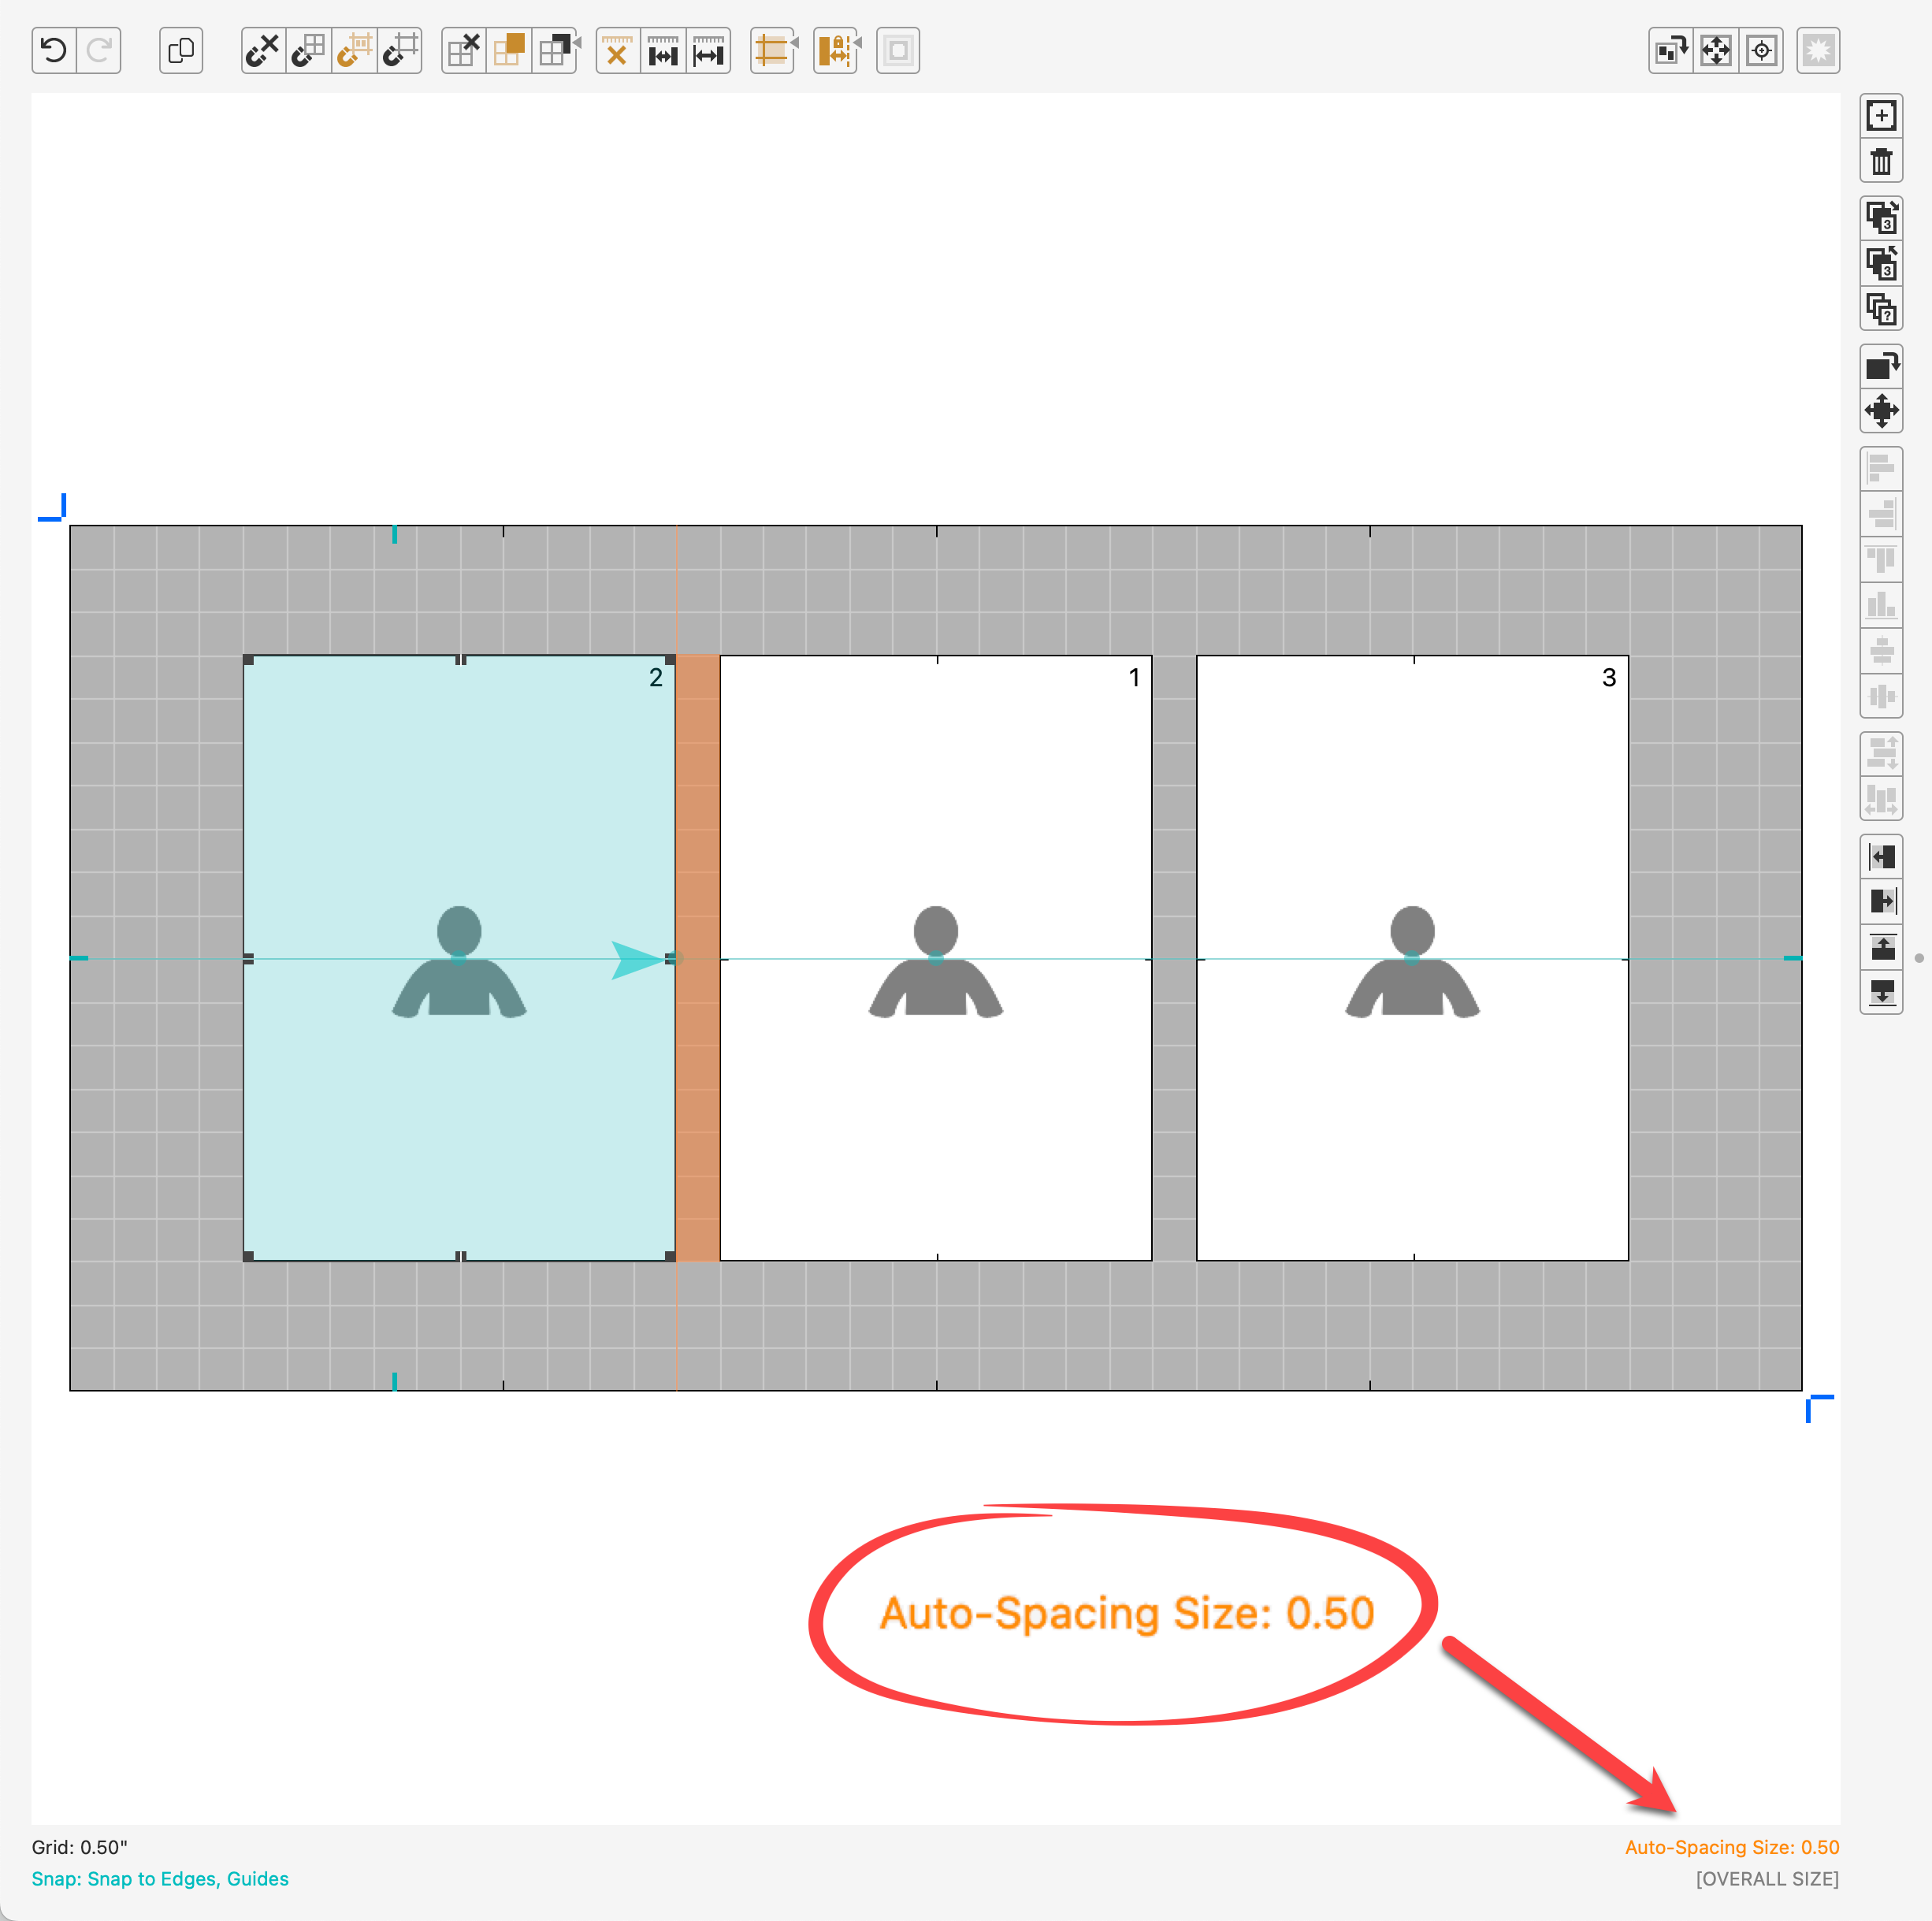
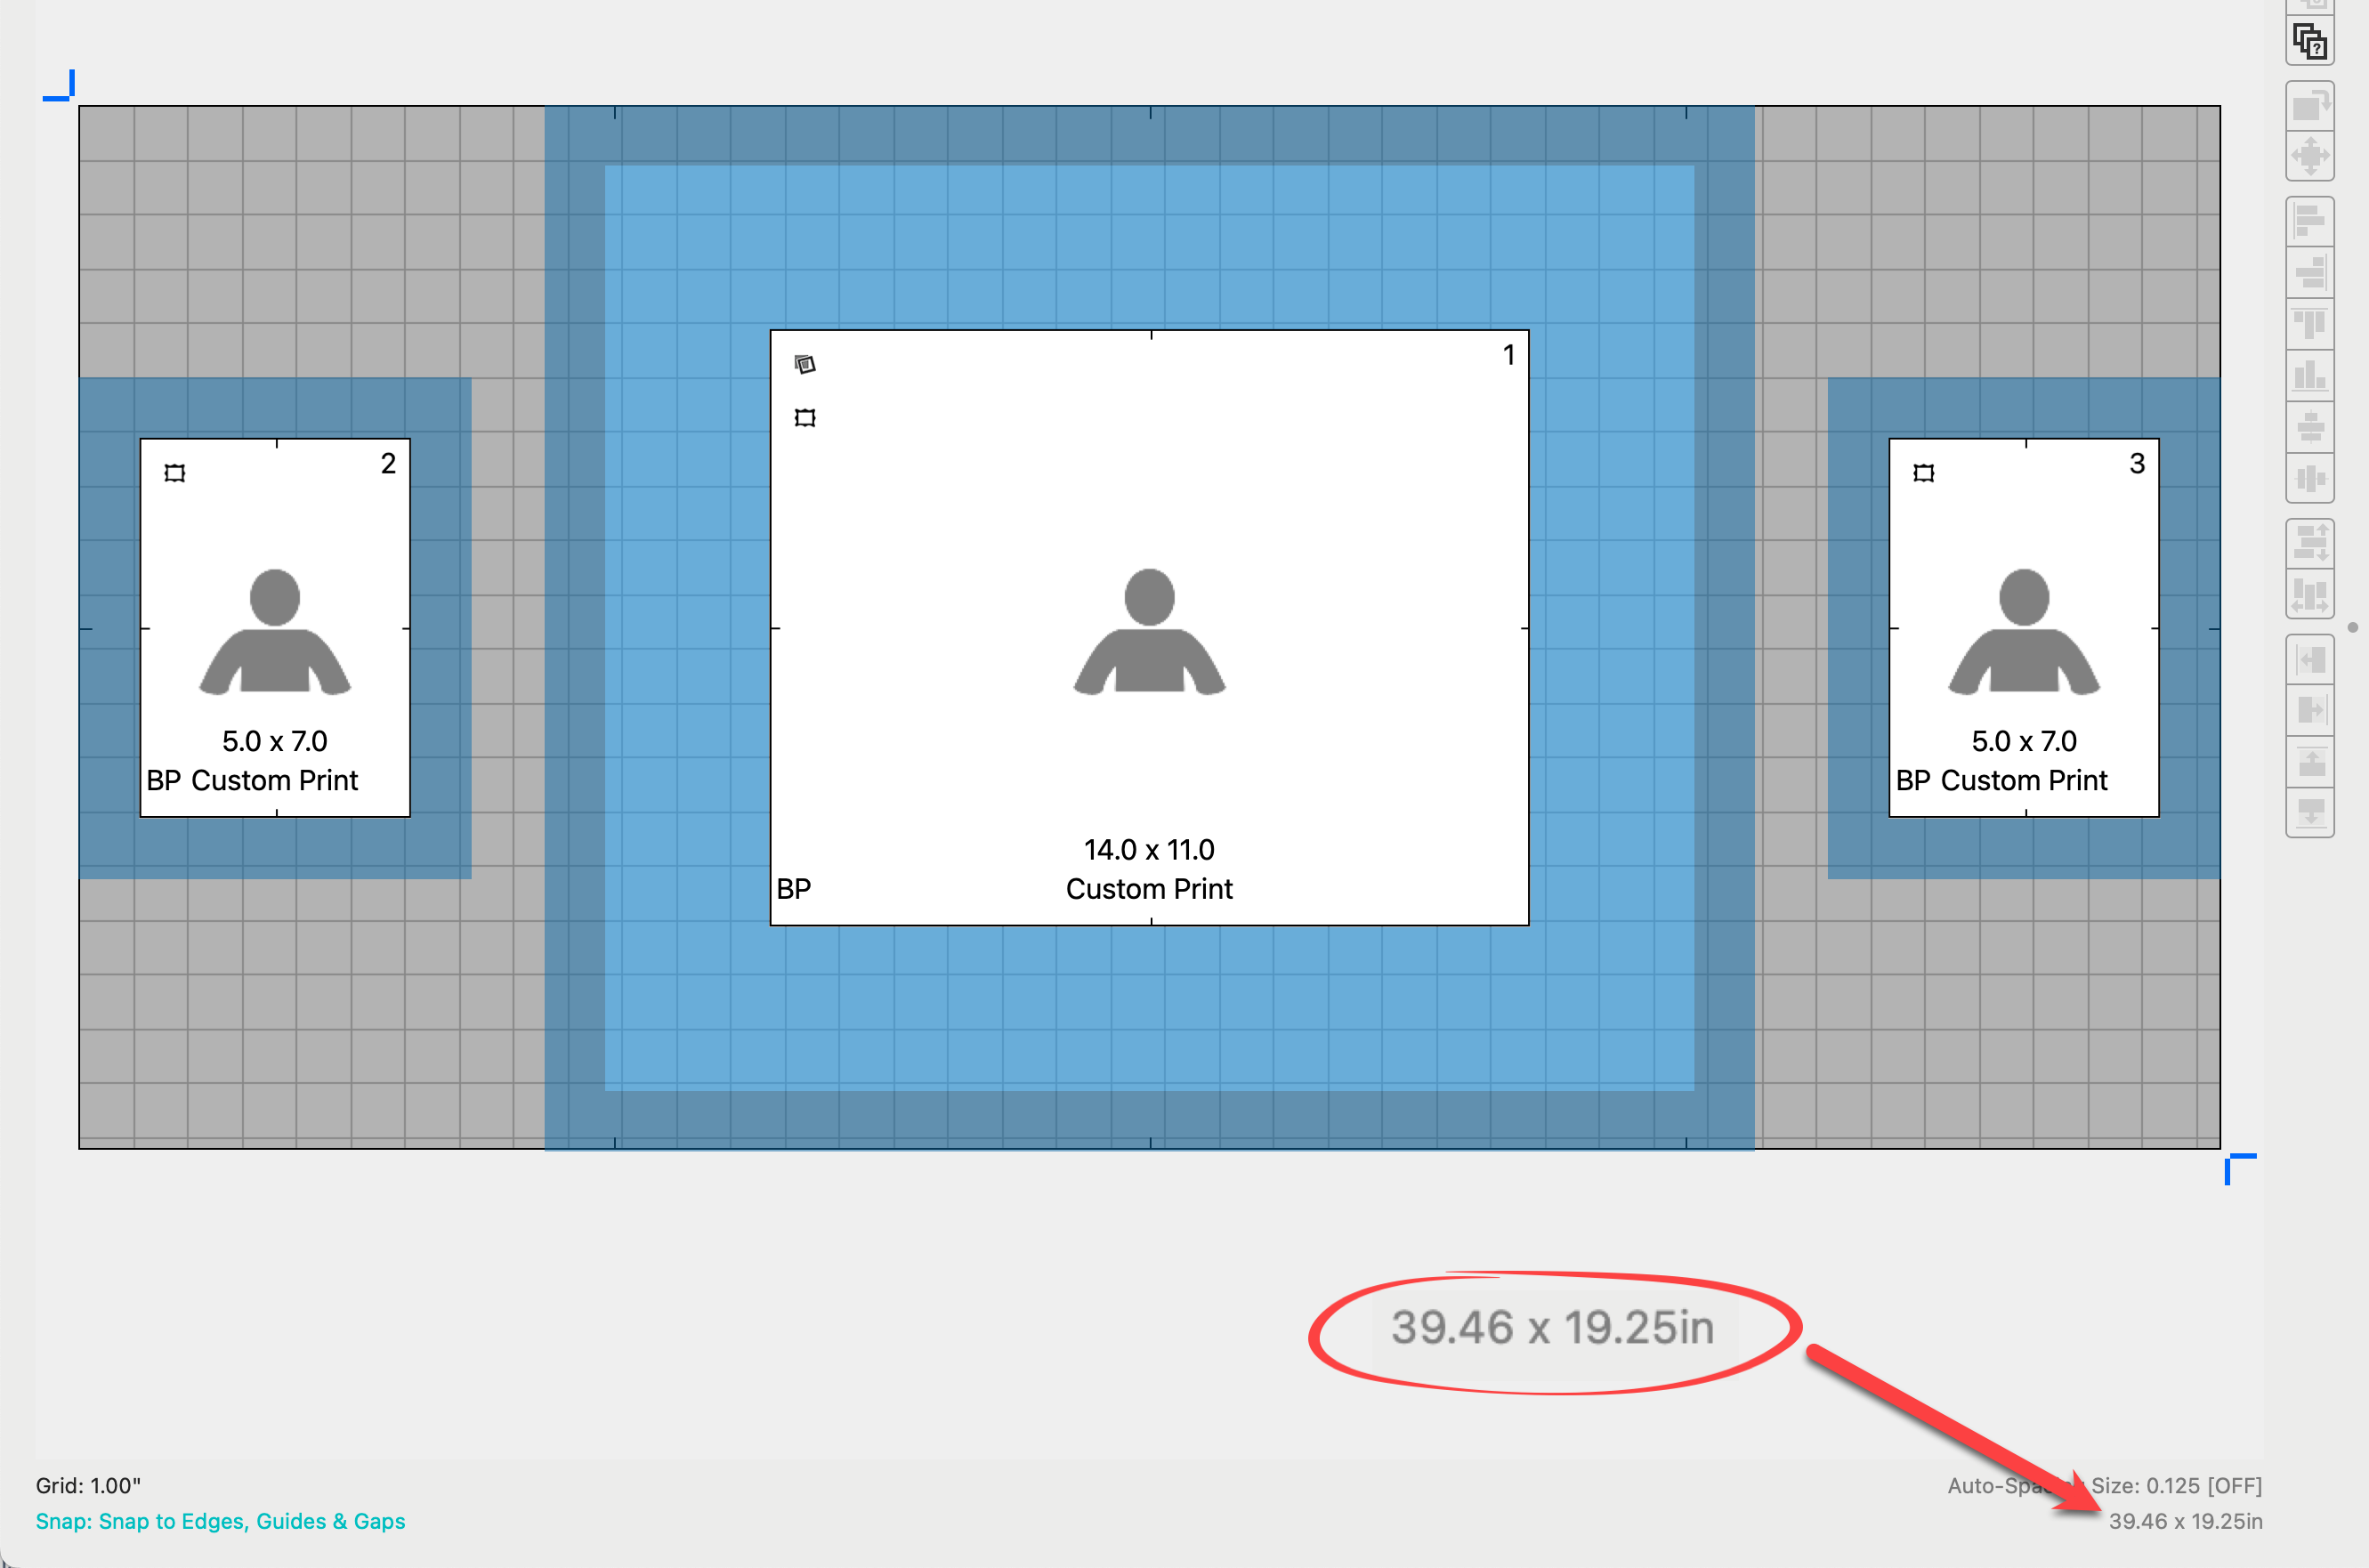
Auto-Spacing allows you to lock in a specific spacing between openings or graphic blocks. With Auto-Space enabled, and Snap to Edges & Guides selected, snapping changes to the edges of the closest object but offset by the selected space. In this case, the snap lines change to orange and the space adjacent to the closest opening is displayed as an orange area.
When Auto-Spacing is on, the Extend tools will maintain the selected spacing to the nearest object. The Distribute and Space Evenly tools will also maintain the selected spacing. Lastly, when moving with the keyboard arrow keys, the current Auto-Spacing setting will be used. To temporarily disable auto-space gap snapping while it is turned on, hold the OptionAlt key while dragging an opening.
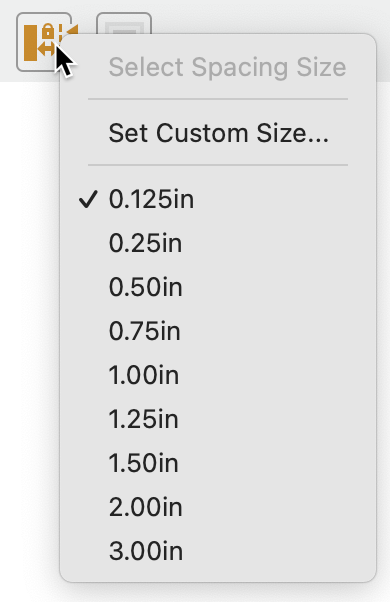
Setting the Auto-Spacing Size
Right-clicking on the Auto-Spacing button shows a popup menu where you can set the spacing size from a list of common sizes or select a custom one. The default spacing is 0.125” (2mm). The last selected spacing is saved with the template. Choose the Set Custom Size button to enter your own size.
The current Auto-Spacing size (and on/off status) is shown in the Bottom Bar.
This display option is only enabled when you are editing a Wall Grouping template and have assigned a mat or frame to the template. When selected, the space used around each opening by the currently applied surrounding mat is shown in light blue and the space used by any applied frame is shown in dark blue. This feature allows you to visually adjust the position of the openings to allow for the mats and frames.
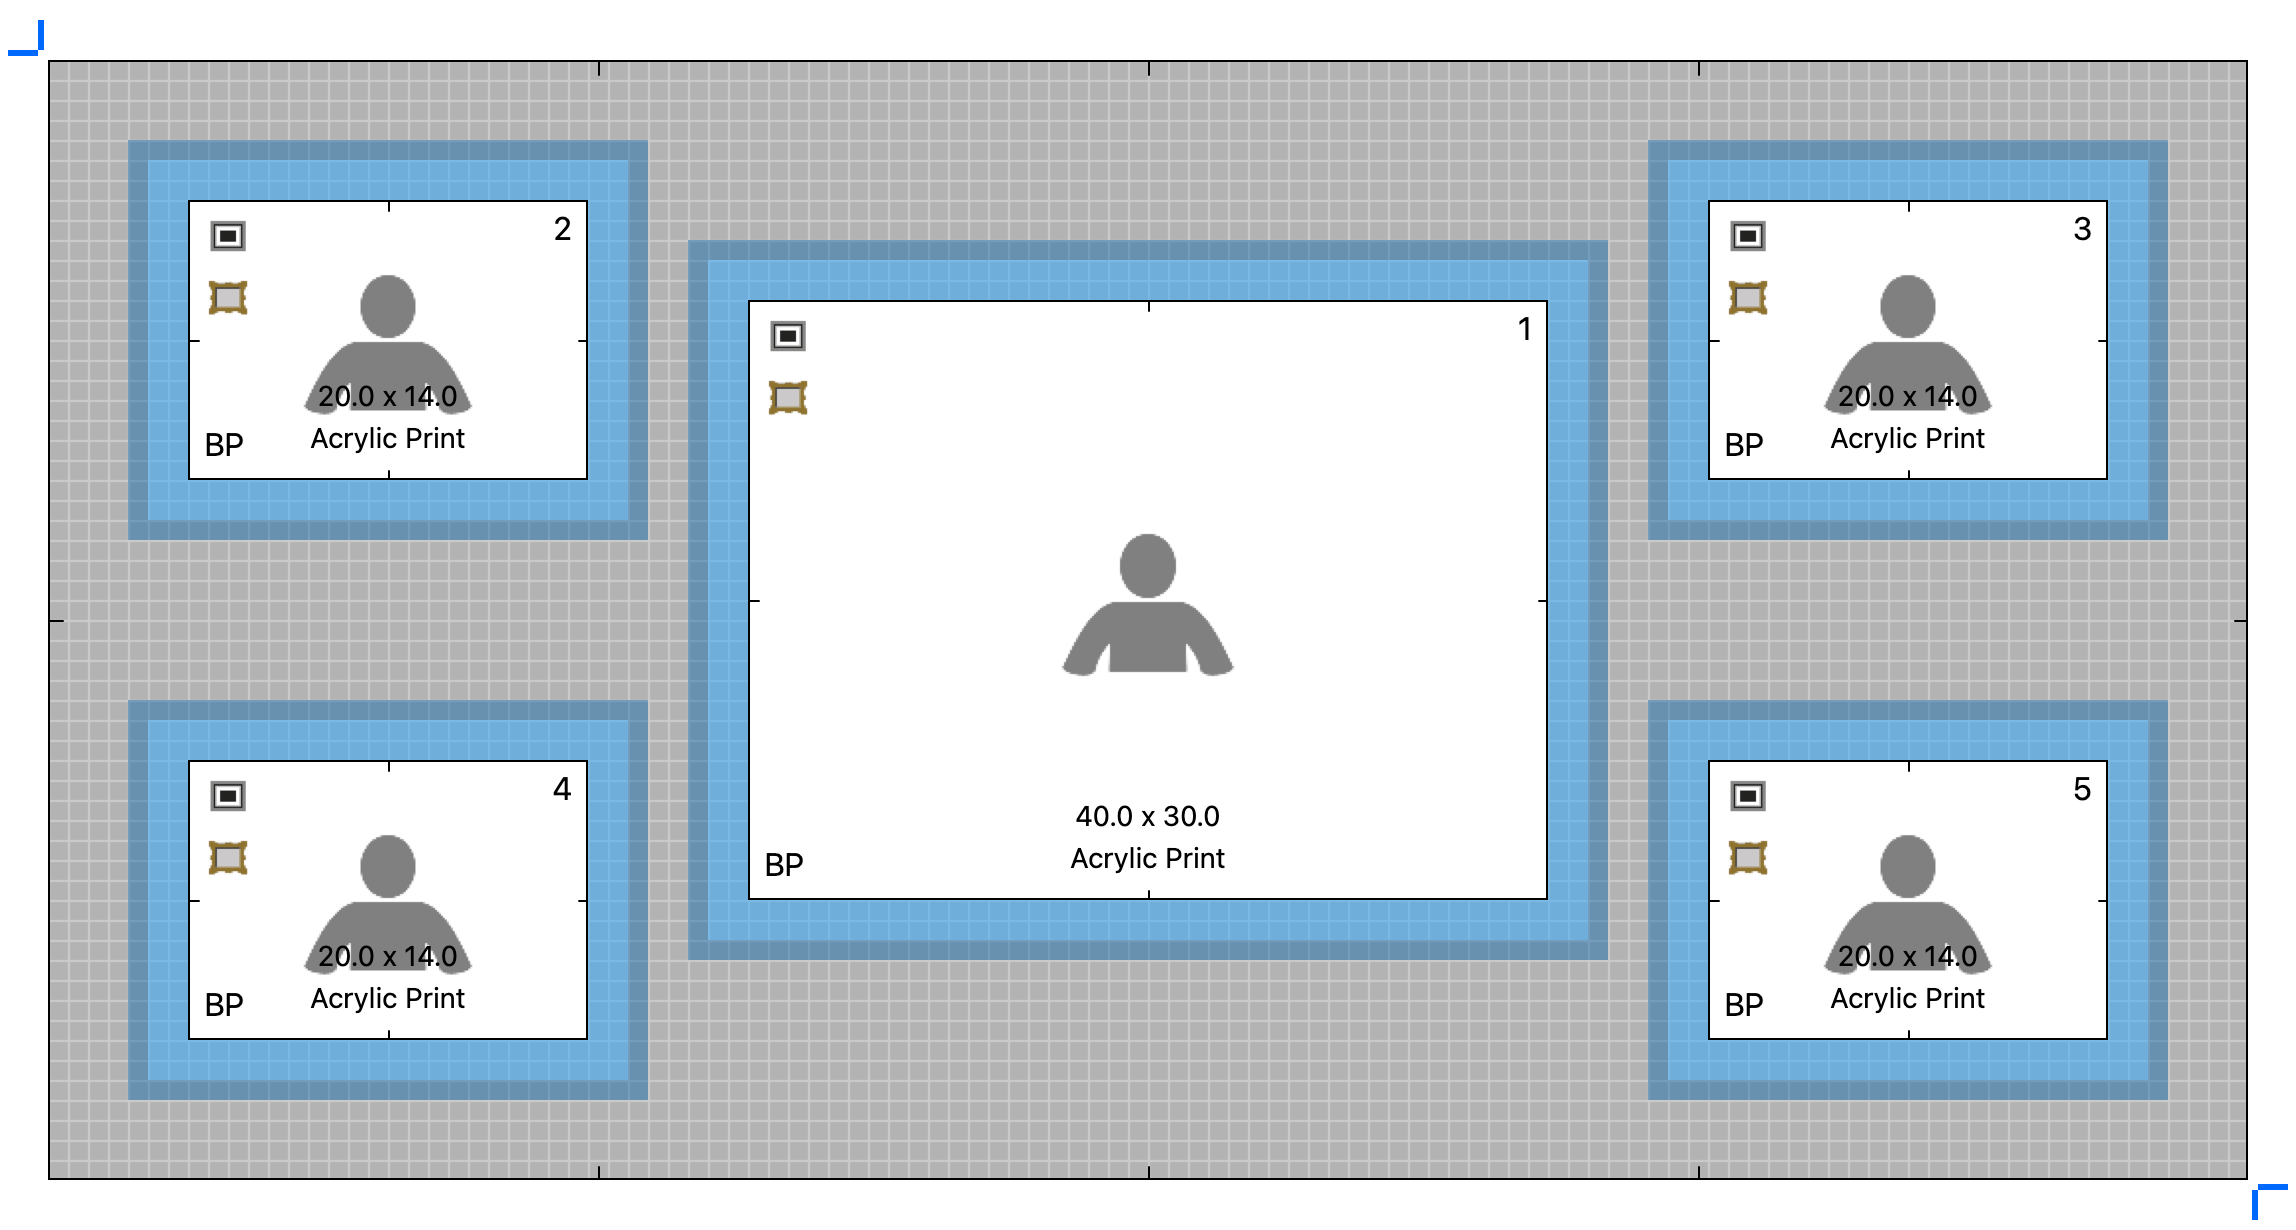
- If you have also turned on Snap to Edges & Guides, then the Auto-spacing facility will set the spacing between the outer edges of any applied mat and/or frame.
- The overall template size, including any assigned mats and frames is displayed in the bottom right corner of the design area.
| Guides and Auto-Spacing | |
| G | Toggle guides on/off |
| Option + |
Swap guide handle side |
| Control + Drag GuideCtrl + Drag Guide | Allow the guide to move freely |
| Option + Drag OpeningAlt + Drag Opening | Temporarily disable auto-space gap snapping |