Slideshow Styles
Slideshow Styles determine the overall appearance and functionality of your slideshows. Style elements include music selection, slide and transition timings, and visual elements like background and border colors or images. These styles also offer additional customization options such as syncing the slideshow to the music's tempo. ProSelect comes built in with several Slideshow Style options. You can use these as they are, or customize them to your preferences.
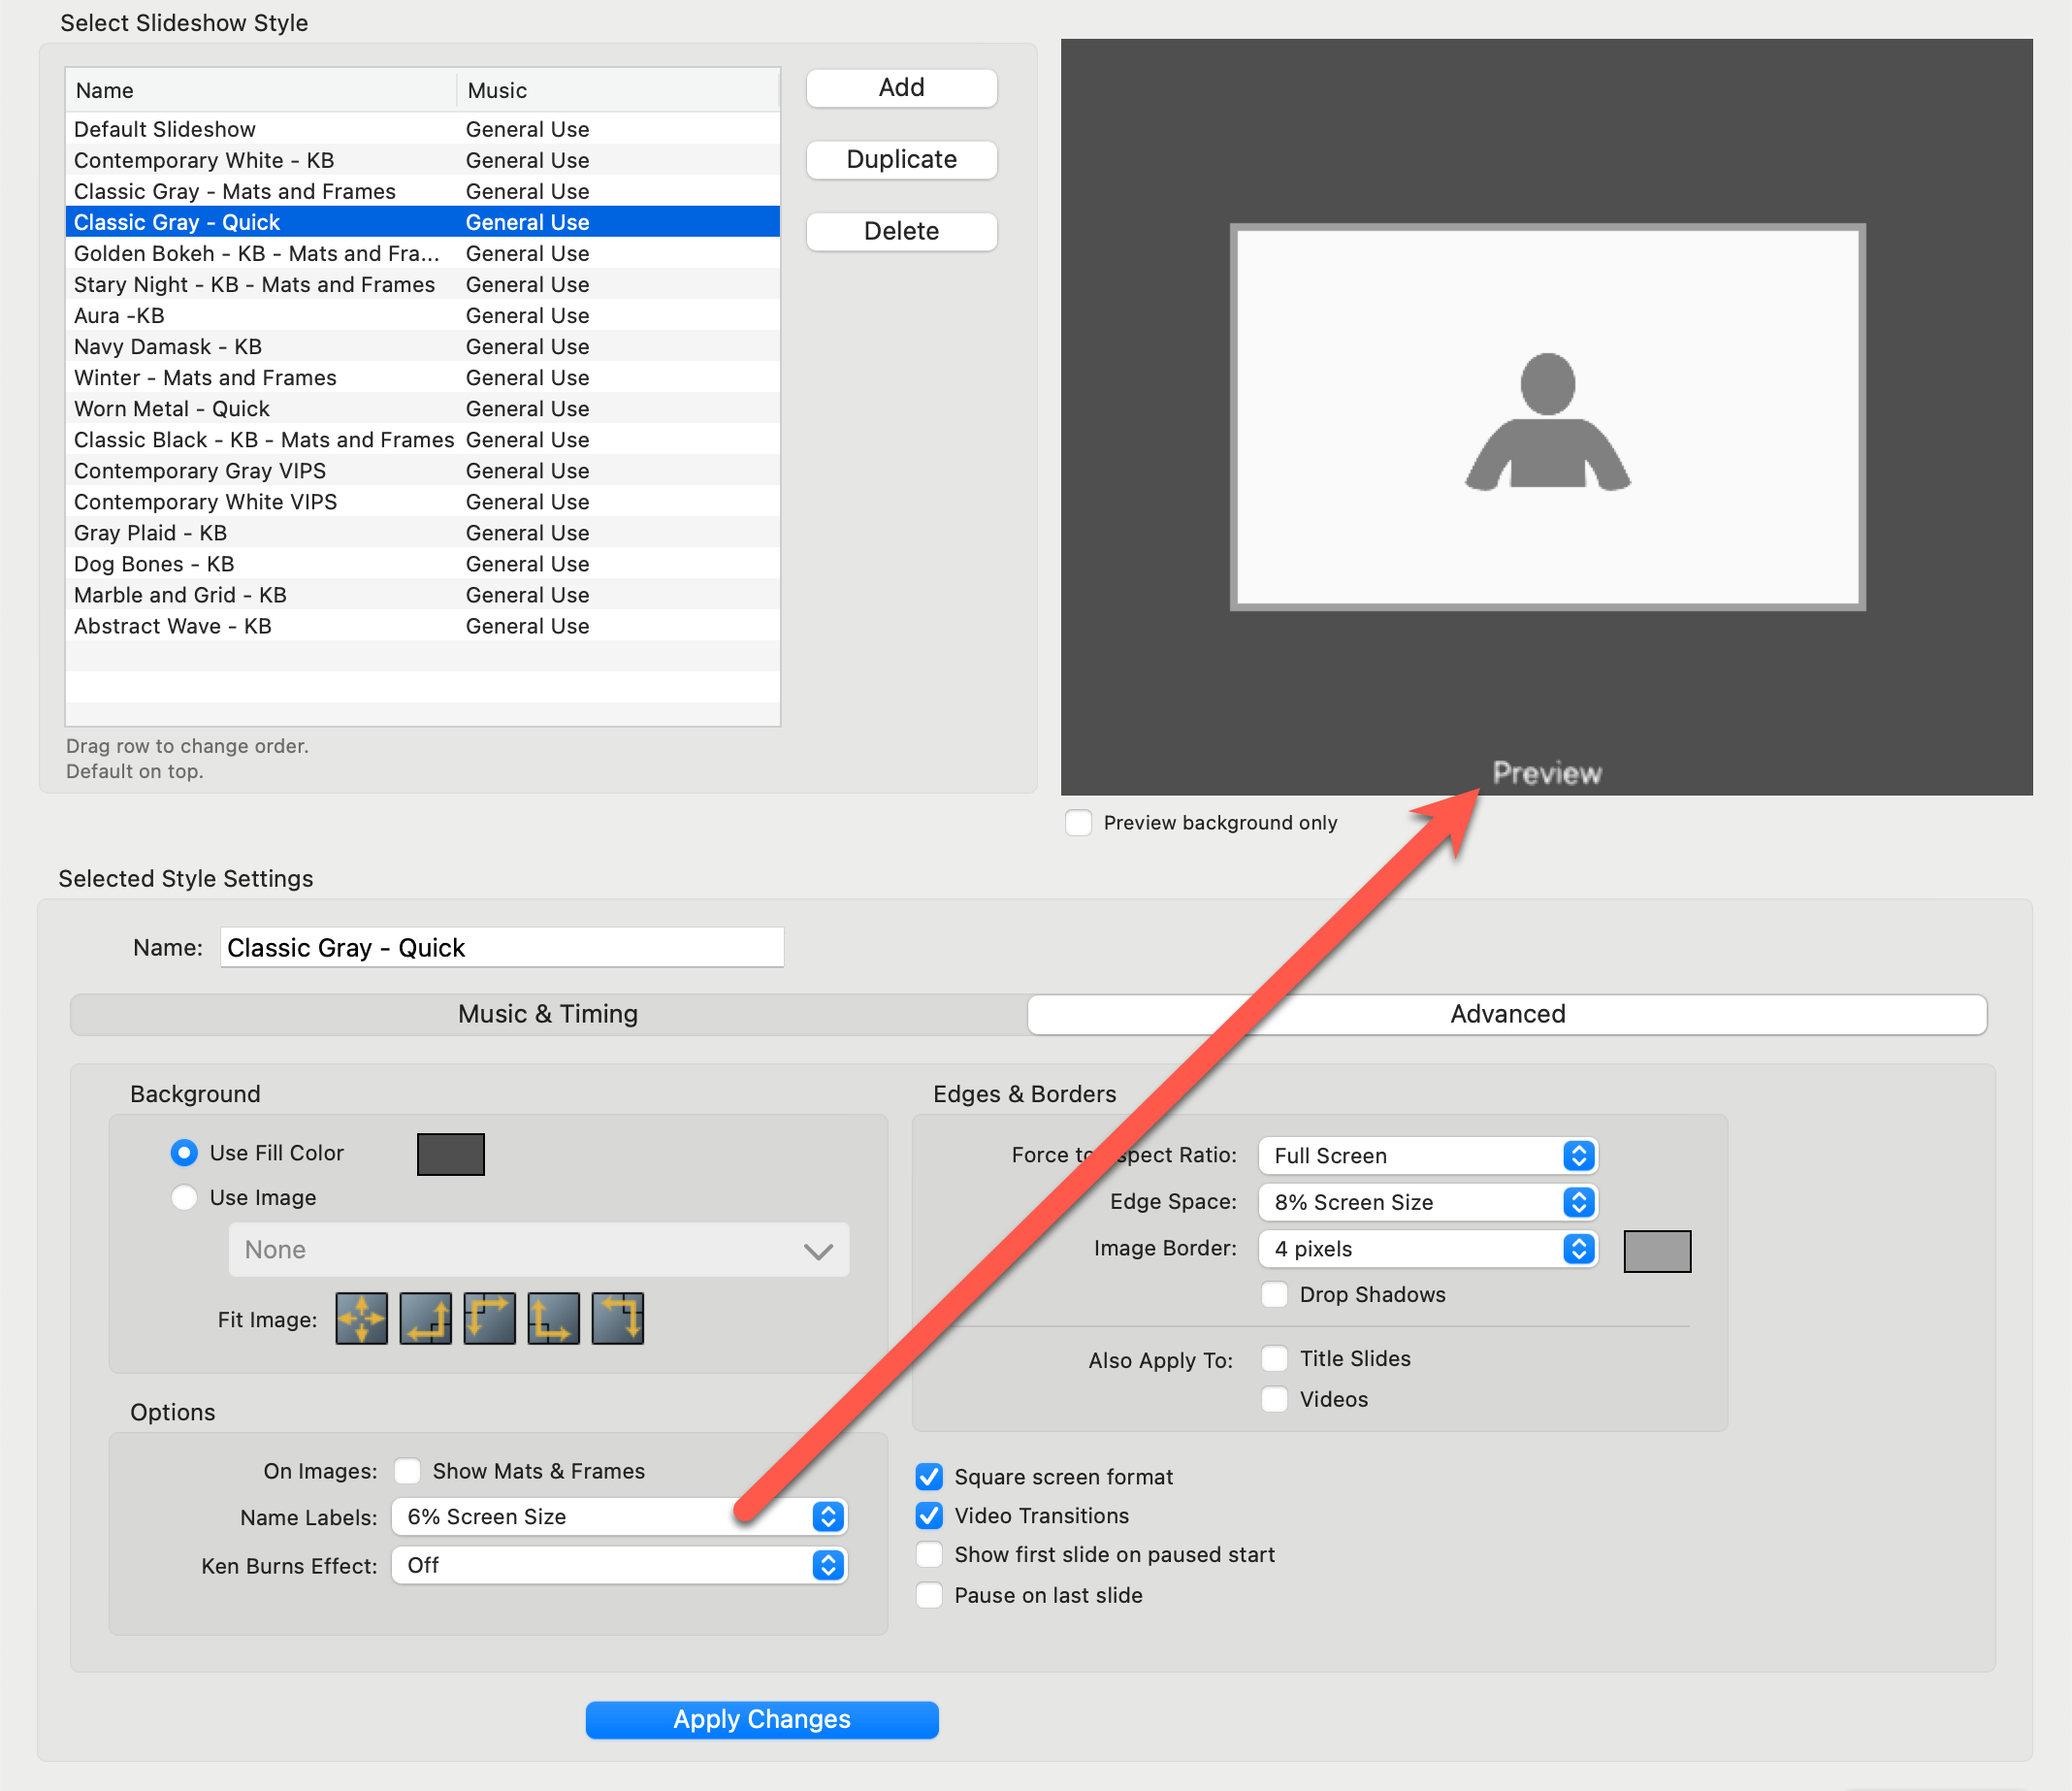
- Access the Setup Slideshow Styles window by going to the top menu, Slideshow > Setup Slideshow Styles.
- Alternatively, click on the drop-down arrow next to the currently selected slideshow in Working with Slideshows. Select "Setup Slideshow Styles" from the list.
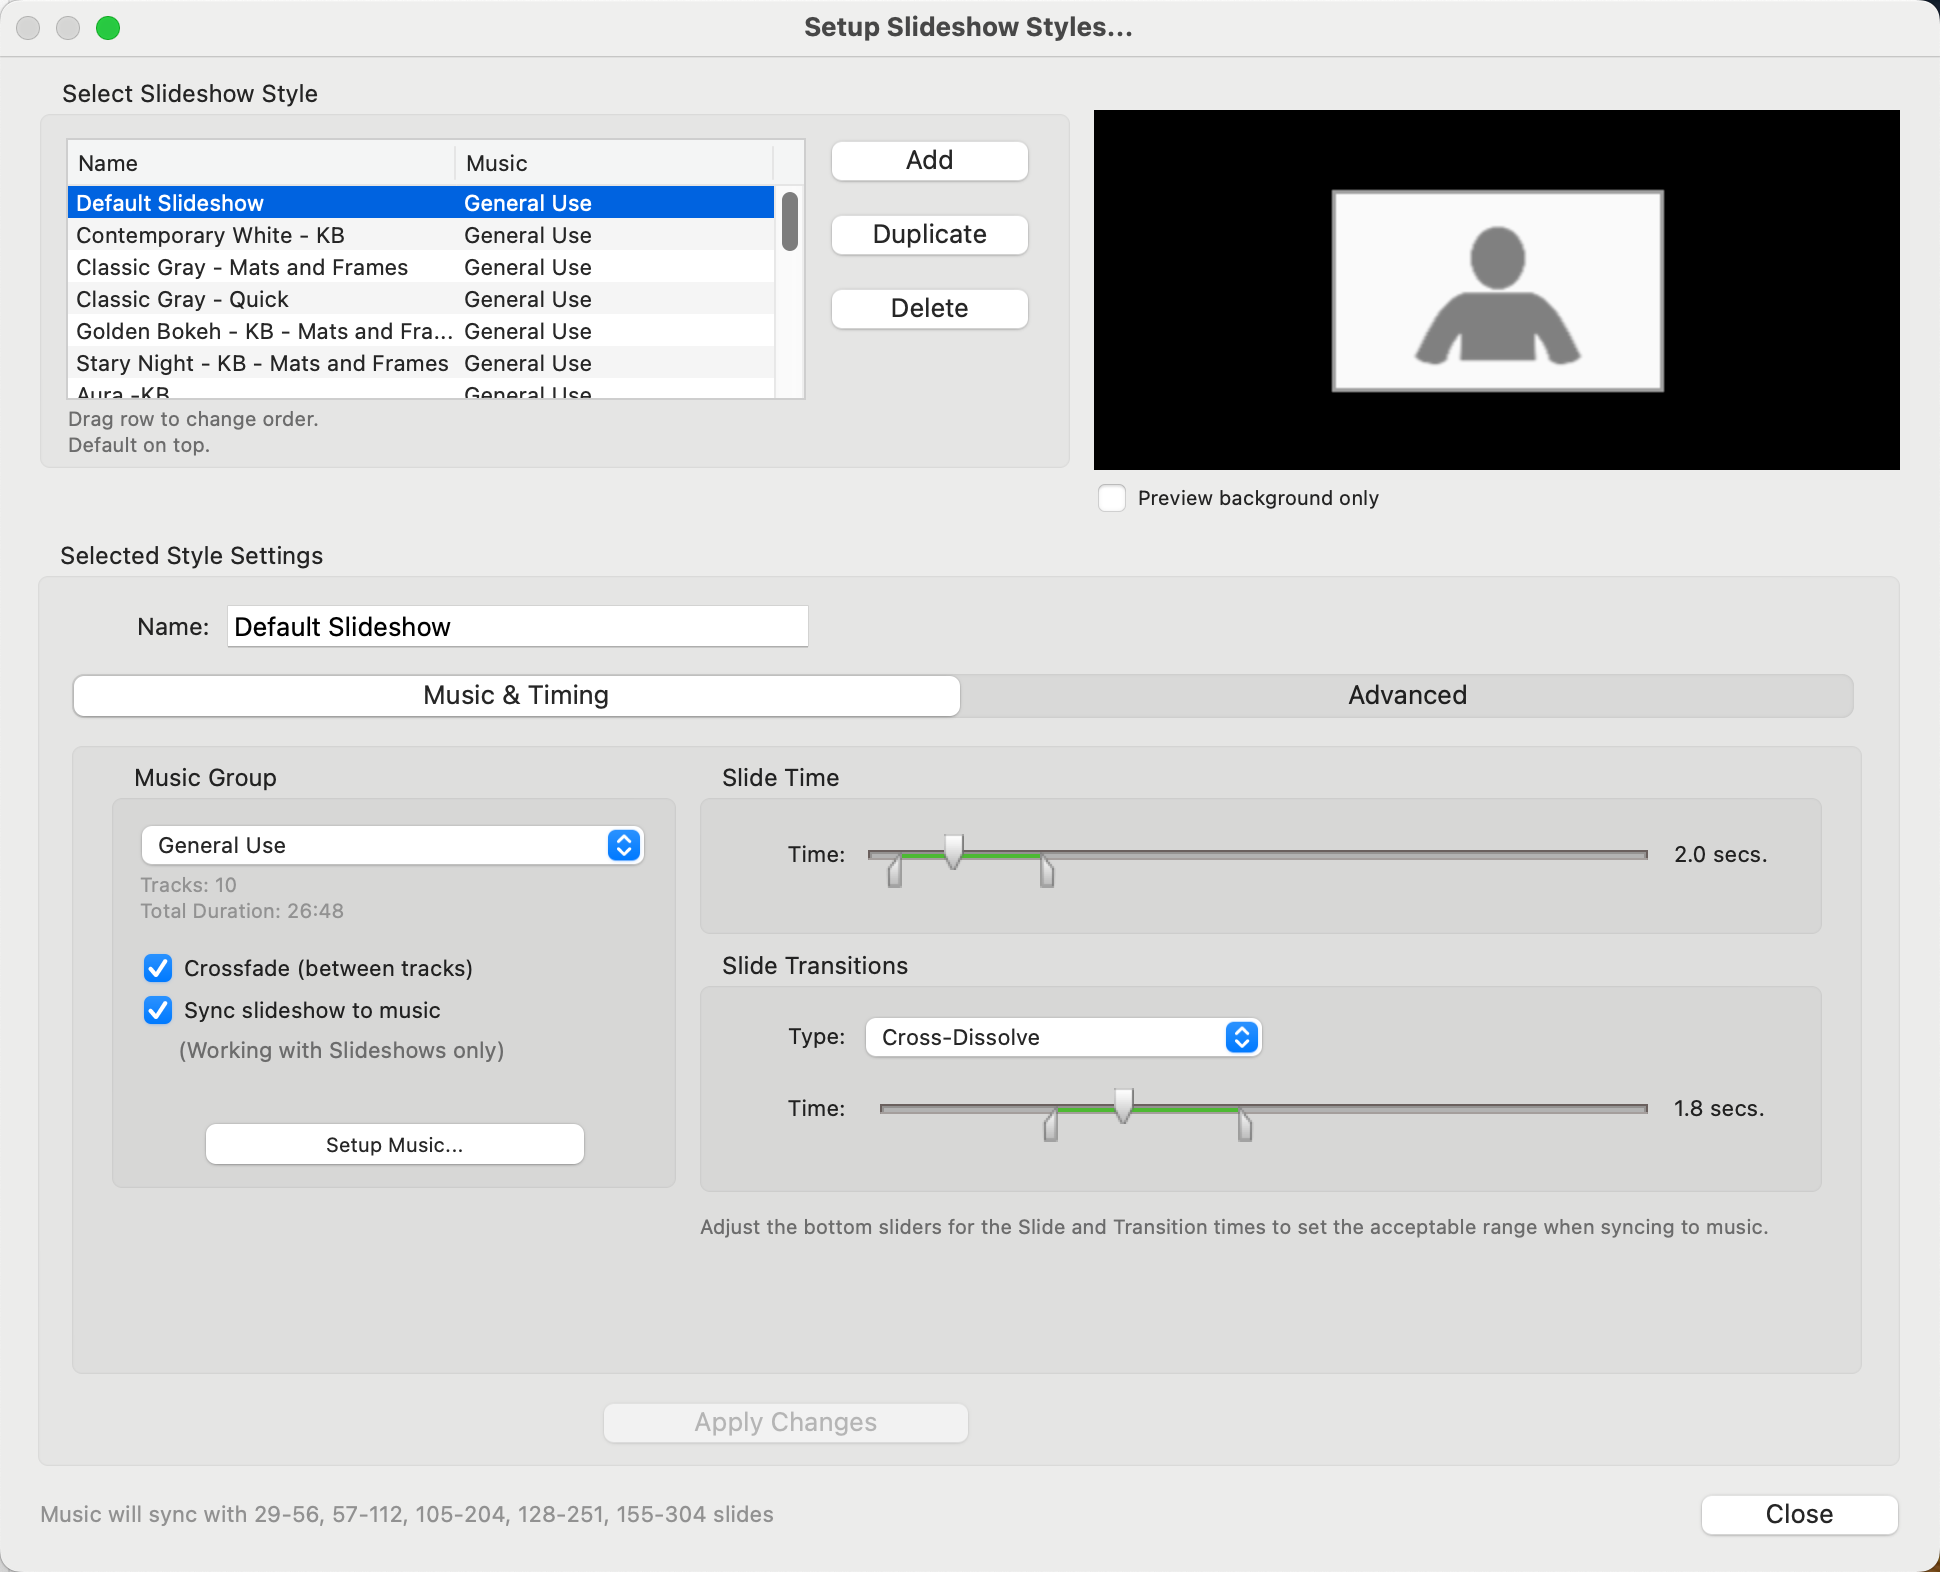
A complete list of all Slideshow Styles appears at the top-left of the window. Select a slideshow from the list to see a preview of the style on the right.
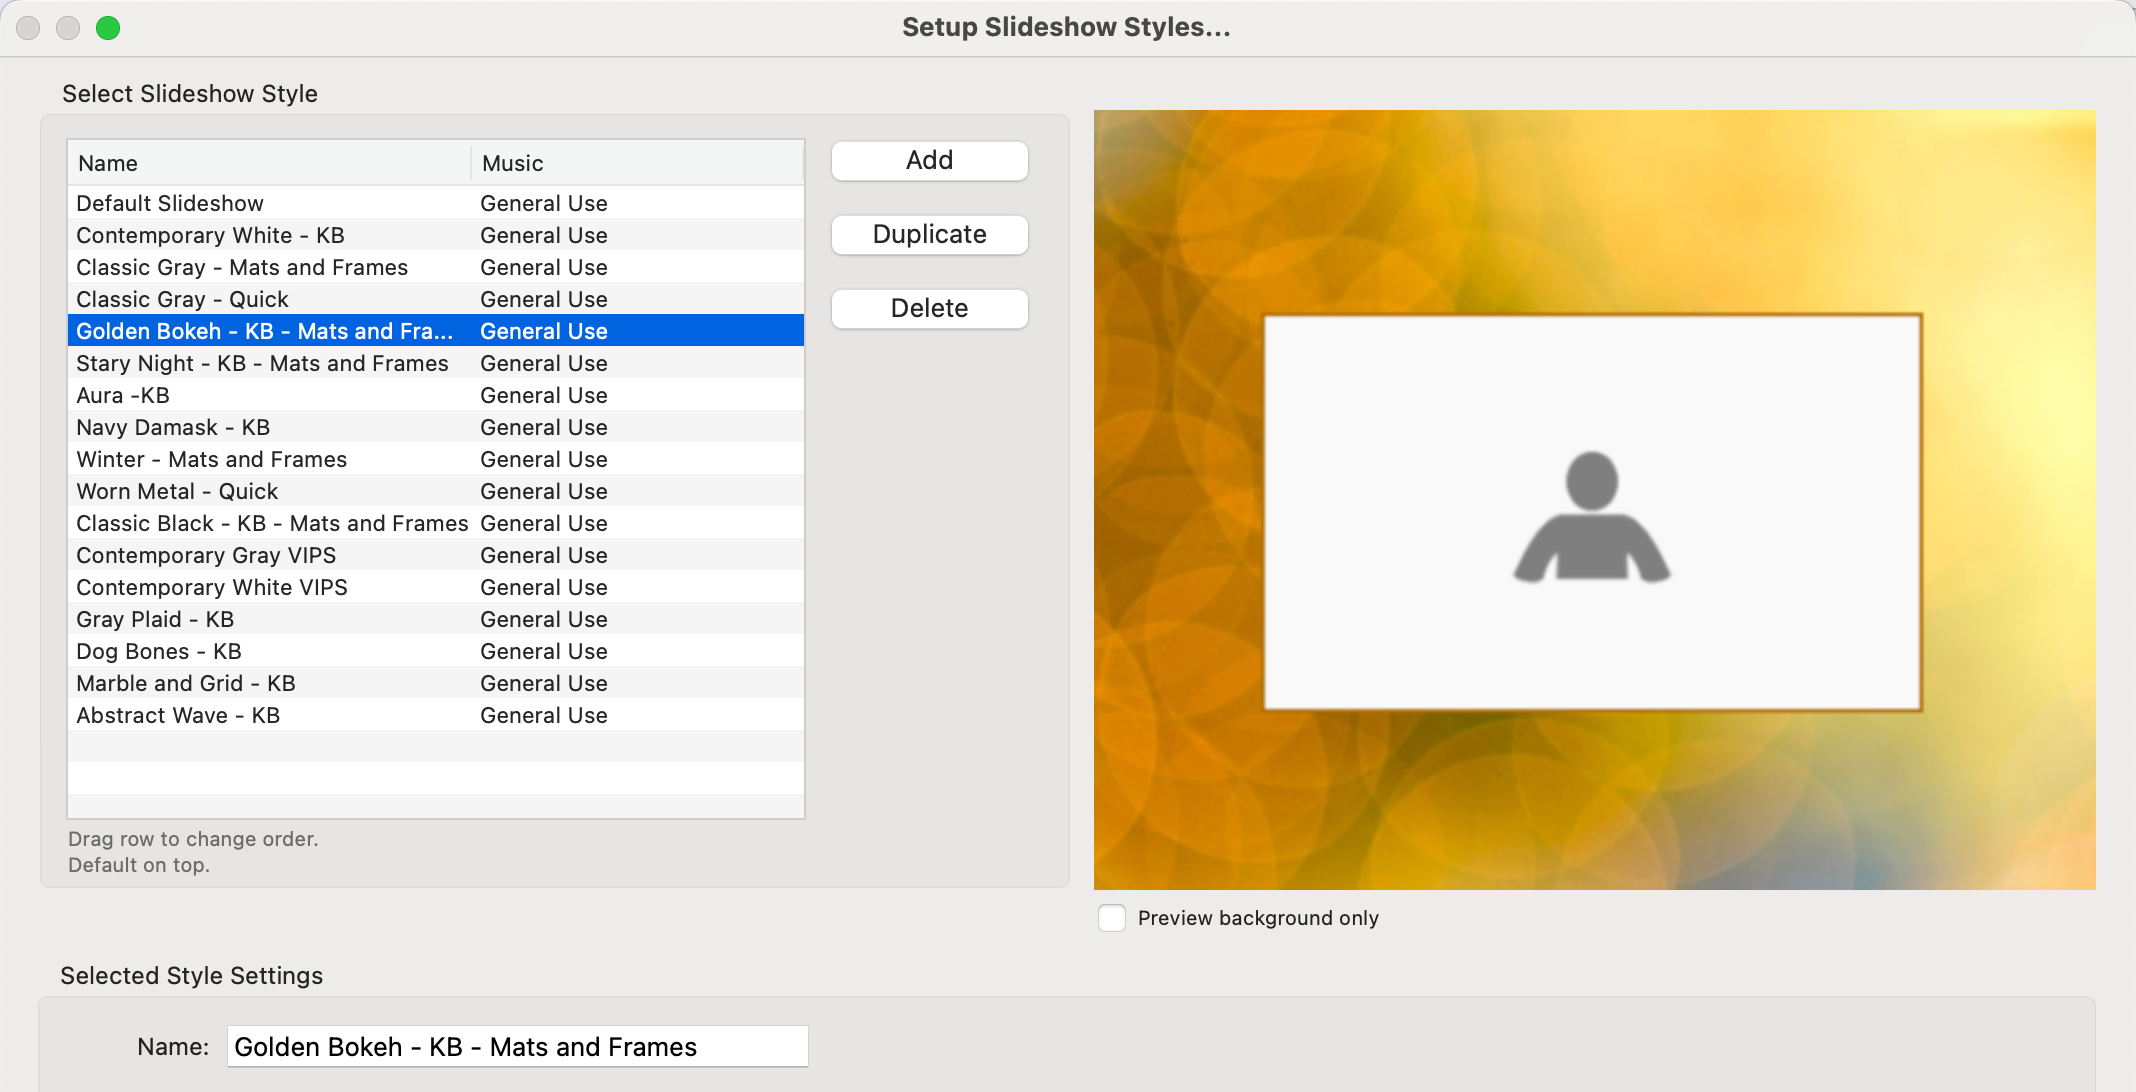
- Add: Click on the Add button to create a new slideshow style. The new style will appear at the bottom of the list. Rename the style in the "Name" box under "Selected Style Settings."
- Duplicate: You can duplicate a style using the Duplicate button.
- Delete: To delete a style, select it and click the Delete button.
- To preview the background without an image, check the "Preview background only" checkbox under the preview.
- Rearrange the order of slideshow styles by dragging them to a new position in the list.
For each slideshow style, you can adjust the basic timing and music settings.
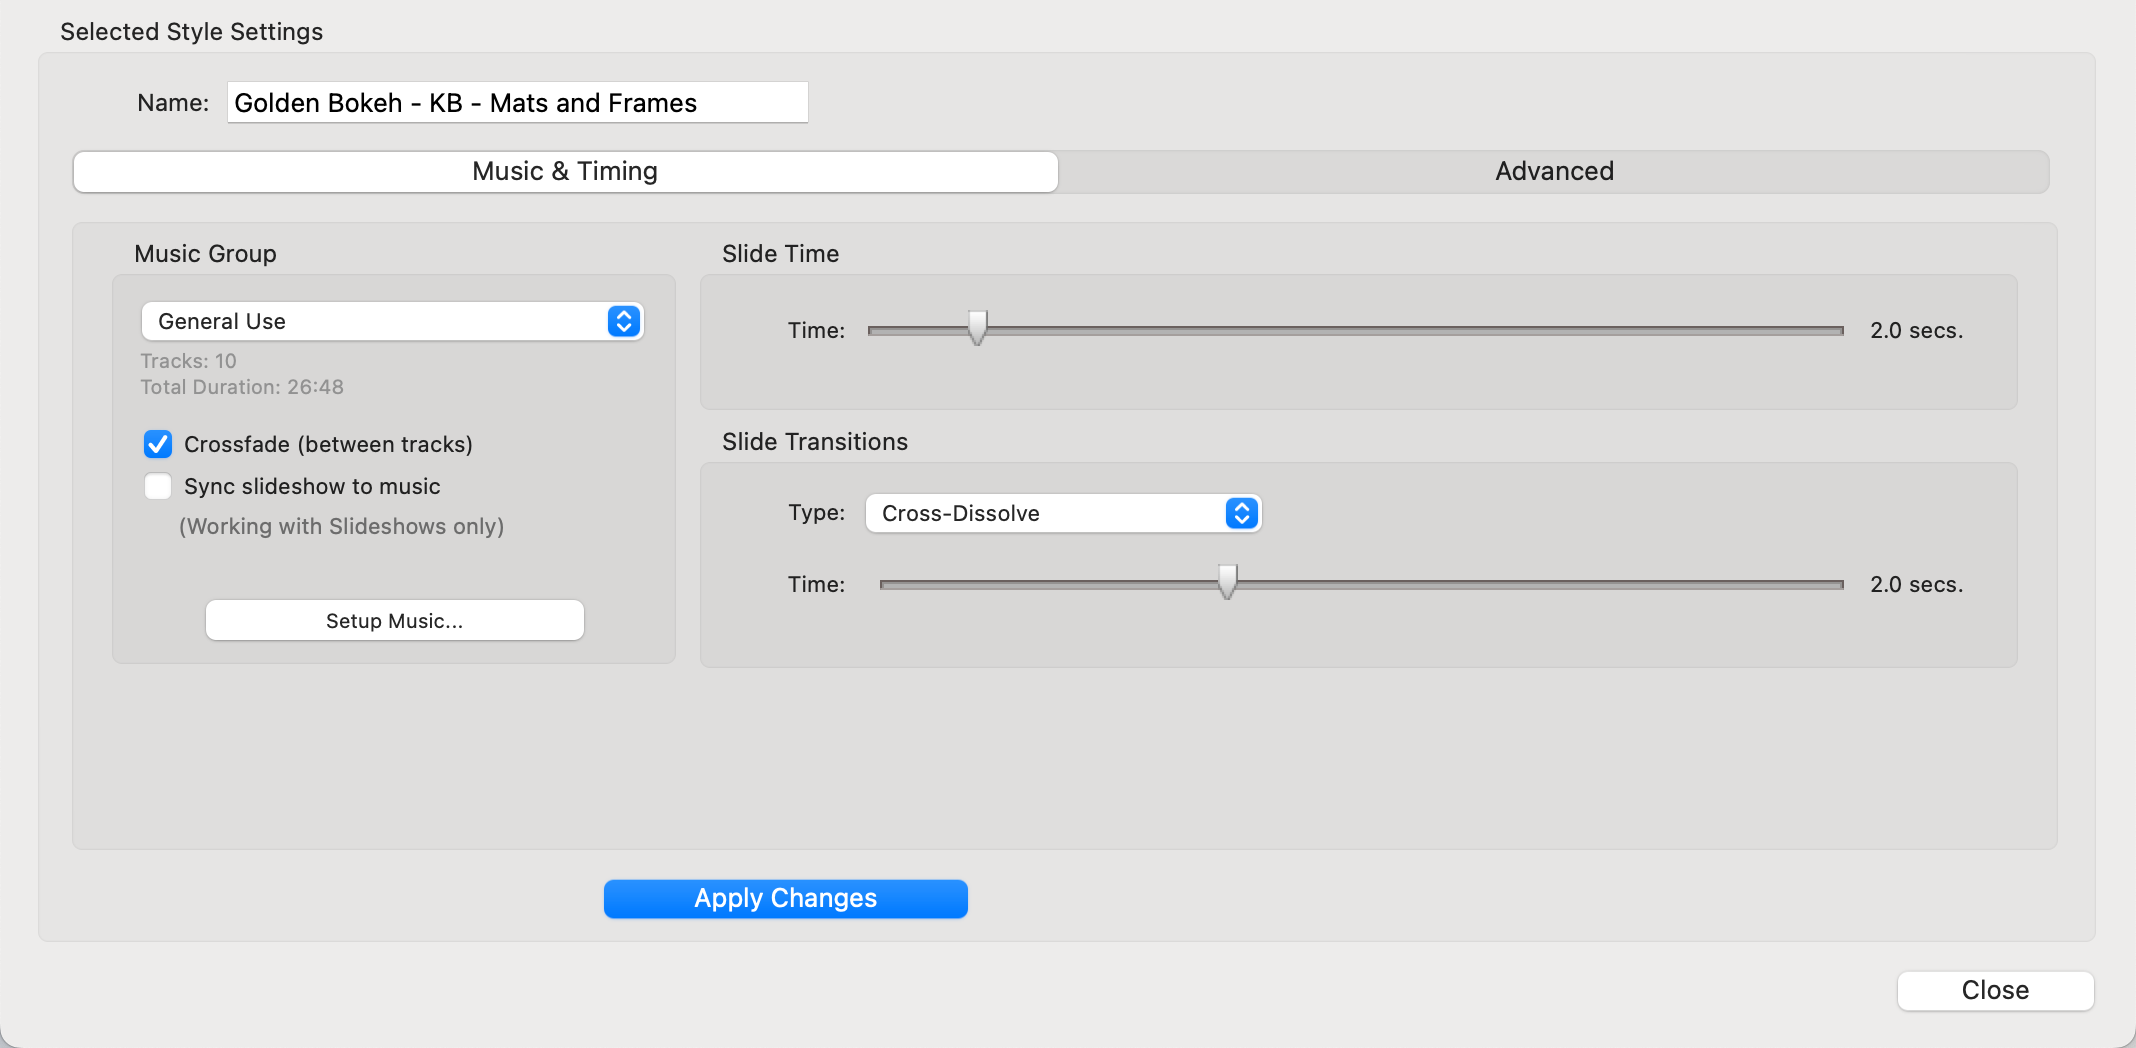
Basic Timing
- Slide Time: Set how long each slide appears, from 1 to 10 seconds using the slider.
- Transition Time: Choose how long transitions between slides last, from 0.3 to 5 seconds using the slider.
- Transition Type: Select the type of transition between slides, such as no transition, fading to background, or cross-dissolving between slides.
Fine Tuning Slide Times
When Working with Slideshows, the selected Slideshow Style generally dictates the slide and transition durations. You do, however, have the flexibility to adjust the display time for individual slides or Album Sets. Click on Adjust Frame Timing to learn more.
Music Settings
- Music Group Selection: Choose a Music Group to accompany the slideshow when this style is used. Note: the music group is chosen here, you can select specific tracks within the group to play in Working with Slideshows. See Select Music to learn more.
- If you want to add new music, click on the Setup Music button to open the setup dialog.
- Cross-Fading Tracks: If the slideshow extends beyond the length of one music track, you can opt to cross-fade between tracks for smoother audio transitions. Note that using cross-fading can slightly alter the total duration of your slideshow.
When you turn this feature on, ProSelect adjusts the timing of the slideshow to match your music's length. Once ProSelect has the parameters set for the music sync, it will suggest music tracks that best match the slideshow length when applied in Working with Slideshows. Click on Using Music Syncing to learn more.
- Check the box "Sync slideshow to music" to enable syncing.
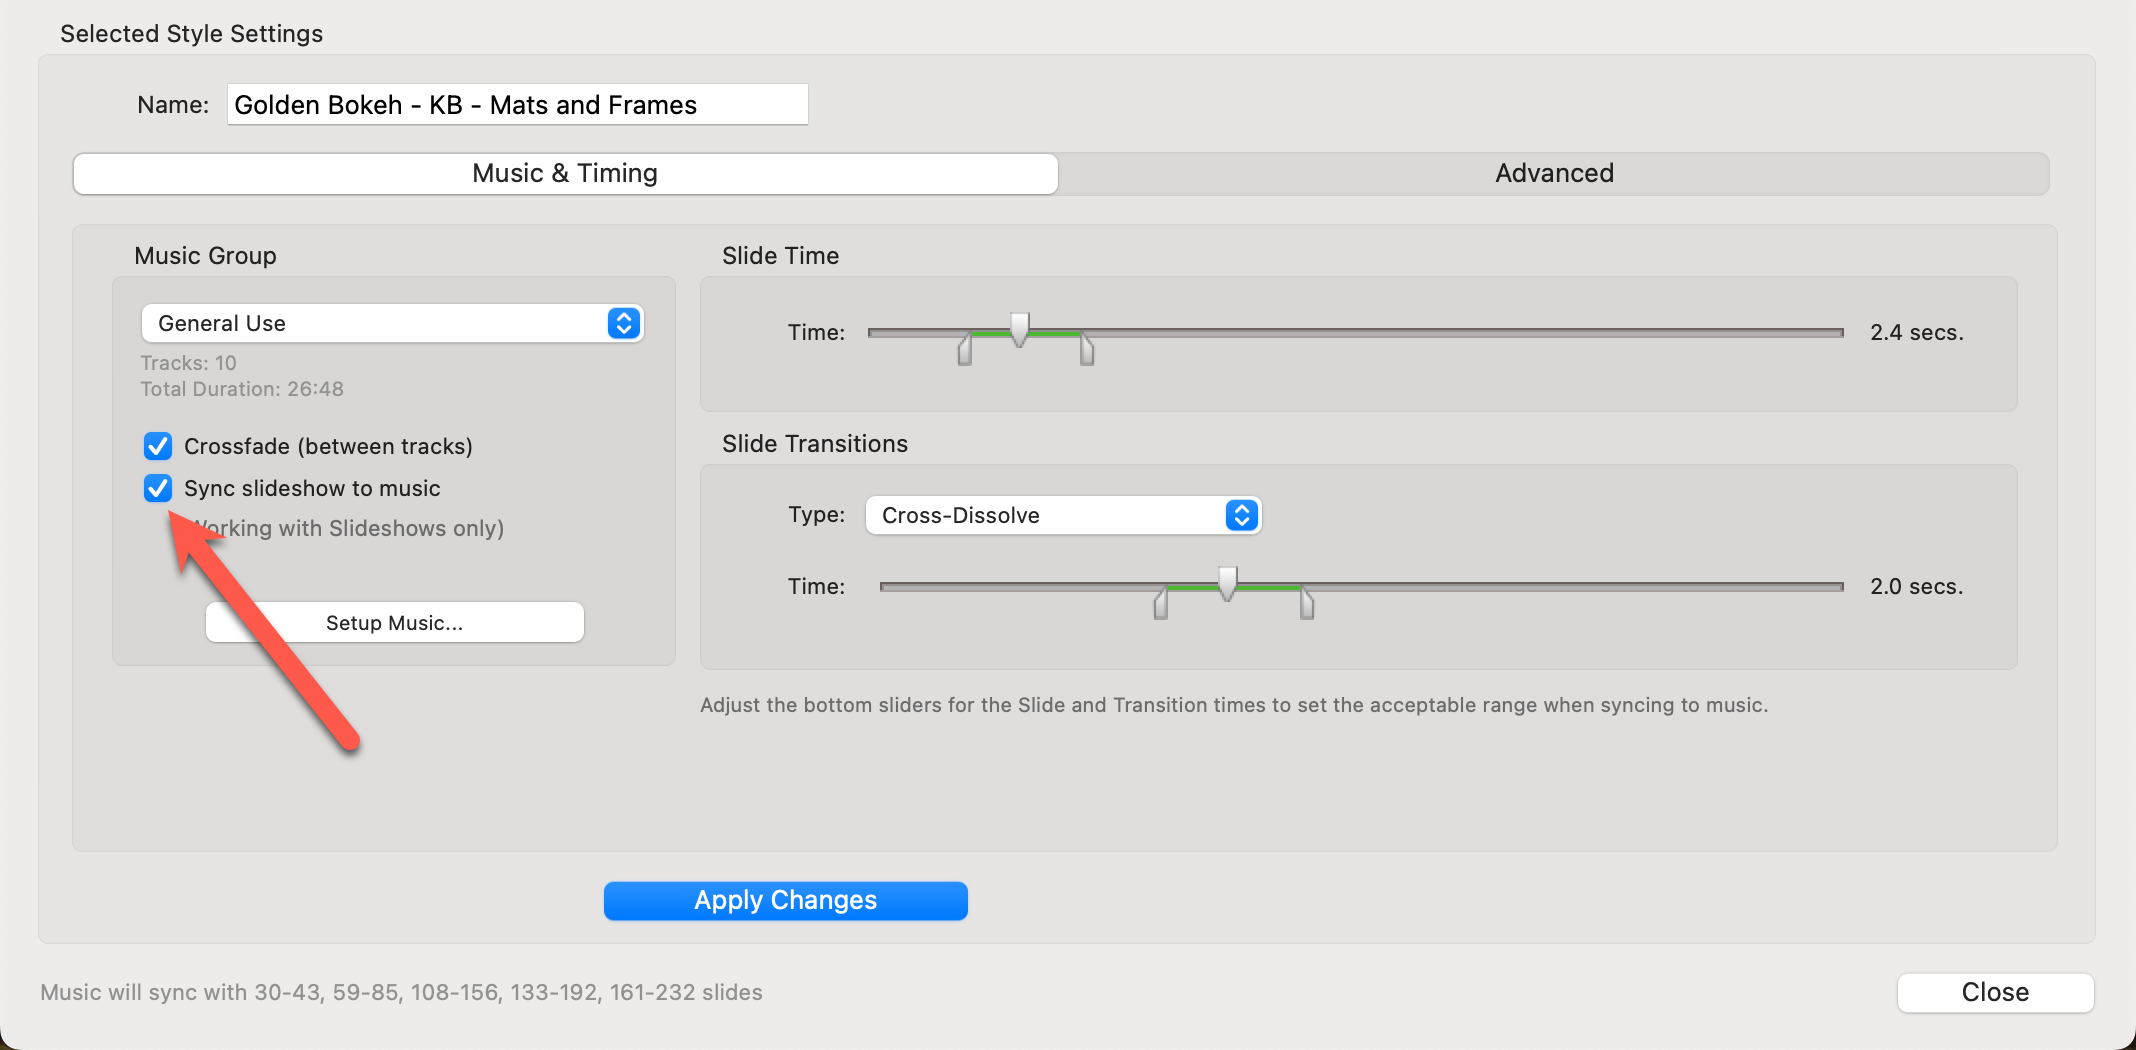
- Set a range for both slide and transition times using range selectors on the sliders.

- You can set both minimum and maximum allowed times around your preferred time. Allowing a broader range of times increases the chances that your music will sync well with the number of slides in your slideshow.
- If ProSelect can't sync the music perfectly with the slideshow because of timing issues, it will use your preferred time settings and fade out the music as the slideshow ends.
- If your slideshow lasts longer than the total duration of your selected music tracks, ProSelect will automatically loop back to the first track in the music group and continue playing.
In the Advanced Options tab, you can select a color or an image as the background for your slideshow.
Use Fill Color
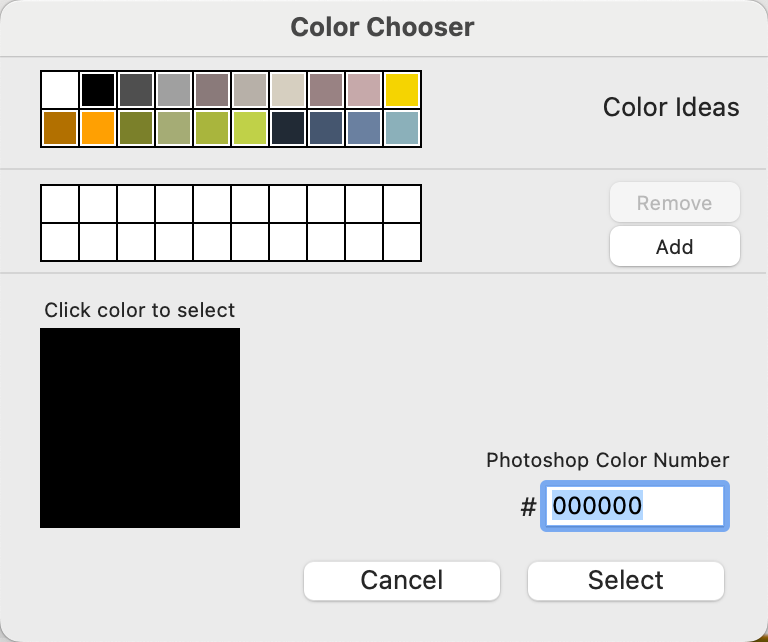
Click on the color box to bring up the Color Chooser.

- From here you can manually type in a Photoshop color number, use one of the pre-selected color ideas, or click on the large color swatch to select a color. Use the Add button to add the selected color to your favorites palette.
Use Image
Click on the "Use Image" option to bring up the Slideshow Background Resource dialog. From here you can manage and select an image to use as the background.
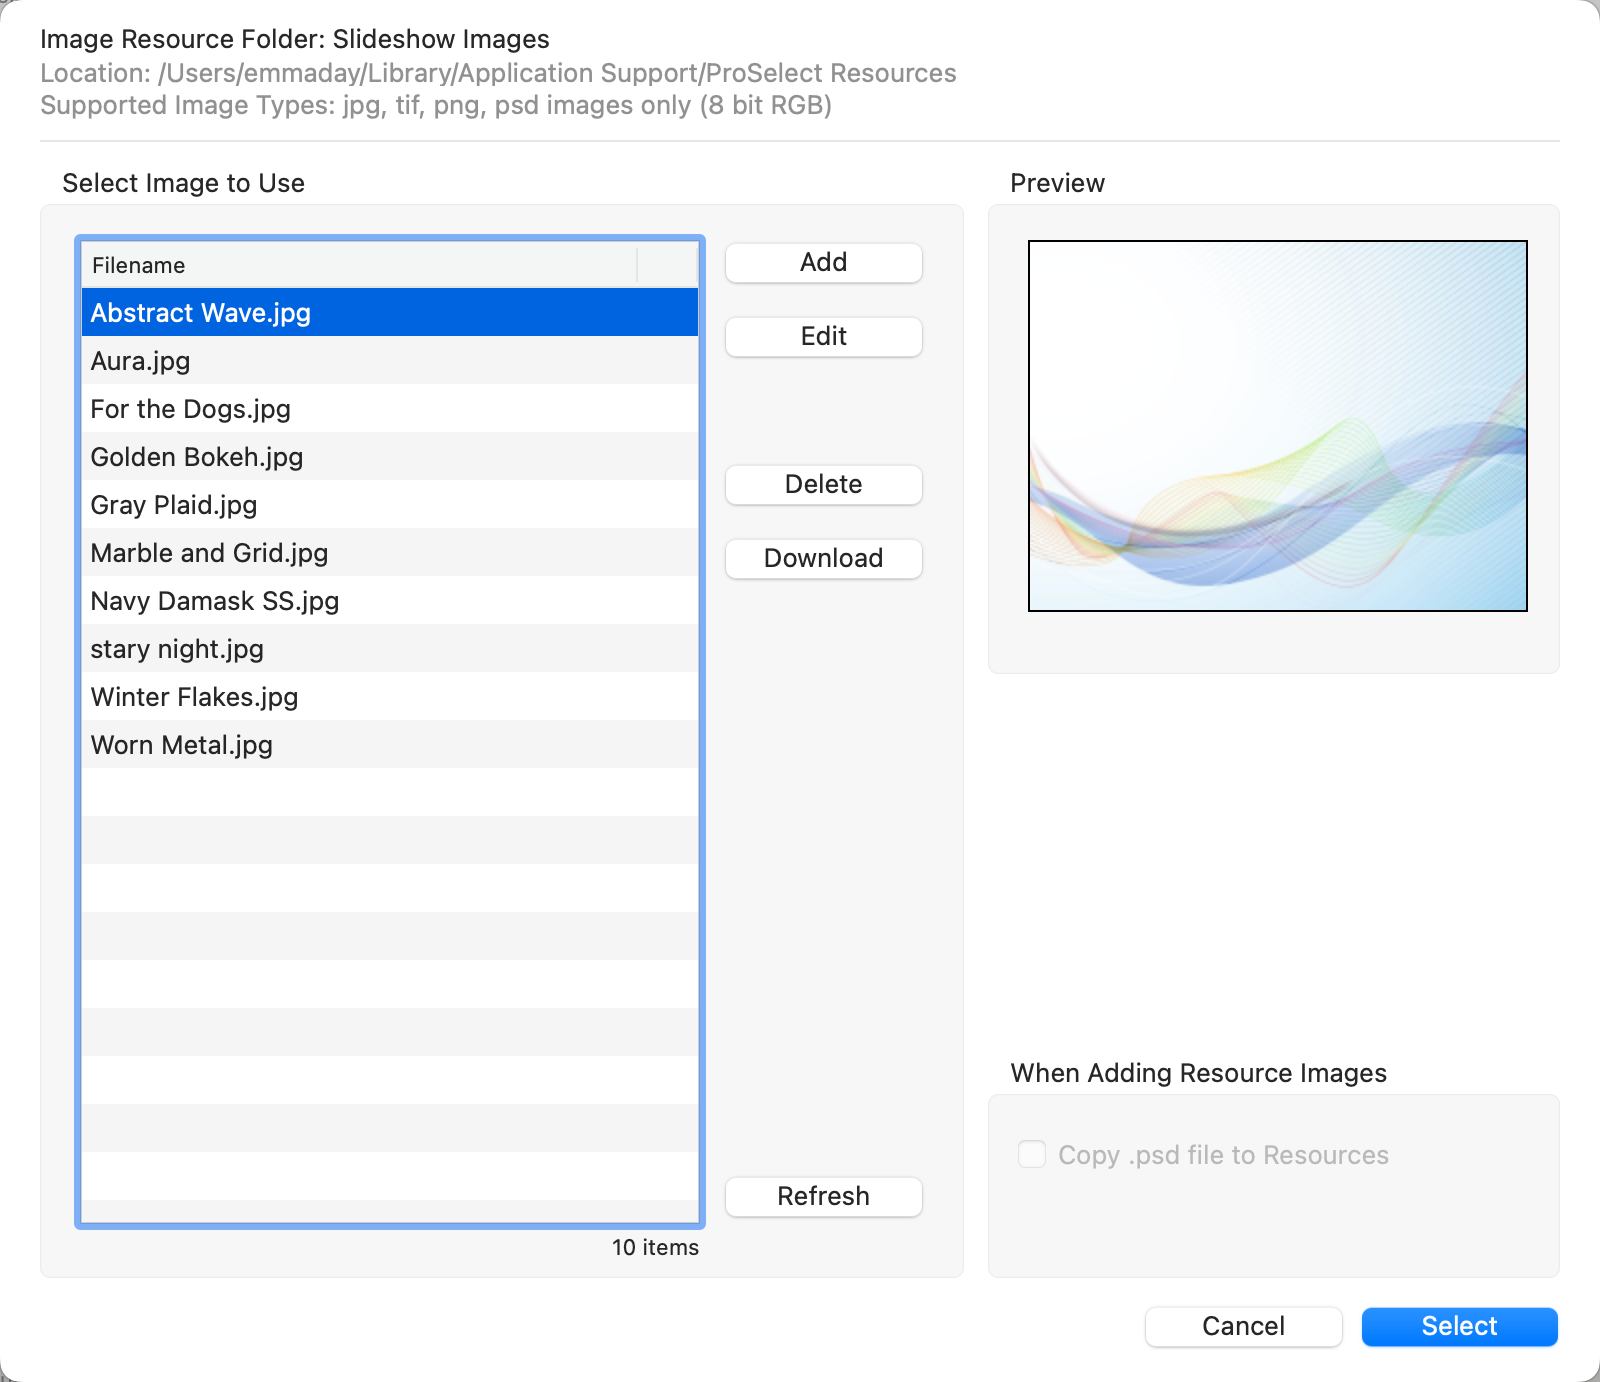
- Use the Add button to upload an image from your computer or network.
- Use the Download button to search the ProSelect Graphics Library.
- Image Fit Options: Once you have selected an image, you will need to choose an Image Fit Option.
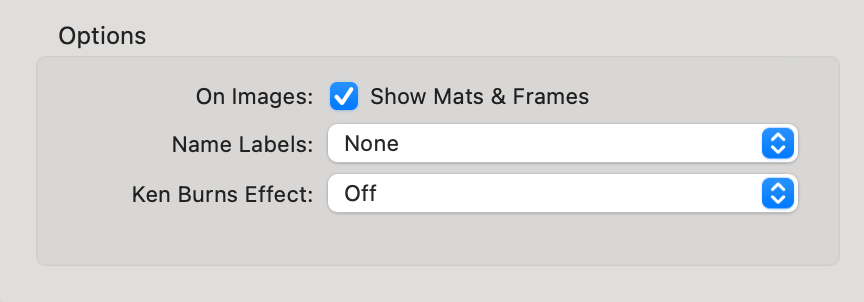
By default, mats and frames added in Actual Size view won't appear during a slideshow. If you want them to be visible, enable the option to show mats and frames.
Name Labels
Name labels can refer to the image name, room name, product template name, etc.

For displaying name labels beneath each album item during the slideshow, choose a label size relative to the screen size, ranging from 2% to 10%, or opt not to show labels at all. If your slideshow design includes edge space, you can also choose to fit the labels within this edge space. Once you click the Apply Changes button, the size you selected will be shown in the preview box.
Utilizing Ken Burns Effects is a Pro feature. Upgrade your subscription to Pro on the Pro Studio Software website.
You can enhance your slideshows with Ken Burns Effects, which slowly zoom or pan each image to add dynamic visual interest. Select the type you wish to use in the slideshow using the drop-down list. There are three types of Ken Burns Effects:
- Crop to Fill Screen: Images are zoomed in to completely fill the screen, minus any designated edge space.

- Full Images (no Cropping): Entire images are moved or zoomed within the screen boundaries, accounting for any edge space.
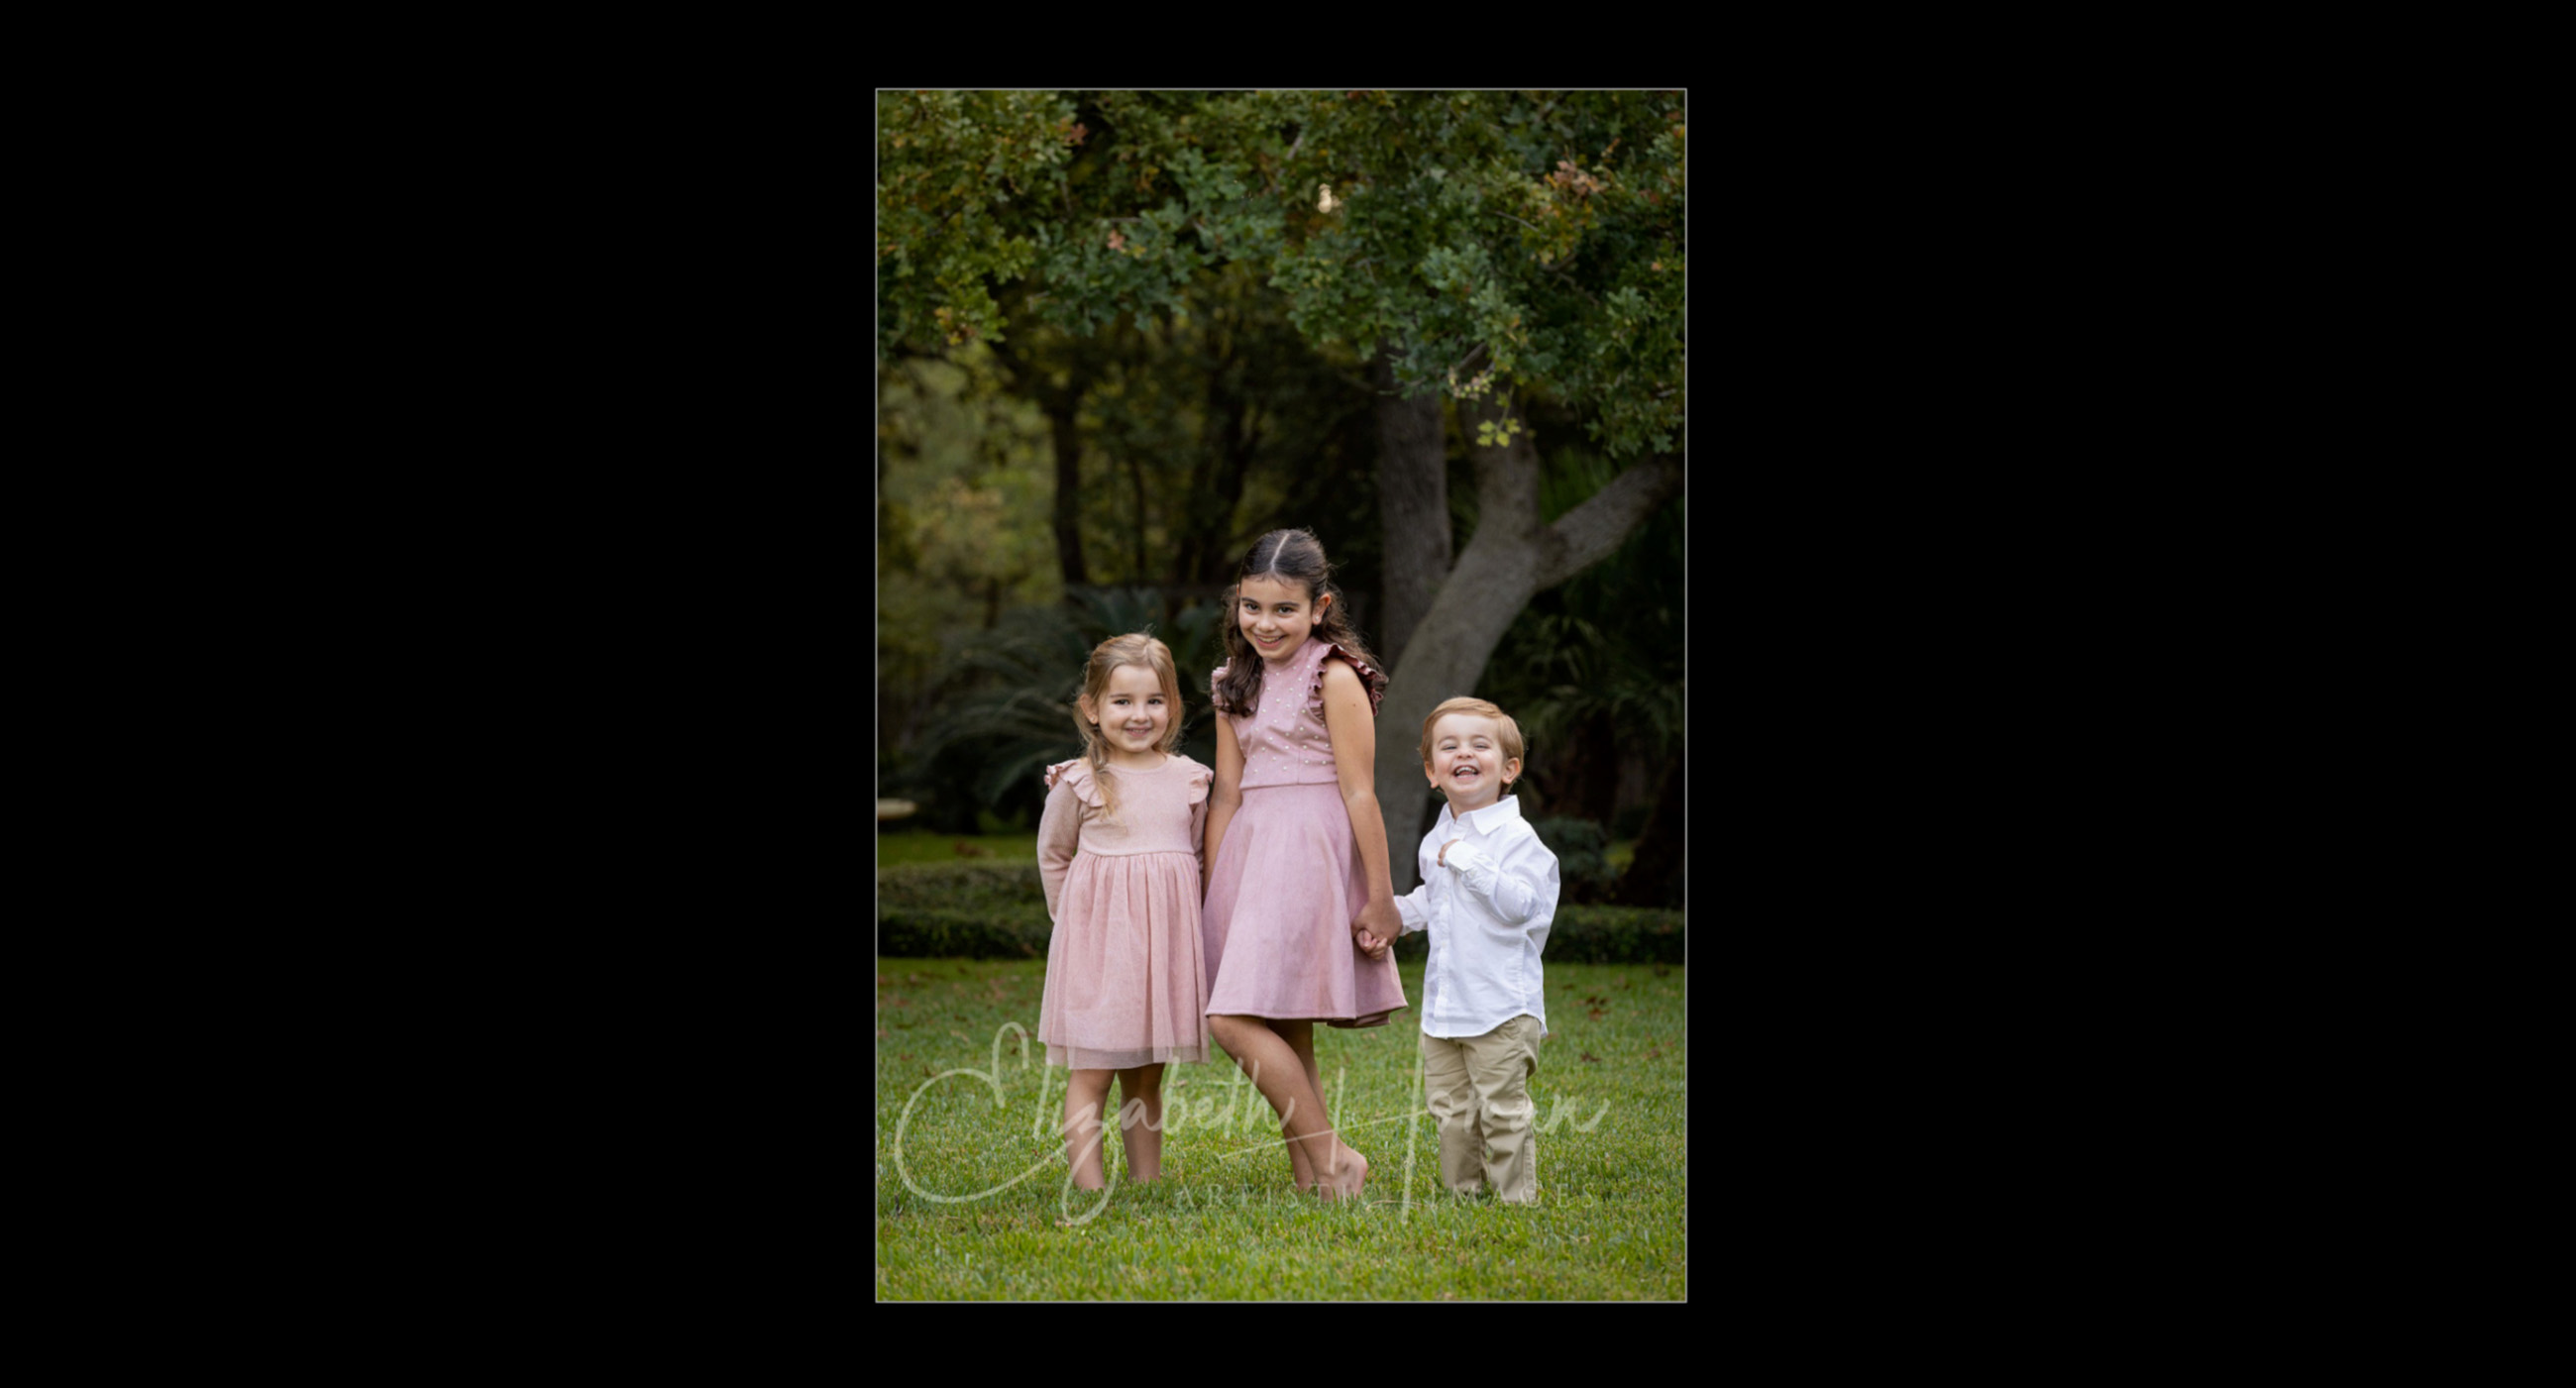
- Random Sizing: This option randomly applies one of the above two effects to each image in the slideshow.
Requirements and Settings
- To utilize Ken Burns effects, ensure your computer has OpenGL drivers installed and enabled in ProSelect’s Slideshow Settings.
- A smooth display of Ken Burns effects demands a fast computer and quick access to your ProSelect album file (locally as opposed to a network).
Setting the Ken Burns Focal Point
- For slideshows using the "Crop to Fill Screen" effect, ProSelect typically centers the image. However, you can specifically set the visual focal point, such as a person's face or eyes, using the Ken Burns Focal Point View. This adjustment ensures that during the effect, the focus moves towards or away from this point, enhancing the visual impact of each image.
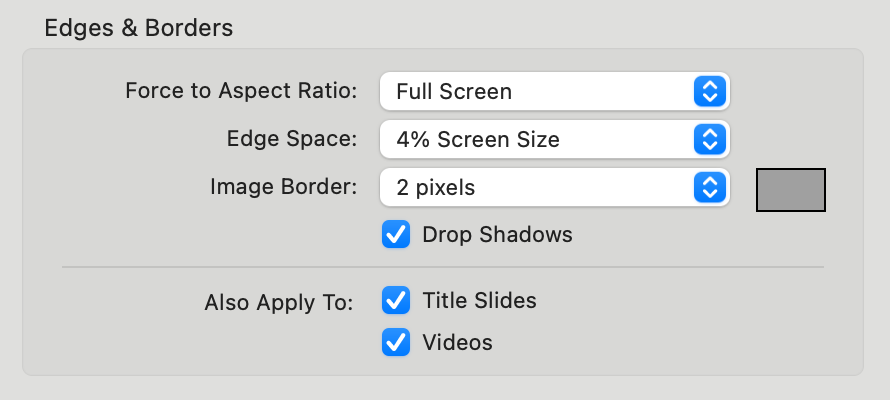
Force to Aspect Ratio
Use this setting to preview your slideshow on your computer screen in a "letterboxed" format to mimic different aspect ratios, such as 16:9 for HD movies or 4:3 for business projectors. This helps ensure the slideshow will look right on various displays.
- When exporting slideshow movies, they will generally appear as they do in ProSelect, except adjustments will be made to fit the presentation screen, such as stretching to fit image backgrounds. Use the "Force to Aspect Ratio" setting to see a preview of your exported movie by constraining the slideshow to match your intended movie size.
Edge Space
Adjust the space around your slideshow by selecting from 2-10% of the screen size, or choose None for no edge space. The selected background color or image will fill this space.
Image Borders
Customize the size and color of borders around the images in your slideshow. This setting is not applied during full-screen Ken Burns effects.
- Drop Shadows: Add a shadow effect to displayed items in your slideshow. Like image borders, this setting is also ignored during full-screen Ken Burns effects.
Also Apply to
Title Slides & Videos: Enable these settings for title slides and videos within your slideshow to maintain a consistent aesthetic.

- Square Screen Format: Choose this option to ensure that the width of landscape images matches the height of portrait images, making all images appear the same size on the screen during the slideshow.
- Video Transitions: Activate this option to include smooth transitions at the beginning and end of video clips within your slideshow, enhancing the overall flow and presentation.
- Show First Slide on Paused Start: When starting a slideshow in paused mode, the first image will be displayed immediately. This is particularly useful for setting the scene with a title image as soon as the client arrives.
- Pause on Last Slide: Rather than closing the slideshow window when the last image is displayed, the slideshow will pause. This allows the final image to linger, maintaining the atmosphere until you decide to end the session.
