Adding, Removing, & Sorting Album Images
- You can add any sized JPEG, TIFF, or Photoshop file to an Album. When creating an album, ProSelect automatically generates viewing images sized at 1920 x 1200 pixels and thumbnail files for all added images.
- By default, images are added to the Maybe Tab. To change this, go to the top menu, ProSelectEdit > Settings > Importing Images > Adding Images > Load Into. You can set it to always add them to the Yes, Maybe, No, or the currently selected Tab.
- If you're creating an album for viewing on a 4K monitor, consider switching the import size to the 4K option (ProSelectEdit > Settings > Importing Images > Adding Images > Resize To) before adding any images to the album. Larger viewing images offer more detail when zoomed in, but may affect performance and result in larger album file sizes.
- ProSelect works in sRGB color space. If your images use this same color profile then you should find that they will look the same when displayed in ProSelect as they do in Photoshop. By default, ProSelect detects what color space your images are in and automatically converts them into sRGB color space while they are being copied and added to your Album. For more information see Color Management.
You can add any sized JPEG, TIFF, or PSD file to ProSelect. If you are shooting RAW and don't have a compatible file for ProSelect to import, use Lightroom to create a JPEG and import directly from there.
- Open ProSelect.
- There are a number of ways to add images to ProSelect. Choose from one of the following options:
- On the top menu, go to Images > Add Folder of Images or Add One Image.
- Drag and drop a folder of images (or a single image) into the Image List on the left of the main screen.
- Drag and drop a folder of images (or single image) into the ProSelect application icon.
- Use the Add Folder of Images to Album toolbar button
 (on the right of the main screen).
 Quick Tip - RAW Files
If your folder of images contains both RAW and JPEG/TIFF/PSD files, ProSelect will ignore the RAW files and only import the JPEG/TIFF/PSD files. A link will be created to the RAW file for use in Production. Click on Importing Raw Files for more information.
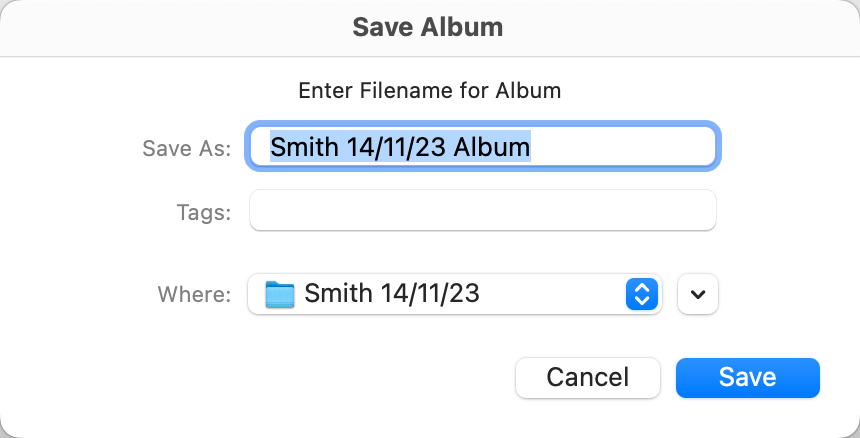
- On the top menu, go to File > Save Album.
- Name the album using the same method as the original job folder e.g. Name and date.
- Save the album into the client folder.
- By default, images are added to the Maybe tab
 . However, you have the option to change this setting so that they always load into the Yes, No, or currently selected tab. On the top menu, go to ProselectEdit > Settings > Importing Images > Adding Images.
ProSelect (Pro version only) provides the ability to automatically add images from a specified Watch Folder into the currently open ProSelect album. This can be used for tethered shooting and where you wish to show images in ProSelect after each shot.
- On the top menu, go to Images > Add Images From Watch Folder. Alternatively, use the “W” shortcut key.
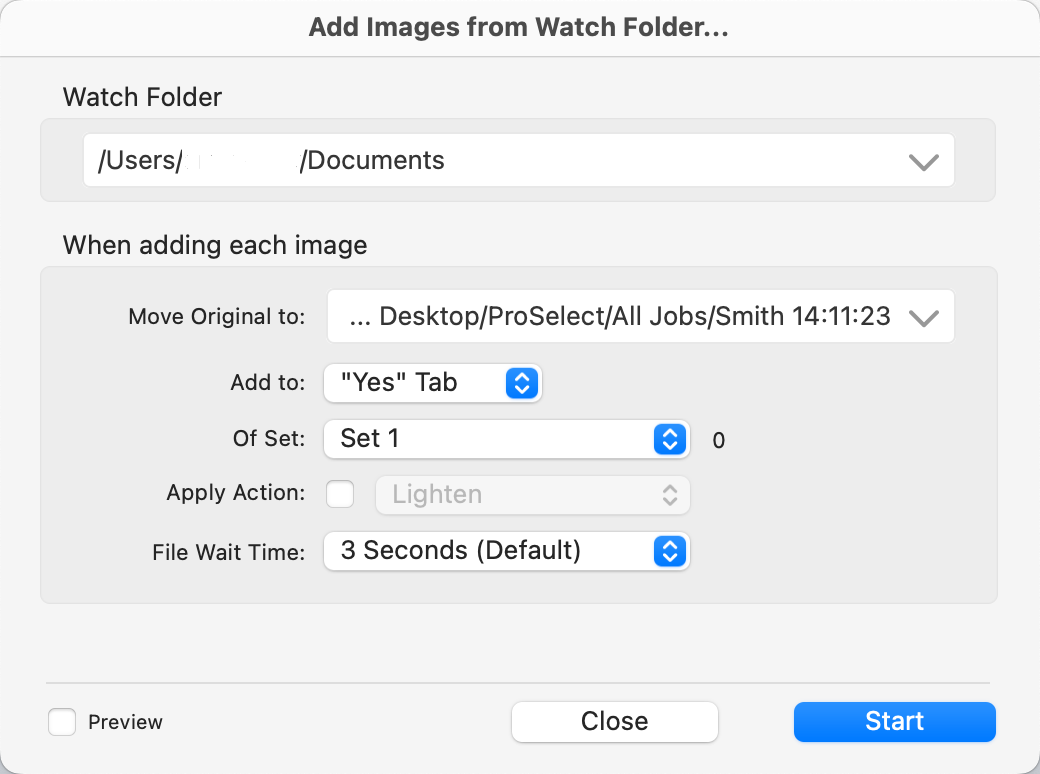
- Select the folder to be watched. This is the folder where the camera images are downloaded.
- Select the folder that the images are to be moved to after they have been added to the album. This would normally be the session folder for the job.
- Select the Set and ProSelect Tab (Yes, Maybe, or No) that you would like the images to be added into.
- Optionally select a Custom Effects Action that will be automatically applied to the images as they are added.
- Select a file wait time.
- Check the Preview checkbox if you wish to have each image displayed as it is added.
- Click the Start button.
Pausing Operations
You cannot perform any other operations while ProSelect is actively watching for new images. Click the Pause button (or press the ESC key) to temporarily close the Watch Folder window. To open and activate it again, press the “W” key on your keyboard.
- If you are transferring very large files or you have a slow connection to your camera, then you can set the File Wait Time to a longer time (5 or 7 seconds). This allows extra time for the transfer.
- The software you use to transfer images from your camera to your computer usually sets the Watch Folder location.
- If you are shooting Raw + .jpg then the .jpg image will be loaded into ProSelect and both files will be moved to the selected session folder. See Importing Raw Files for more information.
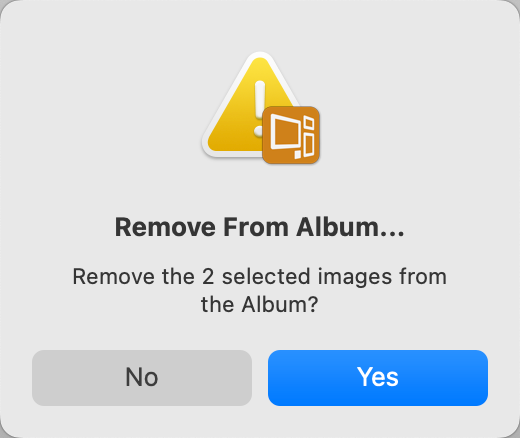
You can remove images permanently from a ProSelect Album in two different ways:
- Select the image(s) you want to remove, then click on the Trash Can
 .
. - Select the image(s) you want to remove, then go to the top menu, Images > Remove Selected Images.
In each case, ProSelect will ask you to confirm the removal. Click "Yes" to continue.
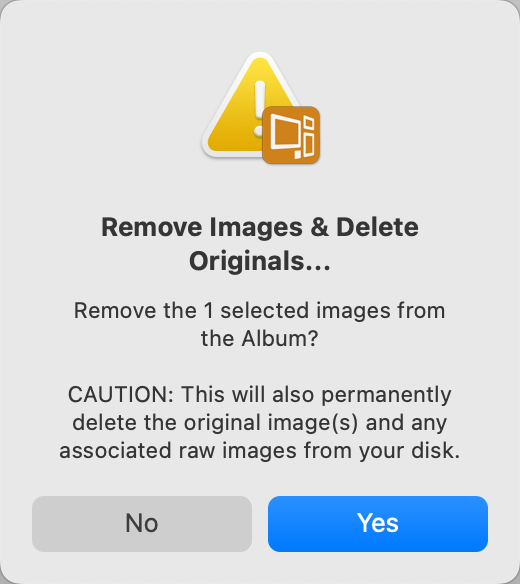
Deleting Original Images
If you wish to also delete the original images (and any associated Raw and sidecar files) that are linked to the images in your album, hold the Shift key down while clicking on the Trash Can![]() . ProSelect will ask you to confirm the removal. Click "Yes" to continue. This operation is not reversible.
. ProSelect will ask you to confirm the removal. Click "Yes" to continue. This operation is not reversible.
Compacting Album
To free up space in your album, consider compacting it after deleting images. This step is generally unnecessary unless you've removed a significant number of images and wish to recover the space. On the top menu, go to File > Compact Album.
You can remove all the images in the "No" tab from the album. On the top menu, go to Images > Remove "No" Tab Images.
In this case, your original images are not affected as only the low-res copies that you added to the ProSelect Album will be removed. Holding the Shift key down while selecting this option will also delete the original images. See Deleting Original Images.
Automatic Sorting
On the top menu, go to ProSelectEdit > Settings > Importing Images > Adding Images > Sorting. From here you can select to automatically sort your images by either file name or creation date as you add them to a ProSelect album.
To avoid accidentally re-sorting your images if you later add more images to an album, automatic sorting only occurs when you first import your folder of images. If you have added extra images and wish to re-sort
all your images then use the Manual Sorting options.
Manual Sorting
You can also manually sort the images by going to the top menu, Images > Sort By. These options allow you to sort all images by:
- Filename
- Capture (EXIF) Date
- File Creation Date
- File Modified Date
- Effect Applied
- Action Applied
- Ordered
- Used in Products
- Used in Books
- Used in Rooms
- Randomly
- File Type
- Rating
You can also Change the Order of Images by dragging and dropping your images into any order you like when in Working with Images, Thumbnail view.
Reverse Sorting Order
To sort images in the opposite order, hold the OptionAlt key down while selecting the Sort By type from the menu.