Troubleshooting
If you've used a "Save As" workflow (as opposed to overwriting your original files) and wish to return to your original images, follow these steps:
- Delete the retouched version of the image(s) from the original image folder.
- Click on the Reload button in the Production window, and select "Reload All Edited".
- The Original Image(s) has now been restored.
- Notice that the file extension is now back to its original, now that the retouched version has been deleted.
- The Reloaded tag
 as well as the Completed tag
  have been removed.
If the orientation of your output images doesn't align with what's shown in ProSelect, ensure you haven't rotated them in Photoshop's Browser. Since Photoshop stores rotation data separately, ProSelect cannot adjust for these changes. If you've rotated images in Photoshop's Browser, navigate back to the image folder within the Photoshop Browser and choose "Purge Cache" from the File menu to reset this information.
When creating Custom Photoshop Actions, ensure they're not reliant on specific layers or unit settings, as ProSelect converts units to pixels during production. Utilize the Test buttons when setting up Custom Effects Actions to verify your actions perform as intended individually.
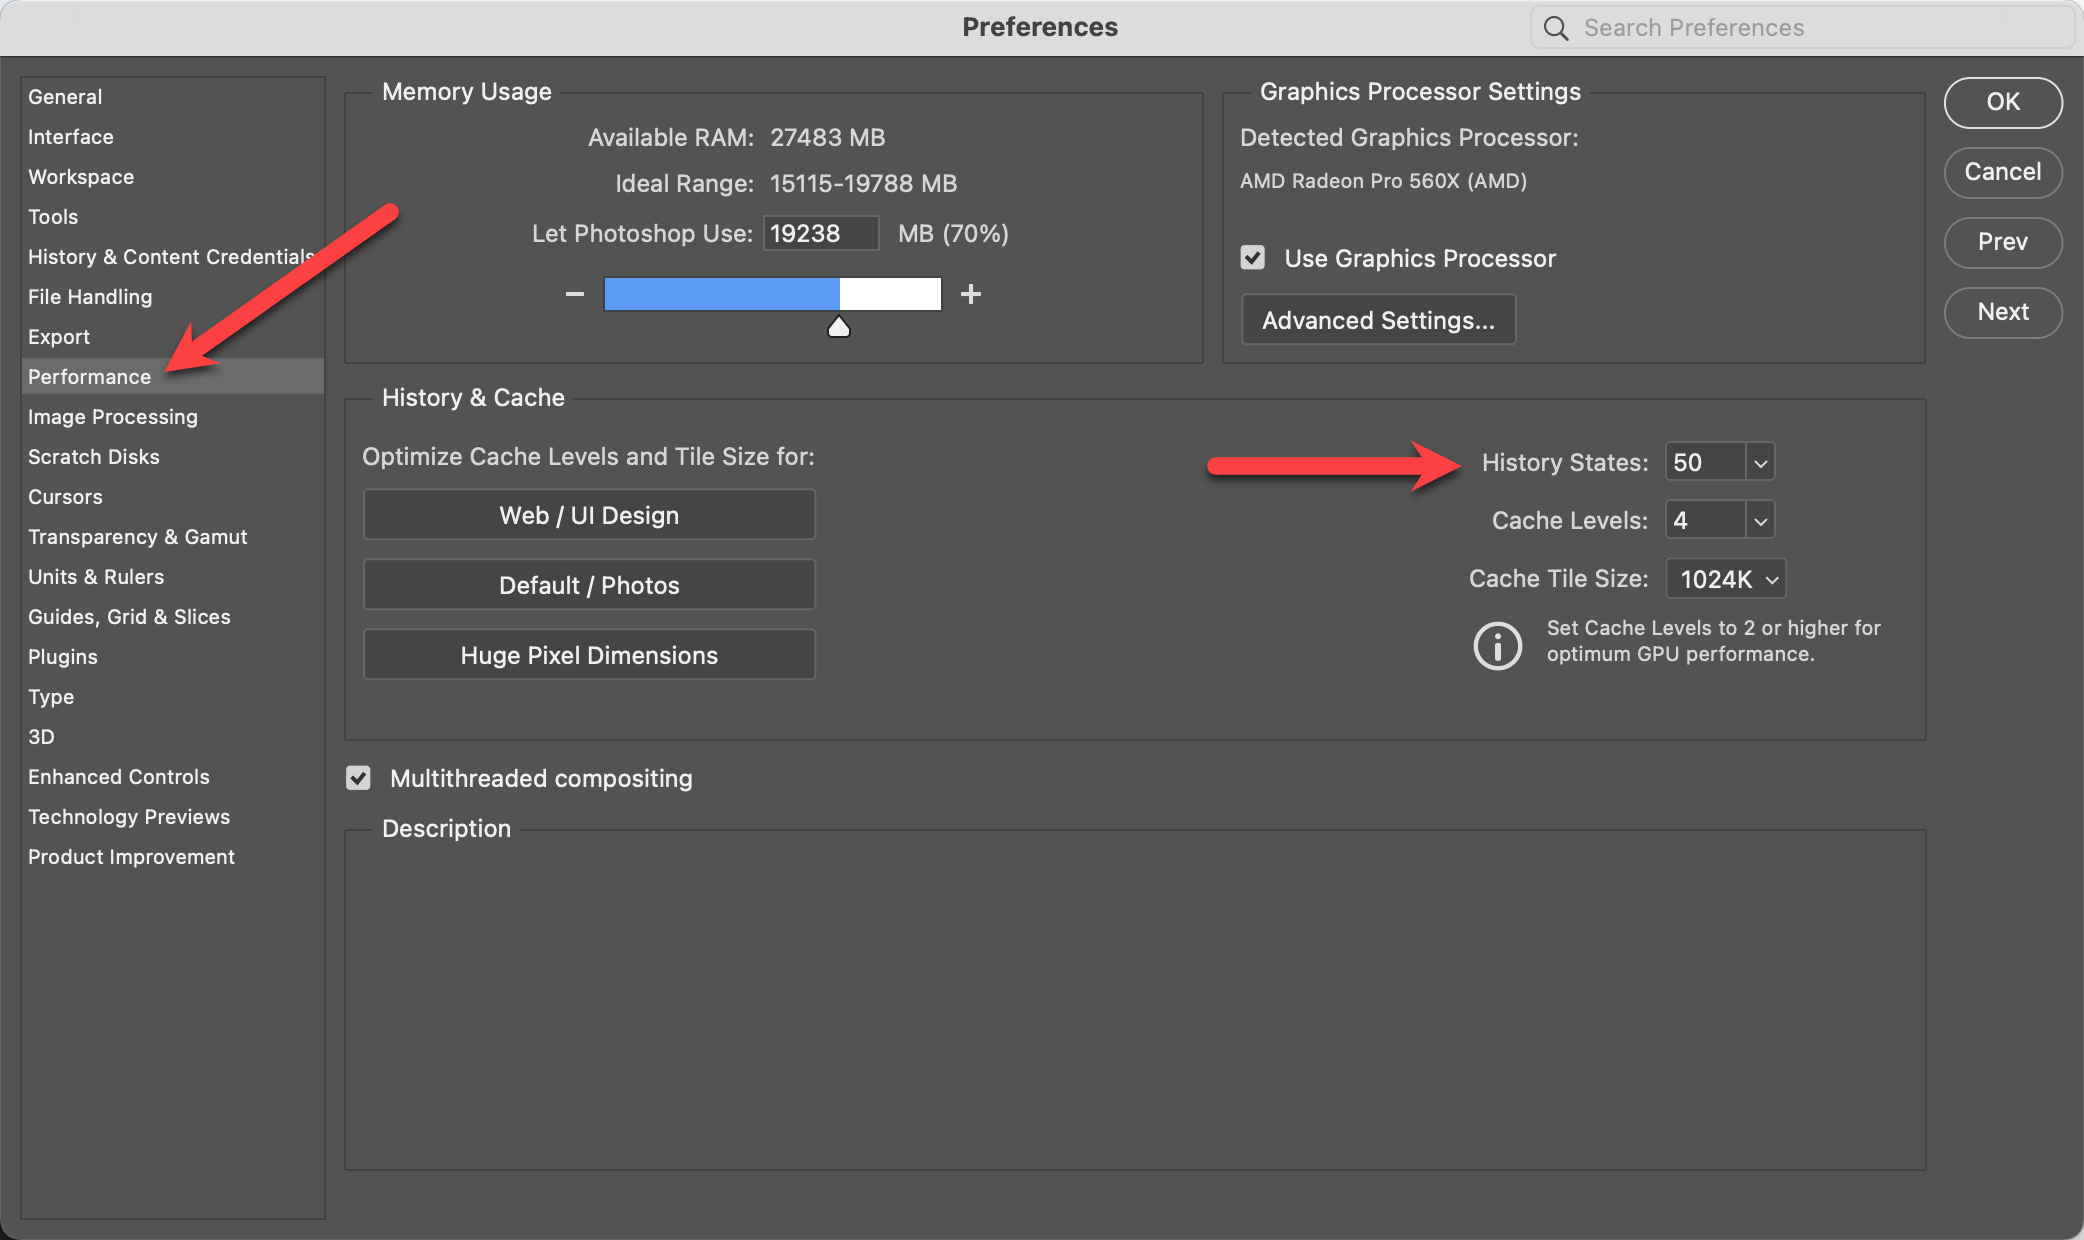
During Pro Production, ProSelect changes the unit measurements to pixels and reduces the number of history states to 1. After production, it reverts to the original settings. If the Pro Production process is interrupted, you may need to manually reset these settings in Photoshop:
- Set History States back to its usual number (typically 20) under Settings > Performace.
- Adjust the unit of measurement to inches or centimeters under Settings > Units & Rulers.

For troubleshooting production issues, please consult the Debugging Production Problems article in the Pro Studio Software Support Center's Knowledgebase.