 Working with Products - Introduction
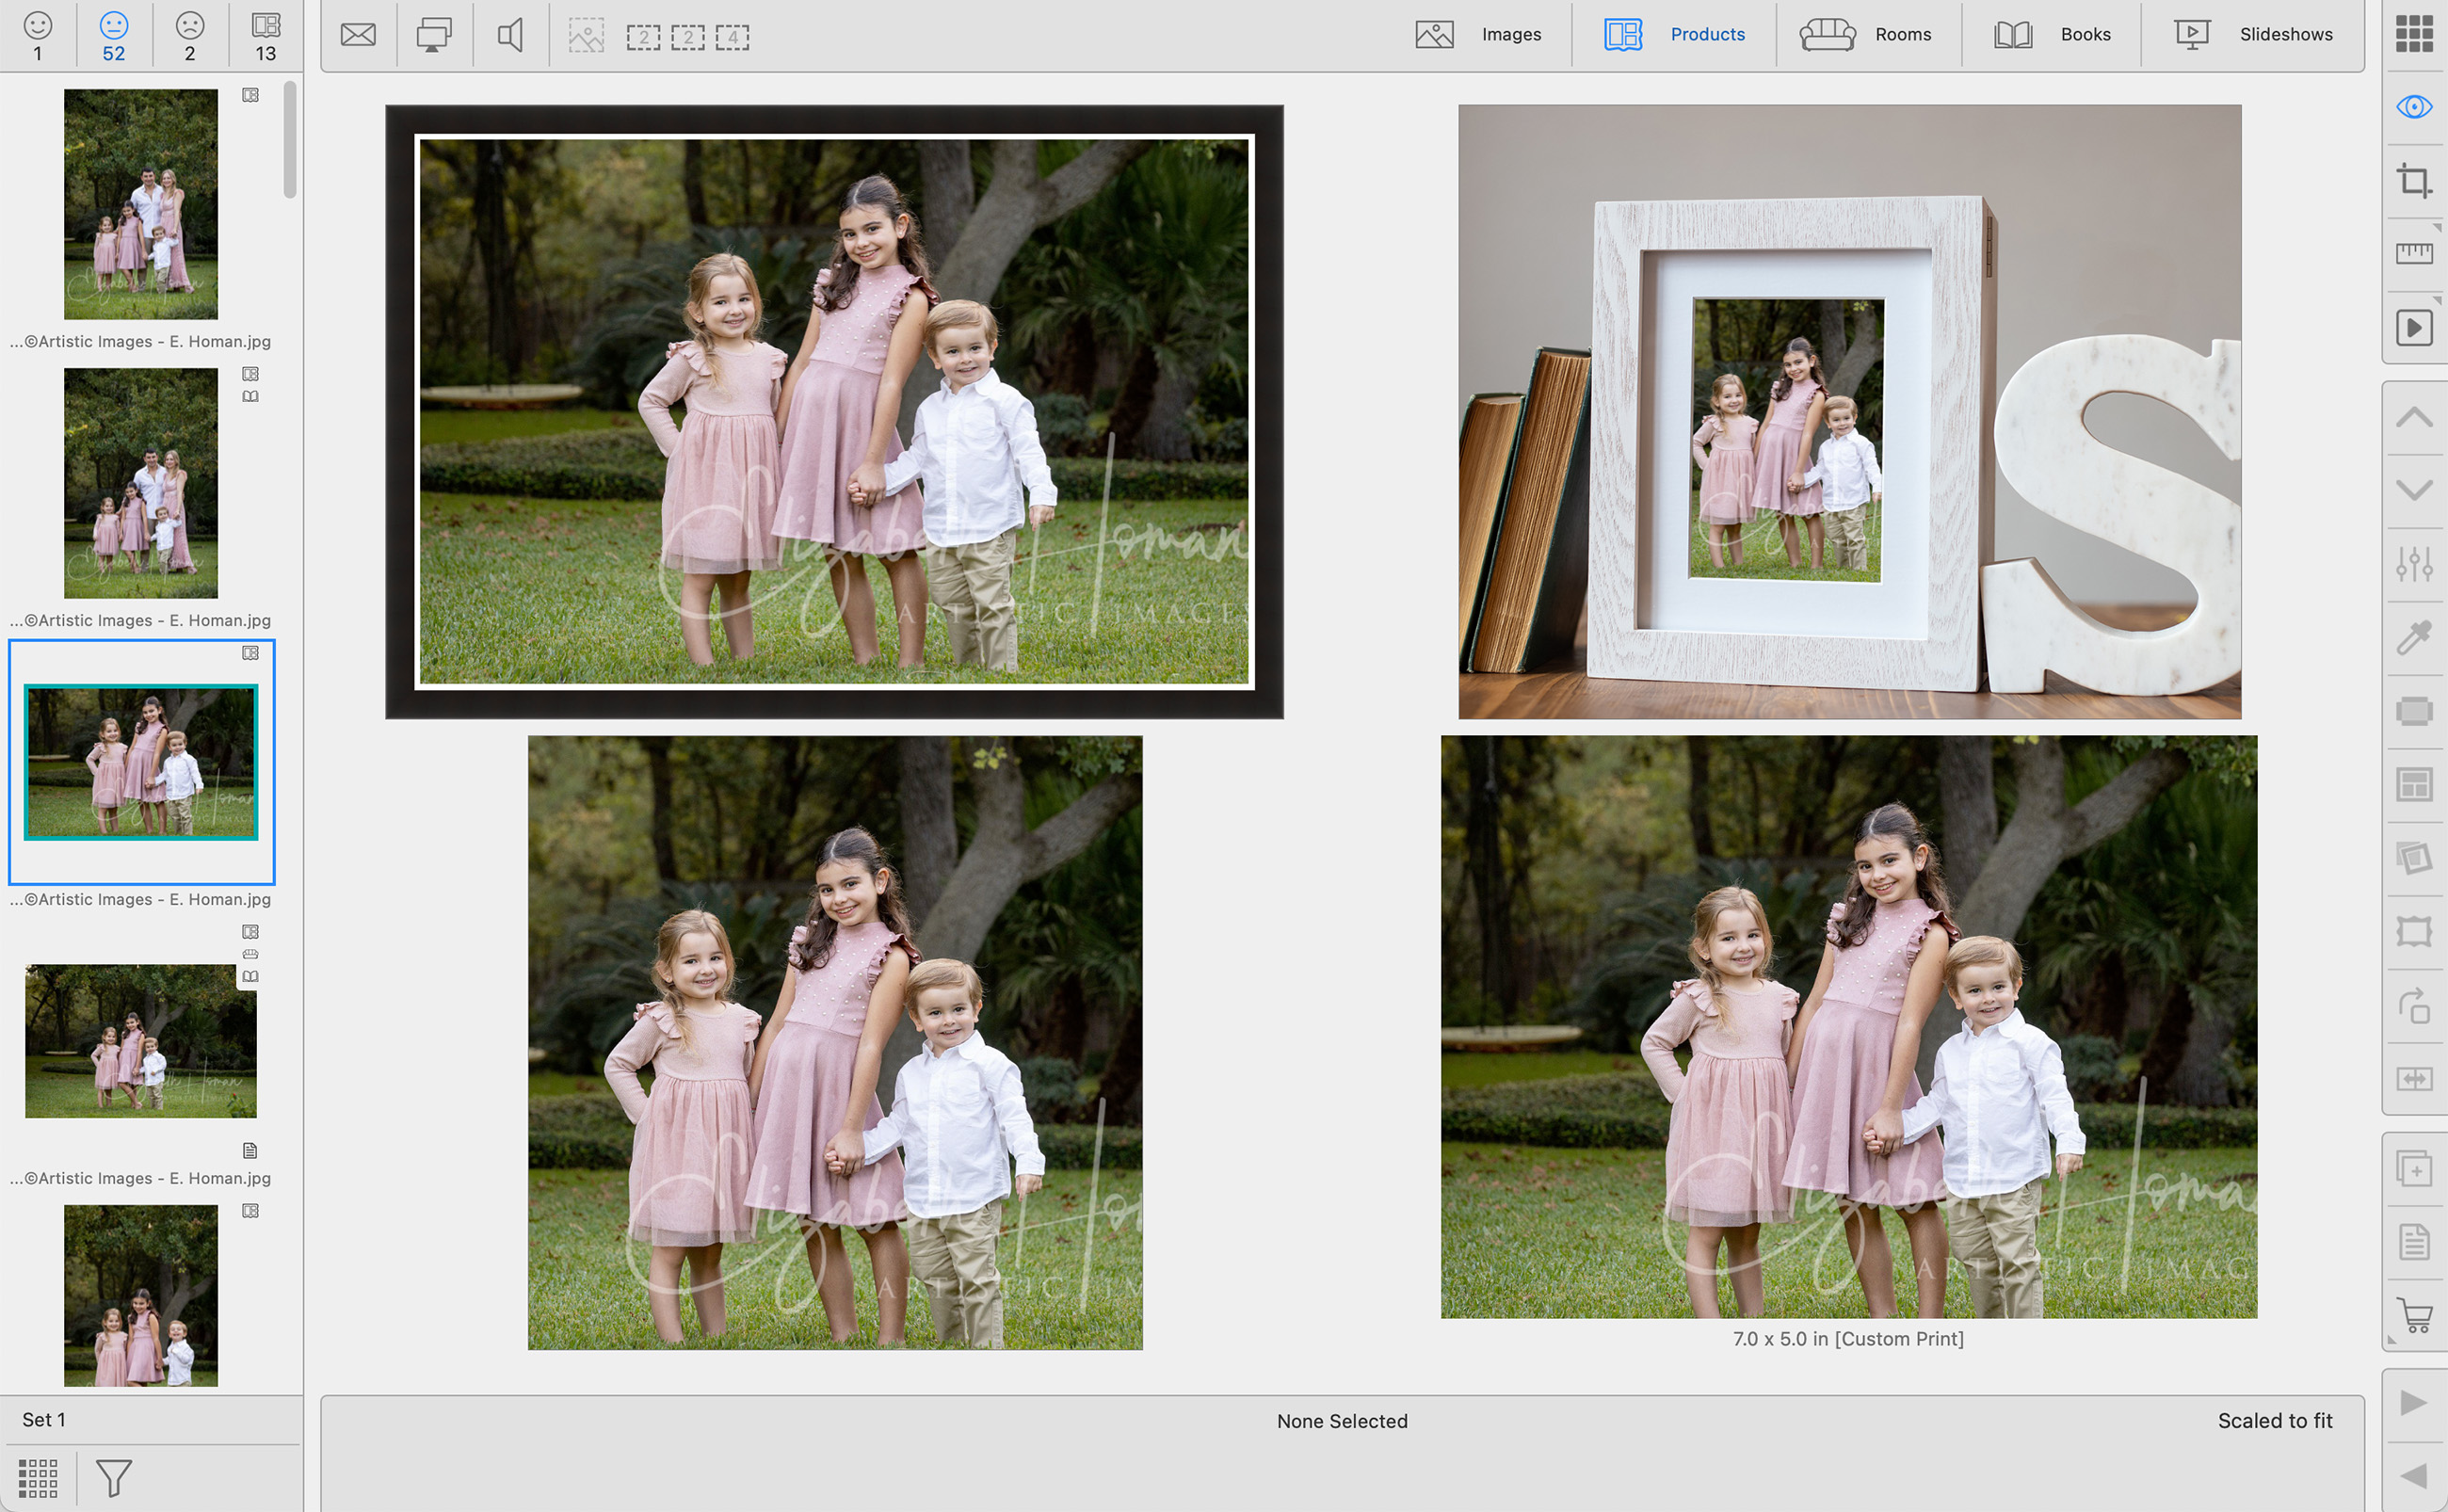
Working with Products is the working with mode where you can build and display prints, gallery wraps, multi-image layouts, specialty products, and wall groupings using product templates. The end result is sellable products for your Client.
- Use images from the Image List to populate various product templates.
- Apply mats, frames, and virtual styles.
- Size prints and products.
- Apply adjustments to enhance products, such as converting to black and white, adjusting brightness/contrast, or applying custom effects.
- Discourage screen capturing by overlaying a protective stamp using the Protect Images Stamp.
The toolbar options change based on the Mode and View you're working in. As you switch between different Modes and Views, the toolbar displays tools relevant to those specific tasks.
- Click on a tool to use its main function. The tools are explained in each View mode where they appear. For a complete list of ALL toolbar tools, click here.
- If there is a gray triangle on the left-hand side of a tool, a popup list will appear when you click on it. You can then choose an action or item from the list to apply.
- Some of the tools have right-click options. A gray triangle appears on the top-right side of the tool. Right-clicking on the tool will access additional options.
- When a tool is grayed out, that means you can't use it on the selected product.
- If a tool is missing or doesn't appear, this is because it is not available in that working with mode or View.
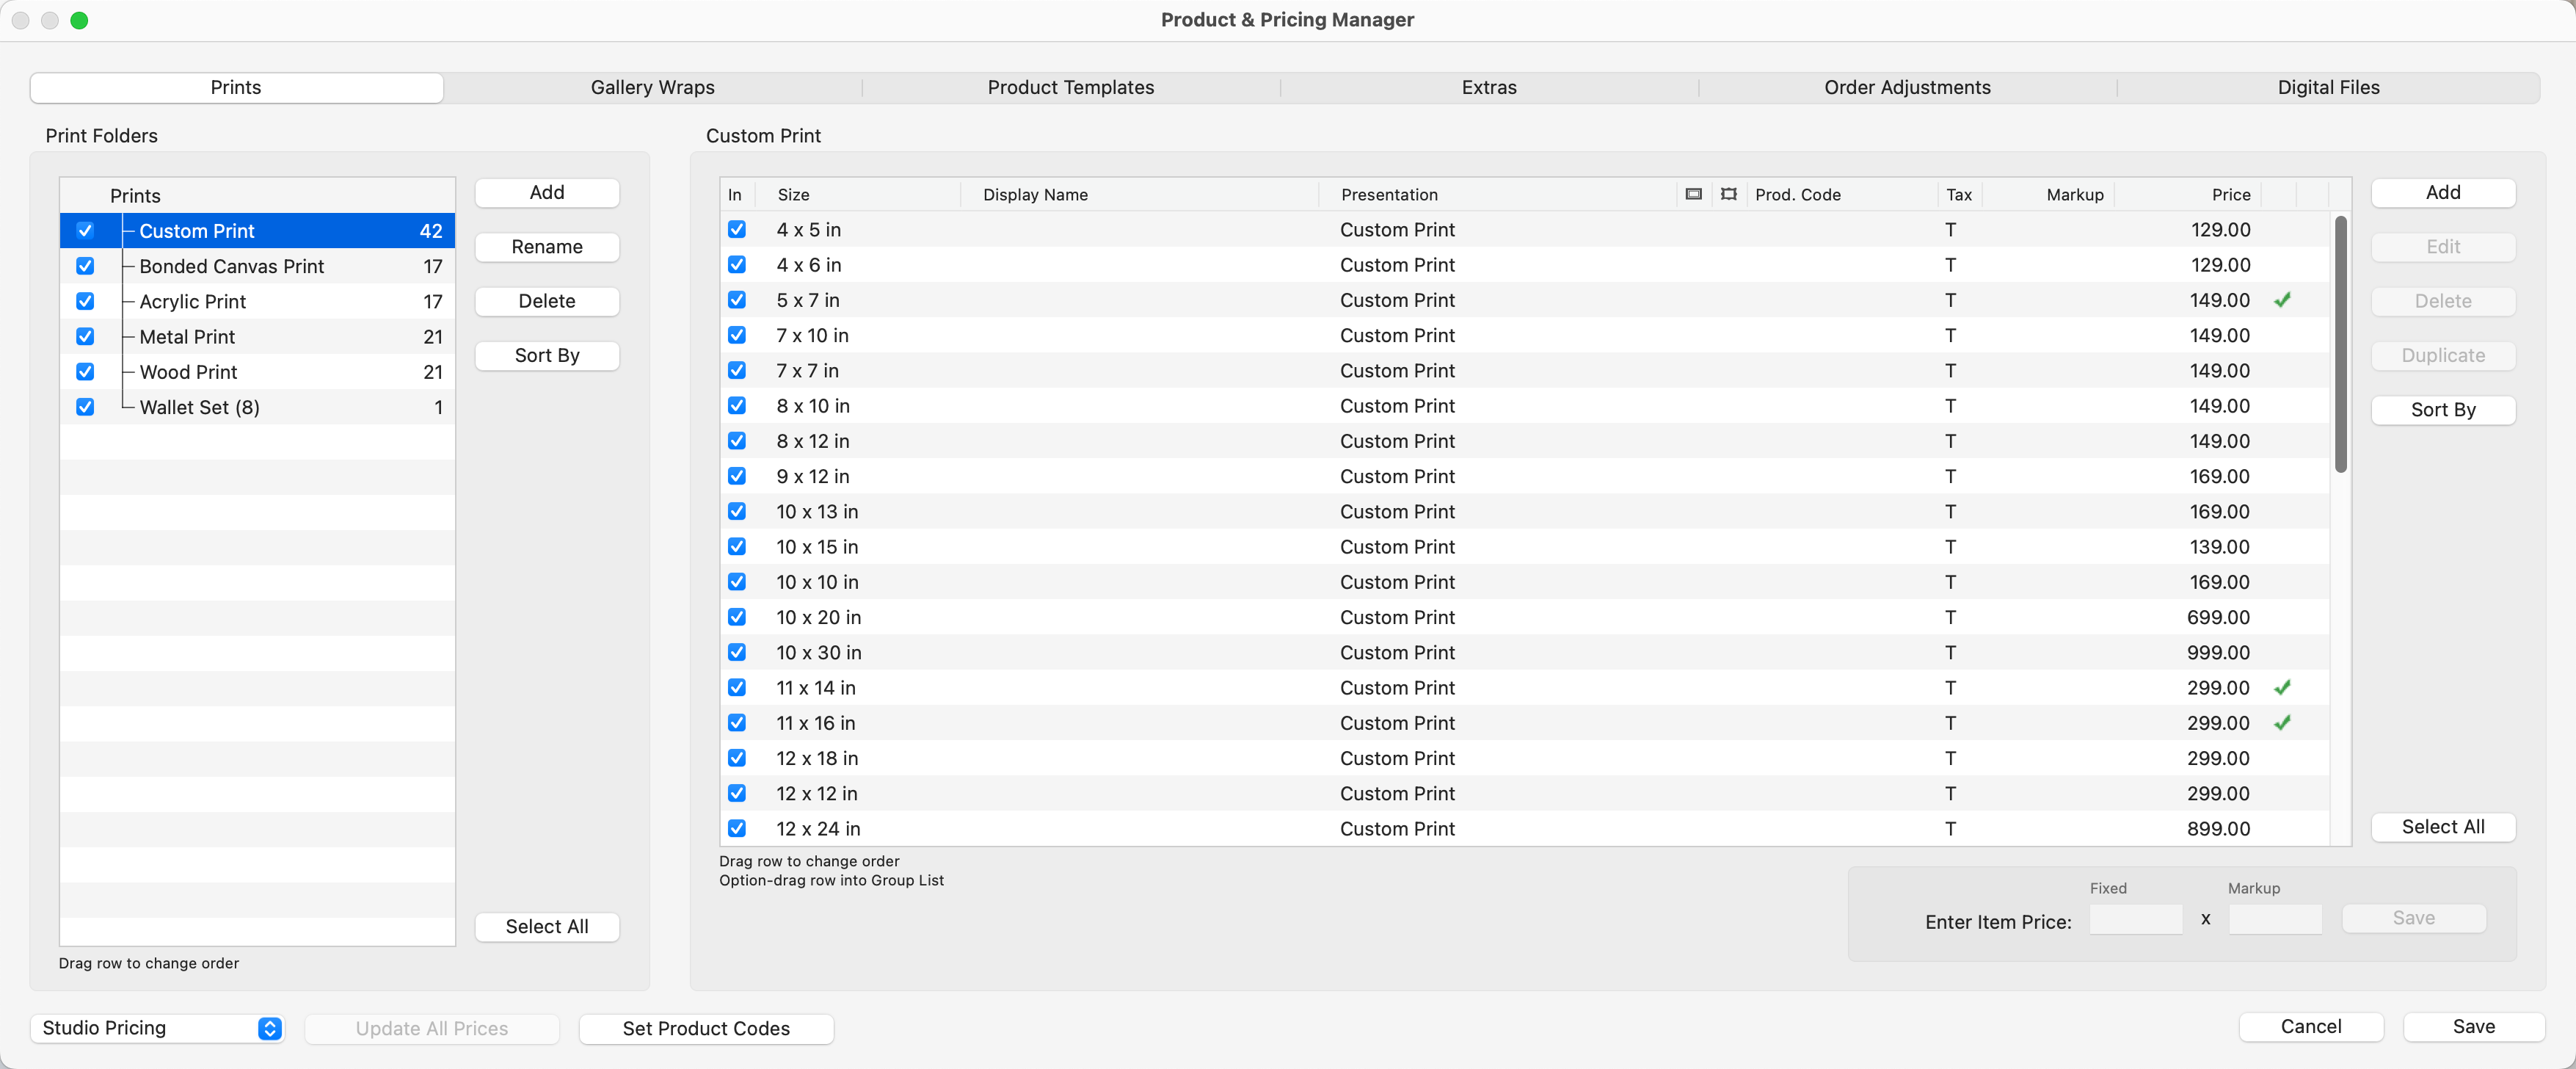
ProSelect has a built in Product Filter which limits the display of Prints based on their Presentation Option. This is in place because photo labs offer an enormous number of print options. If you were to display all the different size options and presentation options at once, the list would be far too difficult to navigate.
How it Works:
- Once your Paper Sizes have been set up, use the Product & Pricing Manager to set up your prints. In the following example, we have a variety of Prints set up in folders based on their Presentation Option. The Paper Sizes available have been "turned on" by checking the boxes next to the sizes.
- Now that our Prints have been set up, we can see how they will be displayed when Working with Products and Working with Rooms.
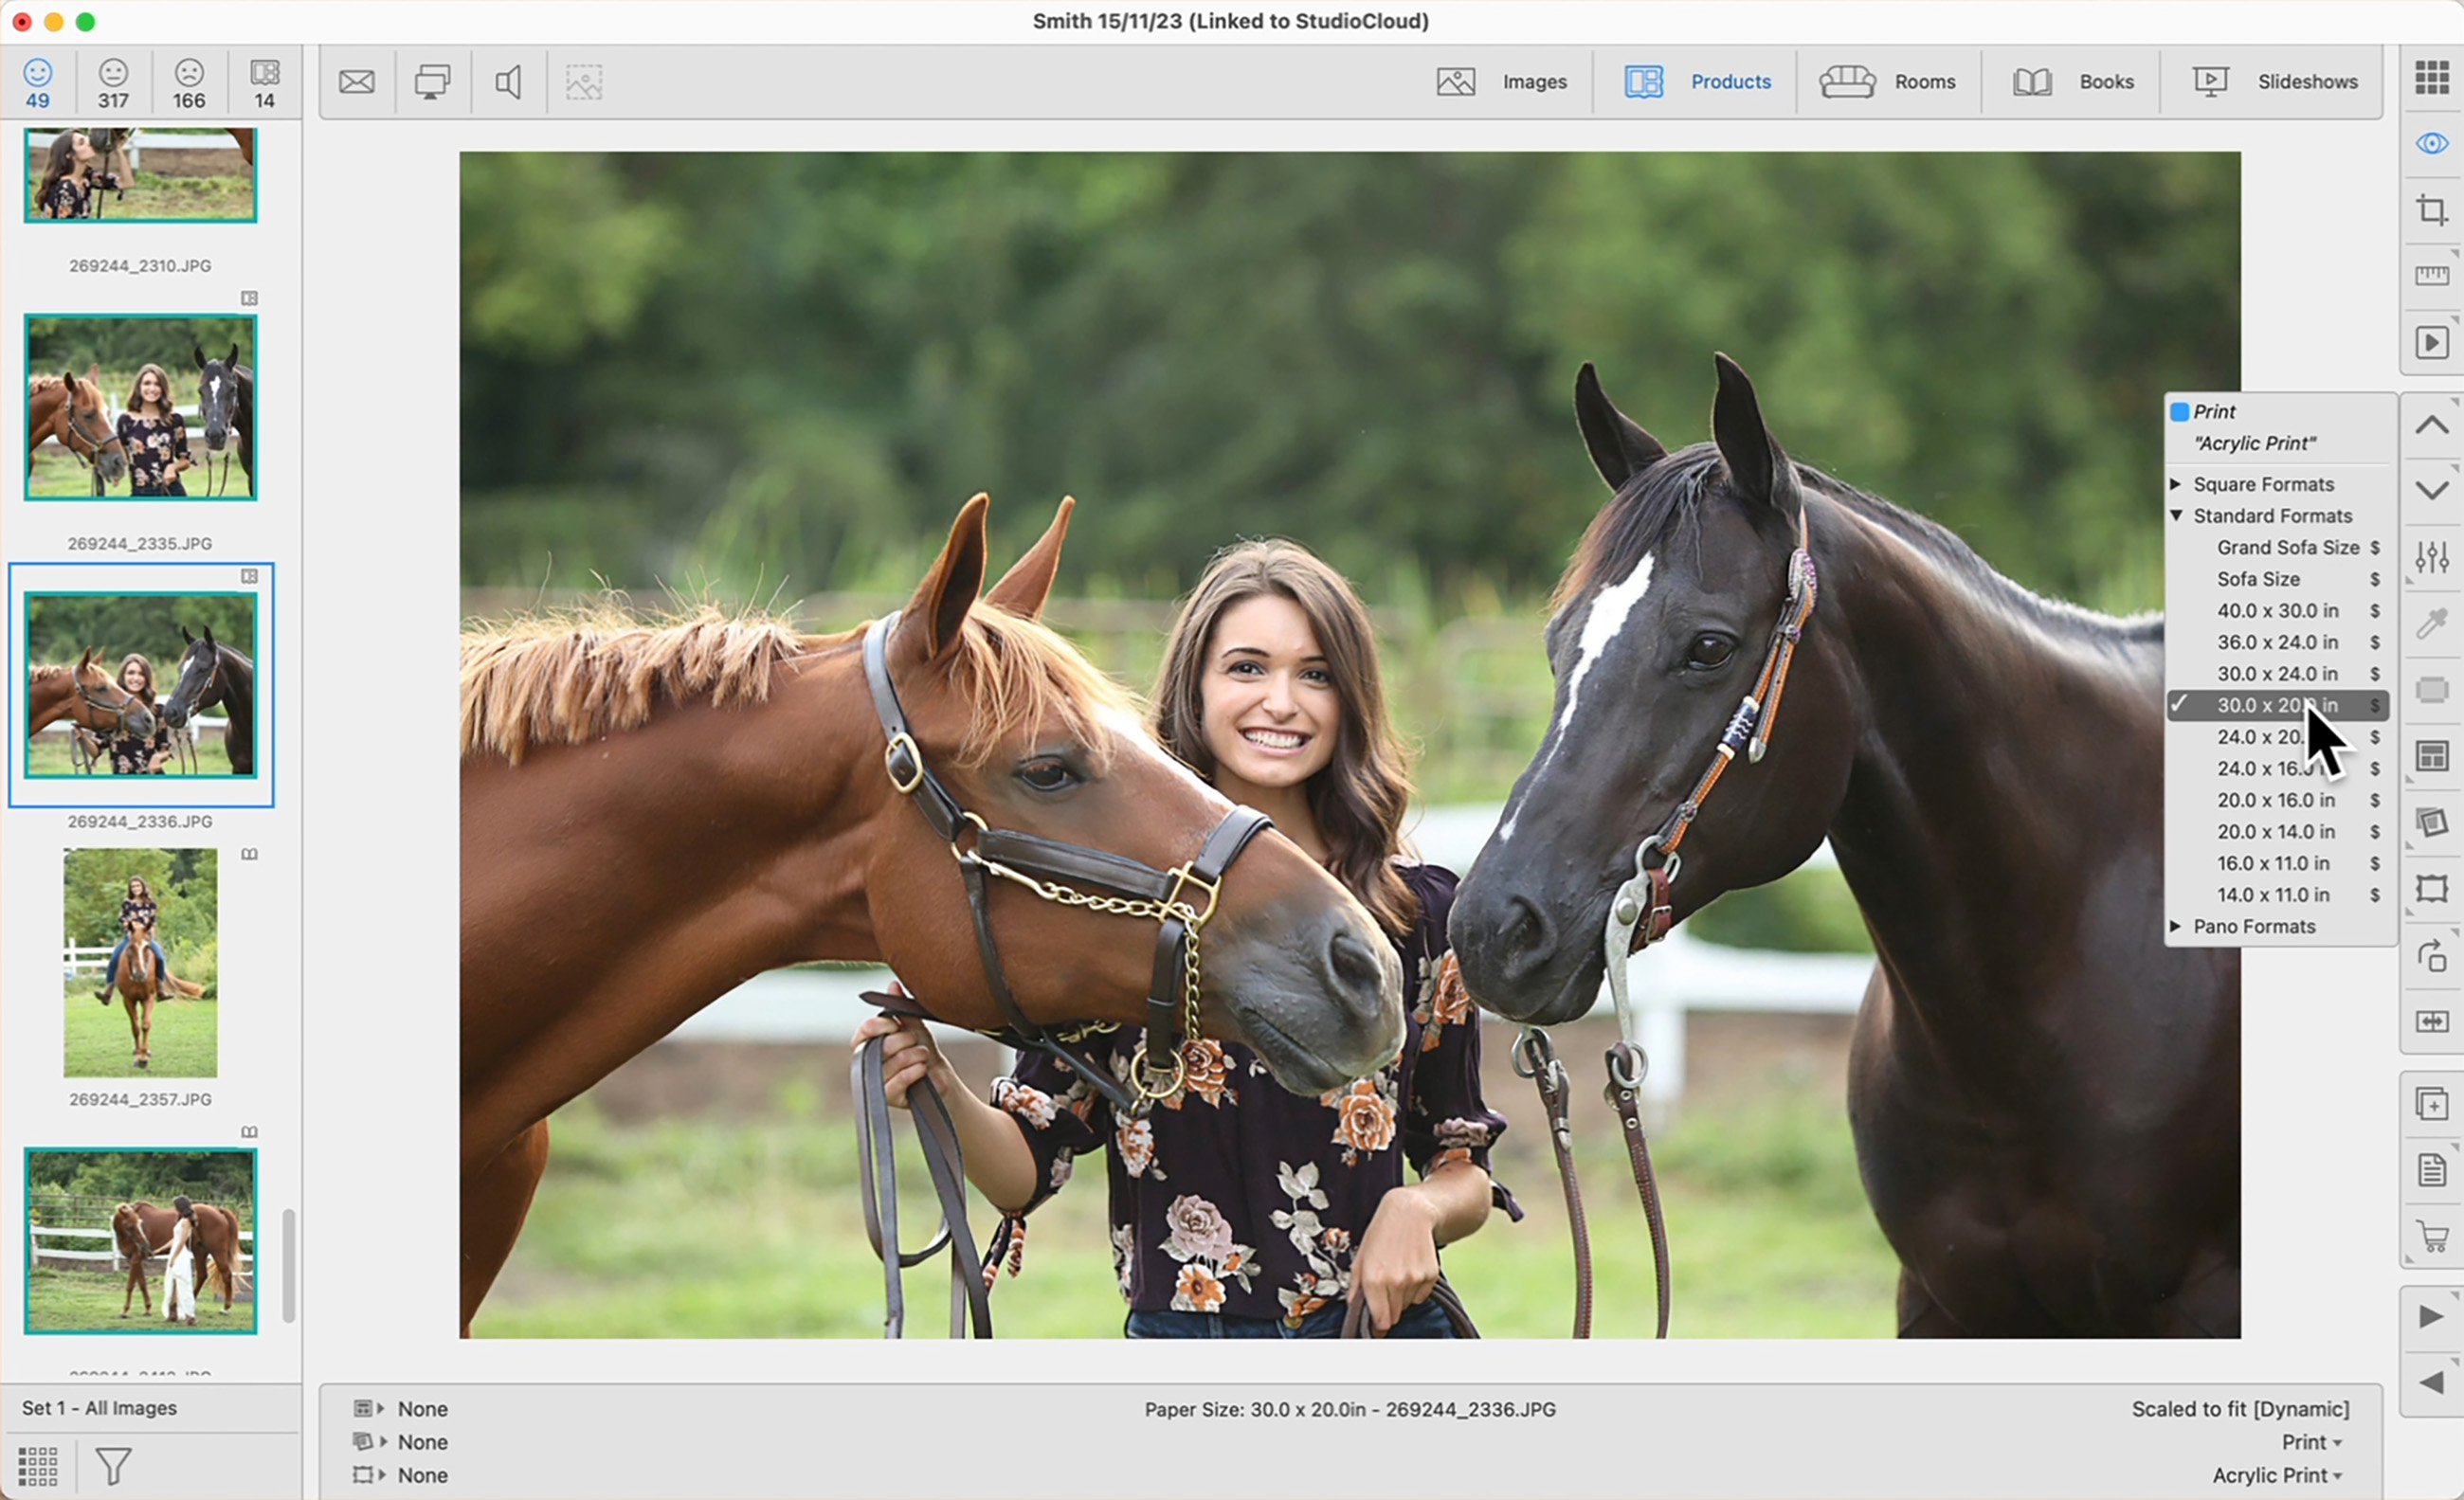
- In the following example, a print size is being chosen in Working with Products.
- When we right-click on the Next/Previous Size tool, a list of all the "Custom Print" sizes appears.
- If we want to see the sizes available for an "Acrylic Print", the Presentation Option must be changed to Acrylic Print. Click on the current Presentation Option, Custom Print, in the Info Bar. A list of other options will appear. Select "Acrylic Print."
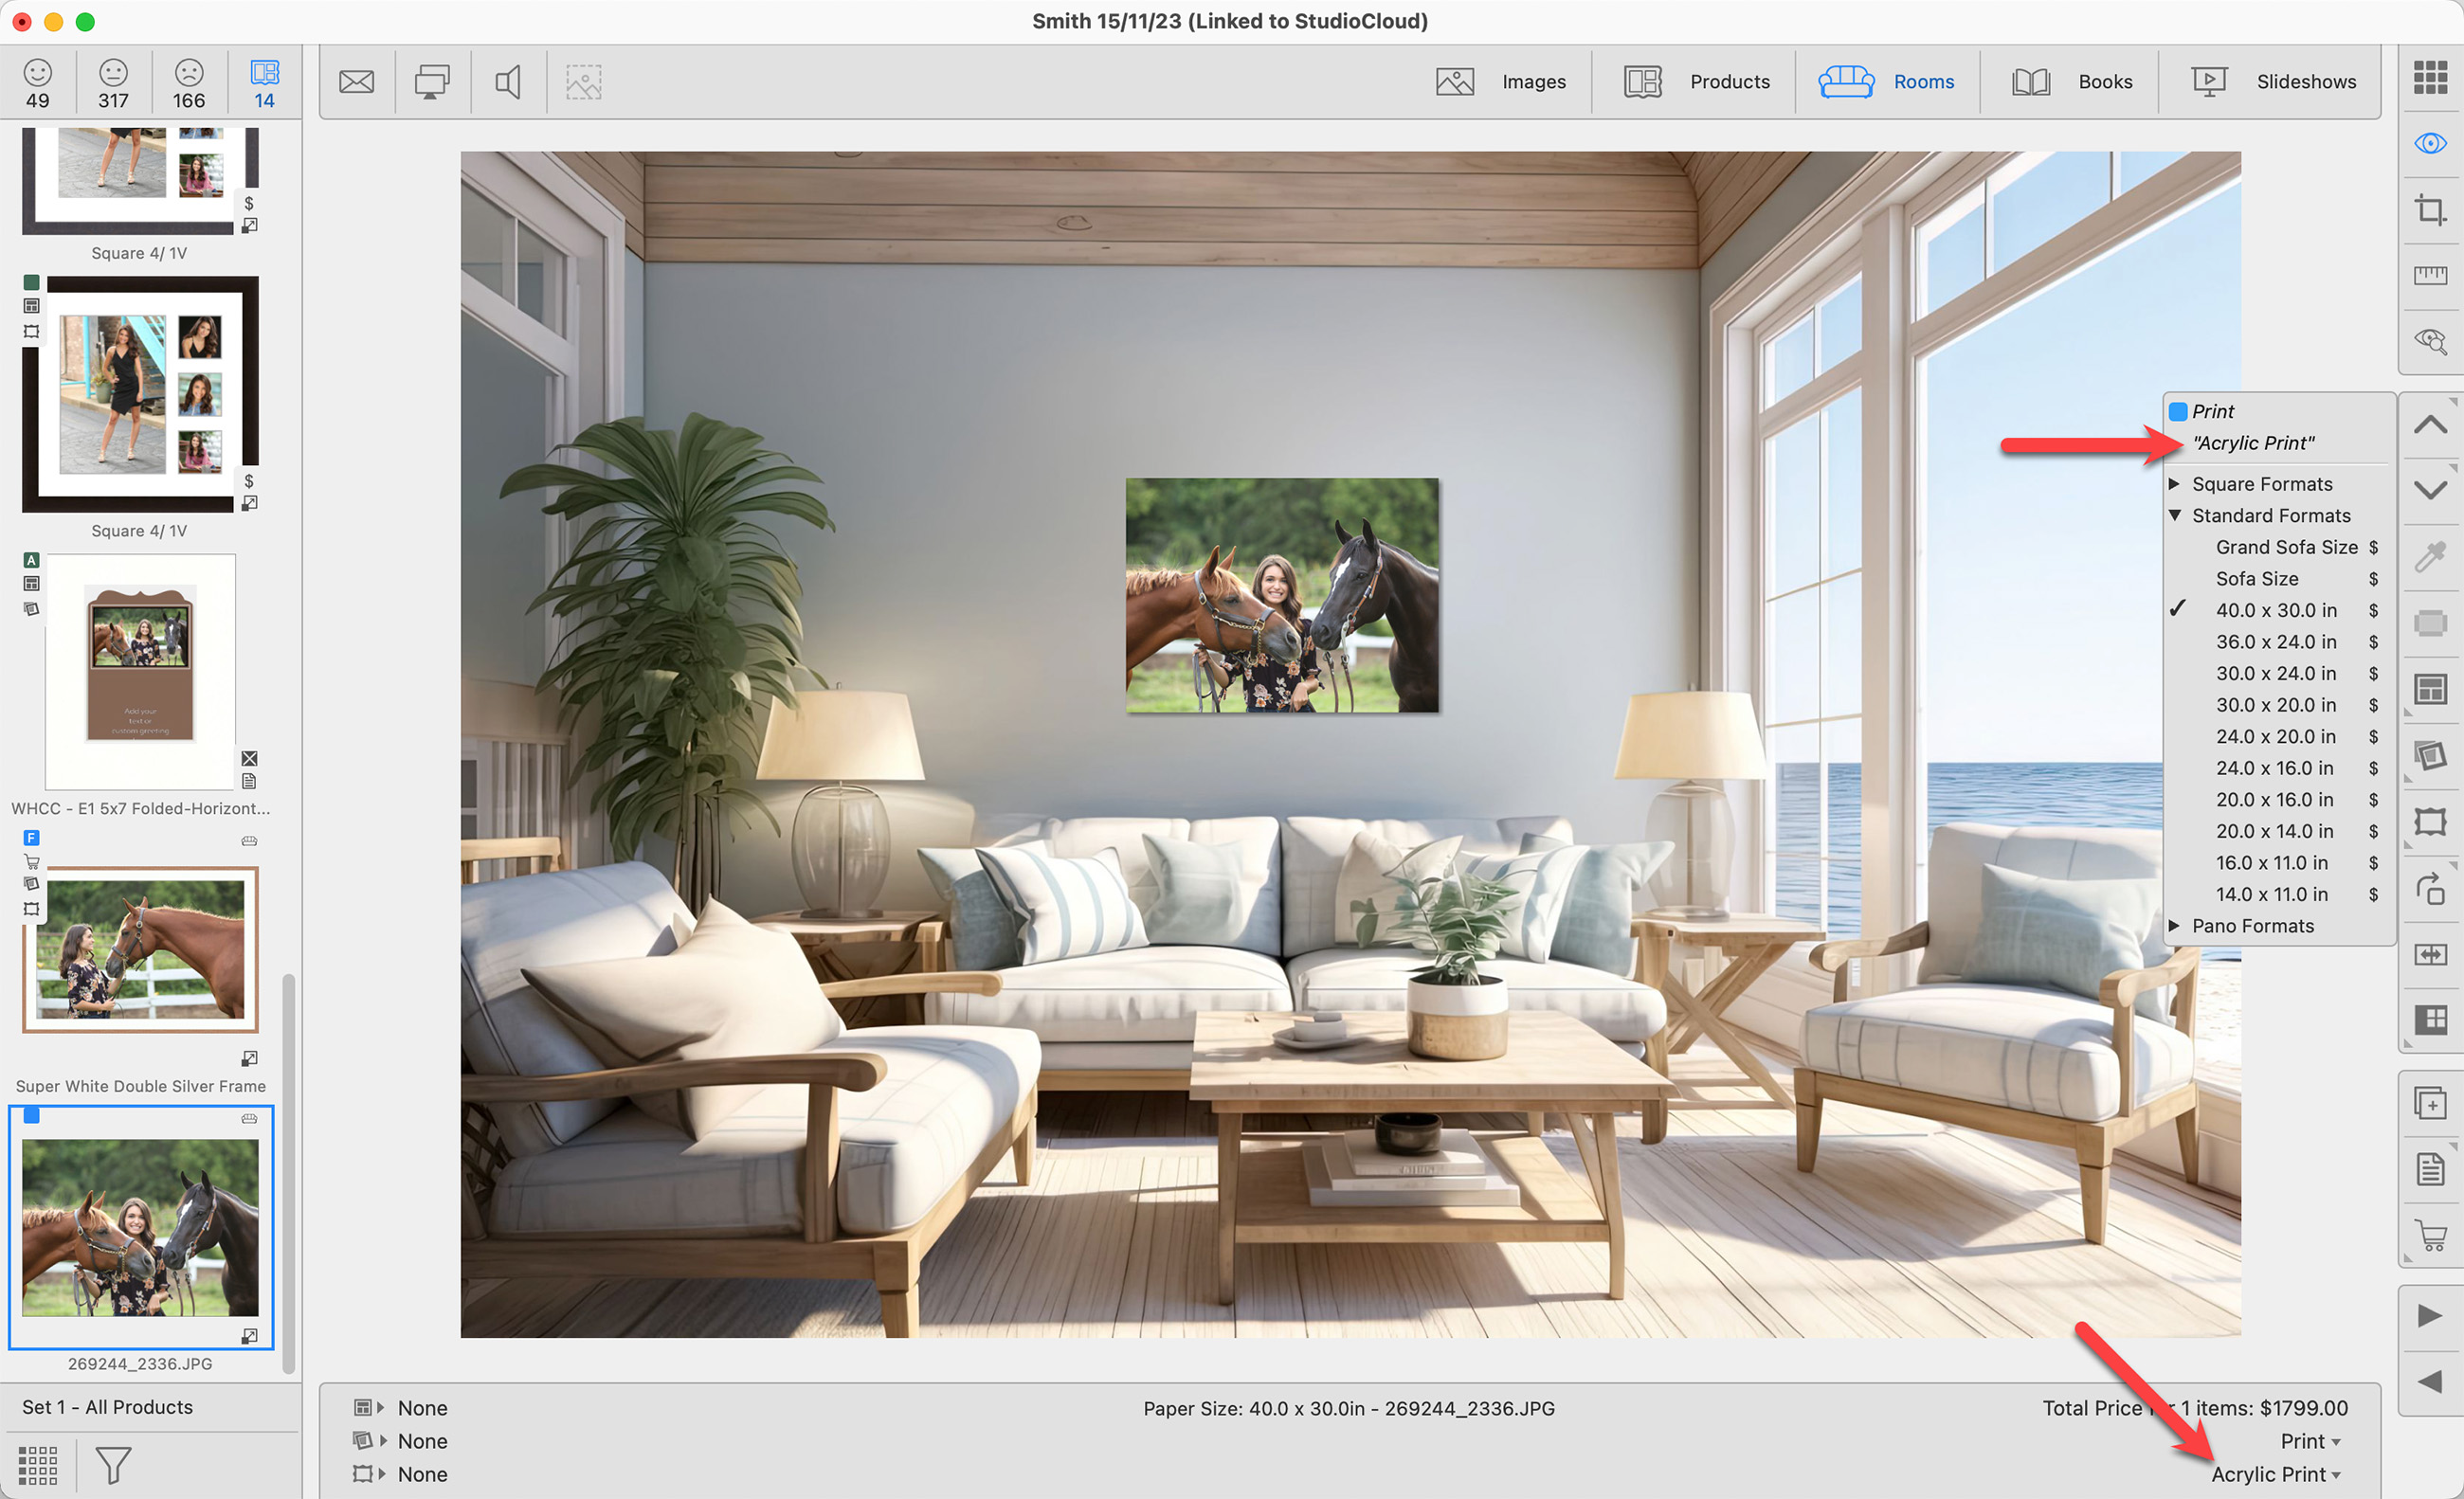
- Now when you right-click on the Next/Previous Size tool, only the "Acrylic Print" options will appear.
- Product Filtering works the same way when Working with Rooms. Only the Acrylic Print sizes are visible in the list below. Change the Presentation Option on the Info Bar to view those sizes.
When you are working with the Products tab ![]() (in the Image List), you have the ability to view just the ordered products, unordered products, favorite products, or all products in the thumbnail list. Use the filter button
(in the Image List), you have the ability to view just the ordered products, unordered products, favorite products, or all products in the thumbnail list. Use the filter button ![]() to choose which products you would like to view. This filtering works when Working with Products and Working with Rooms.
to choose which products you would like to view. This filtering works when Working with Products and Working with Rooms.
When Working with Products, Thumbnail view, both the Products Tab (in the Image List) as well as the main Display Area will show the filtering.
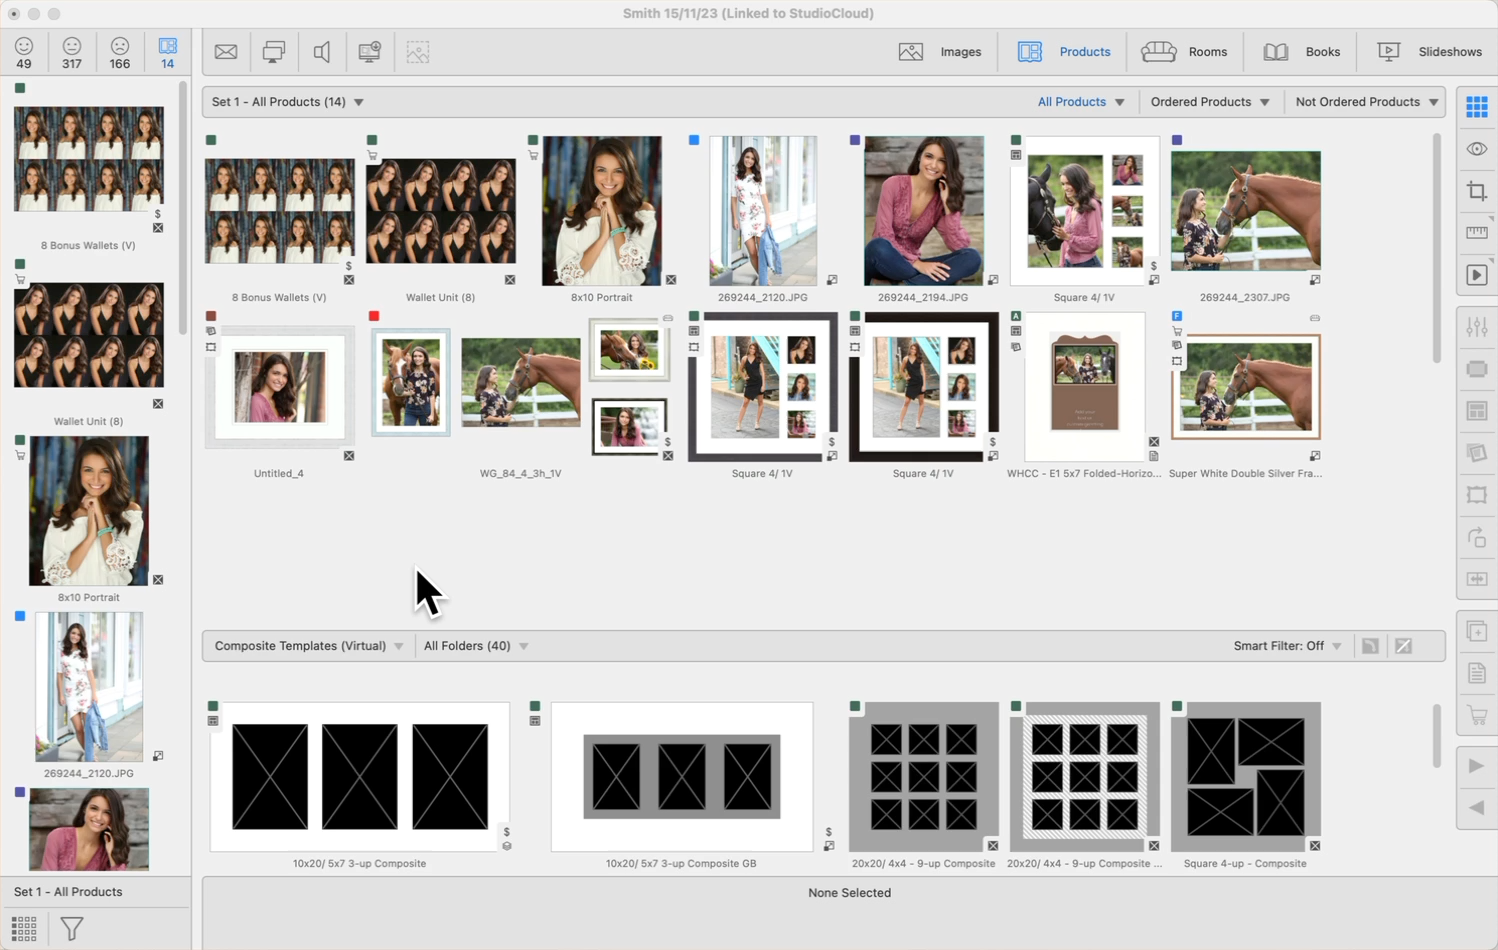
- The filtering you have currently set will be listed above the filter button.
- When in Working with Products, Thumbnail view, using the filter button will also shift you into the corresponding sub-tabs (All Products, Ordered Products, Not Ordered Products). These sub-tabs appear underneath the working with modes, in the top-right of the display area.
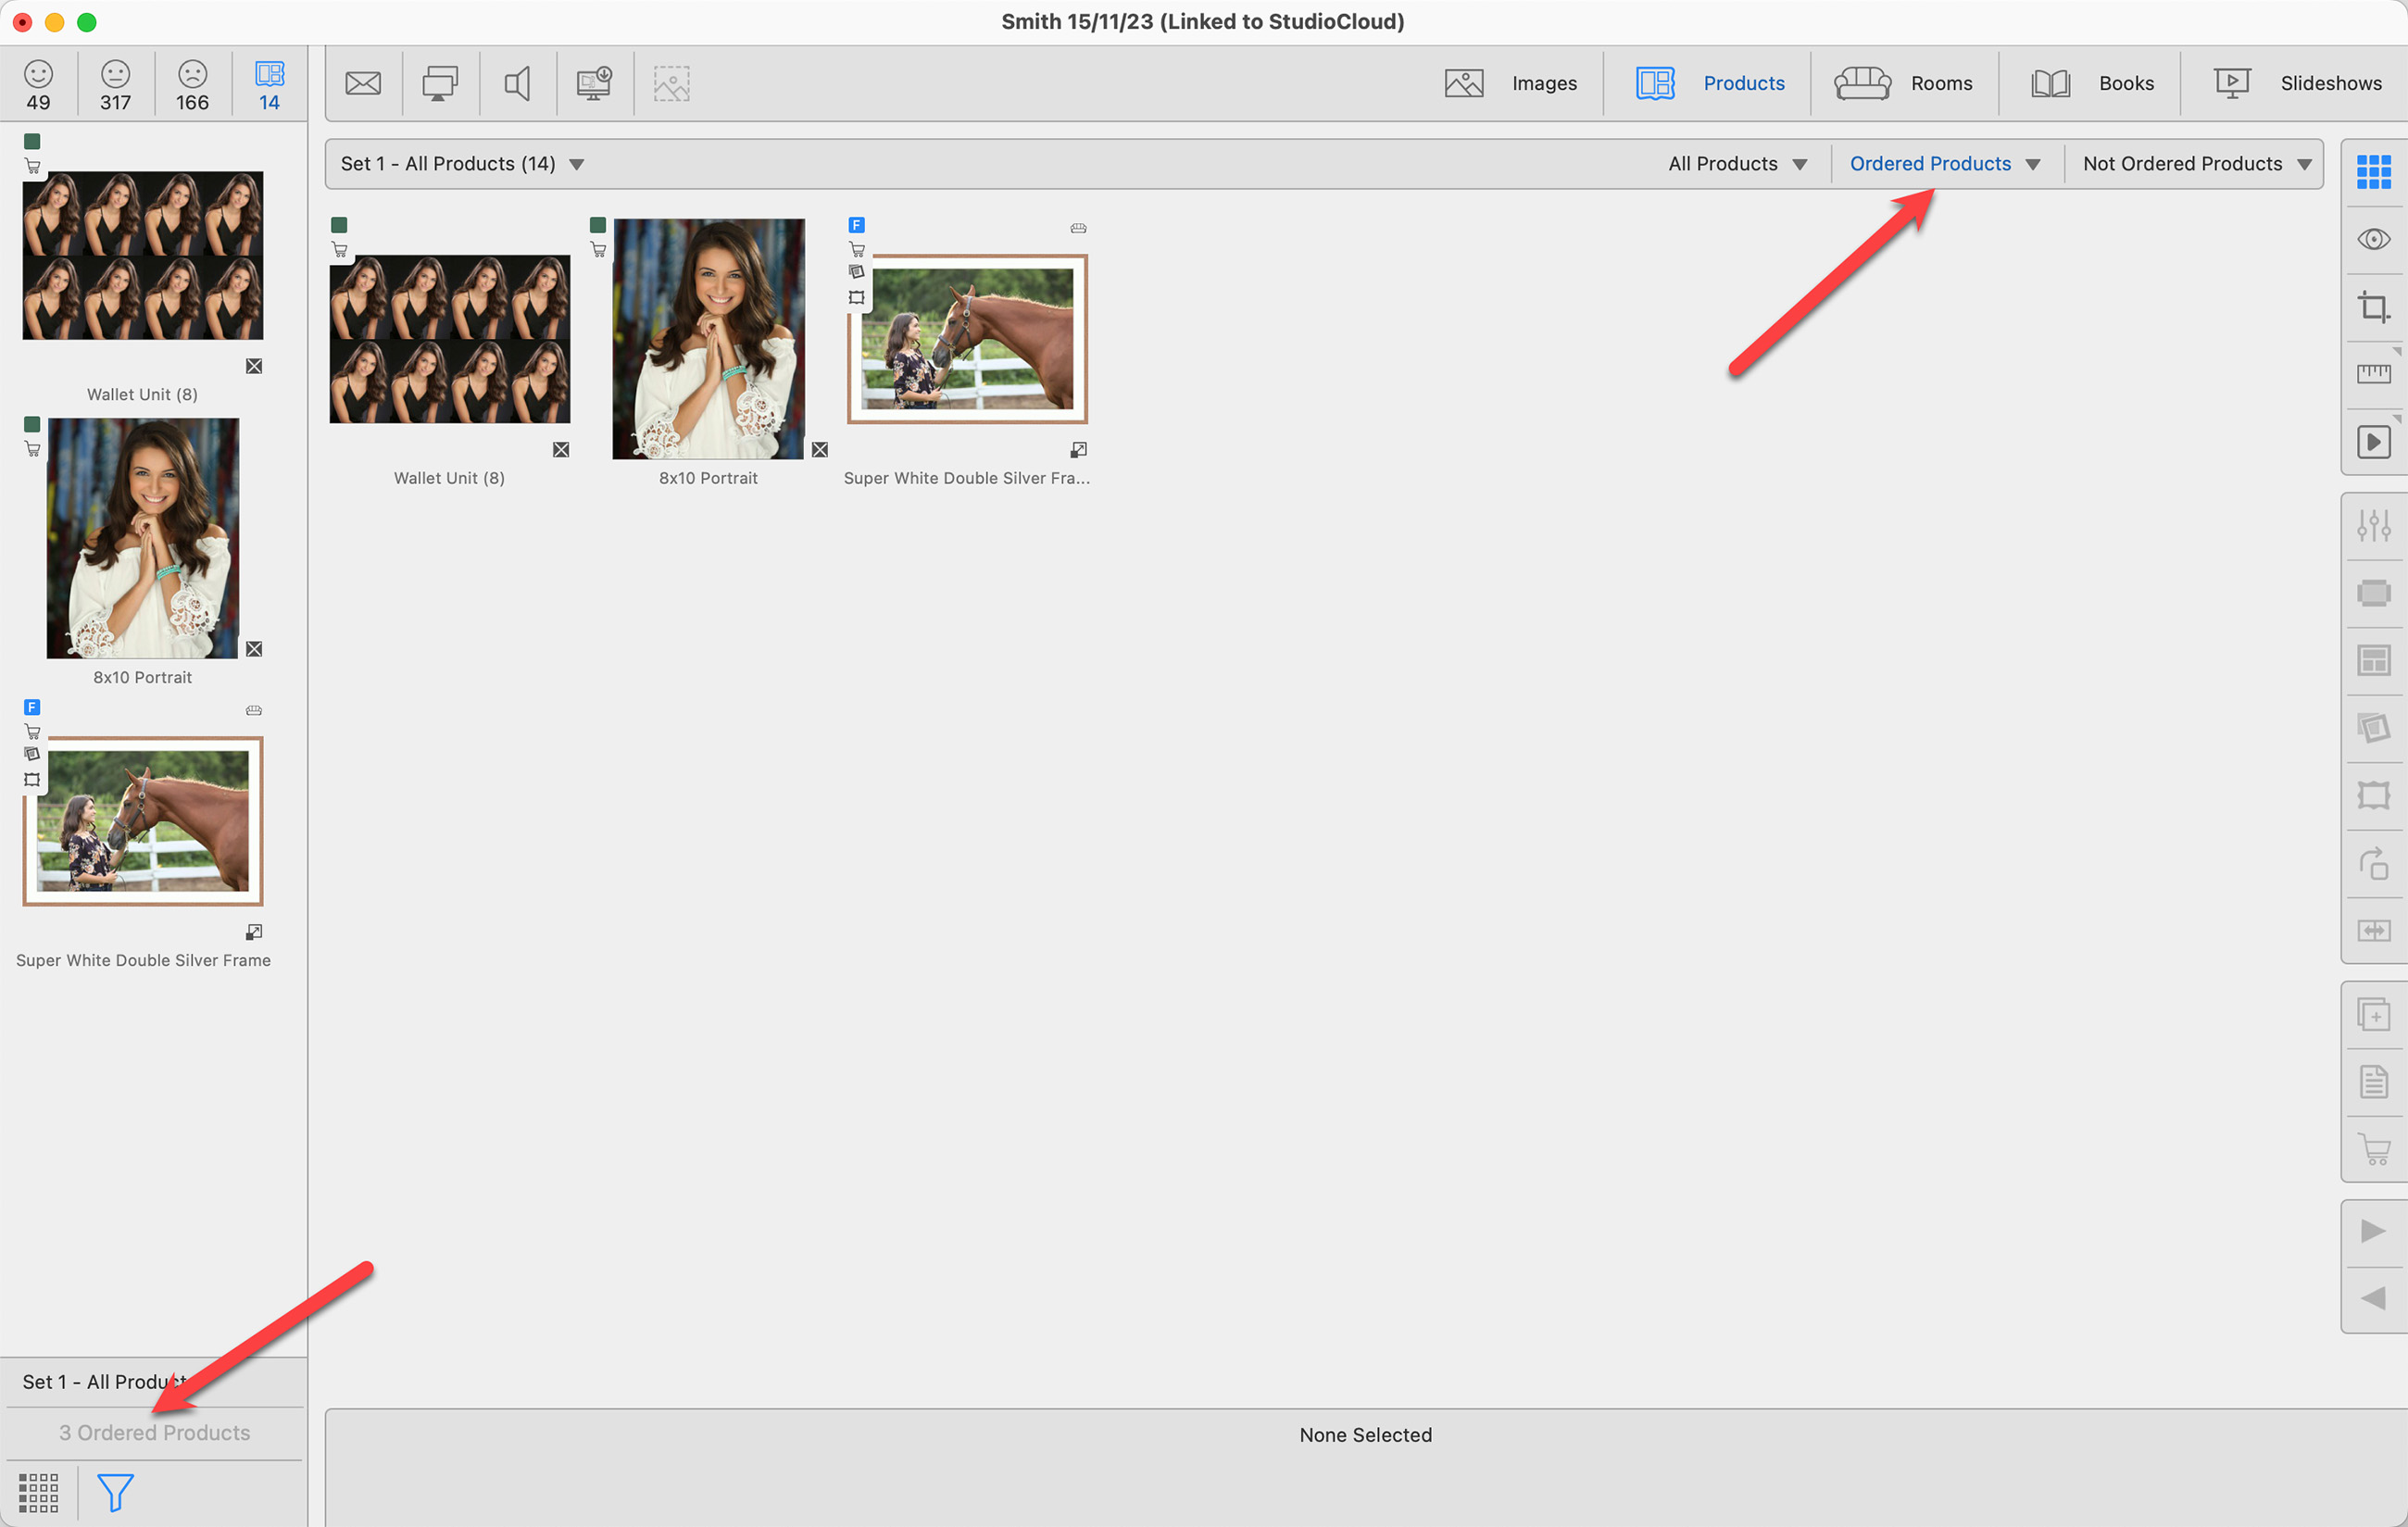
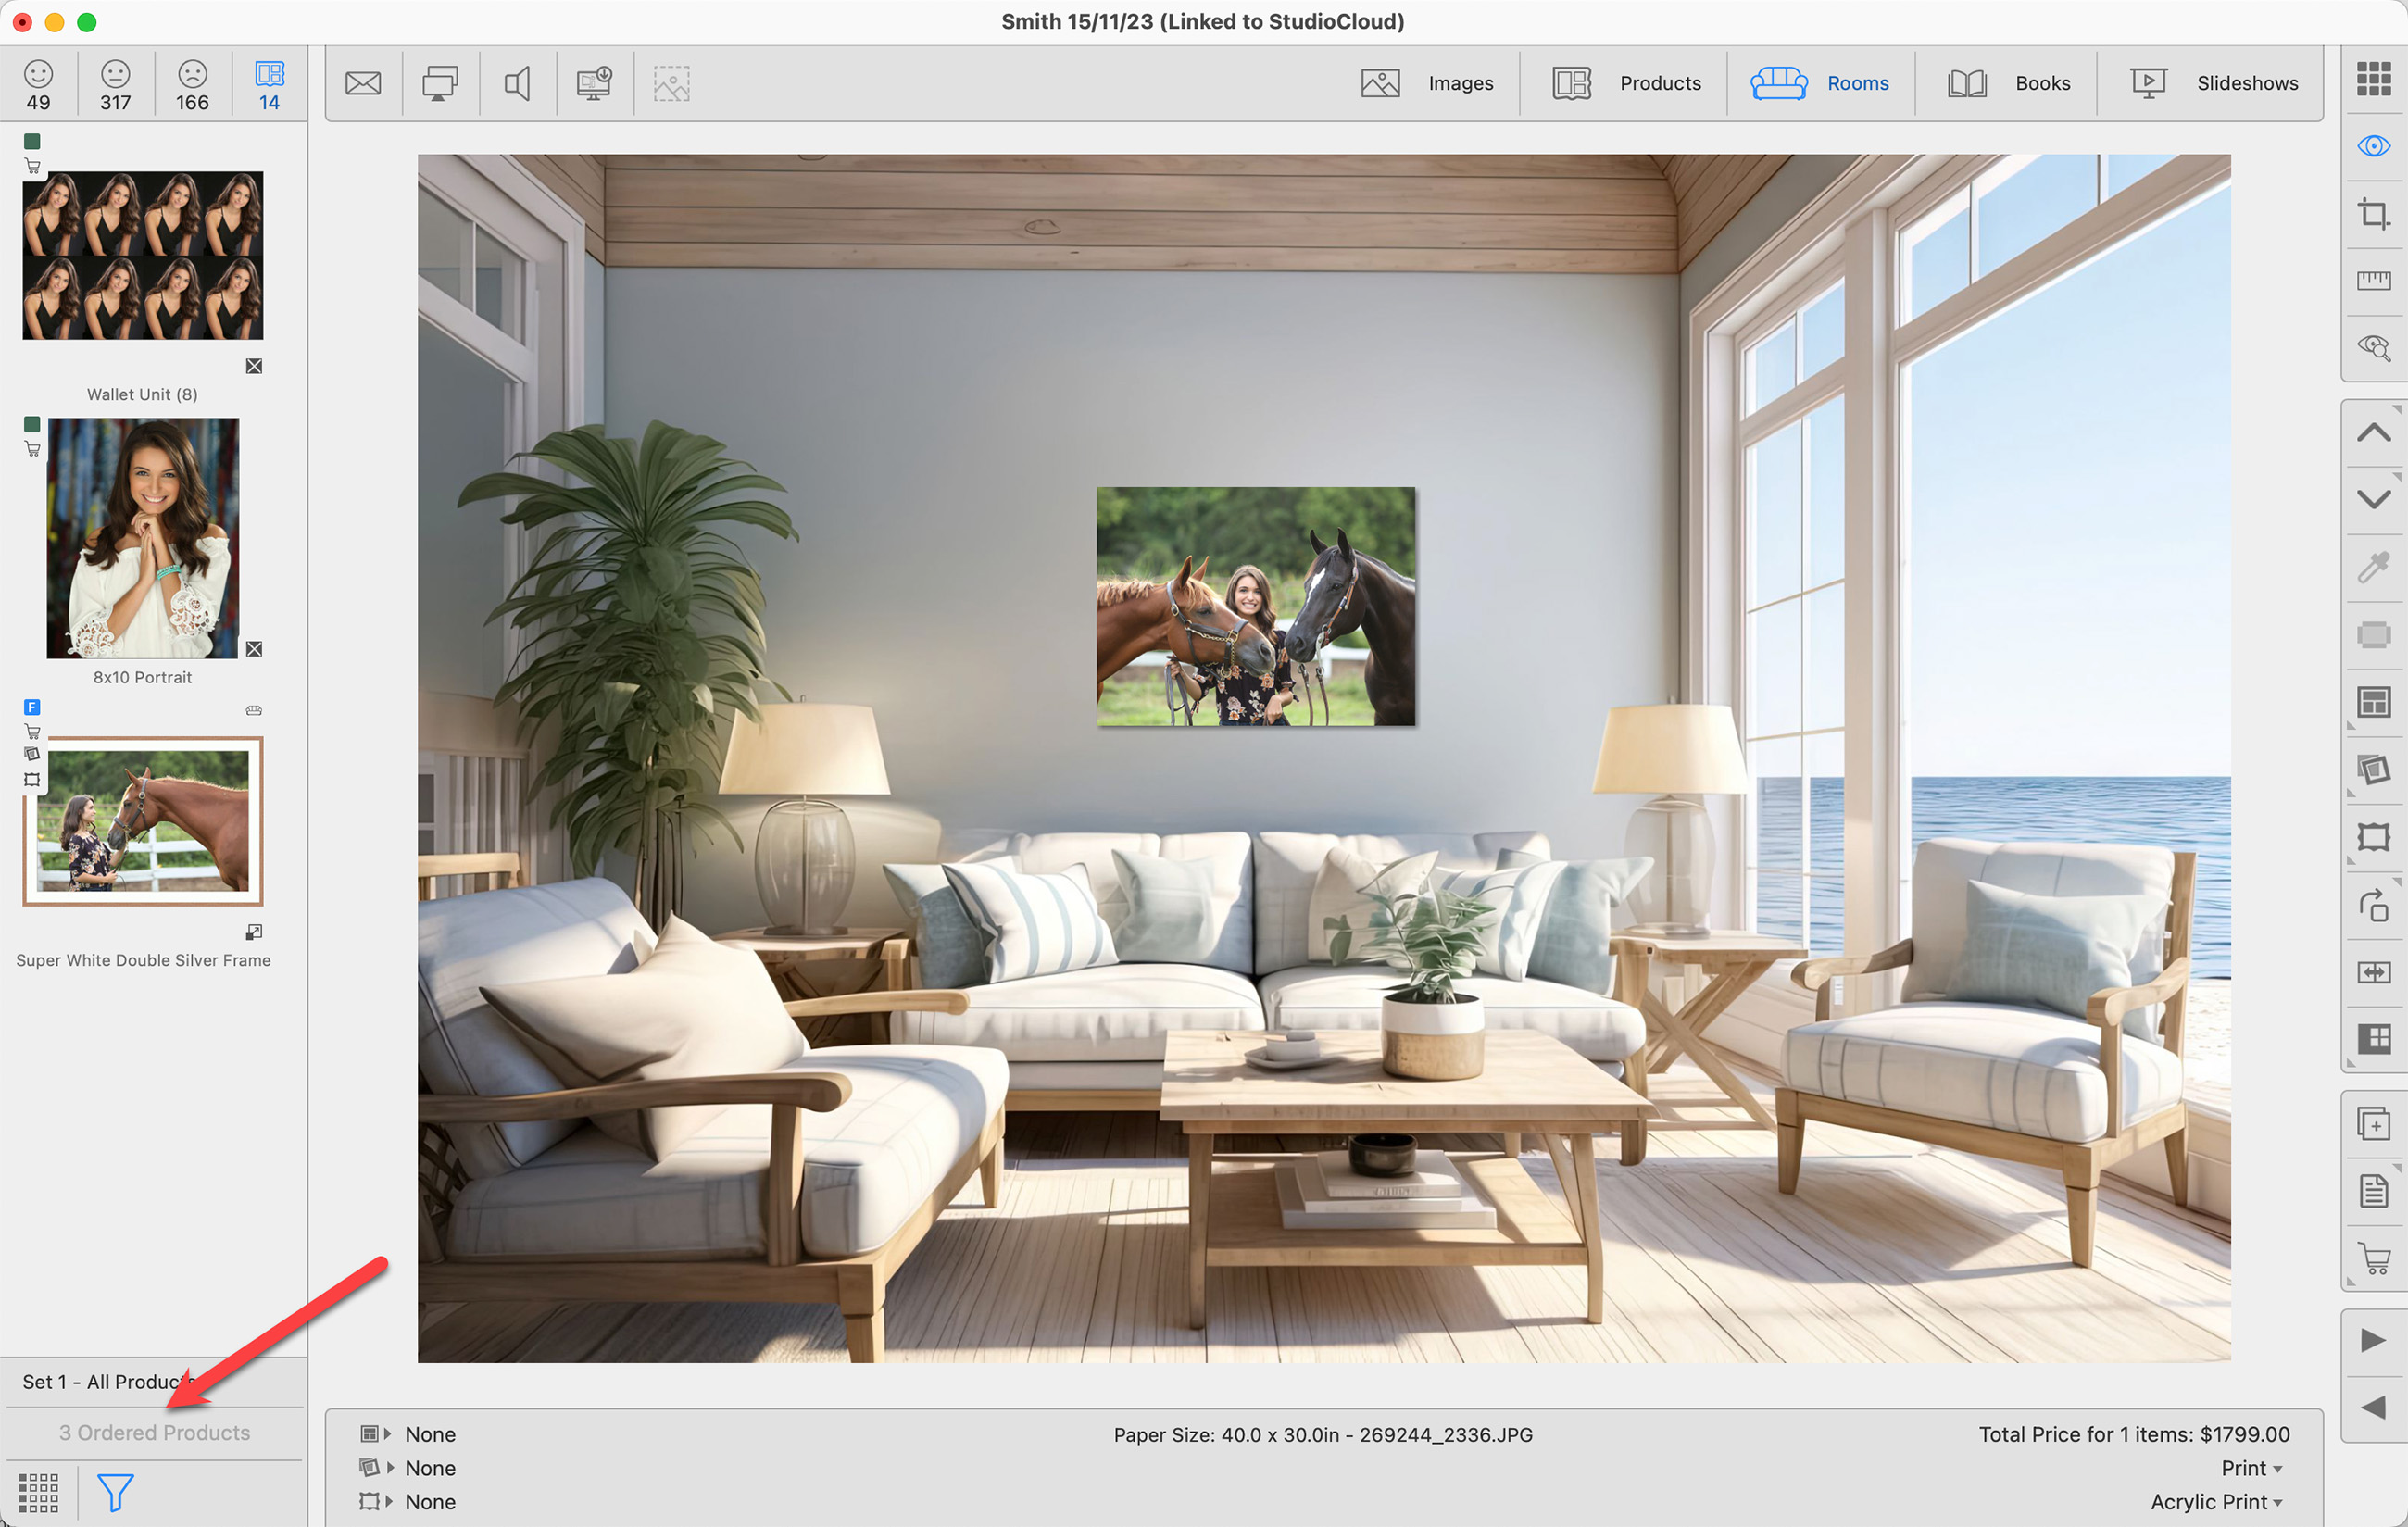
When Working with Rooms, the Products tab ![]() (in the Image List) will show the filtering. Filtering will stay on if you toggle between Working with Products and Working with Rooms.
(in the Image List) will show the filtering. Filtering will stay on if you toggle between Working with Products and Working with Rooms.
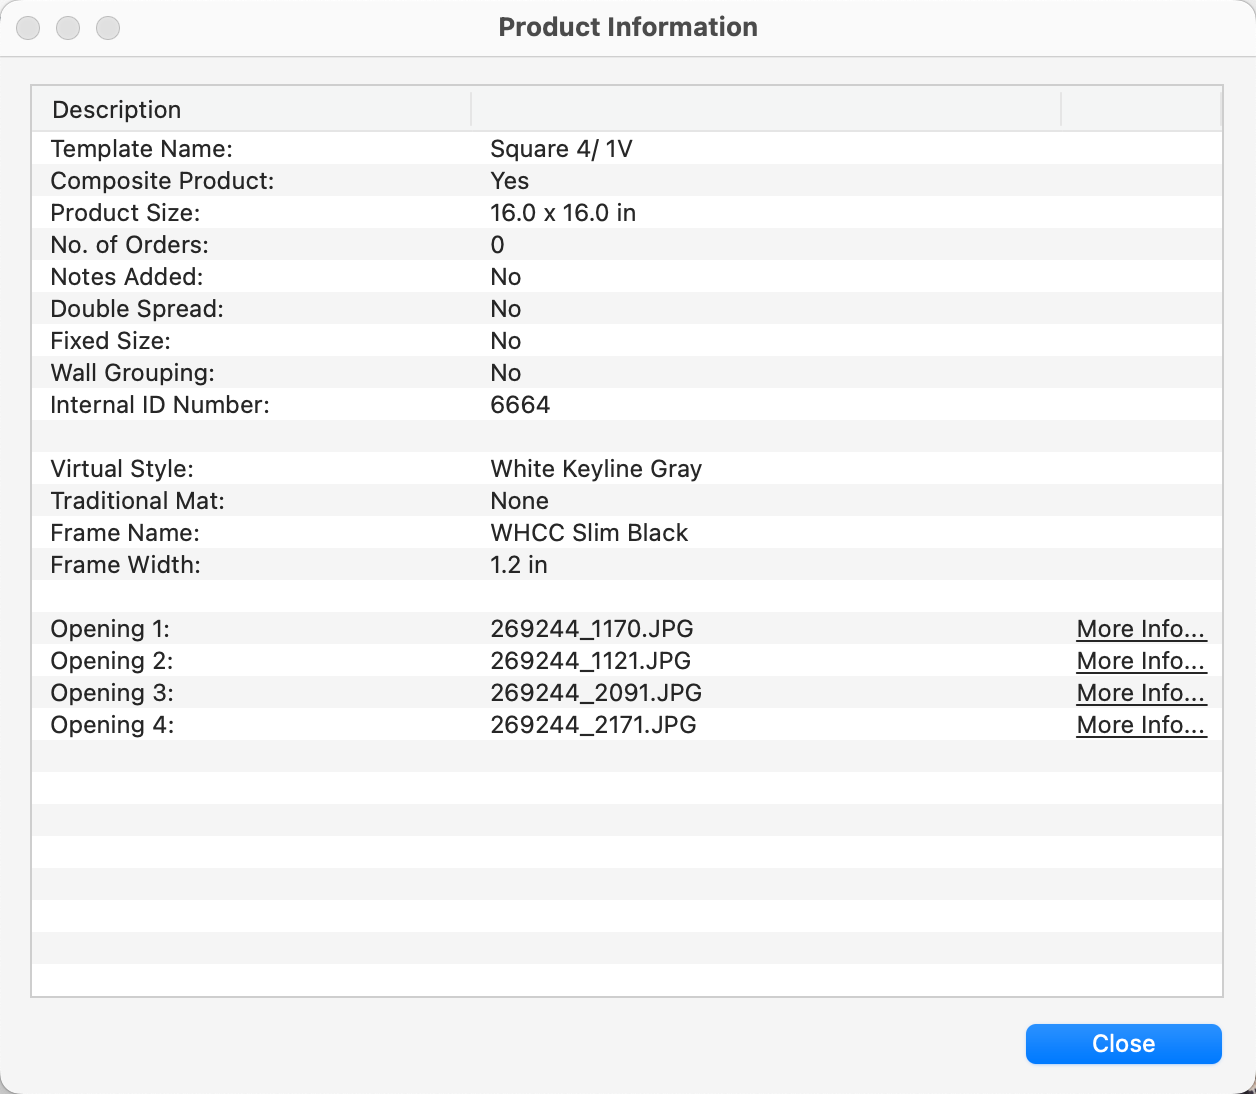
- Select a product.
- On the top menu, go to Products > Show Selected Product Info to view the Product Information dialog. Alternatively, right-click on the product and select "Show Product Information."
In ProSelect, you can mark selected images and products as favorites either through the Edit menu or by using the "F" keyboard shortcut. Once images have been selected as a favorite, you can optionally include the favorites stamp when exporting sample images, products, and slideshows. You can customize the appearance of favorite stamps, and designate which stamp to use for your favorites in the Setup Stamps, Watermarks & Logos dialog.
You can choose between one of the ProSelect default stamps, or create your own.
ProSelect default favorite stamps

Setup Your Favorites Stamp
- Go to the top menu, Resources > Setup Stamps, Watermarks & Logos.
- Select the stamp you wish to use as your "favorites" stamp from the list.
- Customize the impact (size and opacity) as well as the location.
- Click on the Options button.
- Select "Set as Favorites Stamp" from the options list.
- A thumbs up tag
 will appear next to the stamp you have selected as your favorites stamp.
ProSelect Main Display
For full-sized images, the favorites stamp will display exactly as configured in your setup. When viewing thumbnails, a thumbs up tag ![]() serves as the tag to indicate favorites. This tag appears on the bottom left corner of all thumbnails that are marked as favorites.
serves as the tag to indicate favorites. This tag appears on the bottom left corner of all thumbnails that are marked as favorites.
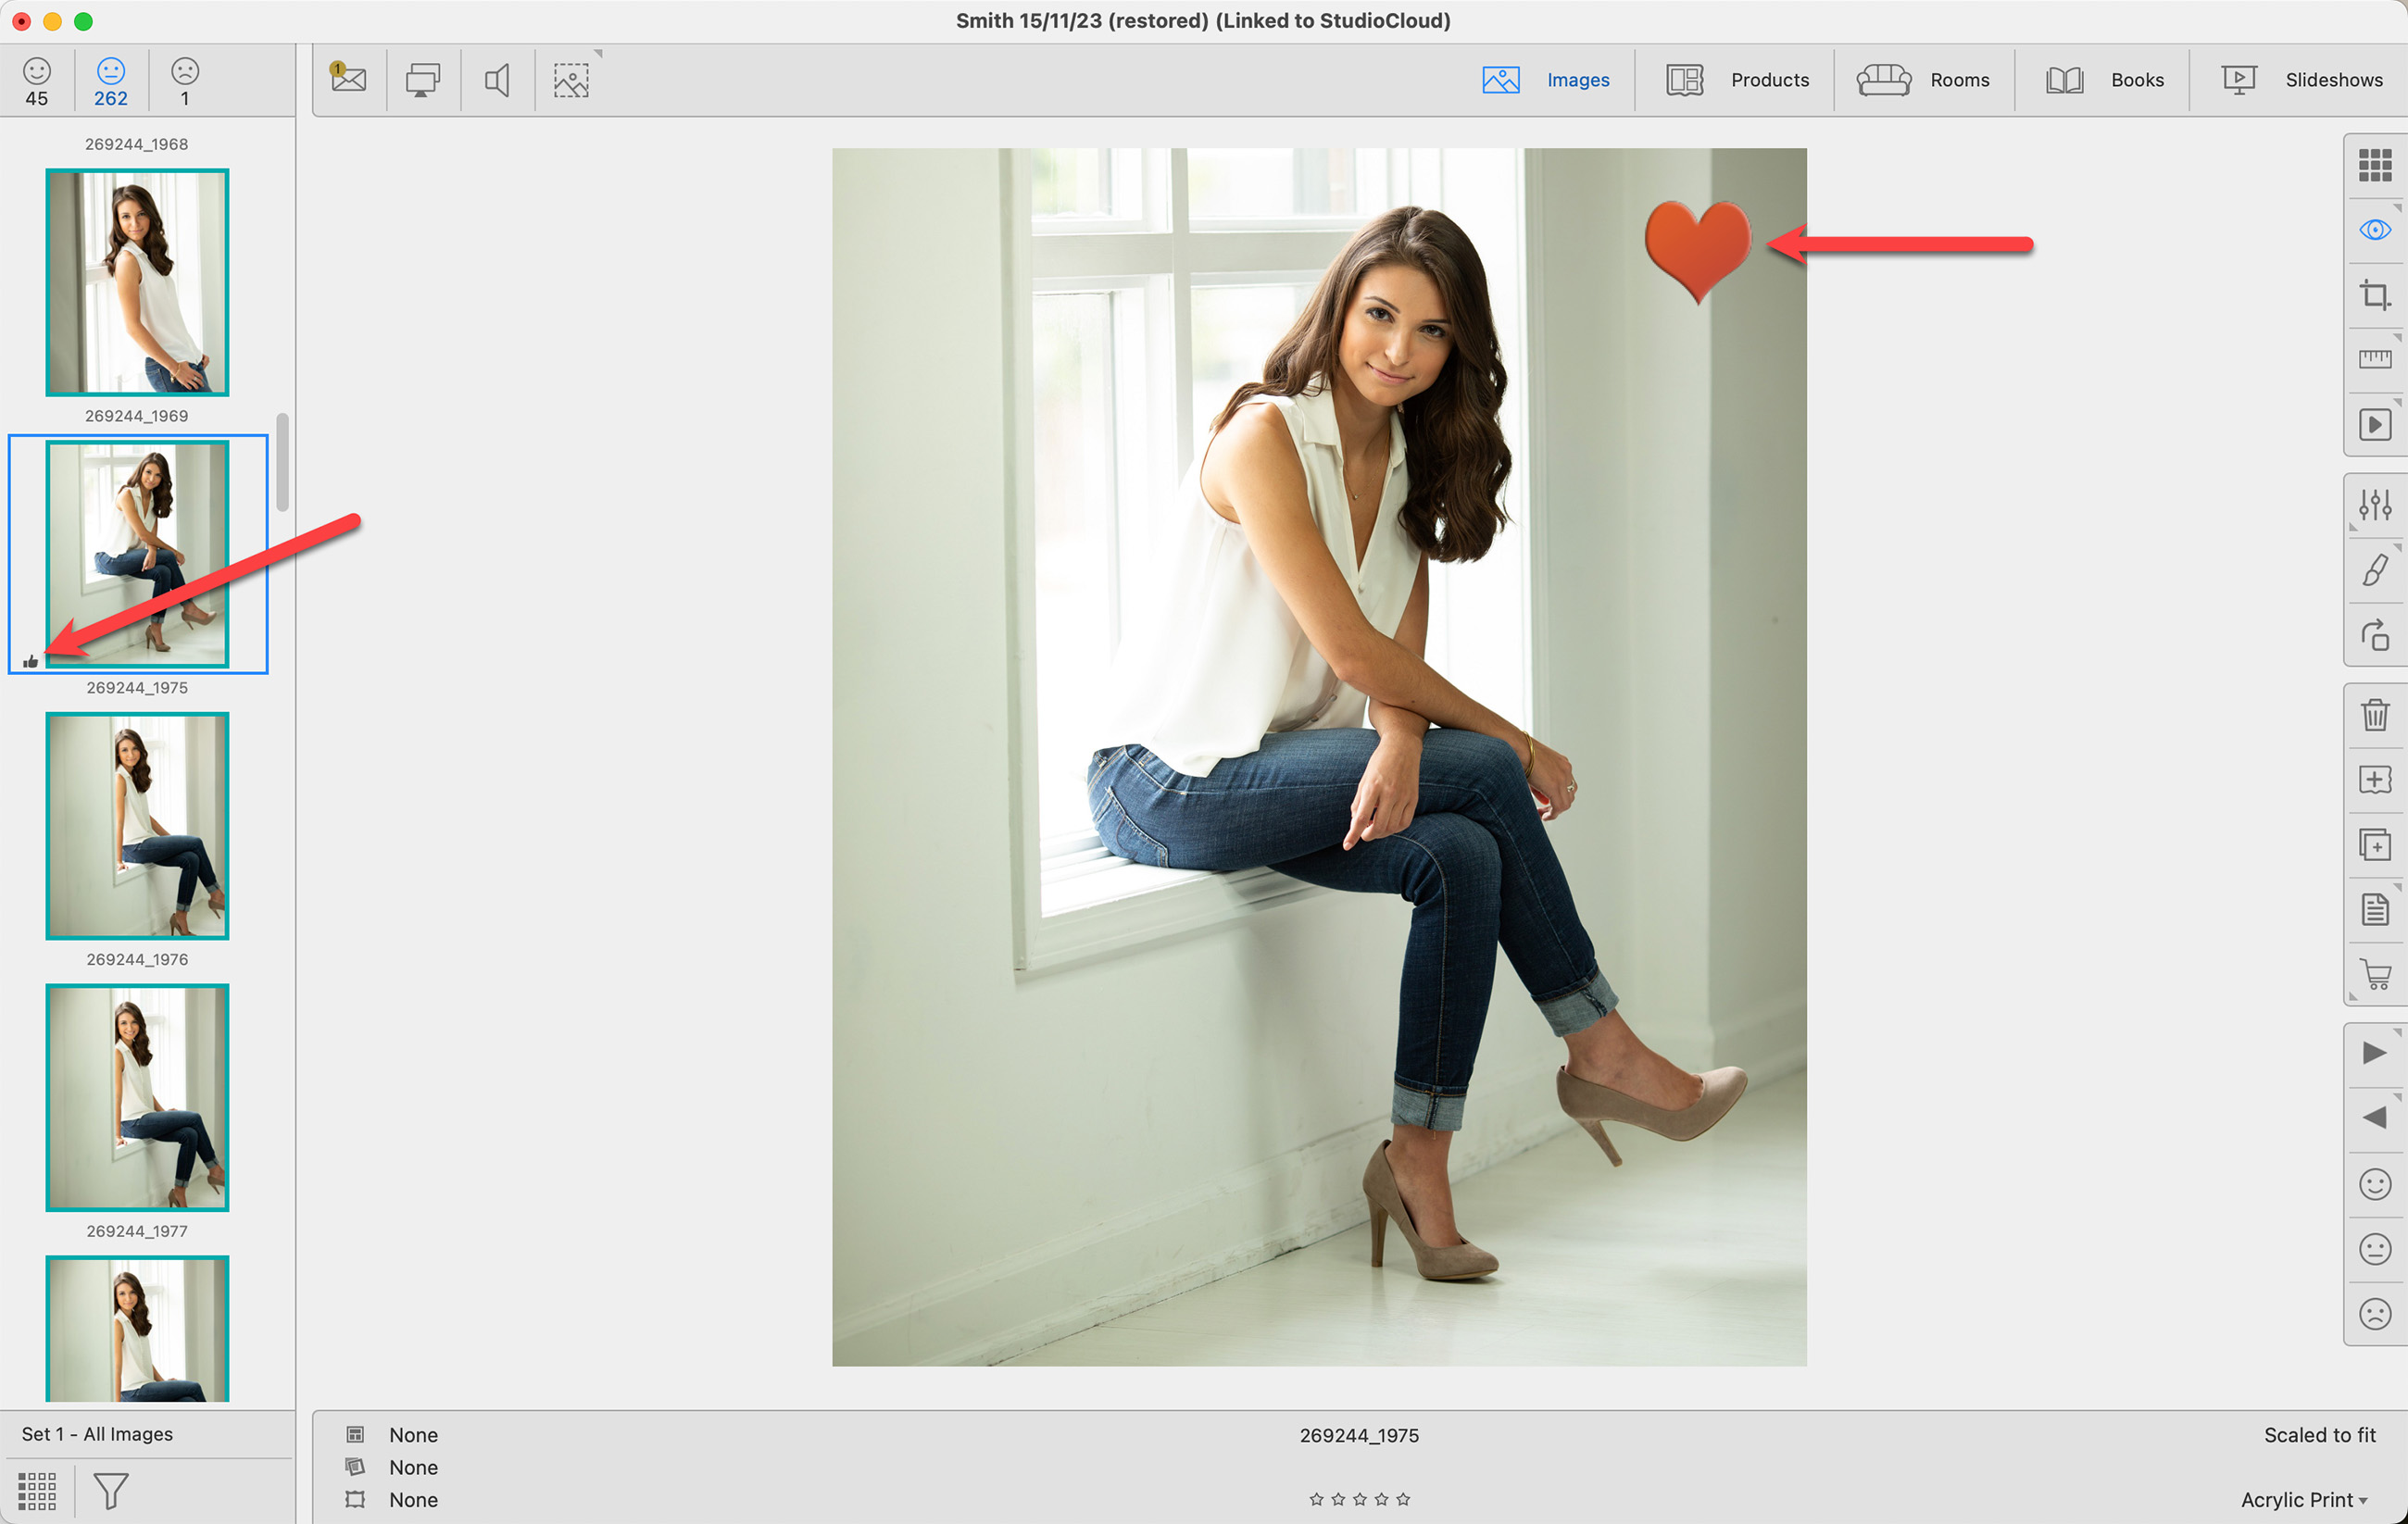
- When viewing thumbnails of your favorites, ensure the "Show Thumbnail Tags" option is enabled (found under the View menu).
- For full-sized images, activate the "Show Favorites Stamp" option (found under the View menu).
ProSelect has many right-click options available. Depending on what you click on, right-clicking provides quick access to various functions and actions related to the selected item. It is a convenient and efficient way to customize images and products. For a full list of right-click options click here.
Toggle the gray arrows in the Review Order window to hide/show prices. The arrow at the top of the window will hide/show the itemized list, while the arrow at the bottom next to "subtotal" will hide/show the totals box.
Show Pricing

Hide Pricing
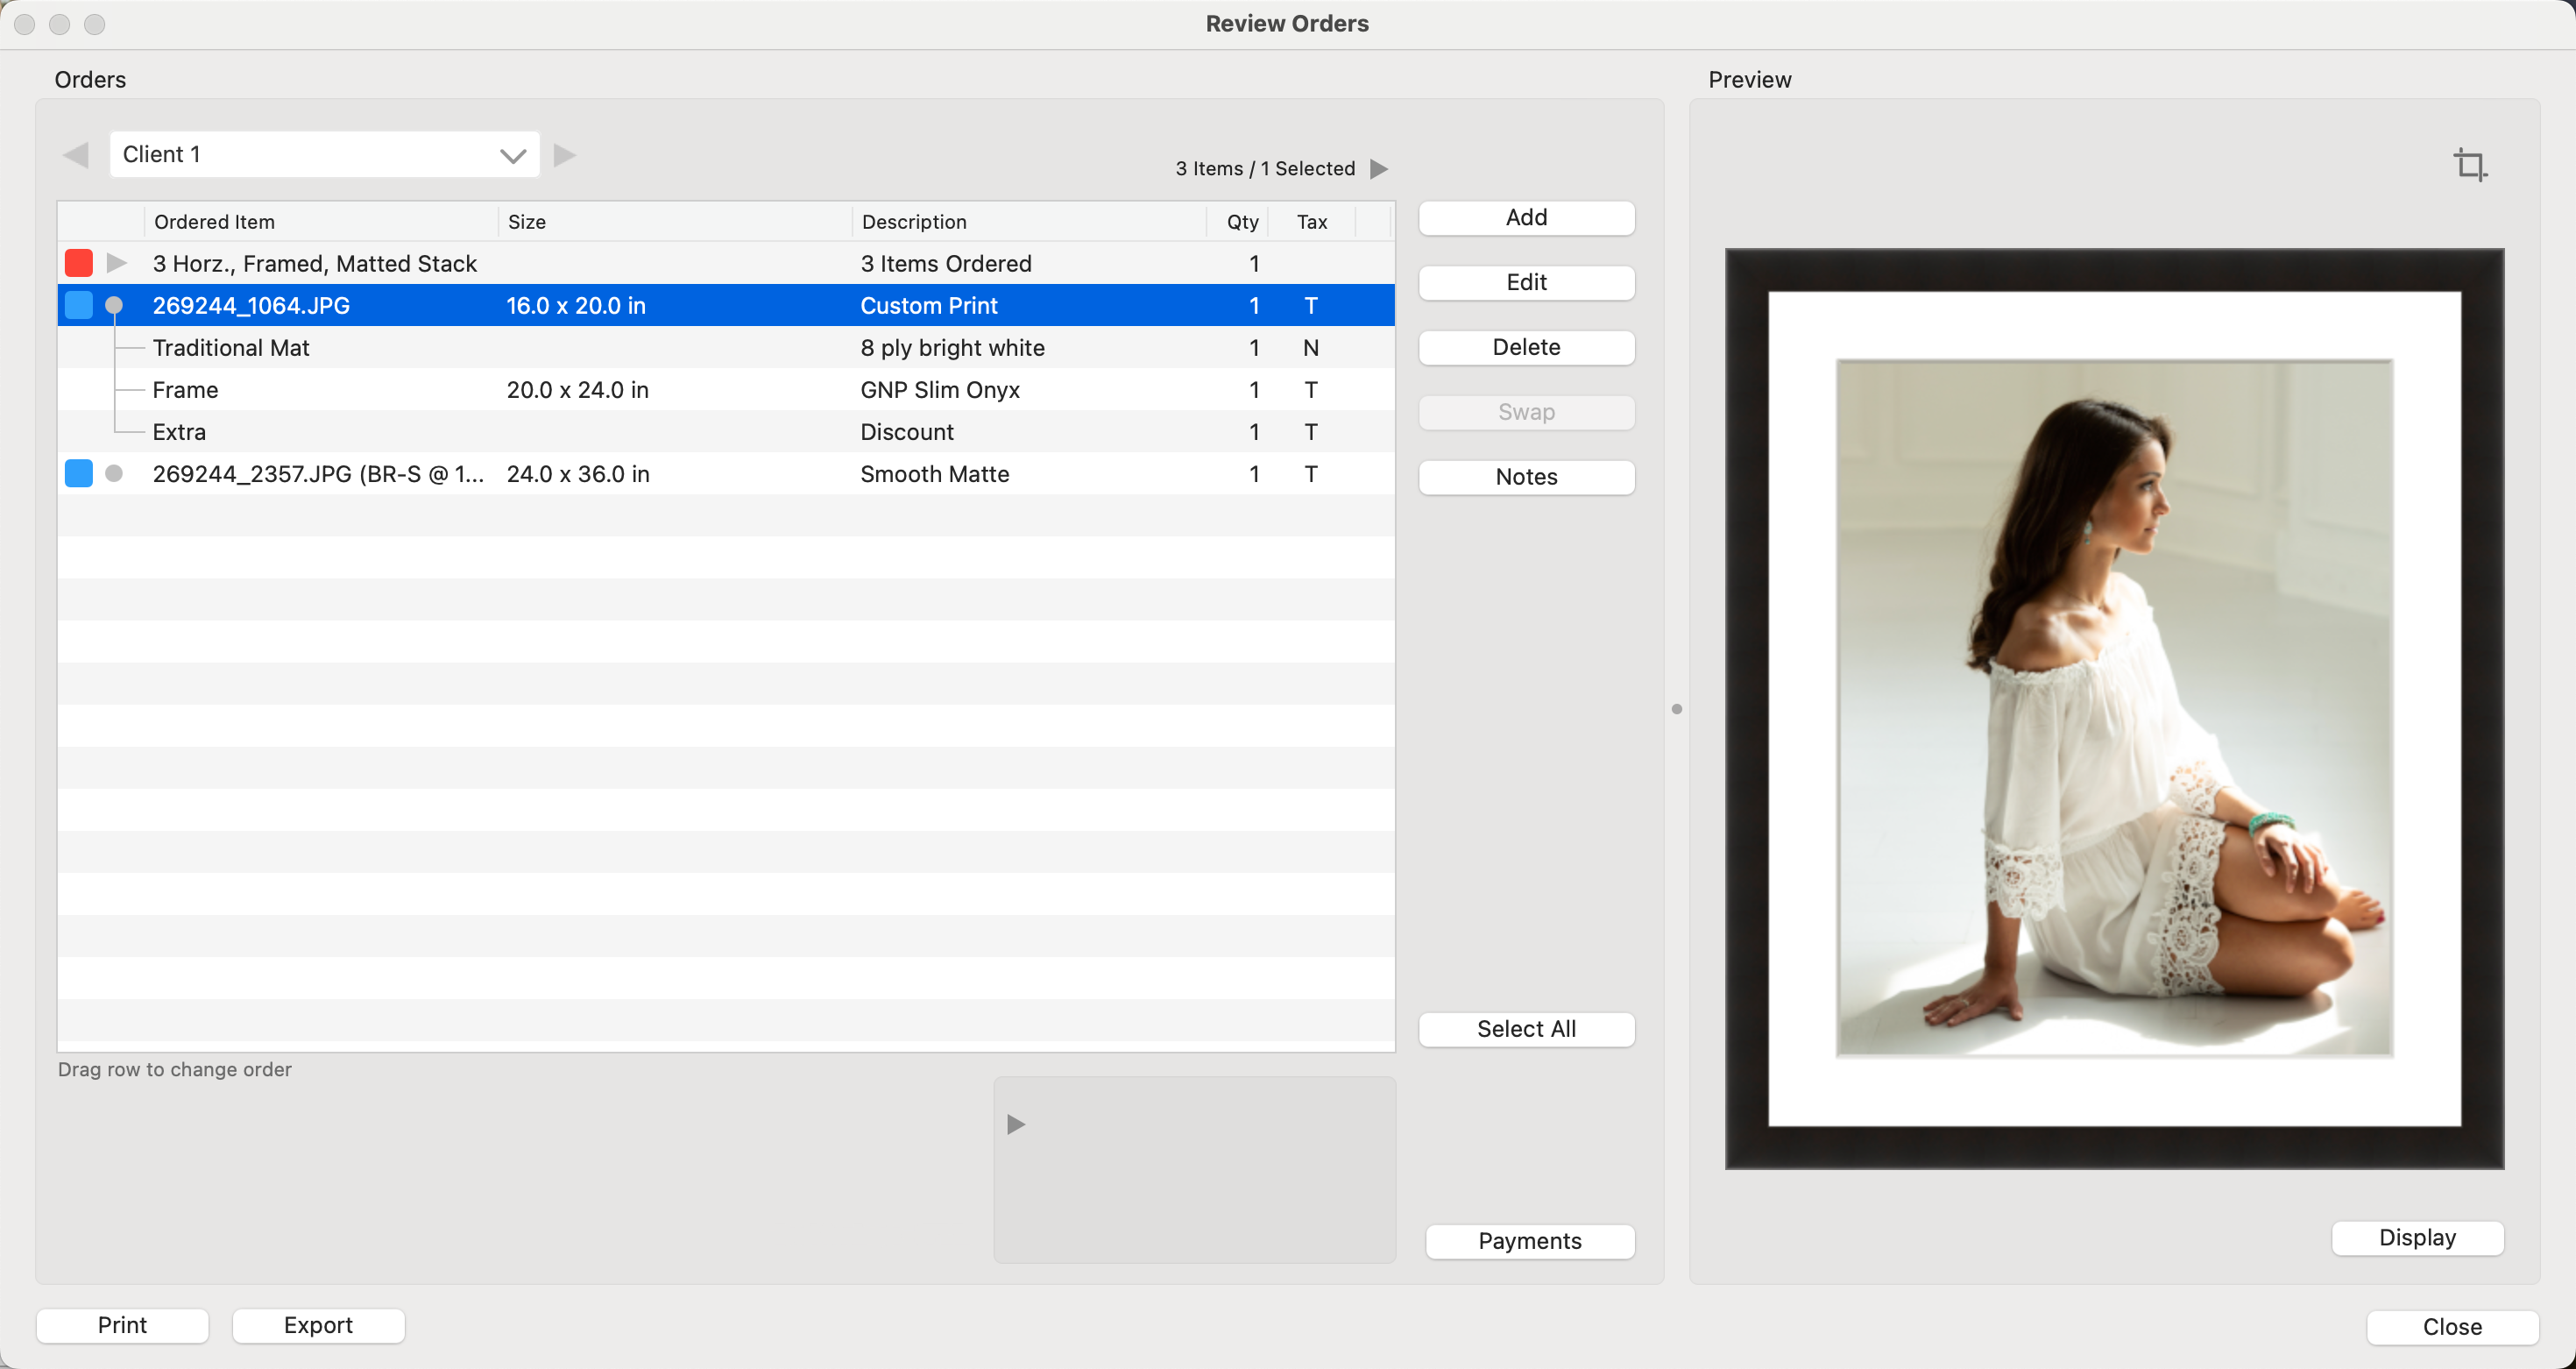
To hide prices throughout ProSelect, go to the top menu, View > Show Prices. Uncheck "Show Prices" to hide all prices. Prices will be hidden on the Info Bar (Working with Rooms), the Order Menu, as well as the Review Order window.
To make it clearer which product template openings haven't had any images added yet, an X is displayed. You have the option to turn this feature off for both thumbnails and openings. Go to the top menu, ProSelectEdit > Settings > Display > Display Options.
Default Setting - Showing an X
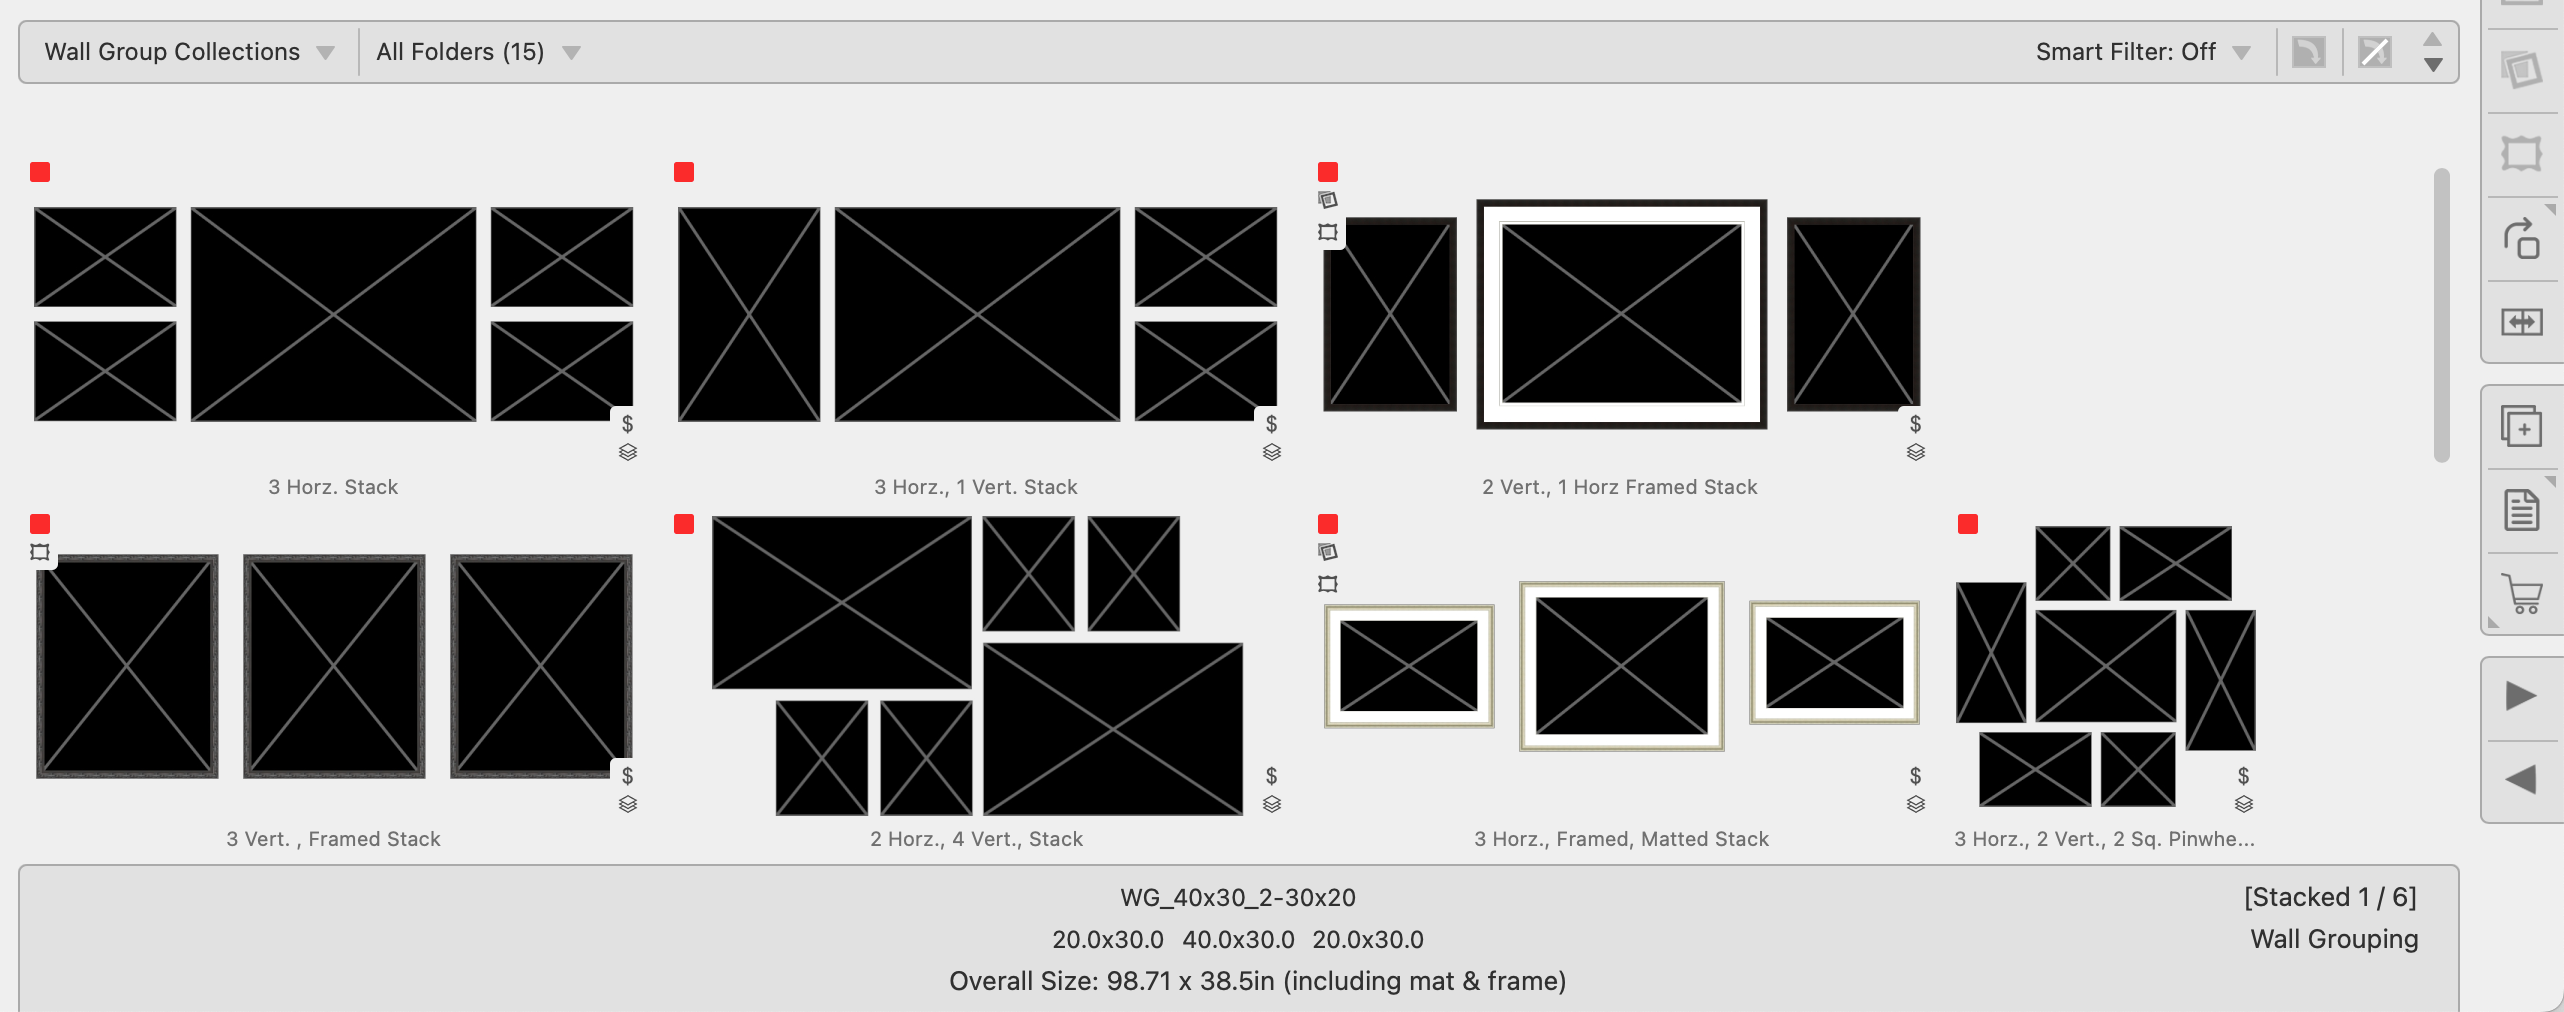
Without an X

For a complete list of Working with Products Shortcuts, click here.