The Image List
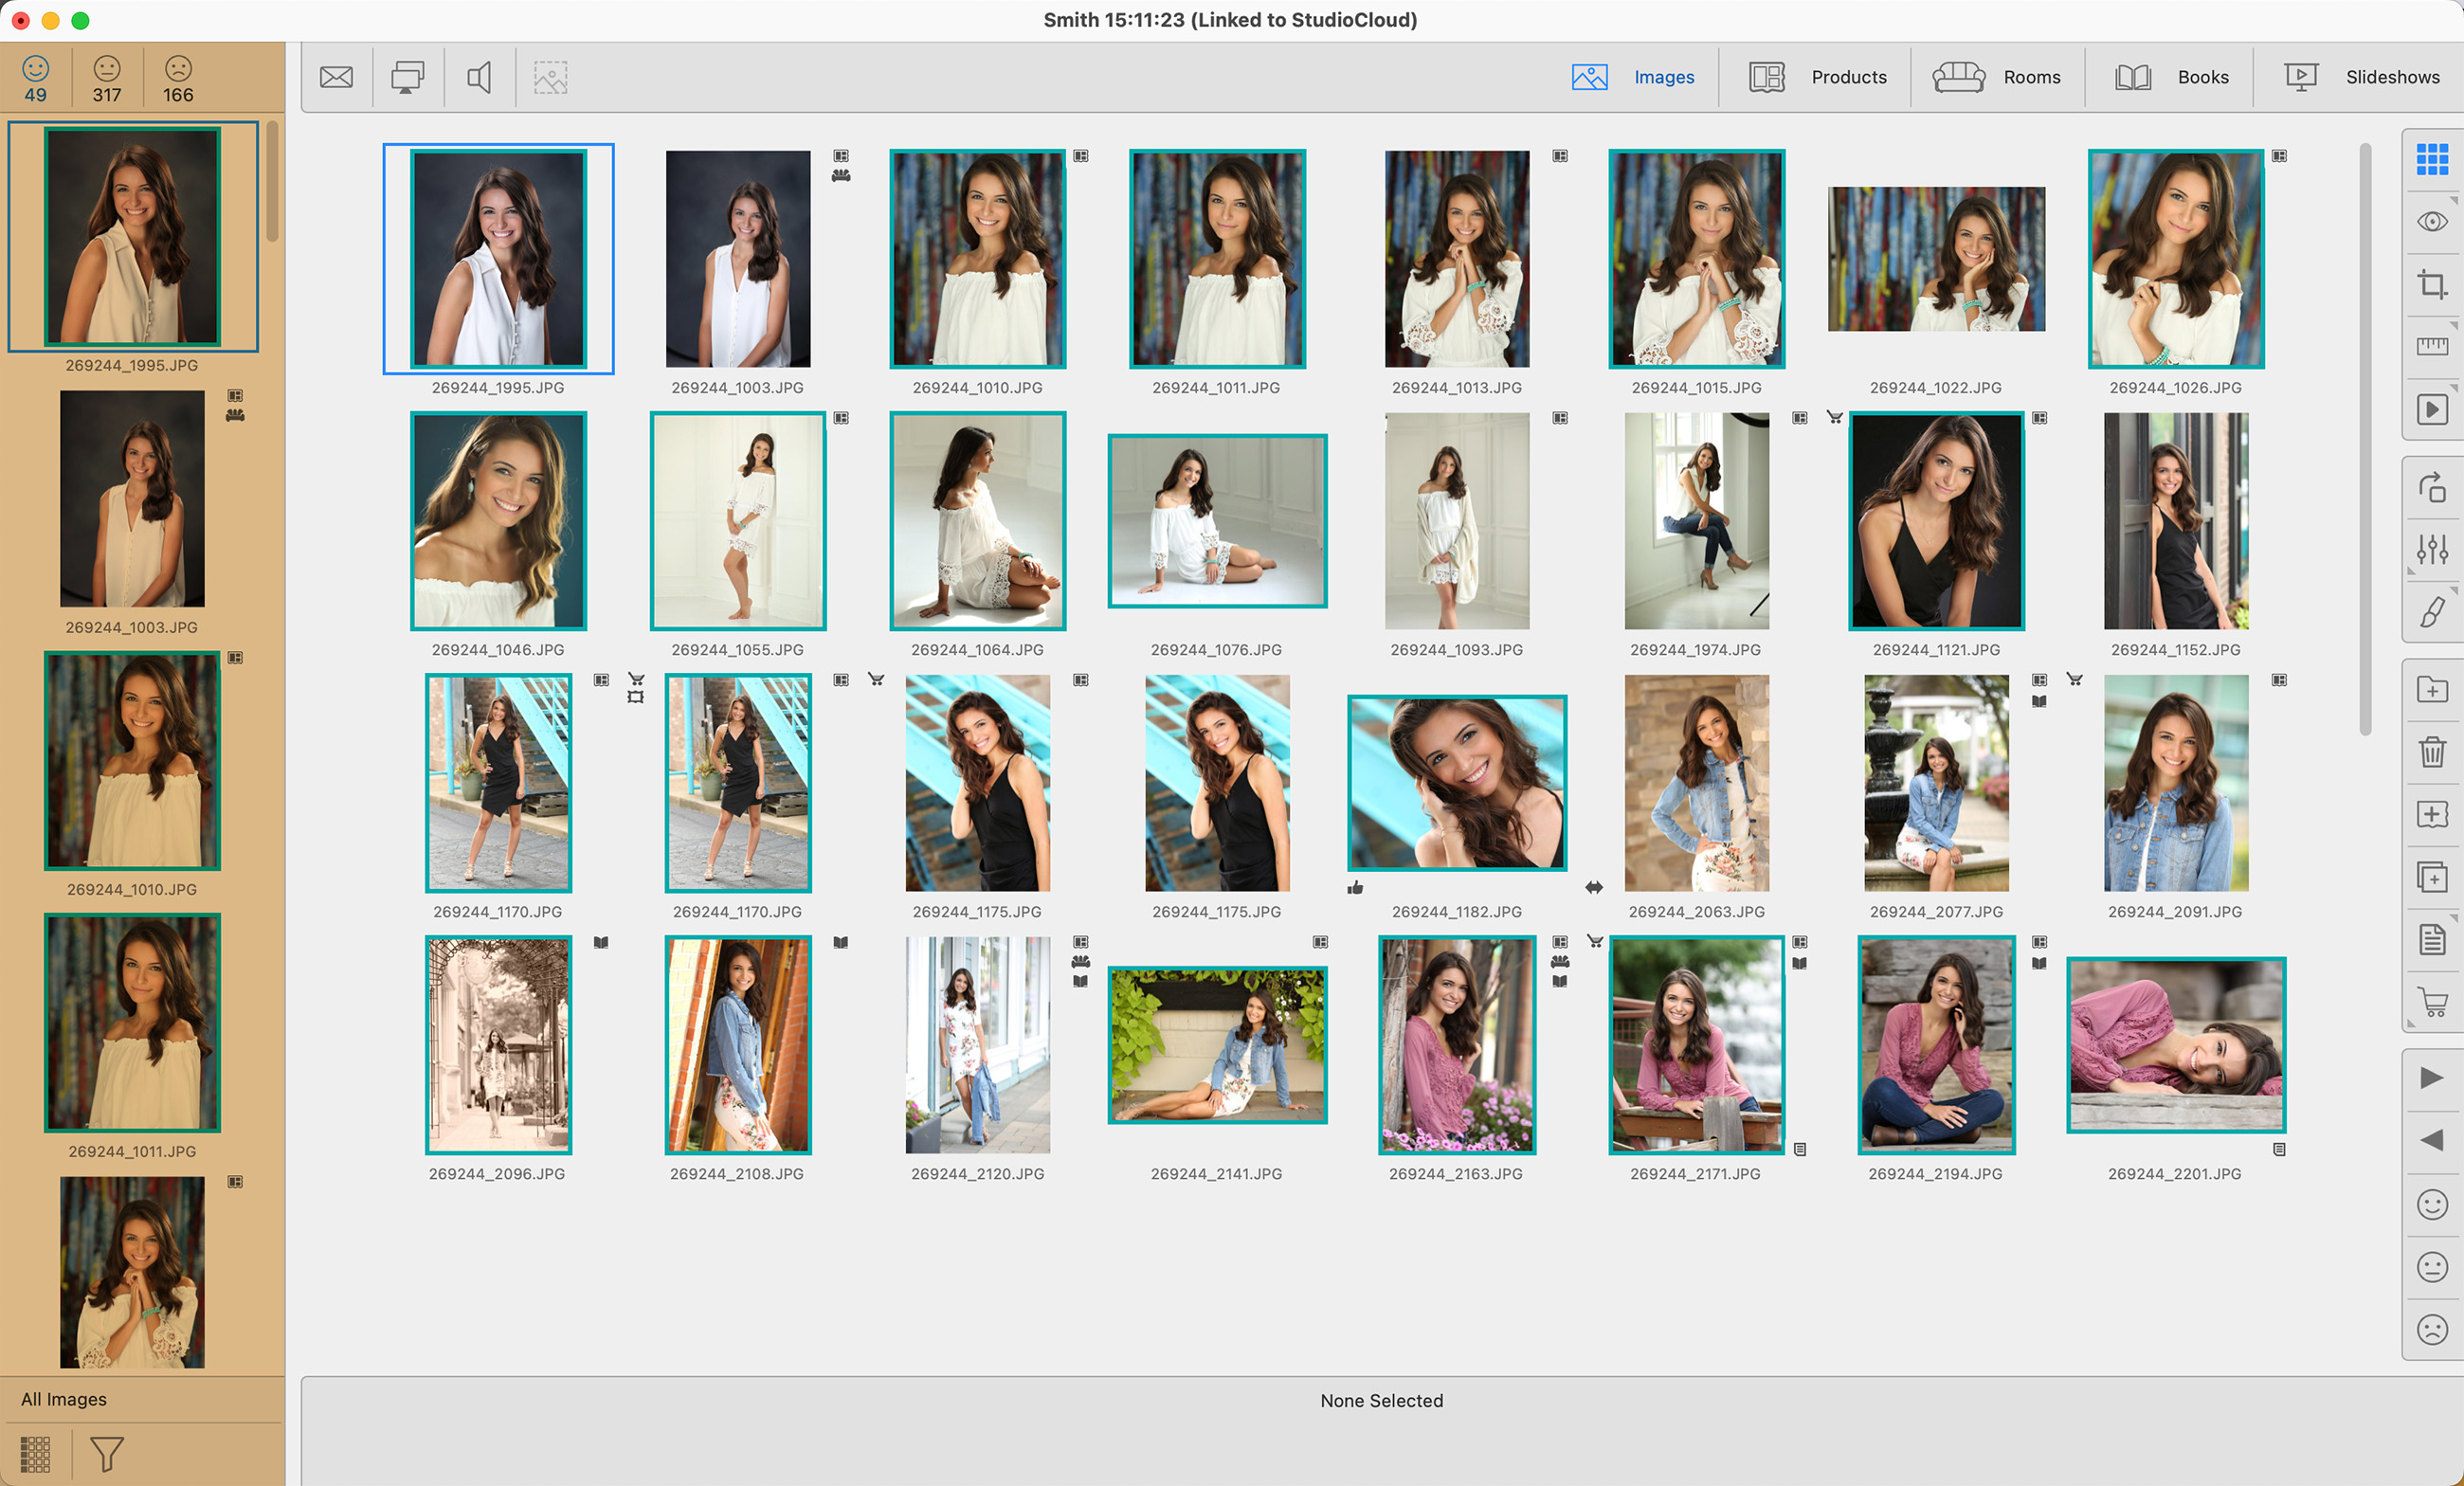
The Image List (highlighted in orange) is the primary source of product content. It can be used to sort, select, and display images as well as add those images to other products, rooms, slideshows, and books. The Image List is always displayed on the left side of the main display, regardless of which working with mode you are currently using.
- To hide the image list, press the Shift + Tab keys.
- Thumbnails often have "tags." These tags make it easier to see where the images have been used and what for. Click on Thumbnail Tags for more information.
- If a thumbnail has a cyan-colored border, this indicates a crop has been applied.
- If a thumbnail has a red-colored border, this indicates a locked crop ratio has been applied.
ProSelect has a straightforward Yes, Maybe, or No selection system for organizing images. These are indicated by the three face tabs located at the top of the Image List. By default, imported images are added to the Maybe tab. However, you have the option to change this setting so that they always load into the Yes, No, or currently selected tab. On the top menu, go to ProSelectEdit > Settings > Importing Images > Adding Images.
![]() Yes
Yes
![]() Maybe
Maybe
![]() No
No
- Click on one of these faces to select which group of images you wish to work with.
- The number of images in each tab is listed below the face.
- Images can easily be moved between the tabs by first selecting an image (or multiple images) in the Display Area and clicking on the face tabs in the toolbar (right-hand side of the Display Area).
- You can also use the keyboard shortcuts "1" for the Yes Tab, "2" for the Maybe Tab, and "3" for the No Tab.
- Remove the "No" tab images from the album by going to the top menu, Images > Remove "No" Tab Images.
Additional Tabs
When Working with Products and Rooms, the Products tab will be available on the image list. When Working with Slideshows, your room designs are also listed in a separate Rooms tab.
![]() Products - This tab lists all of the album products. You can drag a product from this list into a room.
Products - This tab lists all of the album products. You can drag a product from this list into a room.
![]() Rooms - This tab lists all of the album rooms. You can drag a room from the list into a slideshow.
Rooms - This tab lists all of the album rooms. You can drag a room from the list into a slideshow.
Hide Tab Counts
The number of images/products in each tab is listed underneath. You can hide the tab count by going to the top menu, ProSelectEdit > Settings > Display > Calibration & Options > Image List.
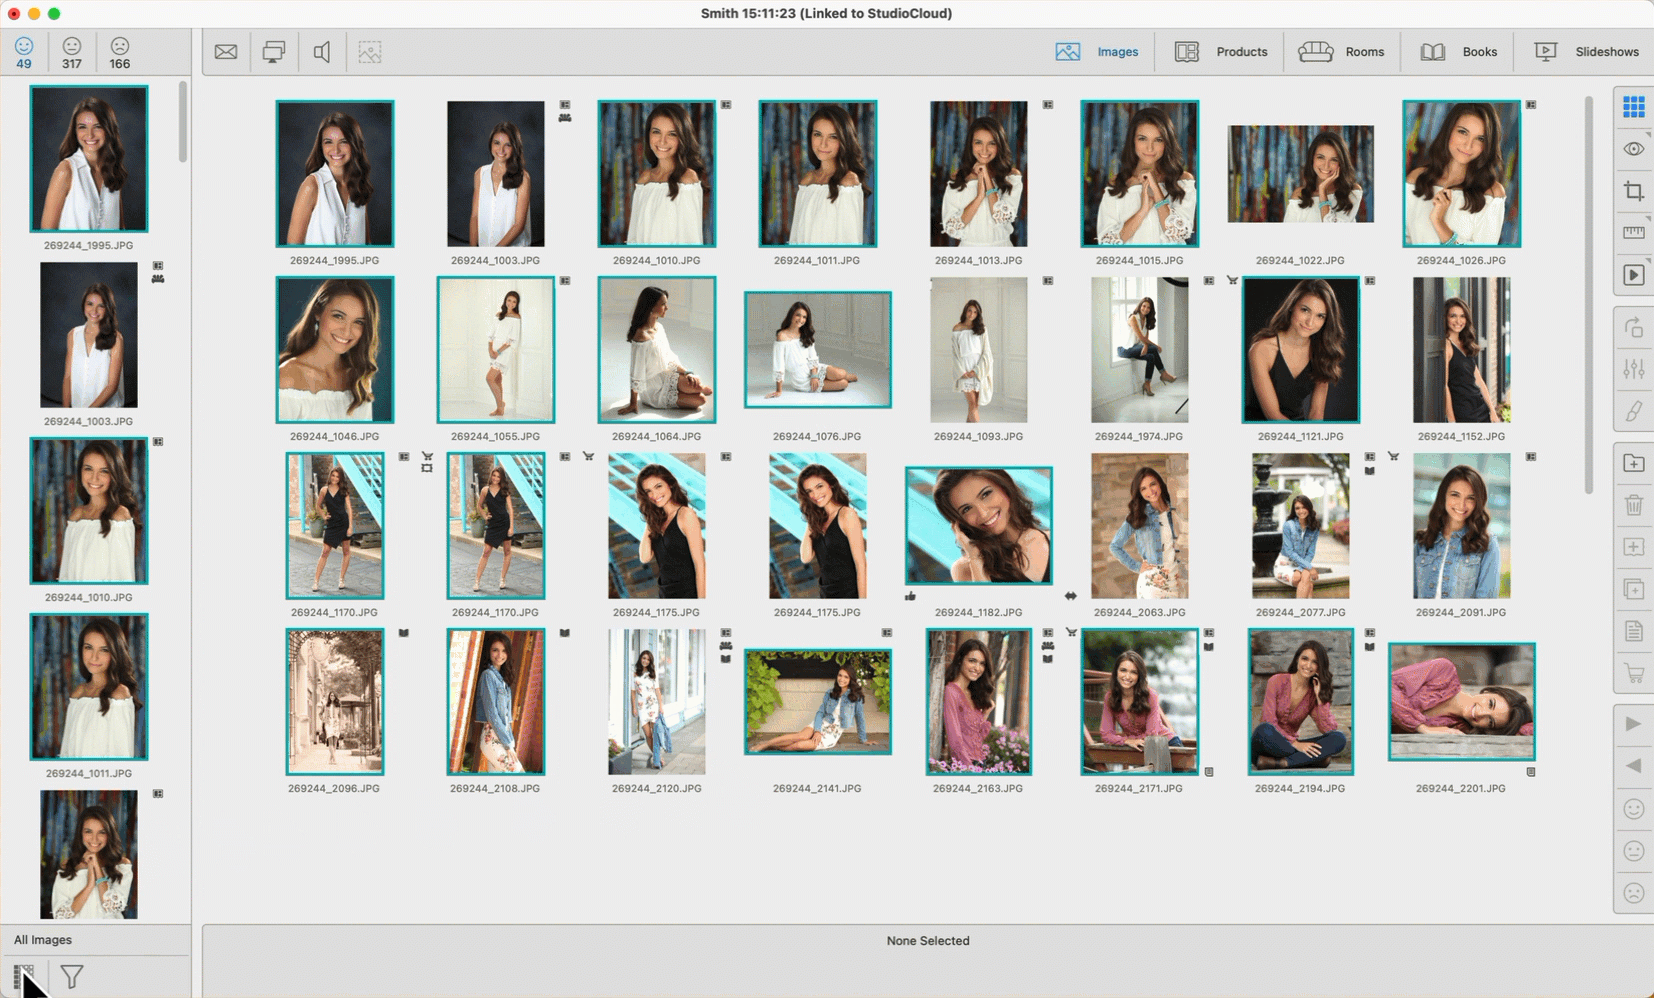
By default, the image list has one column of thumbnails. You can expand this by using the Image Width tool ![]() . The maximum number of columns permitted is determined by the main window size and your selected thumbnail image size.
. The maximum number of columns permitted is determined by the main window size and your selected thumbnail image size.
The Image Filter is turned off by default, so the Image List displays all content from the currently selected tab. Clicking the Filter tool will open a menu, allowing you to display only a chosen group of items in the Image List. Filtering can be especially useful if you have an album with a large number of images. It can also make book building more efficient: simply filter out the images you have already used in the book.
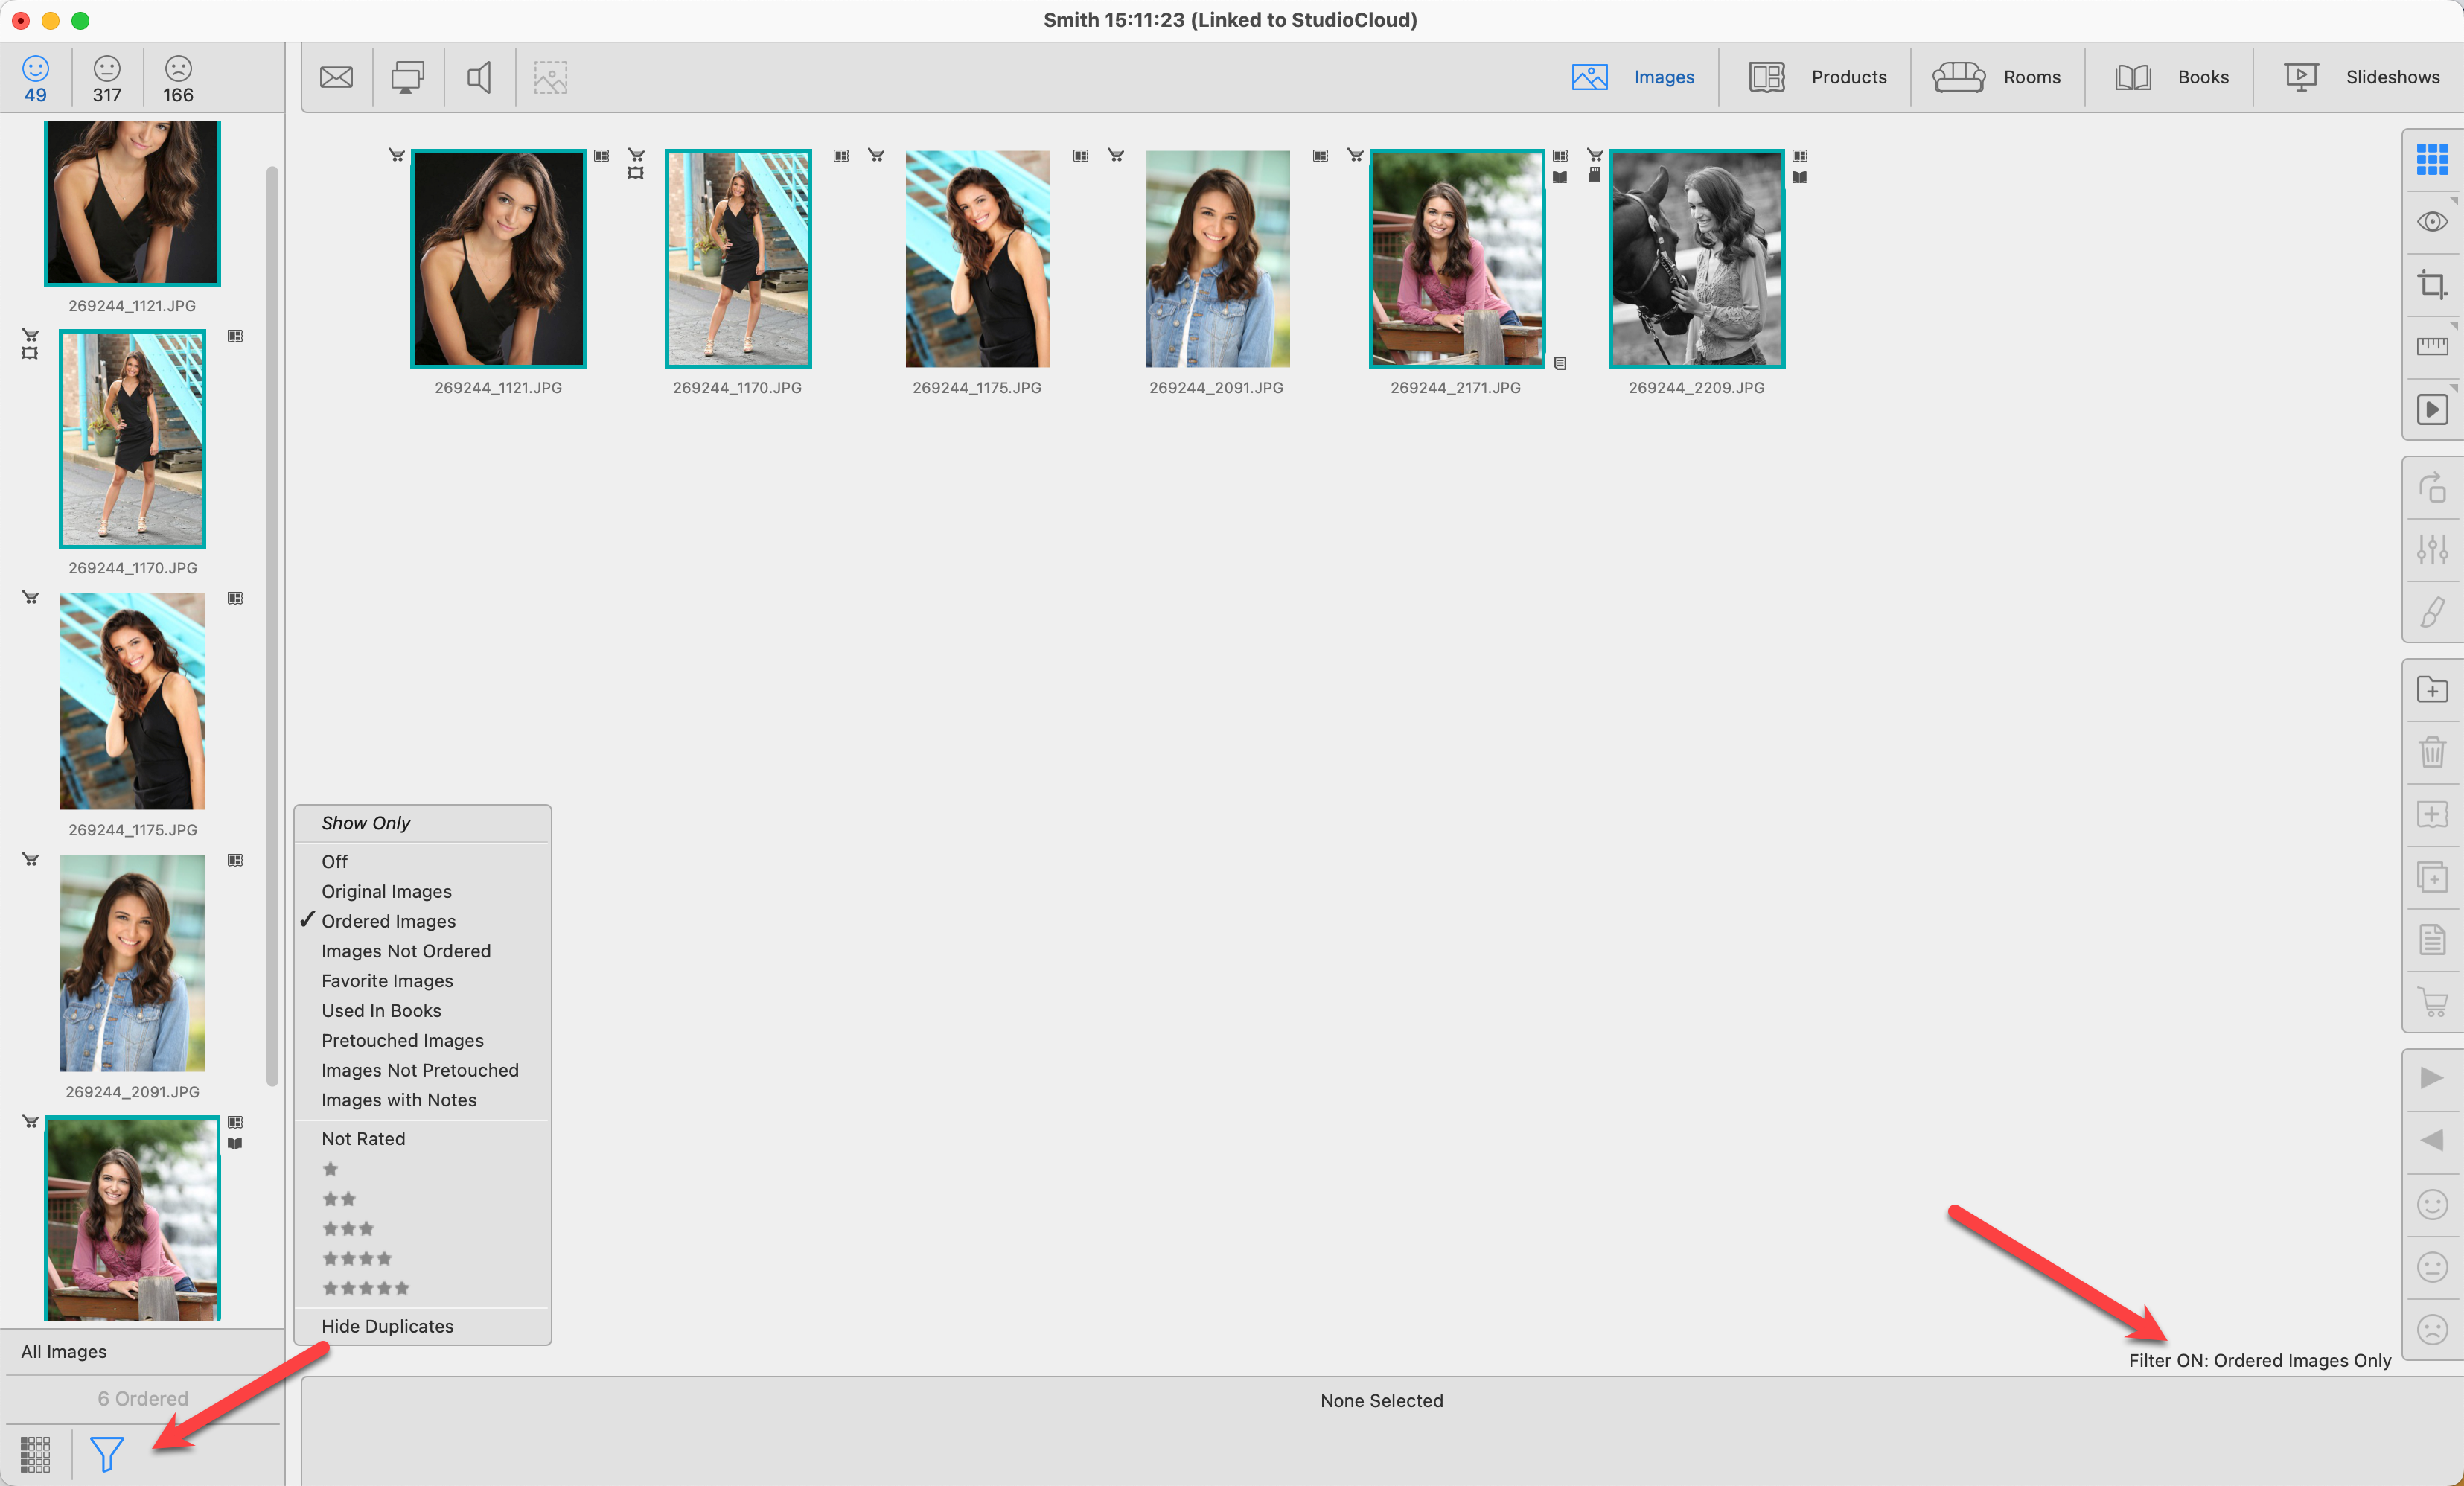
- When the filter is turned on, the tool is highlighted.
- The filter type and the number of filtered items are shown on the line above the filter tool.
- In Thumbnail view, the applied filter type is shown in the bottom right corner of the Display Area.
- Your current Filter selection for each area is saved when moving between working with modes and when choosing different tabs.
- If you have also checked "Hide Duplicates," then only the Original images will be shown.
- To turn filtering off, select "Off" or go to the top menu, View > Turn Off All Image List Filters.
The filters vary based on whether you are on the Yes/No/Maybe tabs or the Products tab and your current working with mode. The following filter options are available when using the Yes/No/Maybe tabs:
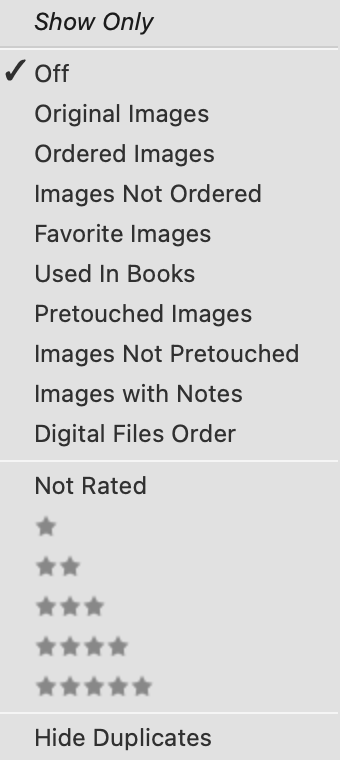
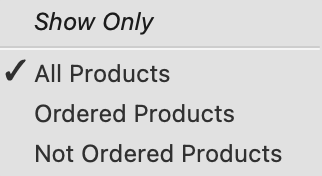
When you have the Products tab selected, the following filter options are available:
The Network Server will only be visible if you are currently set up to share resources.
This Shared Folder will only be visible if you are currently set up to share resources.
For each ProSelect album, you can optionally arrange your images into different sets. When you first import images into a ProSelect album, they are placed in "Set 1" by default. When you mouse over the image set bar, a drop-down arrow appears. Click on the drop-down arrow to reveal all image sets.
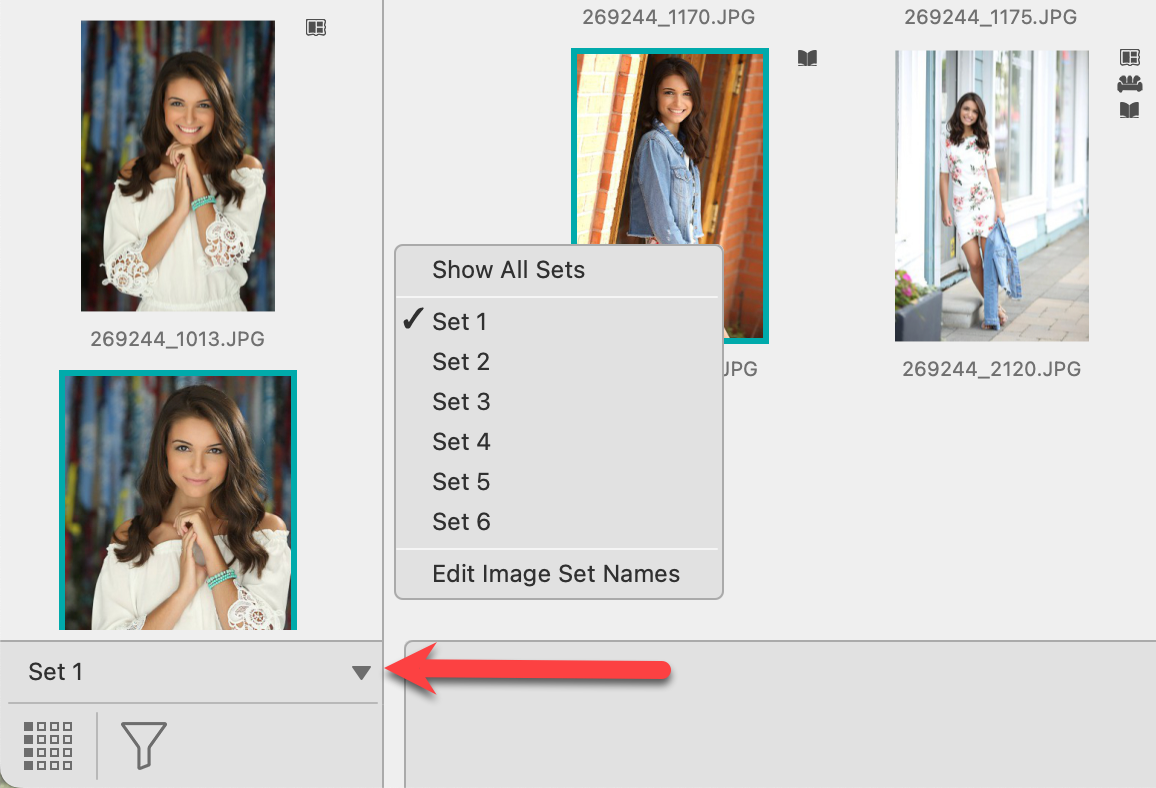
- From here you can choose to view the images from a particular set, show all the sets, or edit the set names.
- By default, you will always be working within "Set 1."
- A checkmark appears next to the currently open set.
- If a set has images in it, the images tag
 will appear next to the set name.
 - Each set has its own "Yes," "Maybe," and "No" tabs.
Show All Sets
Selecting "Show all Sets" will add the sets to the bottom of the Image List. From here, you can drag and drop images to move them between the sets.
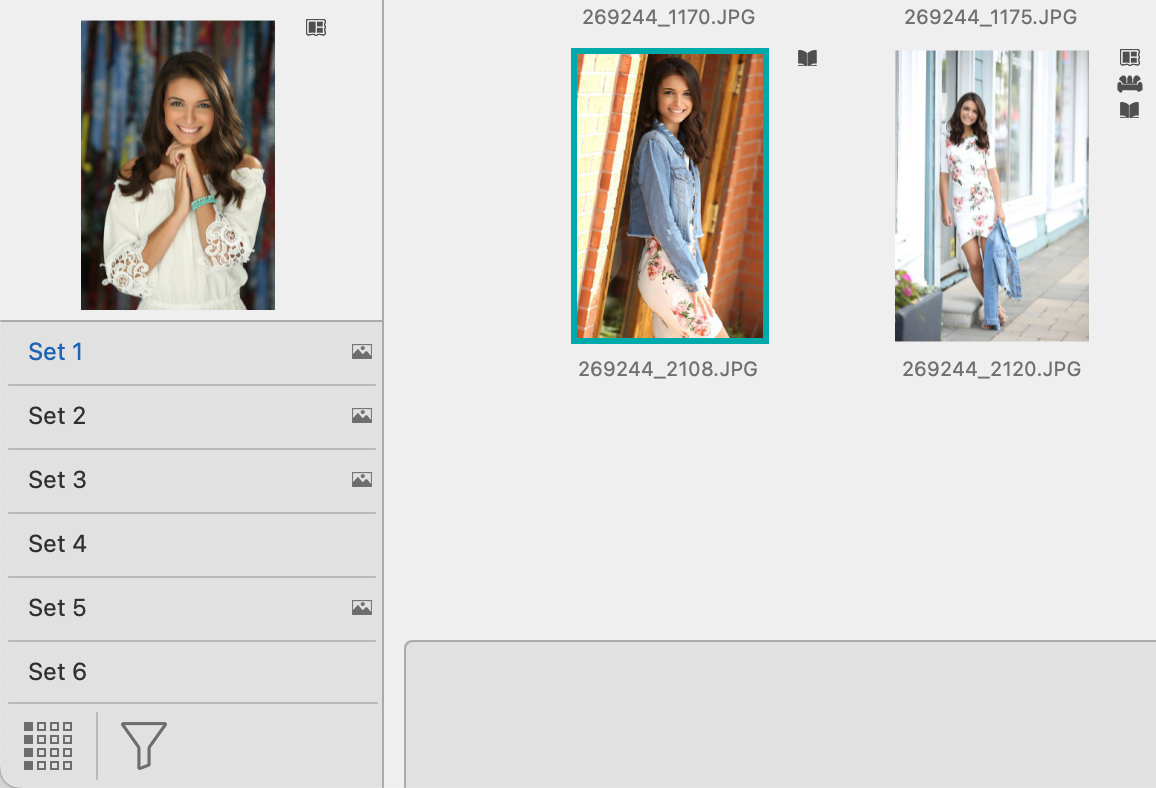
- The currently selected set will be highlighted.
- Any sets that currently have images in them will have the images tag on the right-hand side.
- Clicking on a set will open it and reveal all images within that set in the Display Area.
- Right-clicking on the set will allow you to edit the set name or hide all sets (by unchecking "show all sets").
Moving Images to a Set
- Select "Show All Sets" from the drop-down menu.
- Select one or many images from the Display Area (or Image List).
- Drag and drop them onto the desired set name. The images will be moved into the new set.
Copying Images to a Set
- To make a copy of the image, hold the OptionAlt key down when dragging the image and dropping it into a new set.
- You can also copy the image by holding the OptionAlt key down and clicking on the desired set name.
- Once placed in the new set, the image will appear in both places.
- If you select an image in the Display Area and it appears in more than one set, a plus (+) will appear next to the set name where the copy appears.
It is important to note that as you move images between sets, their position in the Yes, Maybe, or No tabs goes with them. For example, if you move an image from the Maybe tab in Set 1 into Set 3, it will be positioned in the Maybe tab in Set 3 as well.
Number of Image Sets
You can have up to 15 different image sets. By default, albums are created with 6 image sets. To change this, go to the top menu, ProSelectEdit > Settings > General Settings > General Defaults > No. Of Image Sets. You can choose to have 3,6,10, 15, or No image sets.
Editing Image Set Names
Select "Edit Image Set Names" from the drop-down menu. Alternatively, go to the top menu, File > Change Set Names. The Edit Set Name dialog will appear.

- You can either type in individual names for the sets or select the names from the Set Names Library.
- Remember that "Set 1" will always be the default set in which images are loaded into.
Set Names Library
You can save frequently used Set names into the Set Name Library using the Save Arrow button (the lower one). Clicking on the arrow will make a copy of the set names you have created. You will be prompted to enter a name for the group. This group will then be saved and available to use in other working with modes.
Loading Set Names
By default, the top row of names in the Set Name Library is used when a new Album is started. To change this, drag the row of set names that you wish to use to the top row. To apply set names from the Library to your current Album, select the row of names that you want, click the Load Arrow button (the top one), and click OK.
Deleting Set Names
To delete a group of set names from the Library, select the row and click the Trash button![]() . You cannot delete the last set.
. You cannot delete the last set.
Set Notes
You have the option of adding notes to each set. Click on the Notes tag ![]() to open the Set Notes dialog.
to open the Set Notes dialog.
You can select any set and import a folder of images directly into that set by using the Add Folder of Images to Album tool ![]() , selecting and dragging the folder into the Image List, or using the Menu option.
, selecting and dragging the folder into the Image List, or using the Menu option.
To quickly view all images from all sets or to perform an operation on images across multiple sets, go to the top menu, View > Show All Image Sets Together.
For example, you could select this and then click the "Maybe" tab to have all the "Maybe" tab images in all sets shown together. You can then select all images and move them to the "Yes" tab. When you uncheck Show All Image Sets Together, they will still be in their original sets except in the different tab.