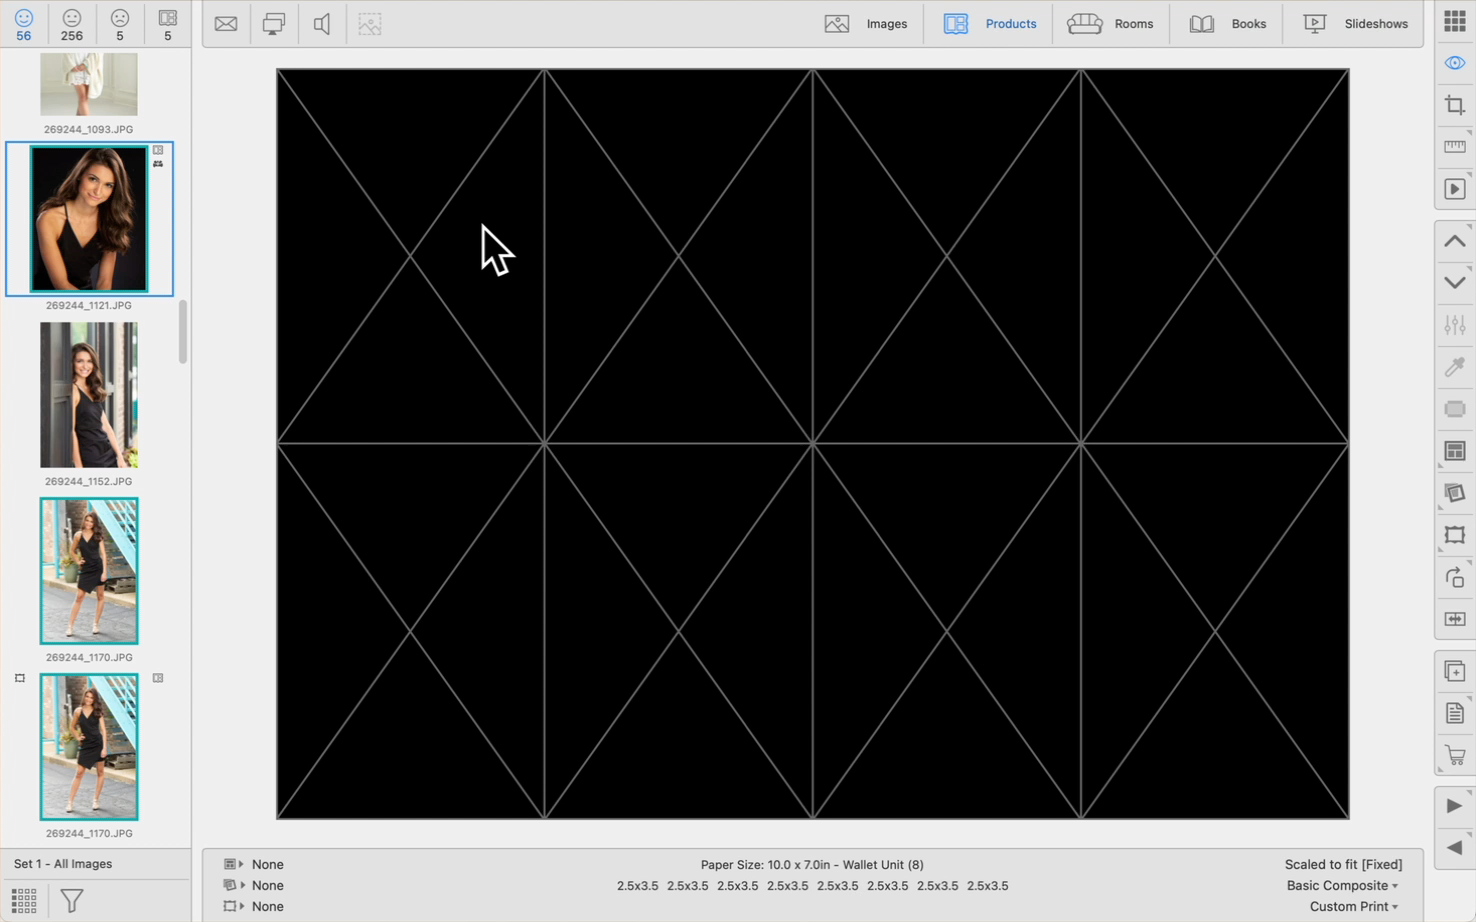
Unit Templates
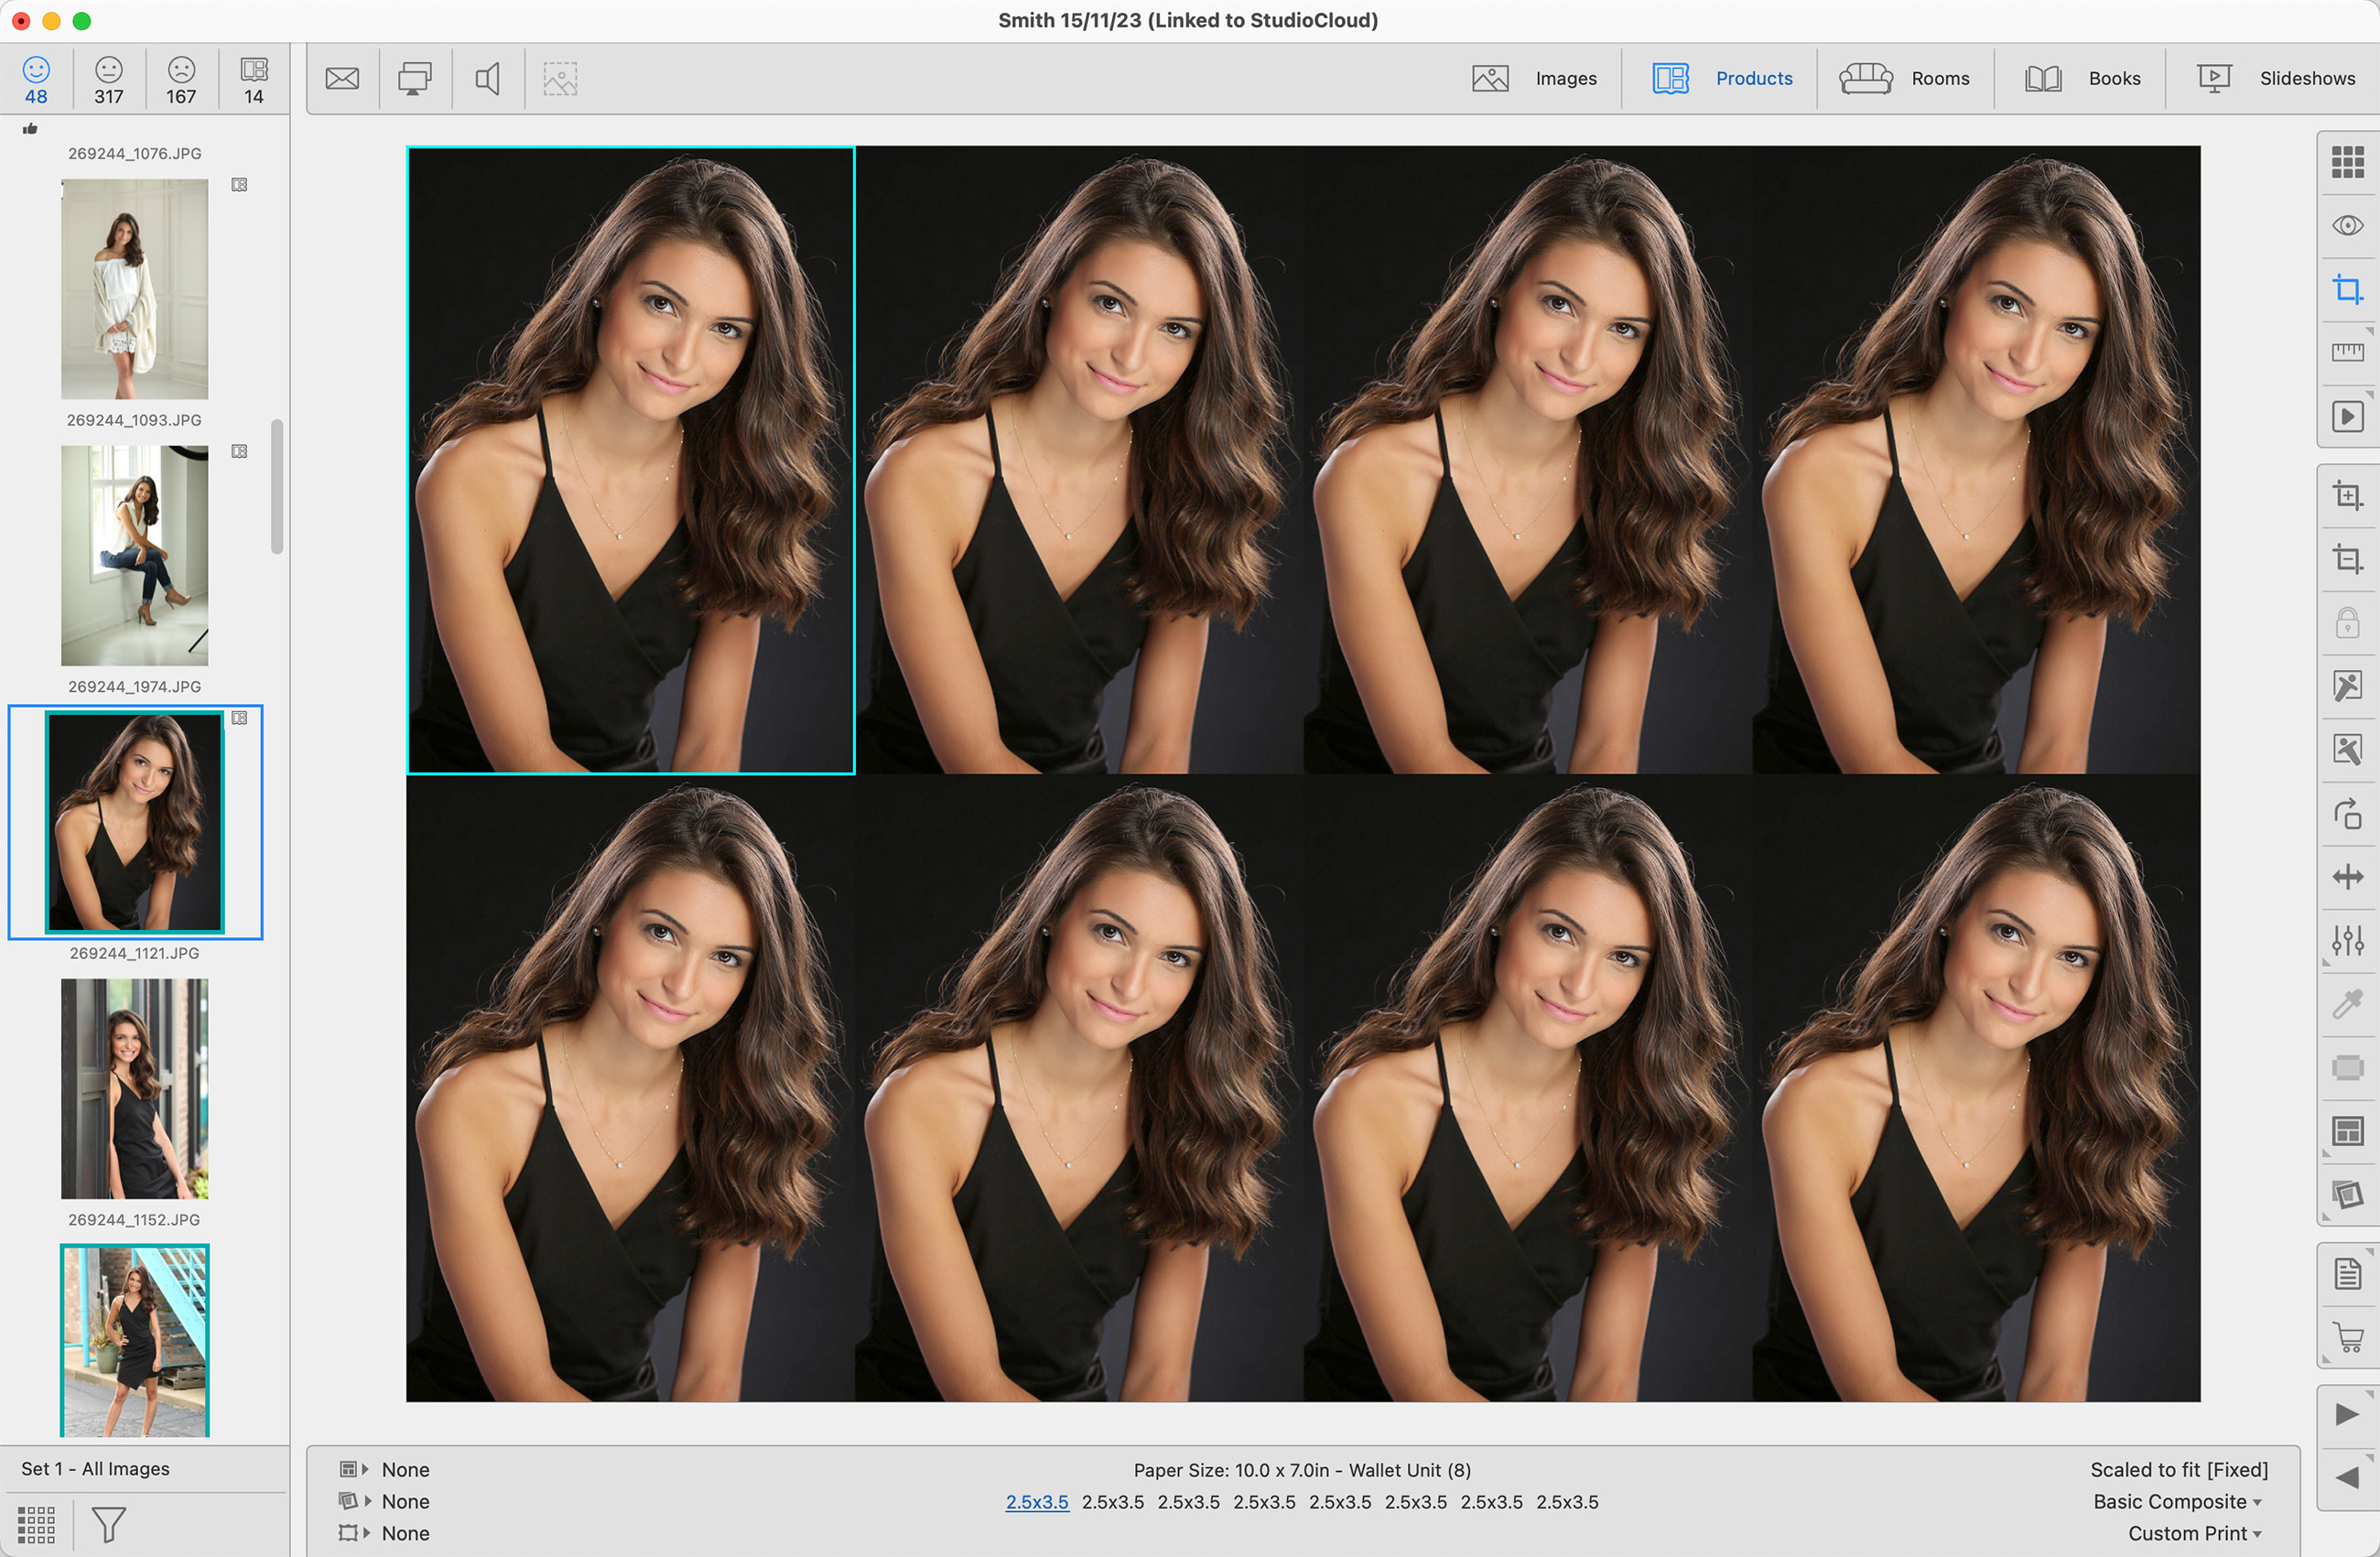
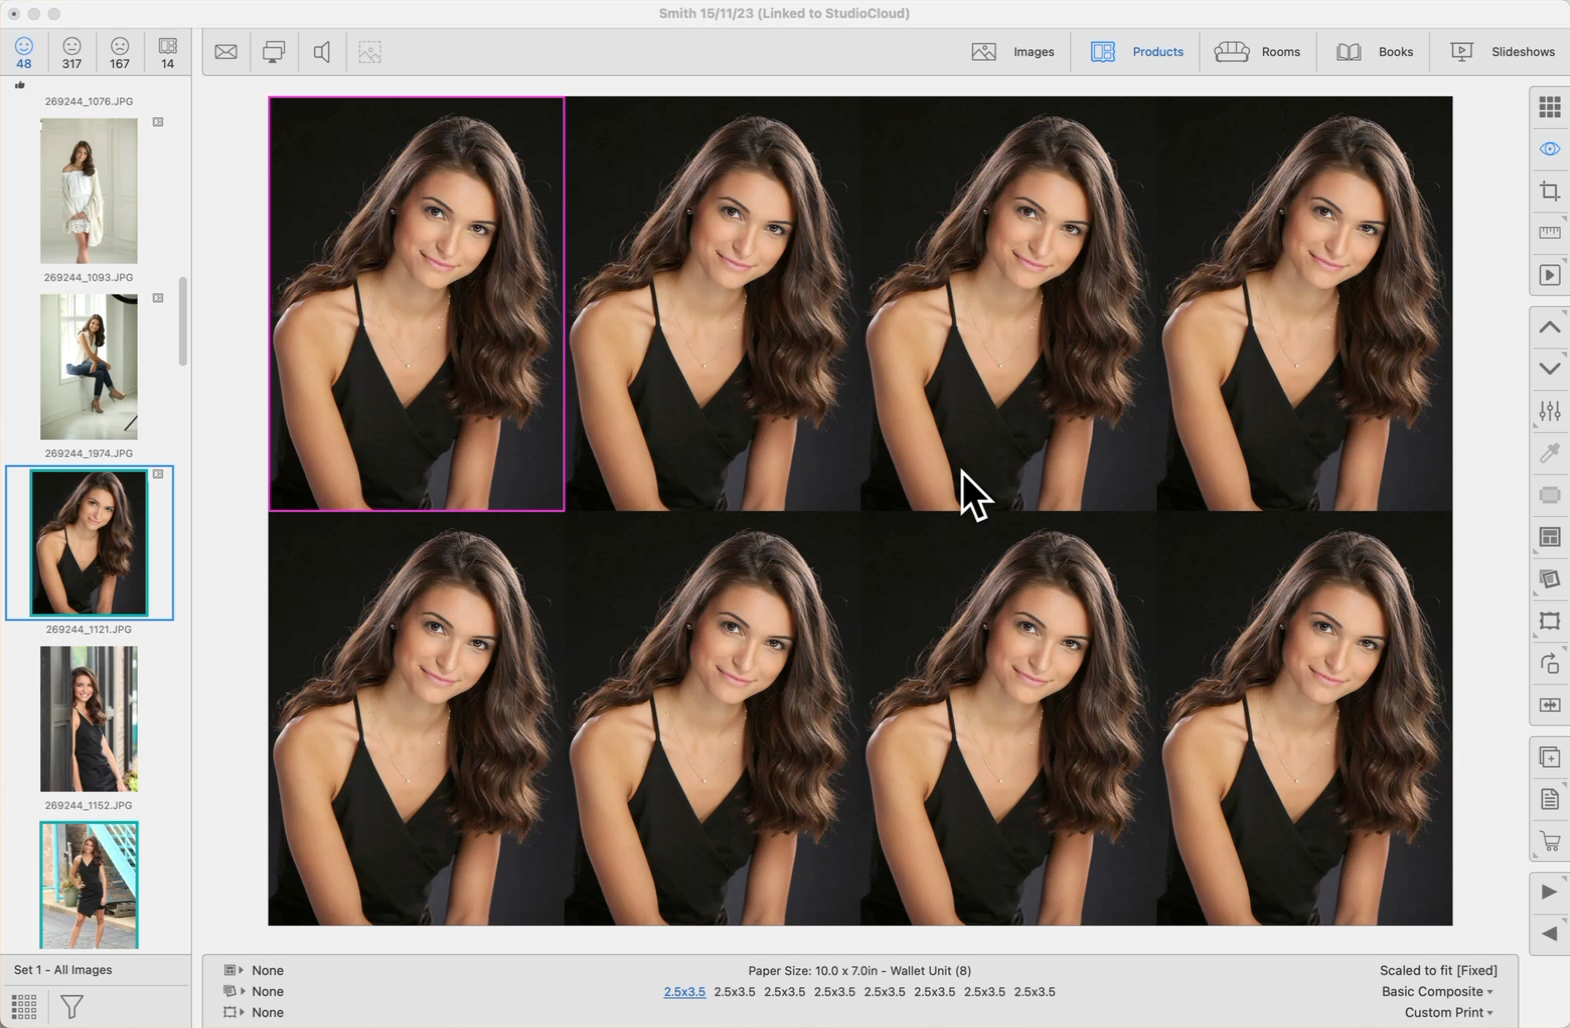
A Unit Template is a composite product template created with various sizes of the same image. These sizes are ordered together as a package but printed as a single print.
When designing a Unit Template, you may wish to change the orientation of some of the openings to reduce the paper size or to fit the template into a standard paper size offered by your lab.
To add the same image to all openings in the template, hold the Shift key down while dropping the image into an empty template. The image will be placed in all of the openings in the template. Images will be rotated to match the orientation of the openings.
When adding separate images to your Unit Template, you can hold the OptionAlt key down while dropping to have the image automatically rotated to match the opening’s orientation.
Provided your Unit Template has image openings all orientated the same way, you can manipulate all images together by holding the Shift key. In Cropping view, you can manipulate the cropping position, size, and flipping of all images together by holding down the Shift key while dragging the image or clicking the tool buttons respectively.
When using Pro Production to create your final composite image, you can set a stamp or watermark to apply to each image. In this case, the stamp will be oriented to match the image orientation. Go to the top menu, ProSelectEdit > Settings > Pro Production > Stamps & watermarks - Prints.