 Using Locked Crops
Locked Crops are used to apply a non-standard aspect ratio crops to override the automatic fitting of an image to a paper size.
Locked crops need to be applied in Working with Images. When an image with a locked crop is added to a room or Actual Size view, the long-side of the crop will become the longest paper size edge. The resulting short side will be reduced to fit the aspect ratio of the locked crop, often as a fractional size. The short-side size, can be adjusted once the final print size is determined.
Suggested Workflow:
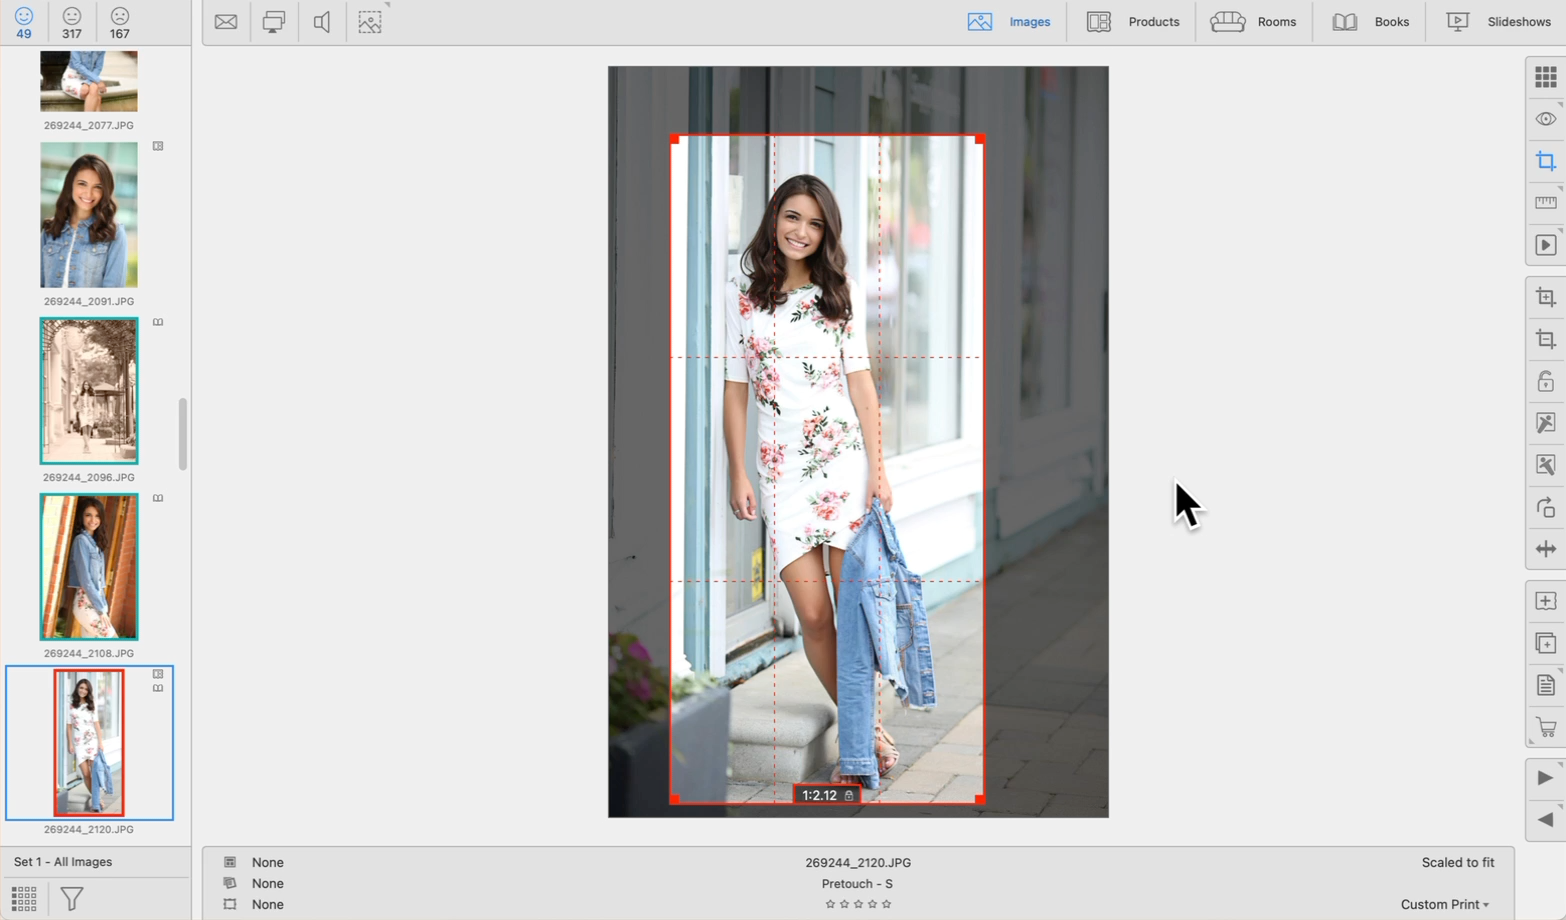
- Image Selection: In the "Working with Images" section, choose your desired image.
- Access Crop Tool: Tap the "C" key or select the Cropping view button
 .
. - Activate Freeform Crop Mode: While dragging the crop handles, hold the OptionAlt key to enter freeform crop mode.
- Lock the Crop: Once you achieve the desired crop, click the Lock Crop tool
 . A red border with the lock tool will appear around the image when it is locked.
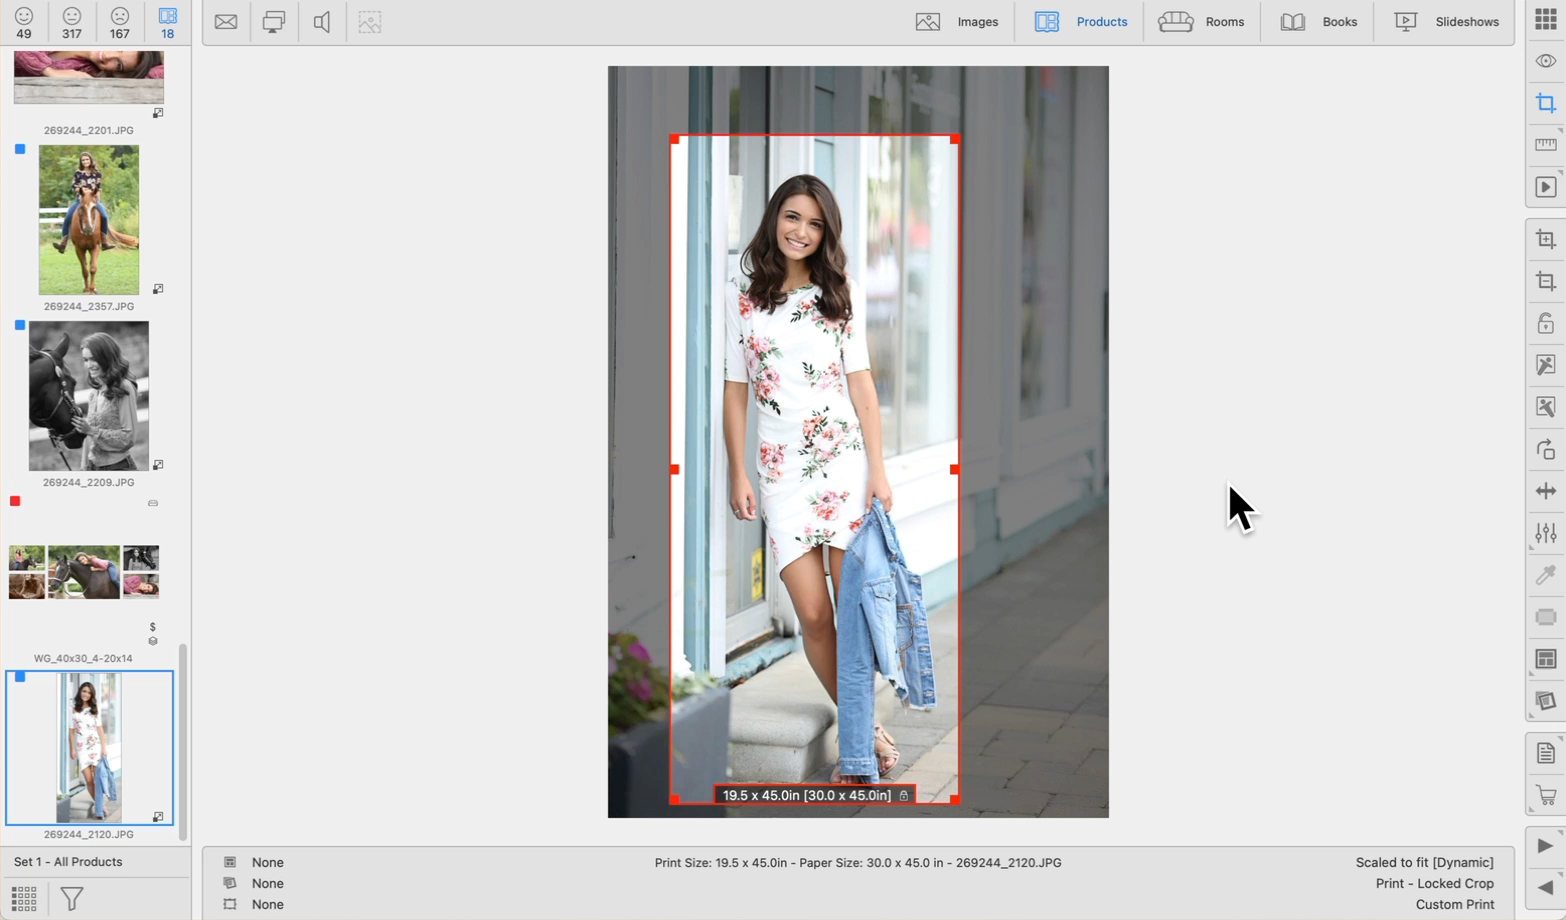
- Create a Product: Use the Create Print Product tool
 or drag the locked-crop image into Working with Products or Rooms.
 - Image Placement and Resulting Size: The long side of the crop aligns with the longest paper size edge, while the short side adapts to maintain the aspect ratio of the locked crop.
- Review Print Size: The resulting print size is displayed on the info bar. If the short dimension appears as a fractional value, consider refining the crop for easier printing and framing.
- Fine-Tune the Crop: To make precise adjustments, click the Cropping view button again or tap the "C" key. Refinement handles will appear on the long sides of the image. Snap these in or out in 0.5-inch (or 1-cm) increments. To override incremental snapping (for finer adjustments beyond the 0.5-inch increments) hold down the OptionAlt key while dragging the handles.
- Fine-Tune the paper size: Once the crop has been fine tuned, confirm the paper size. The print size as well as the paper size are displayed on the info bar. You will notice that regardless of the paper size selected, the crop ratio remains the same. ProSelect will automatically select the best fitting paper size to print the non-standard crop ratio.
- Order Your Image: Once satisfied, proceed to order your image. The resulting print size will be displayed in the Order Menu.
Digital Files (files for customer digital delivery) are generated based on the crop ratio set in "Working with Images," not the crop applied to specific products. Keep in mind that resulting digital files may slightly differ from the delivered physical product.