Handling Text in Composite Layouts
Many composite product designs include some customized text. While you cannot directly change the text on the product within ProSelect, you can use the following technique to automatically set the text on the images during Pro Production. ProSelect comes with a selection of default composite products with text. If you are choosing to use one of these, you can skip steps 1 and 2 and begin at step 3.

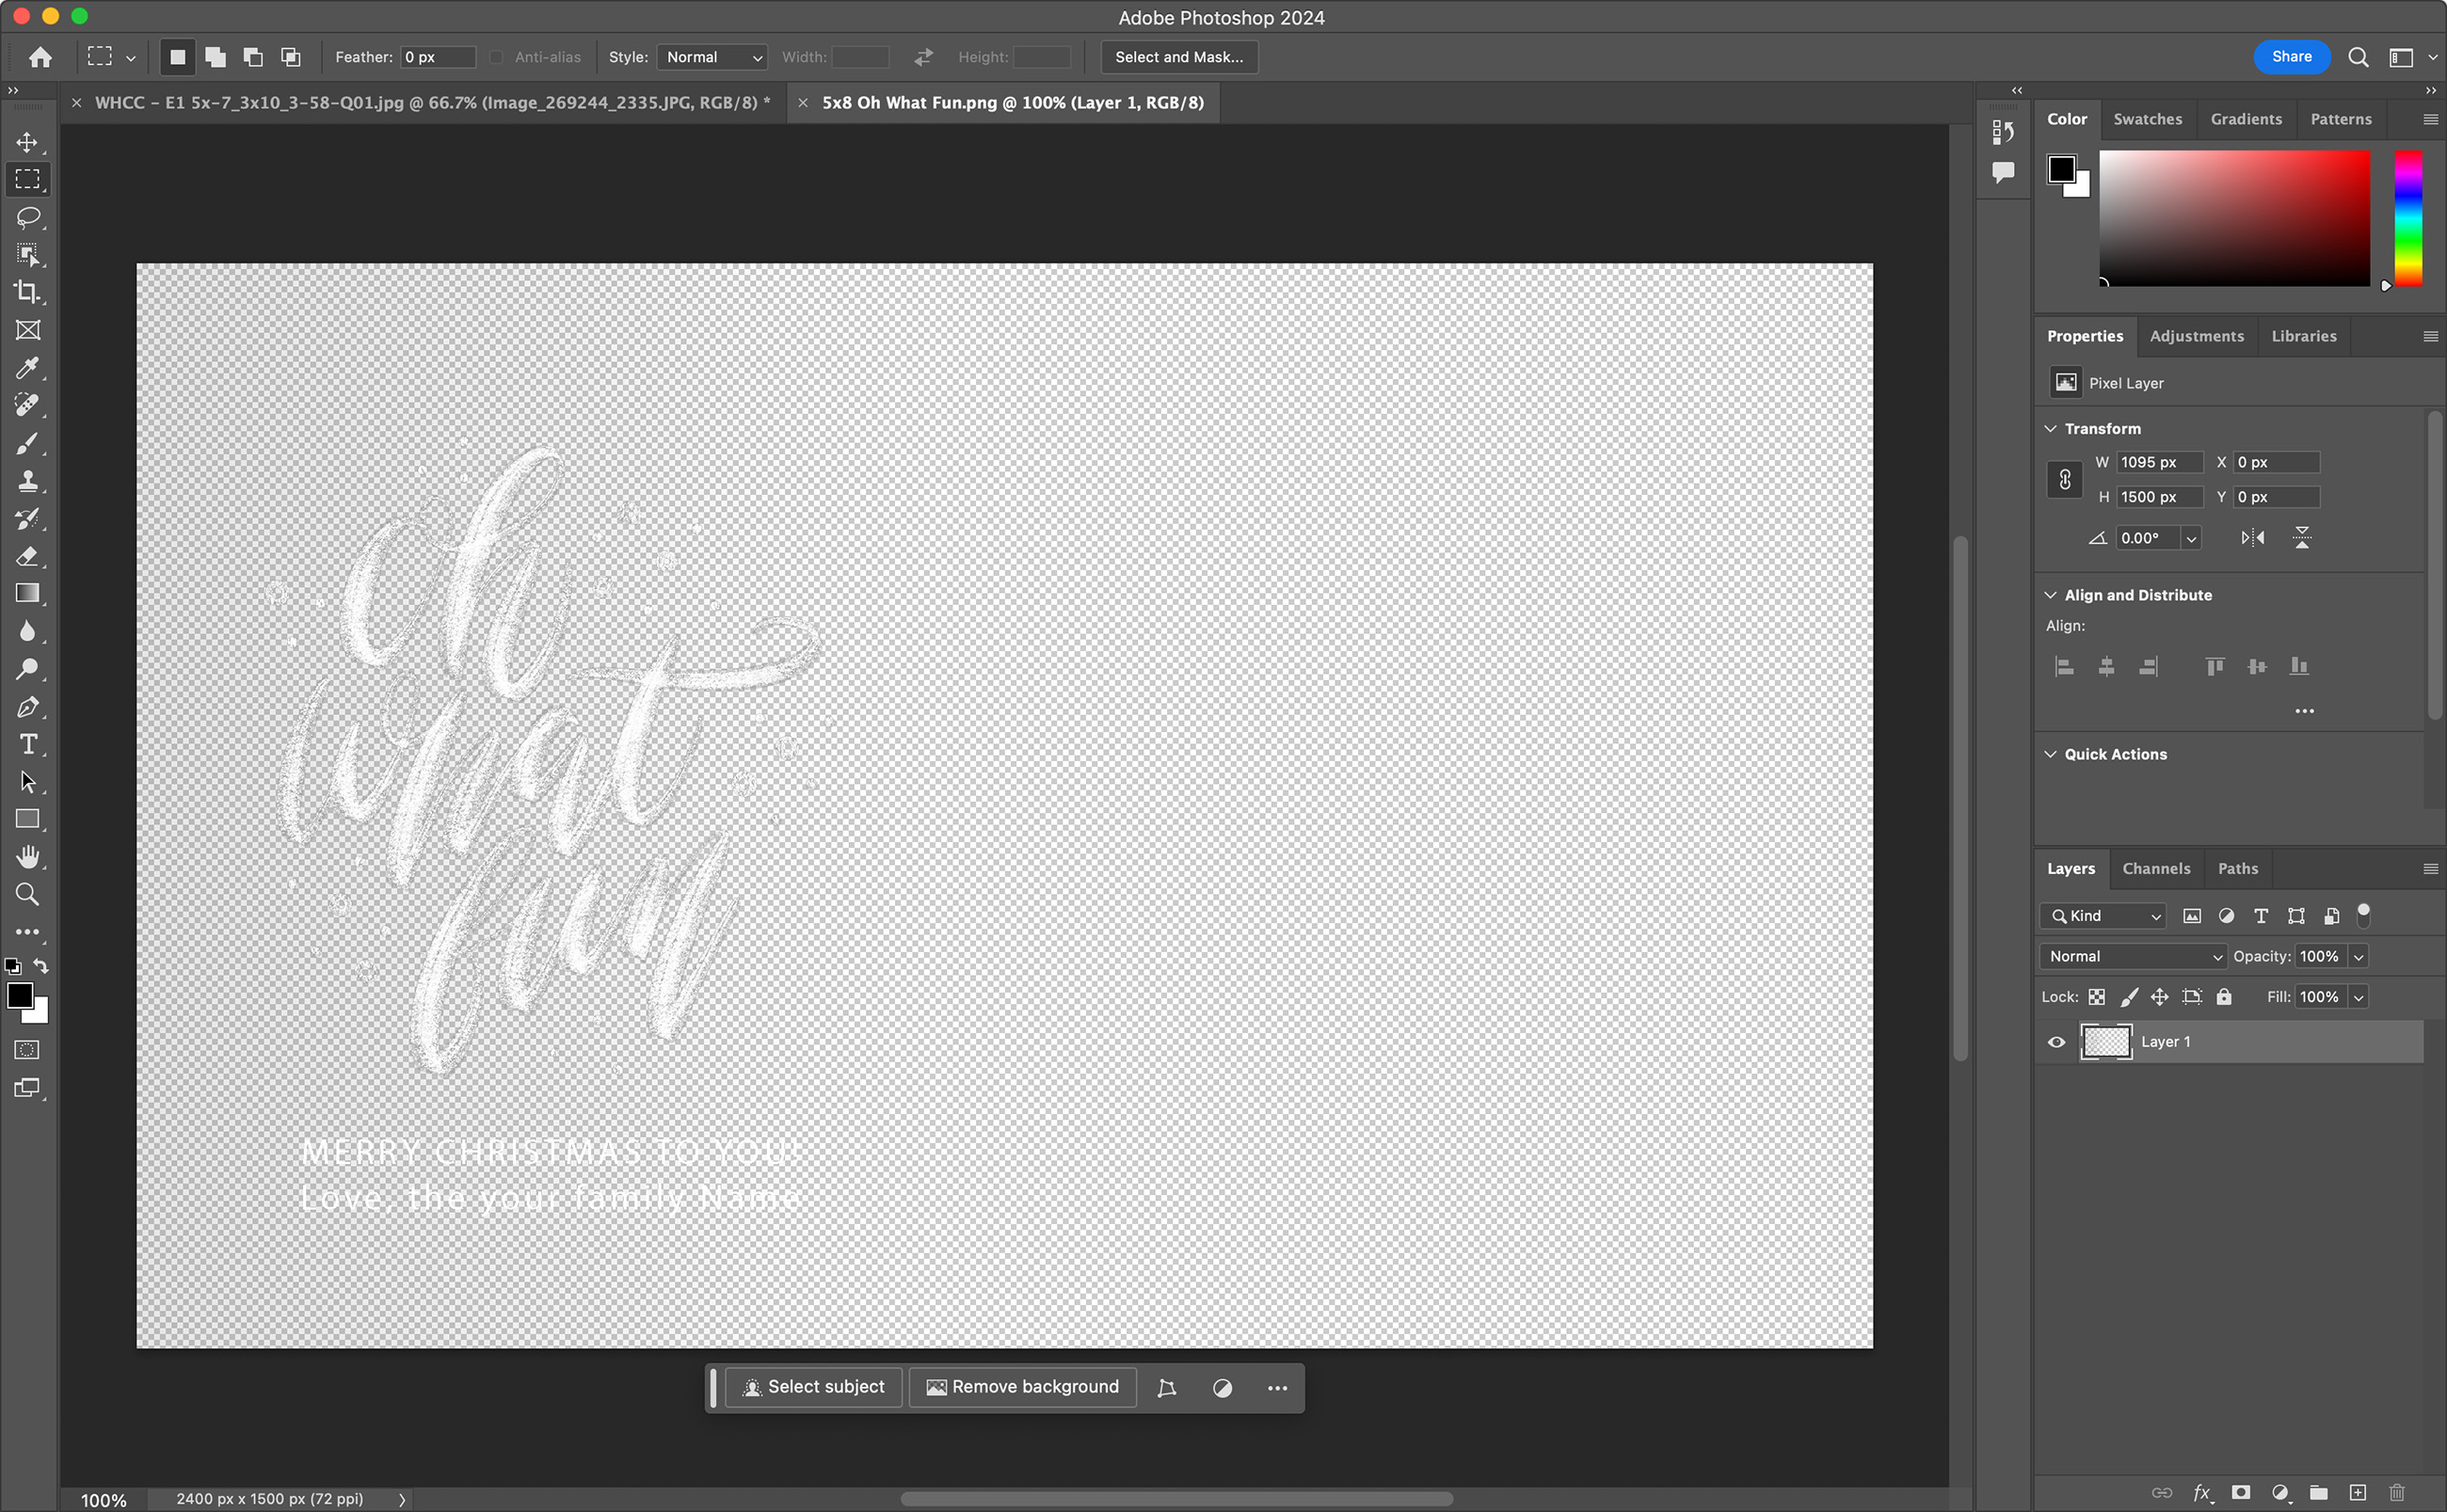
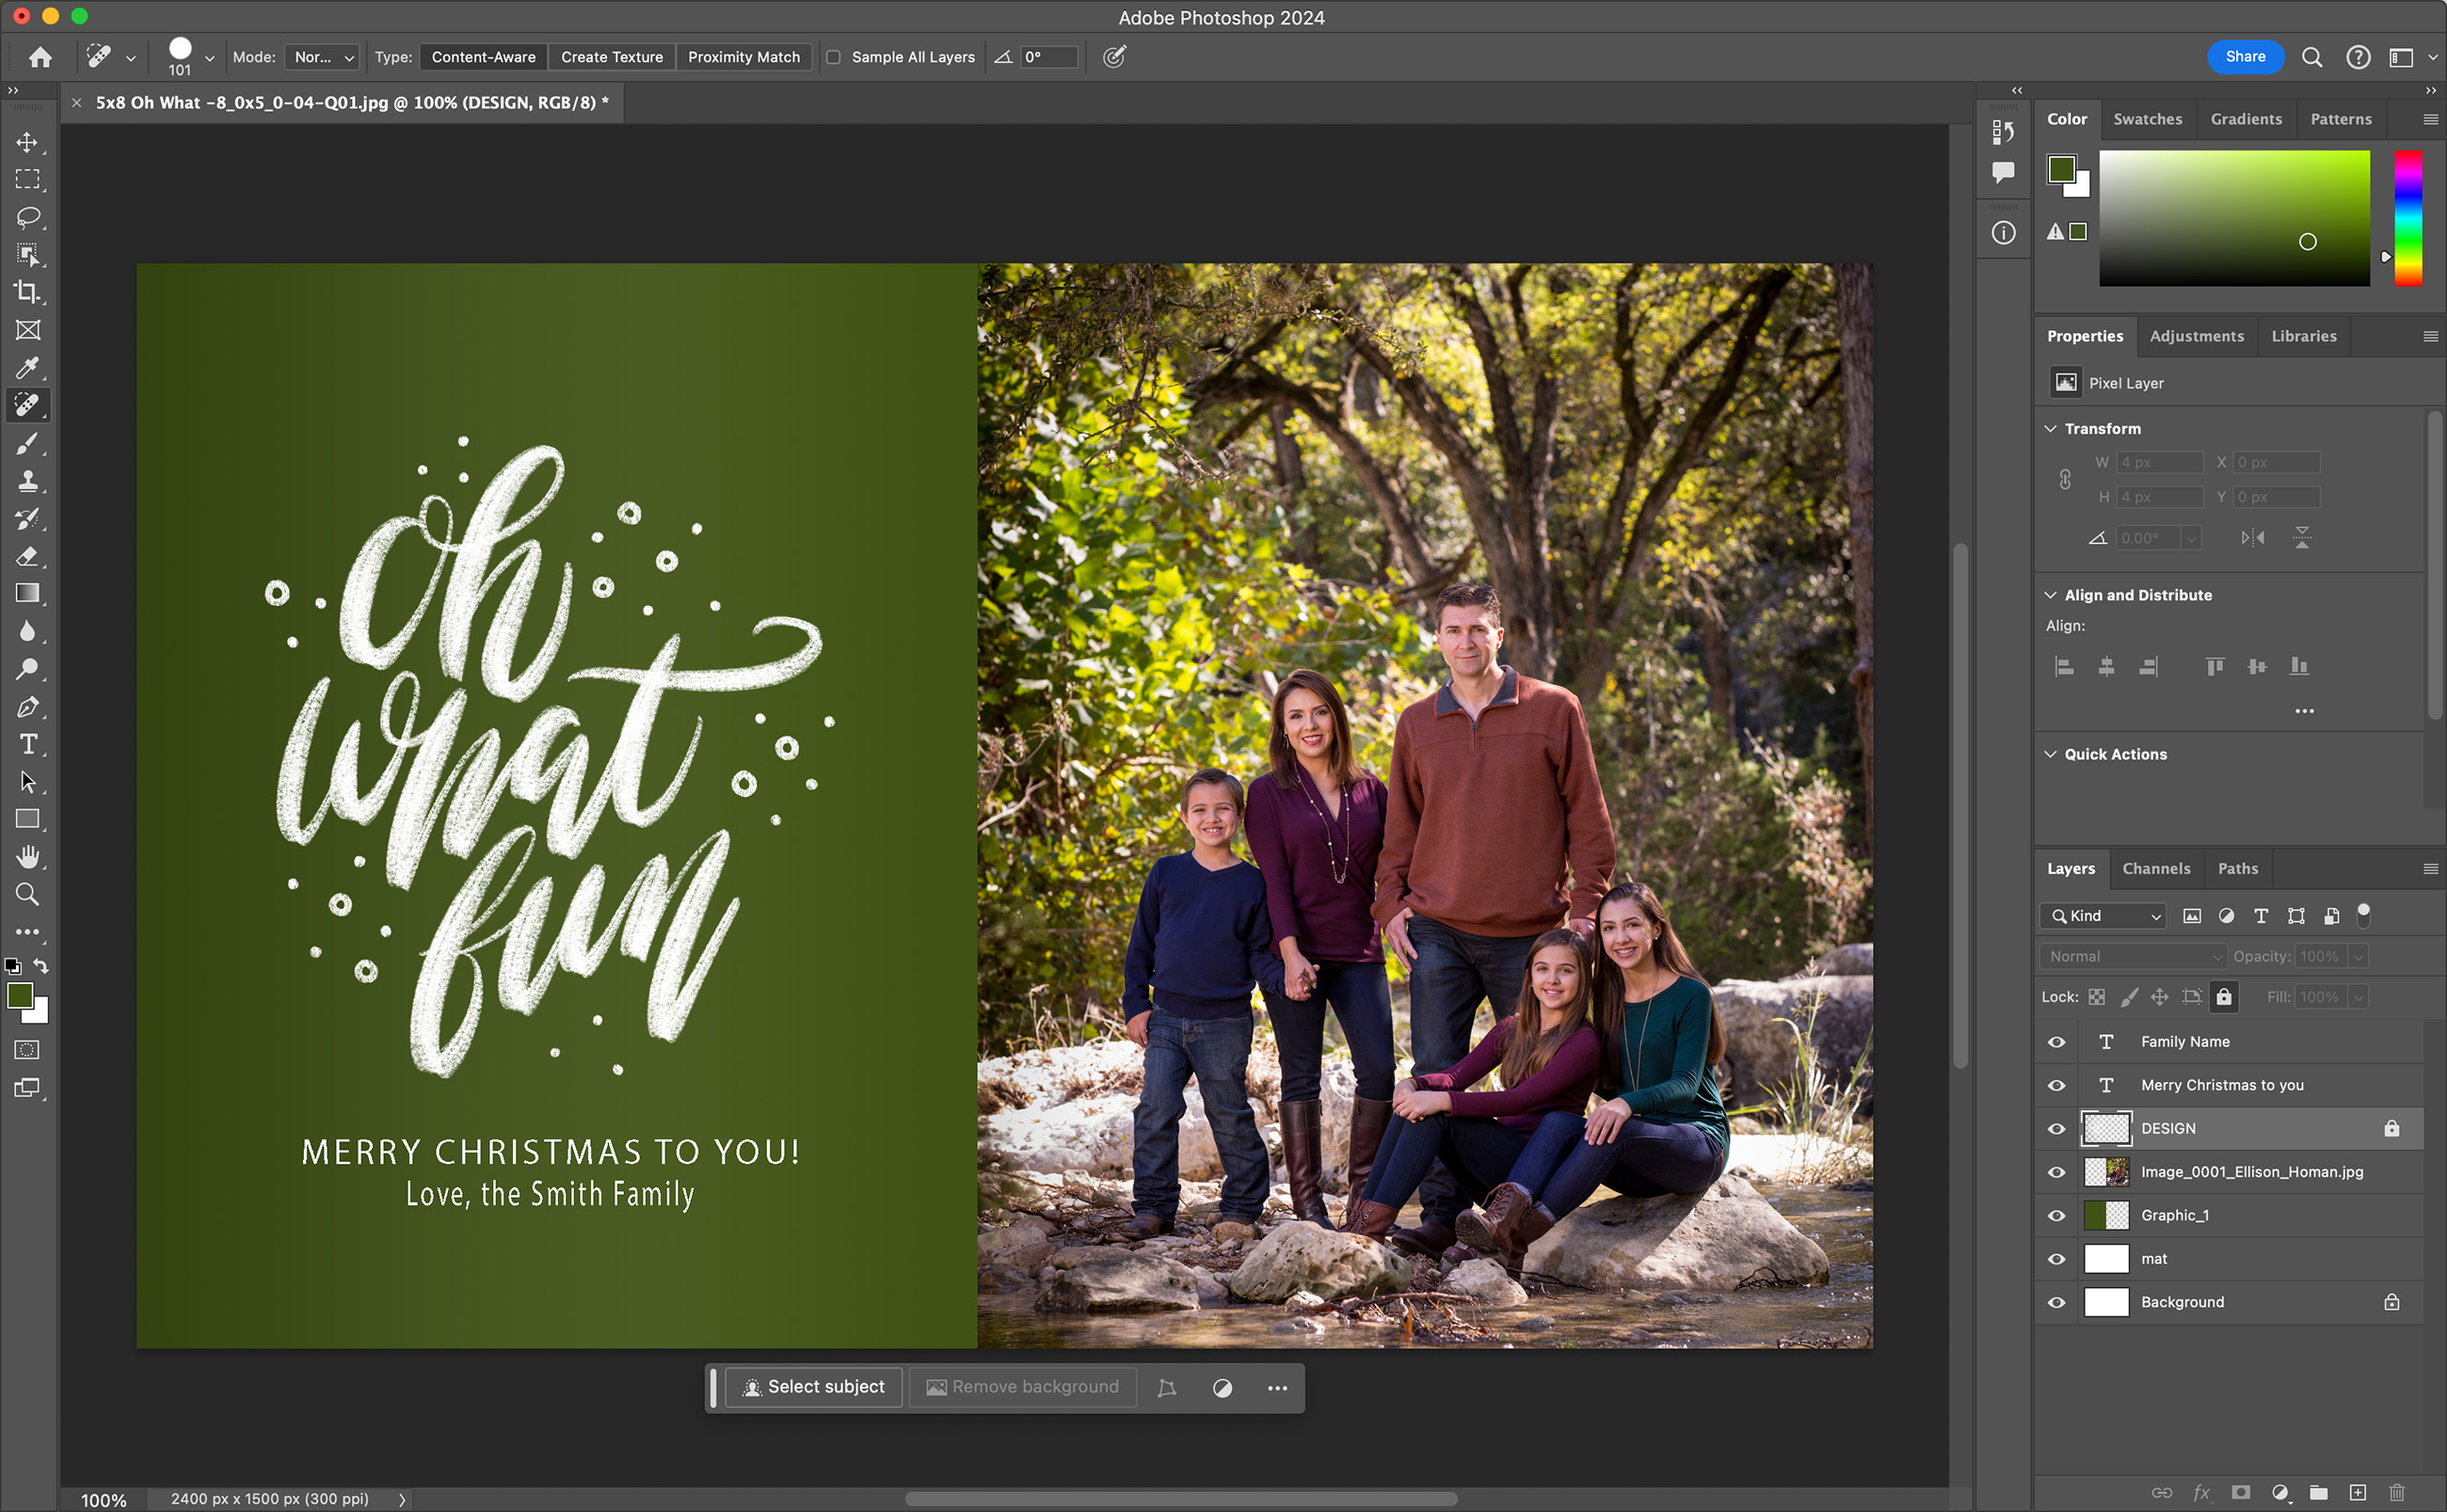
- Create your overlay image in Photoshop. Keep the text in separate layers, with the layers ordered (top to bottom) the same as shown in the image. Save it as a .psd file.
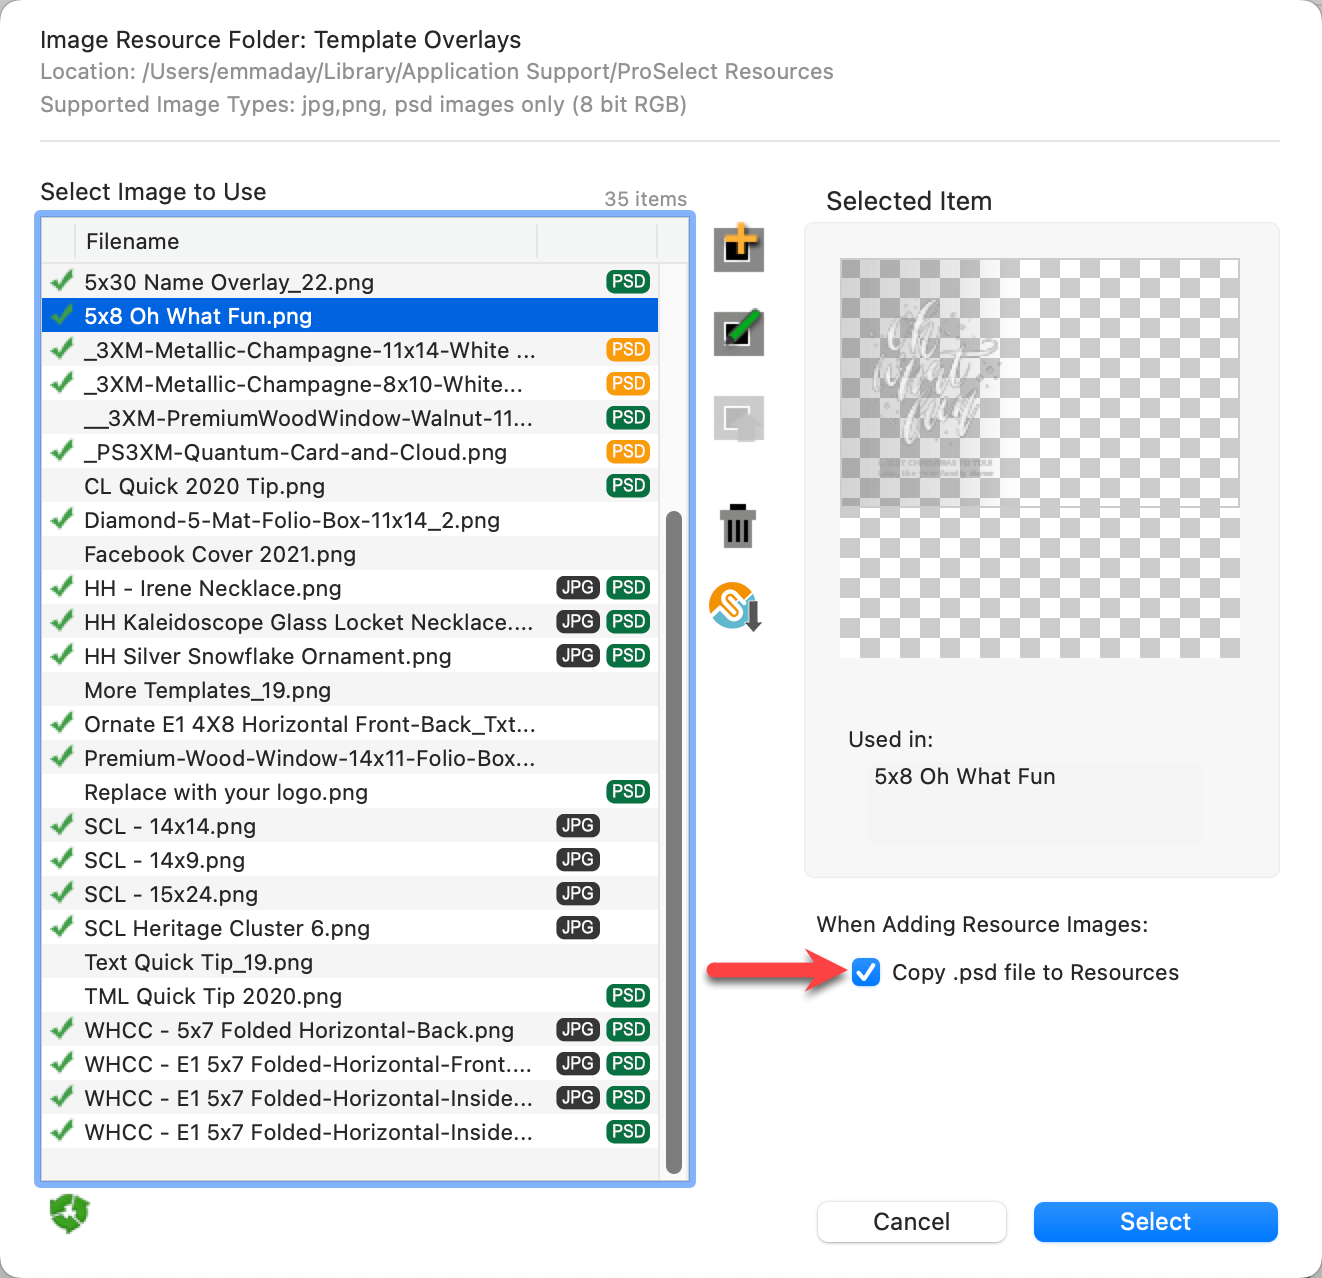
- In the Product Editor, create a new template and add the overlay to it by importing the .psd file. Use the Import using Photoshop option. Make sure that you have checked "Copy the .psd file to Resources." The file will also be added to your Resources folder.
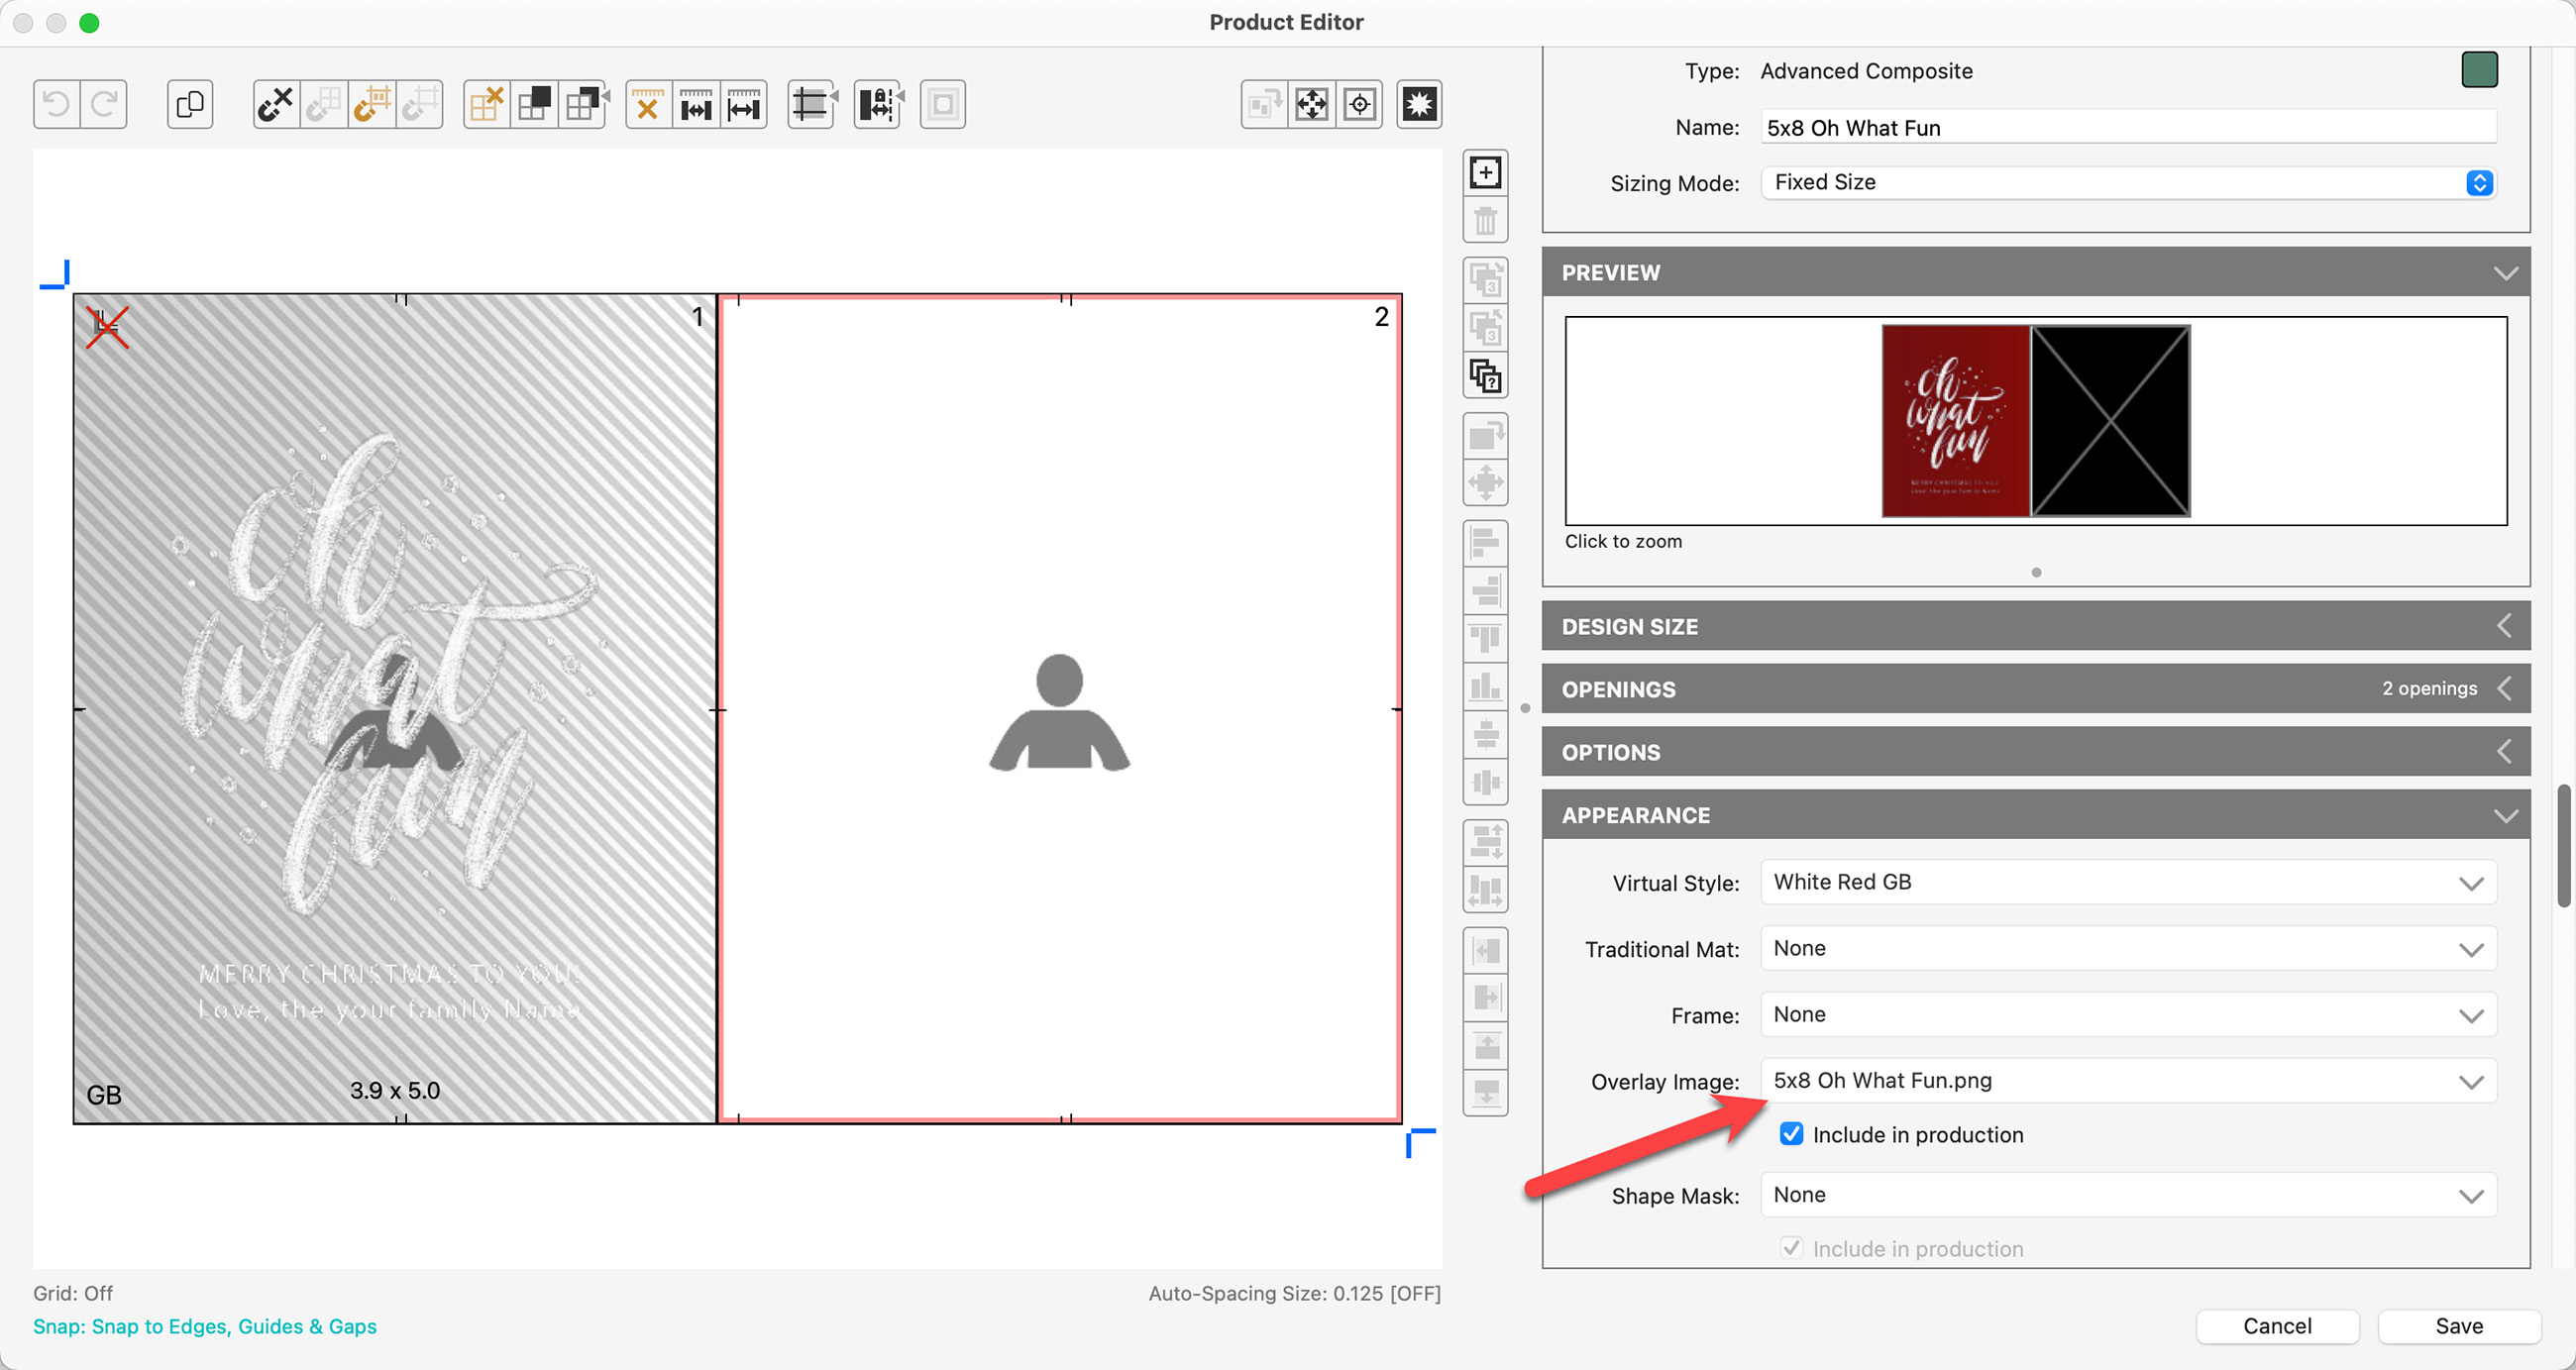
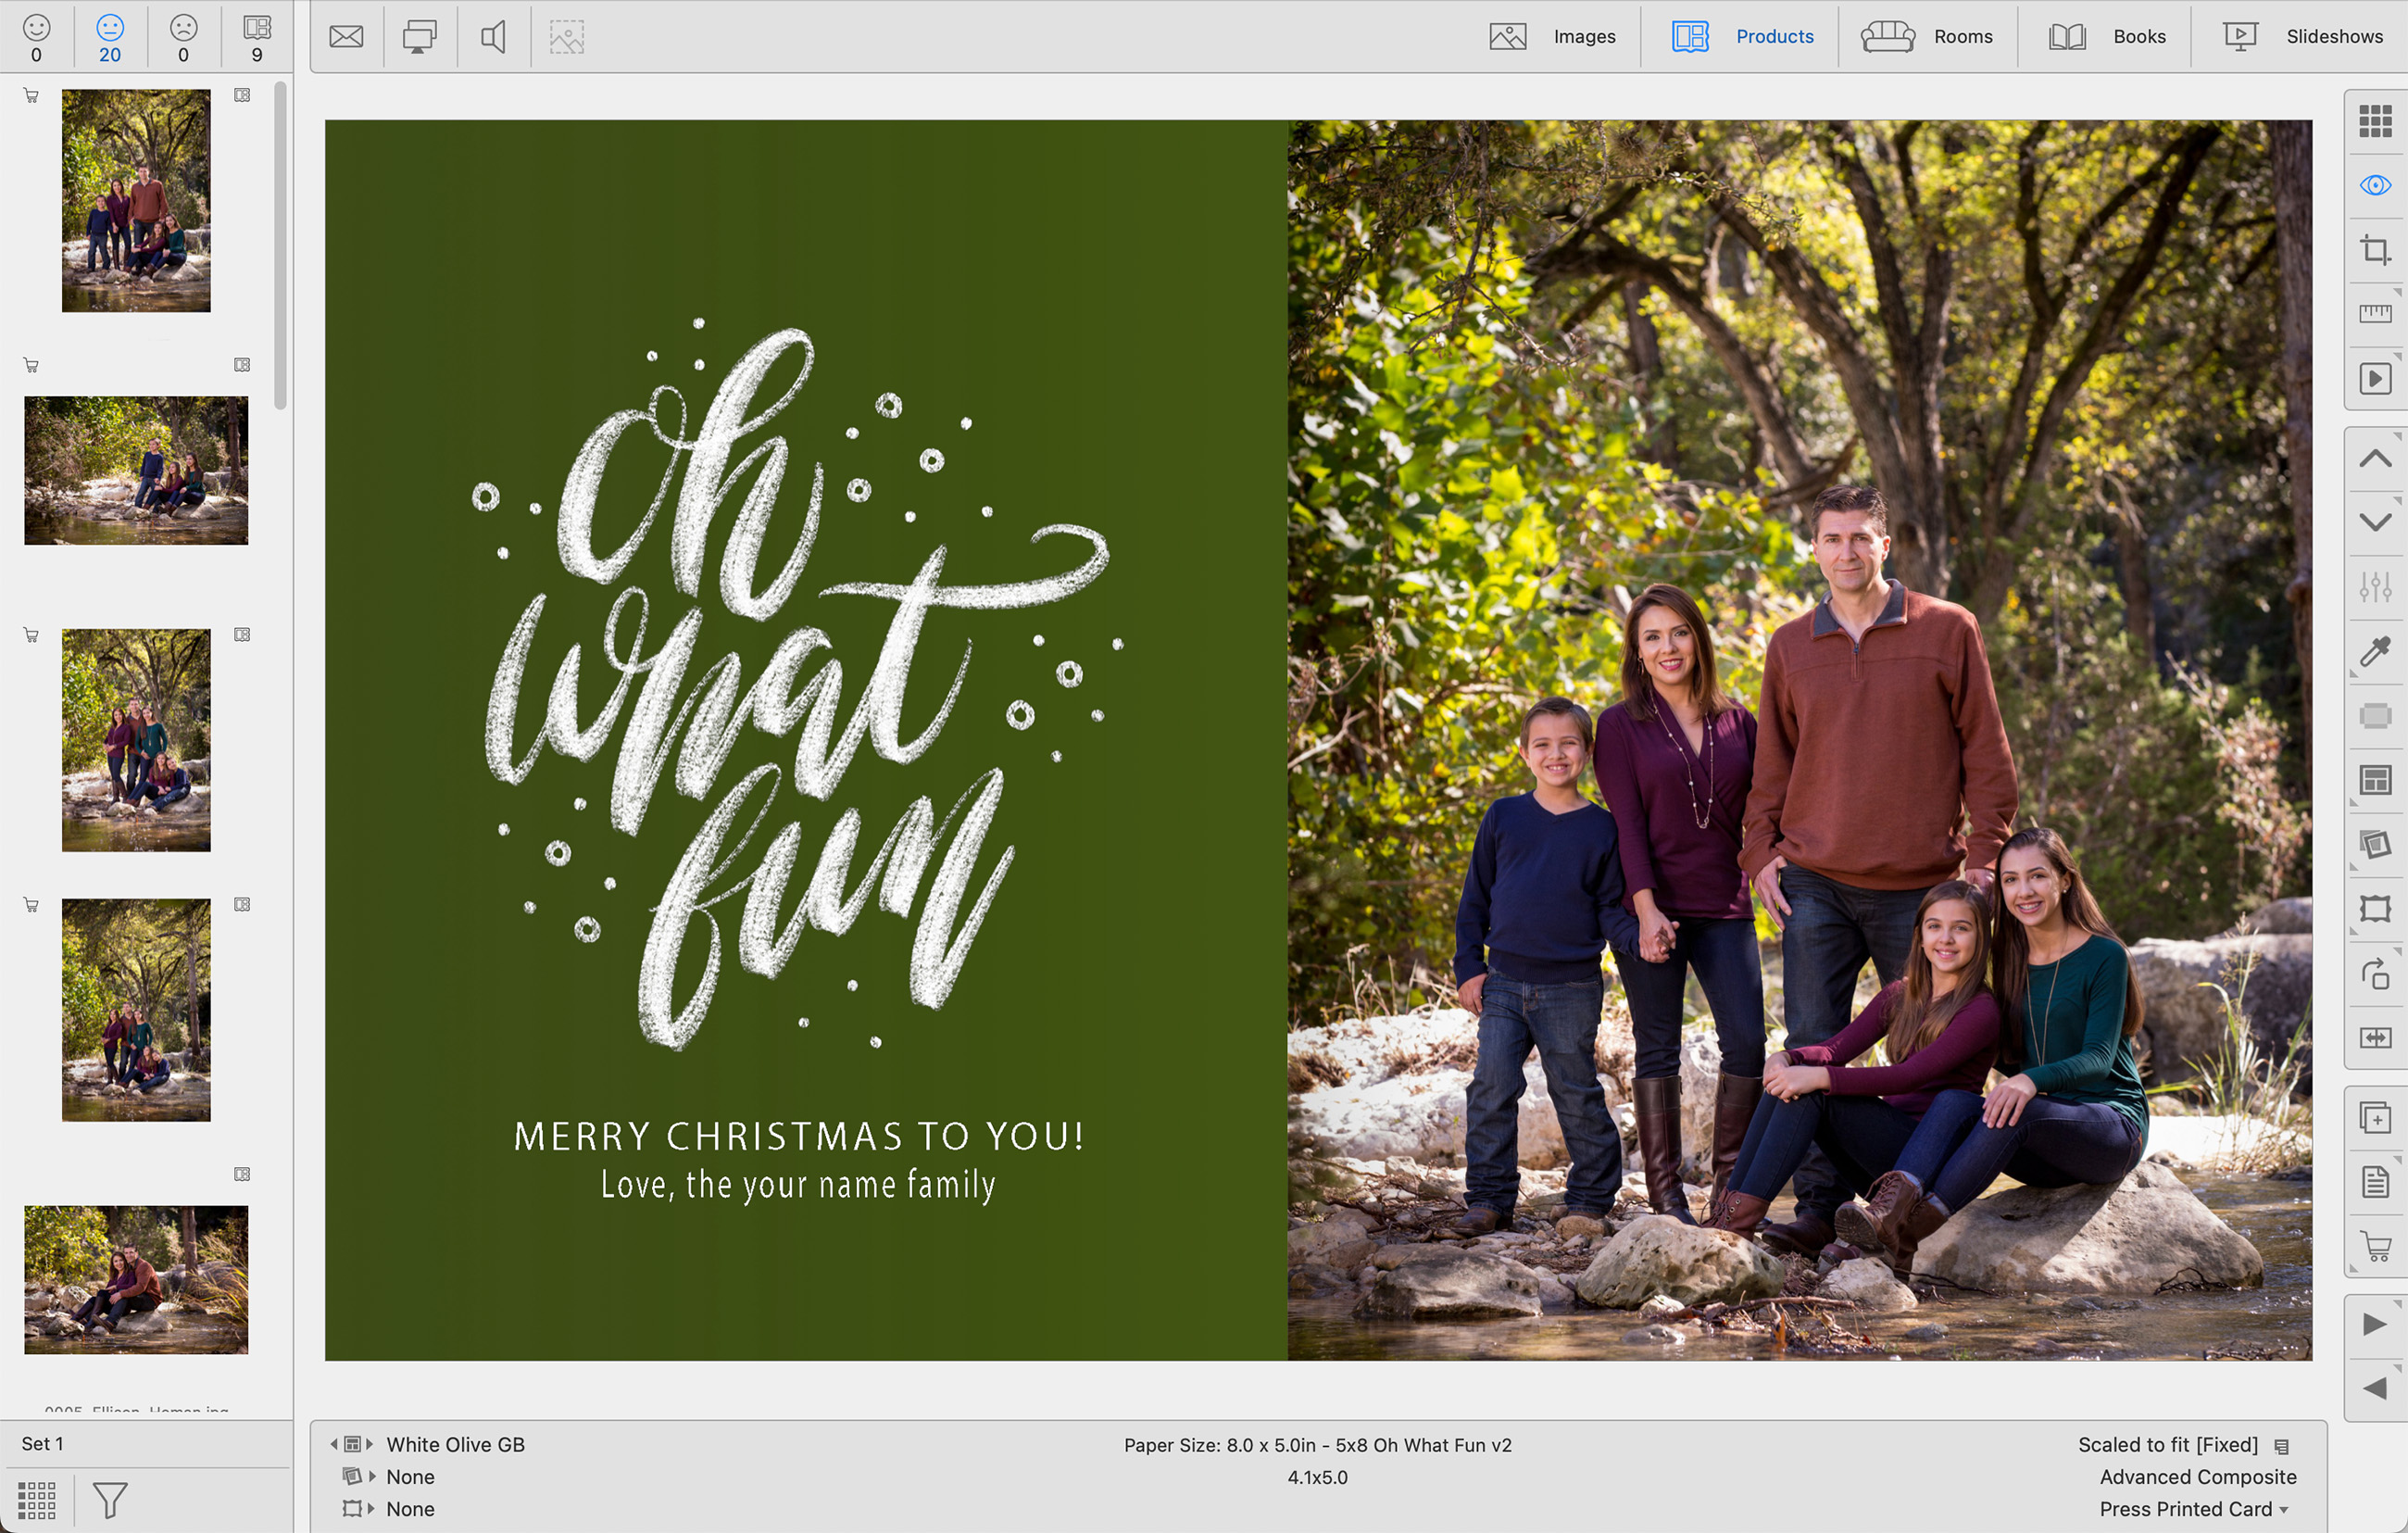
- Create a new product from the template and add your images.
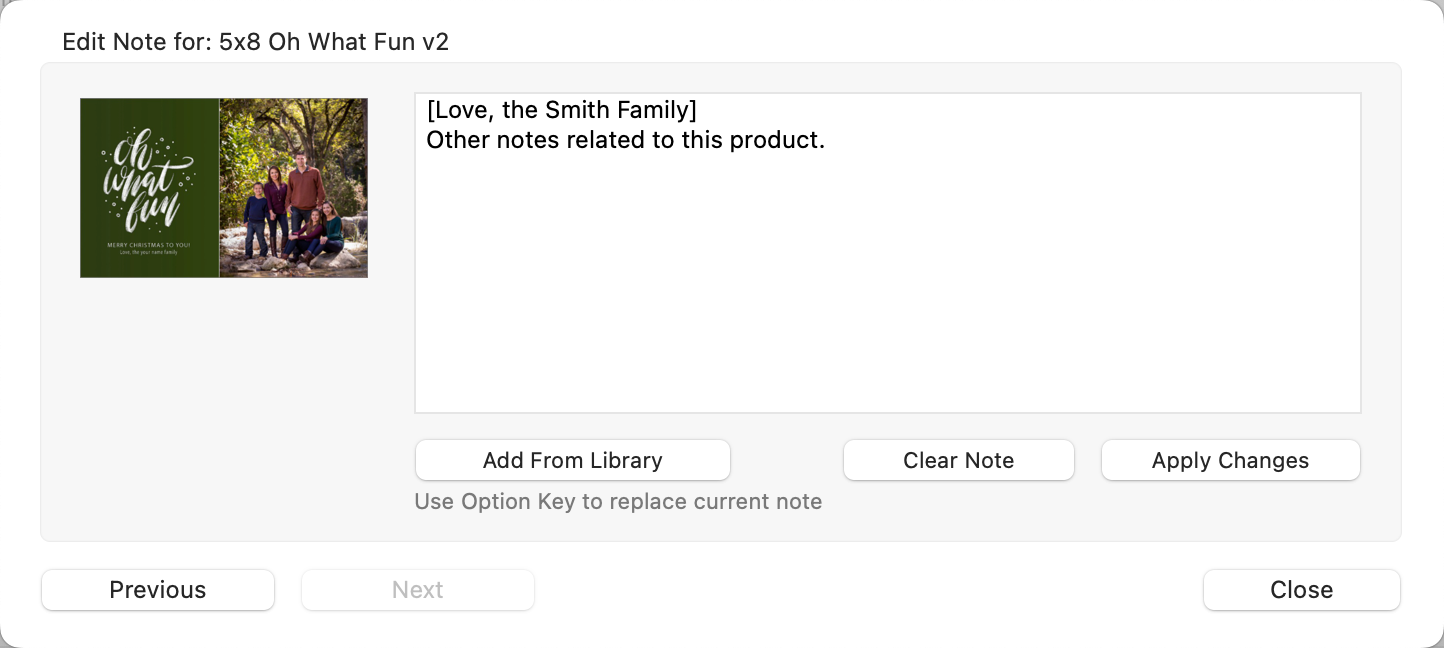
- Add a note to the layout: enter the text to be used in between [square brackets] at the start of the note. During Production, each bracketed text will be placed in the text layers, in order from the topmost layer down. Notes without square brackets will not be added to the final image.
- Order the product.
- Run Pro Production. The final image with the customized text will be produced.
Important Info - Use PSD Files for Overlay Images
It is important to note that for this to work, you must have "Use PSD Files for Overlay Images" checked in your Production Profile Settings. This is the default setting.