Clients
Before creating any orders within an album, it is recommended that you set up your client details. Any items you add to an order will need to have a client attached.
- By default, each new album in ProSelect will include "Client 1". However, you can add as many additional clients as you like. This could occur if you are selling the same images to an extended family for example.
- Details about each client will be stored in the album file and can be included in the Order Report.
- To manage Clients, navigate to the top menu, Orders > Client Setup.
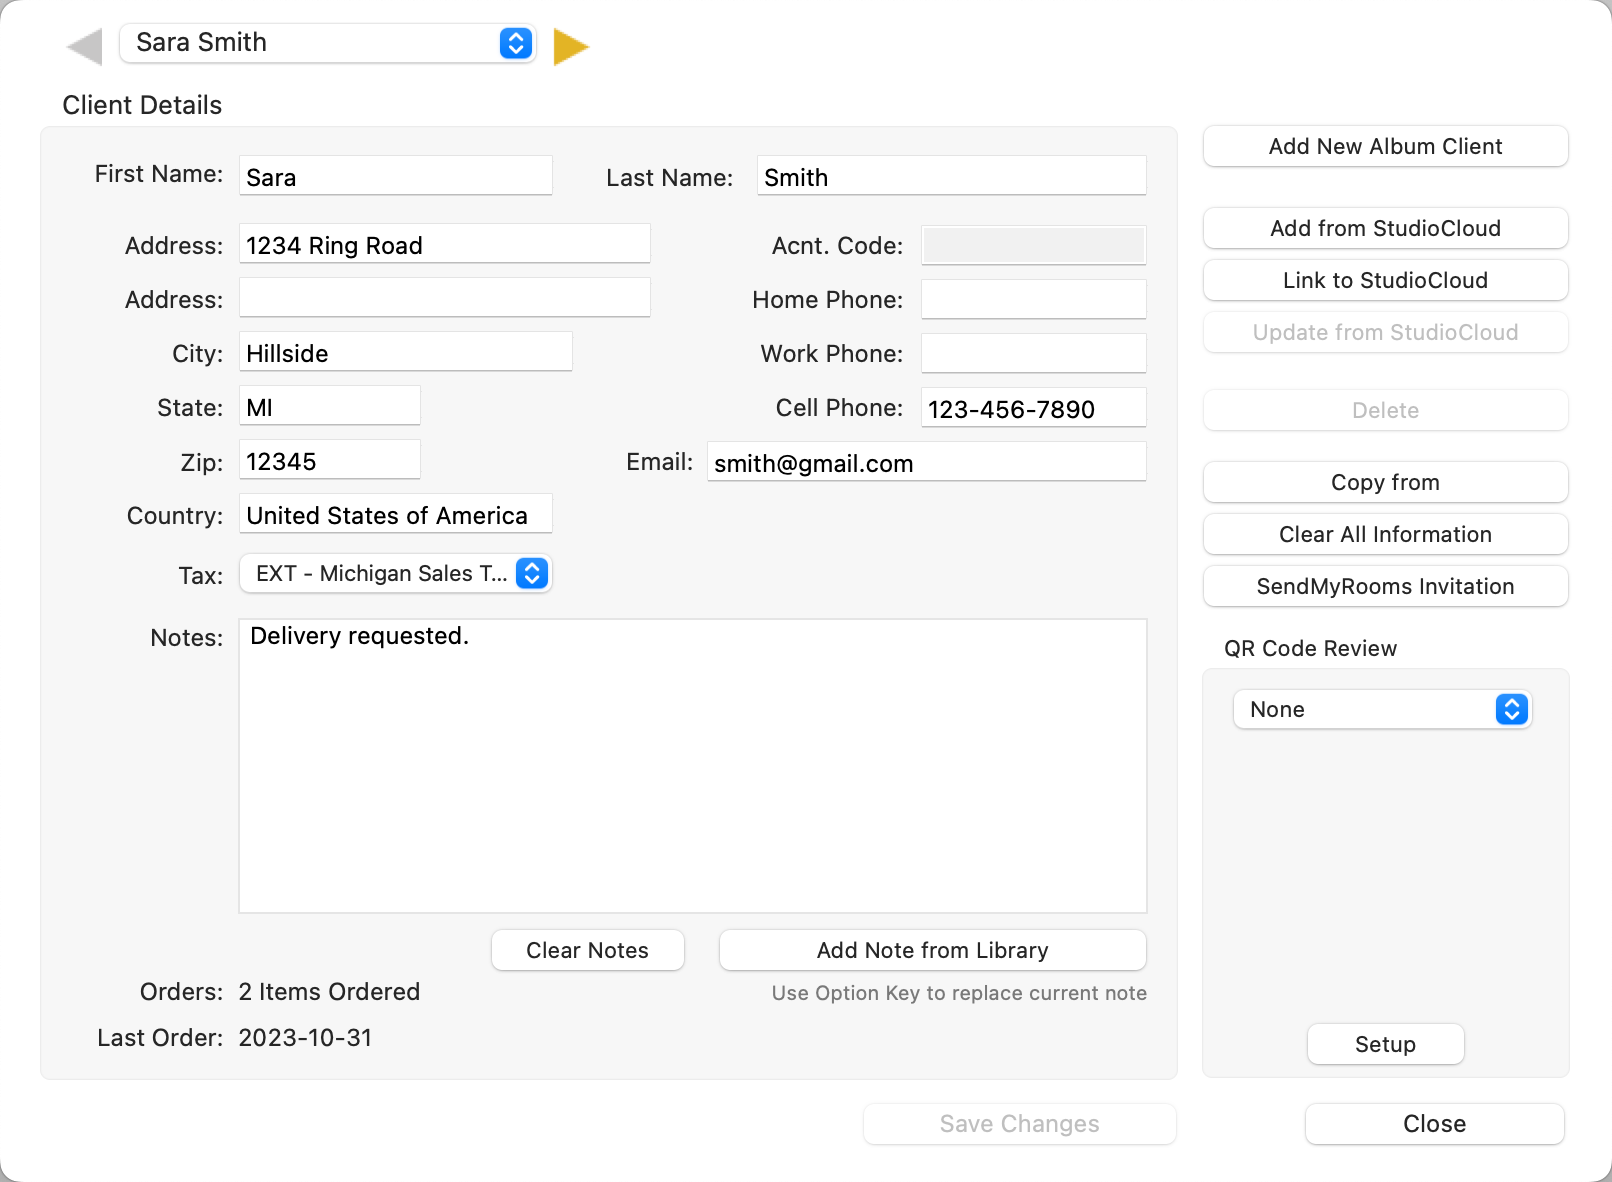
- You can also access the Client Management dialog when reviewing an order.

- Use the Left and Right arrows

 to navigate between clients. You can also use the drop-down arrows to select a client from the list.
 - Manually enter details for the client, or you can link to StudioCloud if you are using StudioCloud Integration.
- The "Acnt. Code" box is used to integrate with the same customer in a studio management system or accounting software. If you are linking to StudioClound, this is where the ClientID appears. Otherwise, leave this box blank.
- Click on the Add New Album Client button.
- Manually enter the details for the new client, or link to your Studio Management System.
- Click on the Save Changes button.
By default, albums have one client set up. All orders will then be assigned to that client. If you have more than one client, select the client first before adding any items to the order.
- Go to the top menu, Orders > Select Client.
- Choose a client from the list.
- Once selected, all items ordered will be attached to the selected client.
You can delete a client by first selecting the client and then clicking on the Delete button on the right-hand side of the Client Management dialog.
Important Info
You cannot delete a client that has any ordered items assigned to them. You must first remove all ordered items assigned to that client from the Review Order window.