 Pre-Framed Prints
Pre-Framed Prints are print products that come preconfigured with specific frames and/or mats as part of the final product, simplifying the creation process for client presentations.
Pre-Framed Prints are always Dynamically Sized. They are based on your Paper Sizes. Once you have created the Pre-Framed Print Template, go to the Product & Pricing Manager to price them. Click on Creating & Pricing Pre-Framed Prints to learn more about how Pre-Framed Prints work.
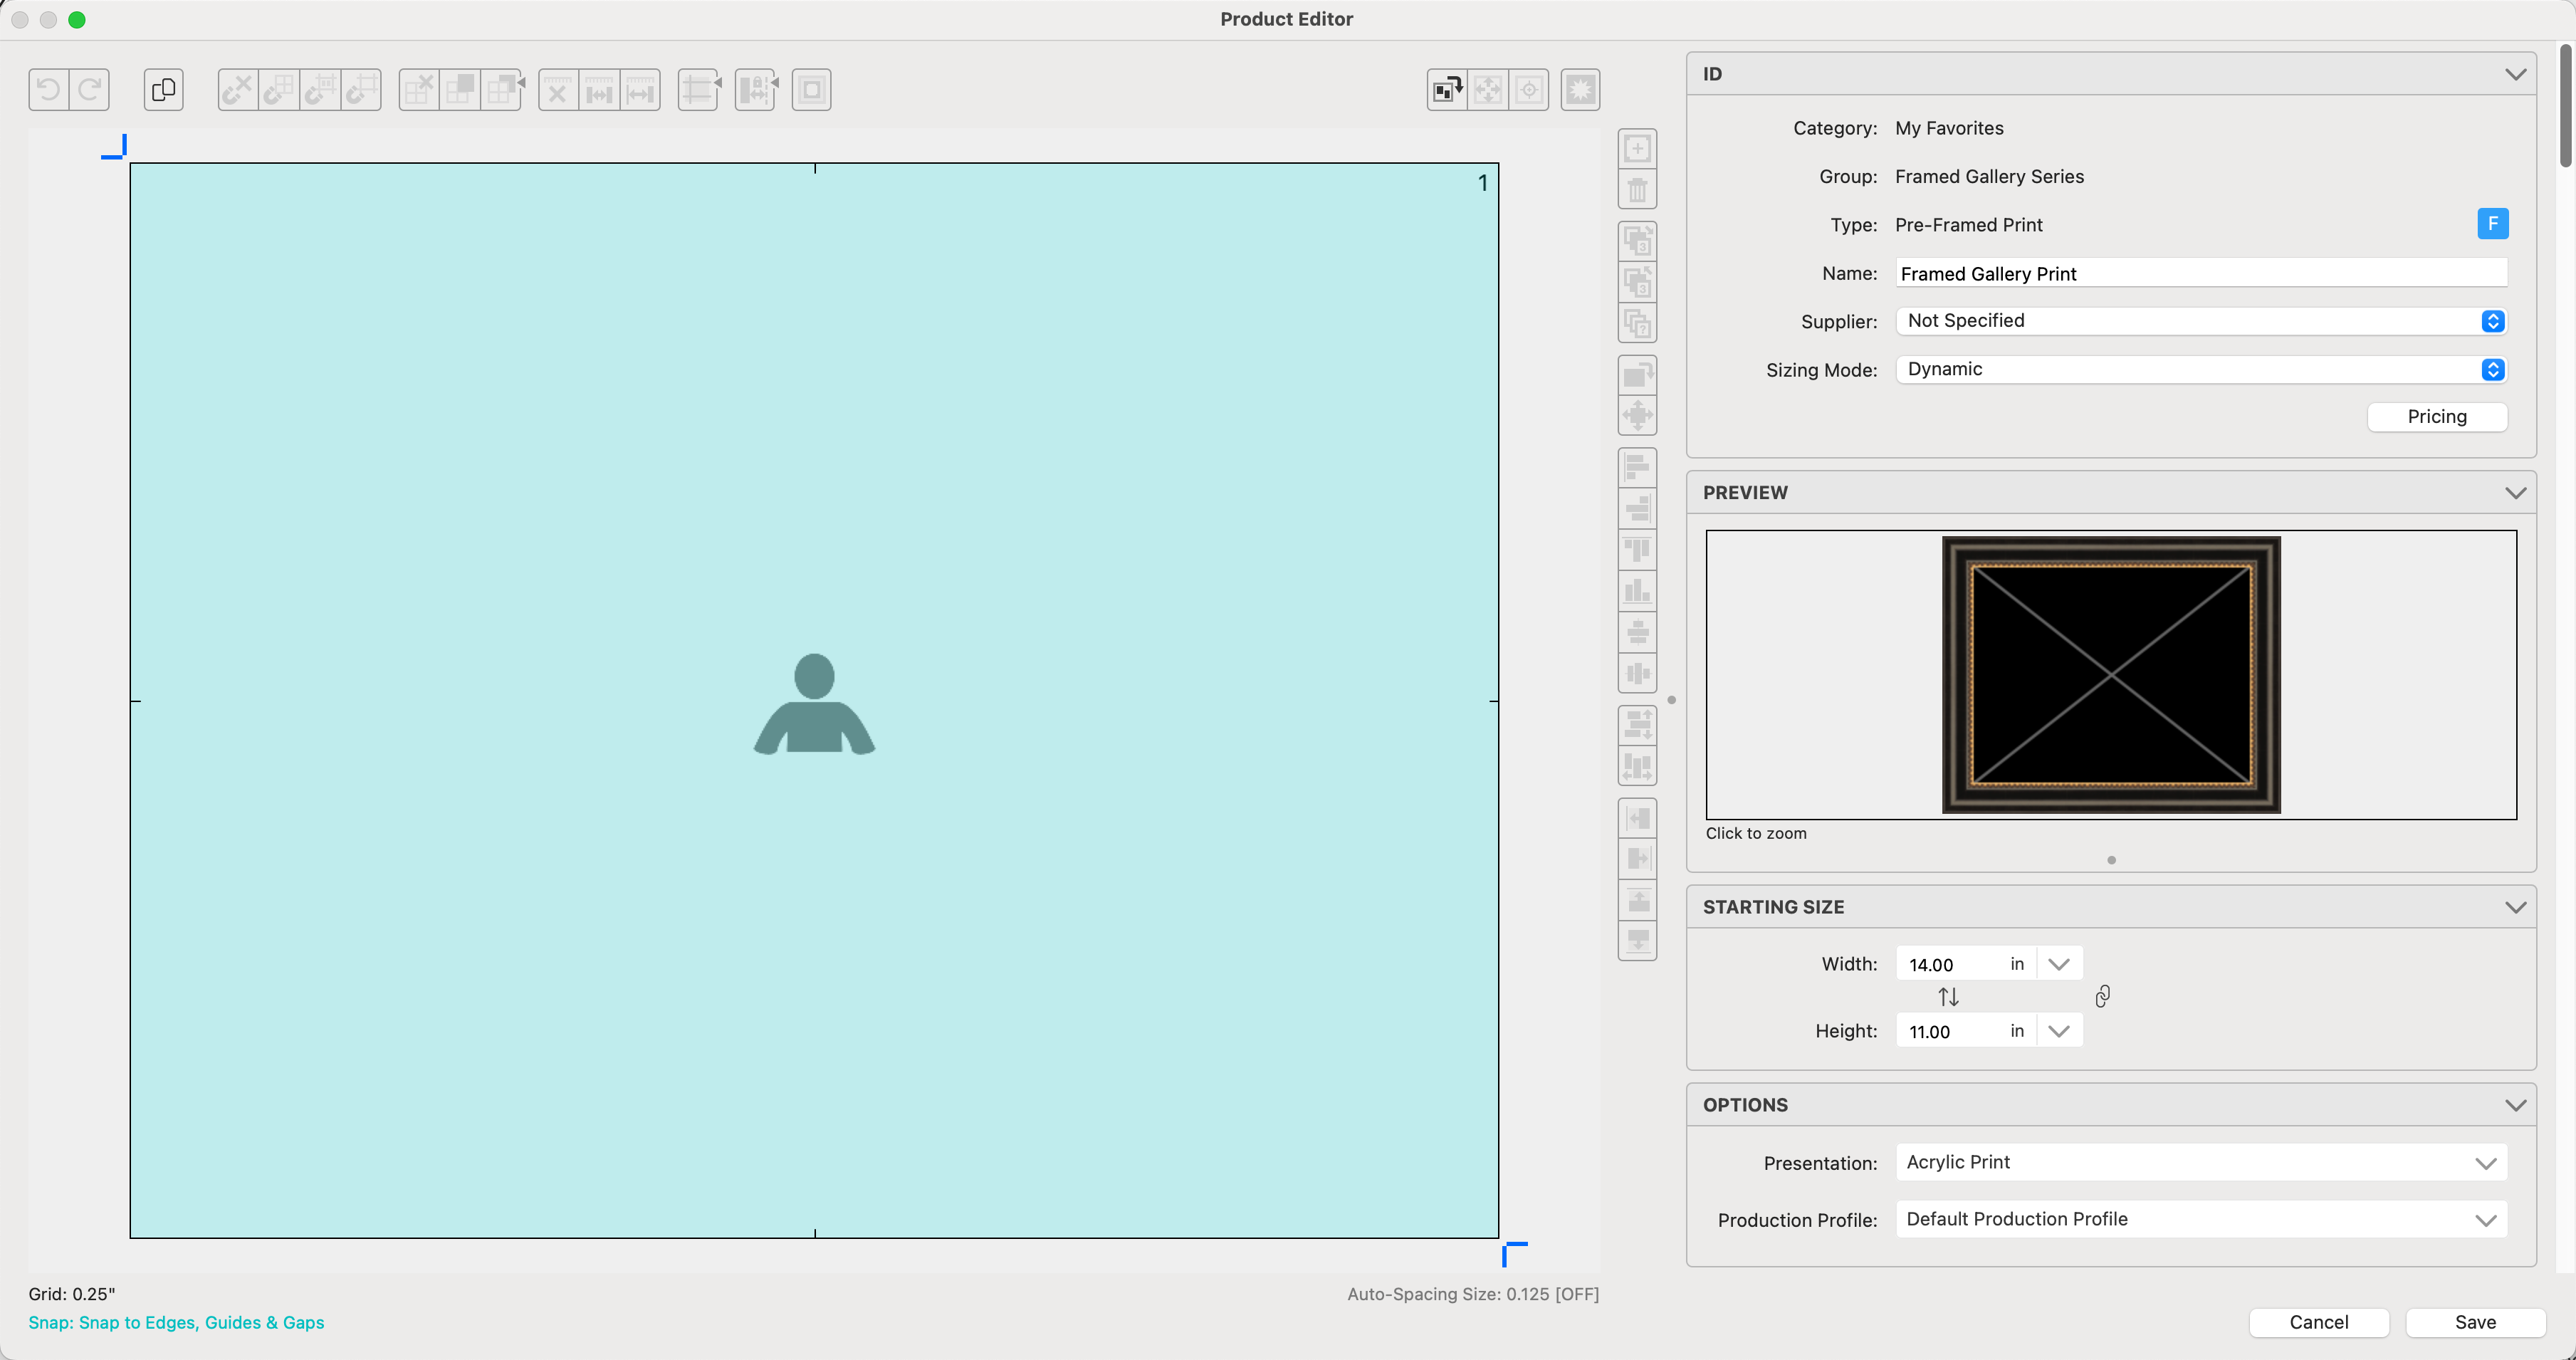
The ID Box:
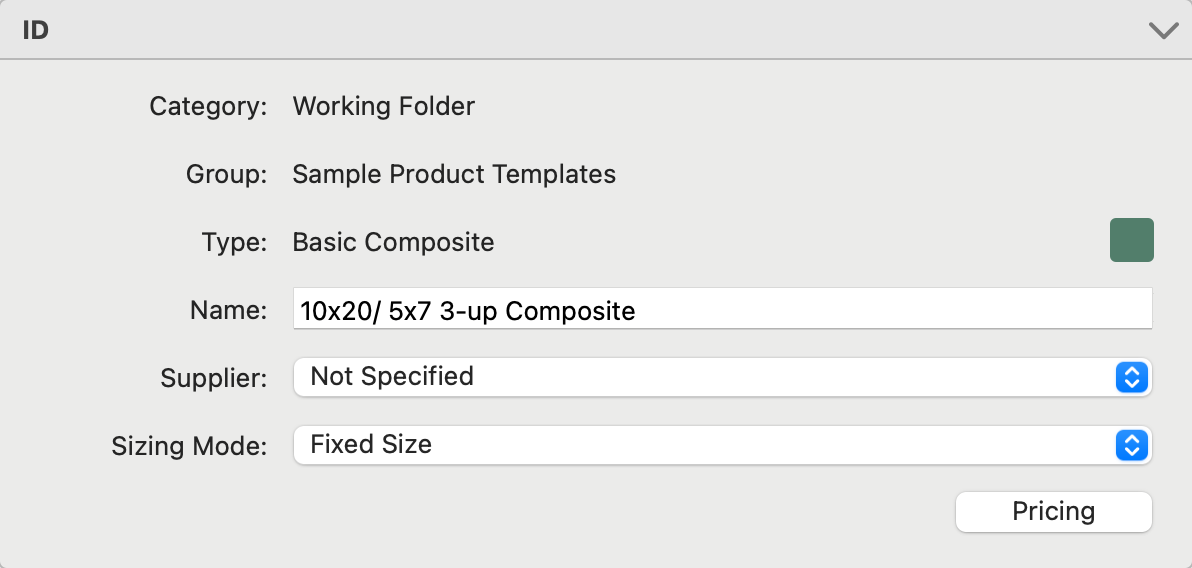
- Category, Group, and Type are listed at the top.
- Name: For fixed-size templates, It is helpful to name your templates using the overall size (10x20), then the size of your openings (5x7), followed by how many are in the template (3-up). For a dynamically sized template, don't use the size (as it may change). Instead, use "3-up" or something else to describe the product.
- Supplier: Optionally attach a Supplier to the product template.
- Sizing Mode:
- Fixed Size: A single template of one size.
- Stacked - Fixed: Two or more templates with the same number of openings and the same opening type. These are typically similar with varied sizes.
- Dynamic: This is the same template scaled to fit paper sizes that match the ratio of the template. If there are five paper sizes of matching ratios, five sizes will be available.
- Pricing: Click on the Pricing button to open the Price List Items dialog. *Pricing is not enabled for Book Pages. They are priced as a Reference Product or an Order Adjustment.
- Dynamic Sizing is not available for Traditional Matted, Wall Grouping, or Specialty Products. Use Stacked Sizing as an alternative.
- Pre-Framed Prints always use dynamic sizing. They reference your paper sizes.
- Sizing is not available for Reference Products.
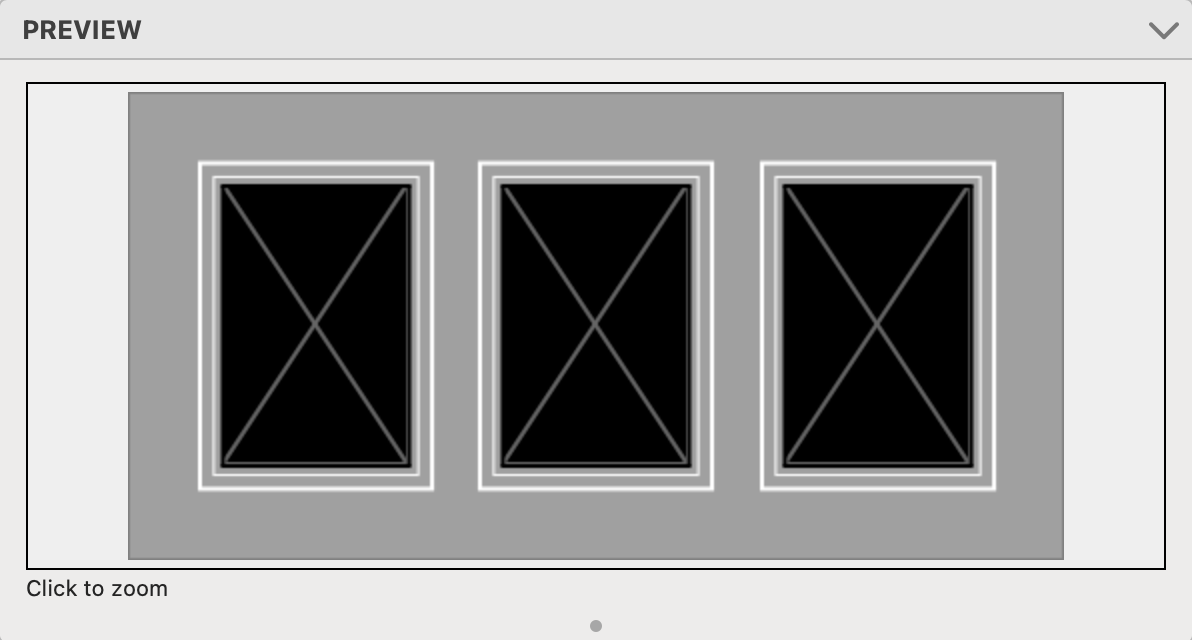
The Preview Box reflects how the template will look with added mats, frames, etc. Click on the preview image to zoom.
The "Starting Size" will be used when an image is first placed in the template. Once the product is created, you can adjust the size based on your paper sizes.
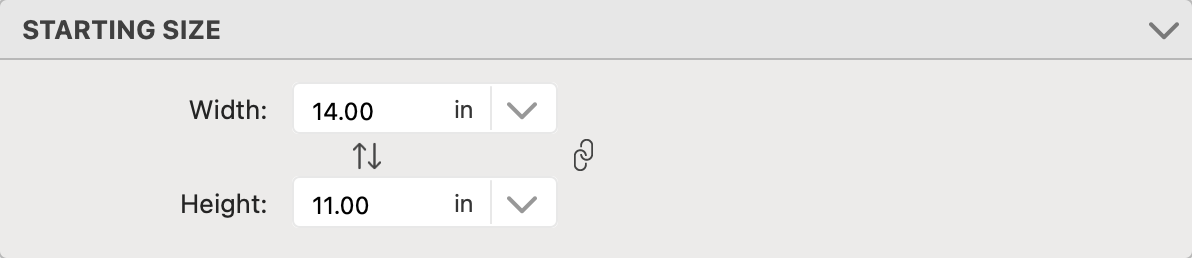
- Type in the desired width and height and click the Apply button.
- Alternatively, use the drop-down arrow
 to access paper sizes. Select one from the list.
  Swap Sizes Around: You have the ability to swap the width and height around using the swap sizes button. Click the Apply button to apply the change.
 Constrain Aspect Ratio: When constraining the aspect ratio, any adjustment to the width of the template will automatically change the height in order to keep the same aspect ratio, or vice versa. When this feature is turned on, red lines appear to link the width and height boxes together. As with Swap Sizes, click the Apply button to apply any changes. Click on Locked Aspect Ratio to learn more.

- Presentation: This choice will determine which prints are linked to the product template. Use the drop-down menu to choose a Presentation Option for the template. If the Presentation Option you want is not listed, select Manage Presentation Options. From there you can add the option you want.
The Product Appearance box allows you to add a virtual style, traditional mat, and/or frame to your product template.

- Use the drop-down menus to select a virtual style, traditional mat, or frame to add to your product template.
- Select "manage" from the list if the required option isn't listed. This will take you to the designer where you can create the option you want.
- To remove a style, mat, or frame, select "Remove" from the list of options.
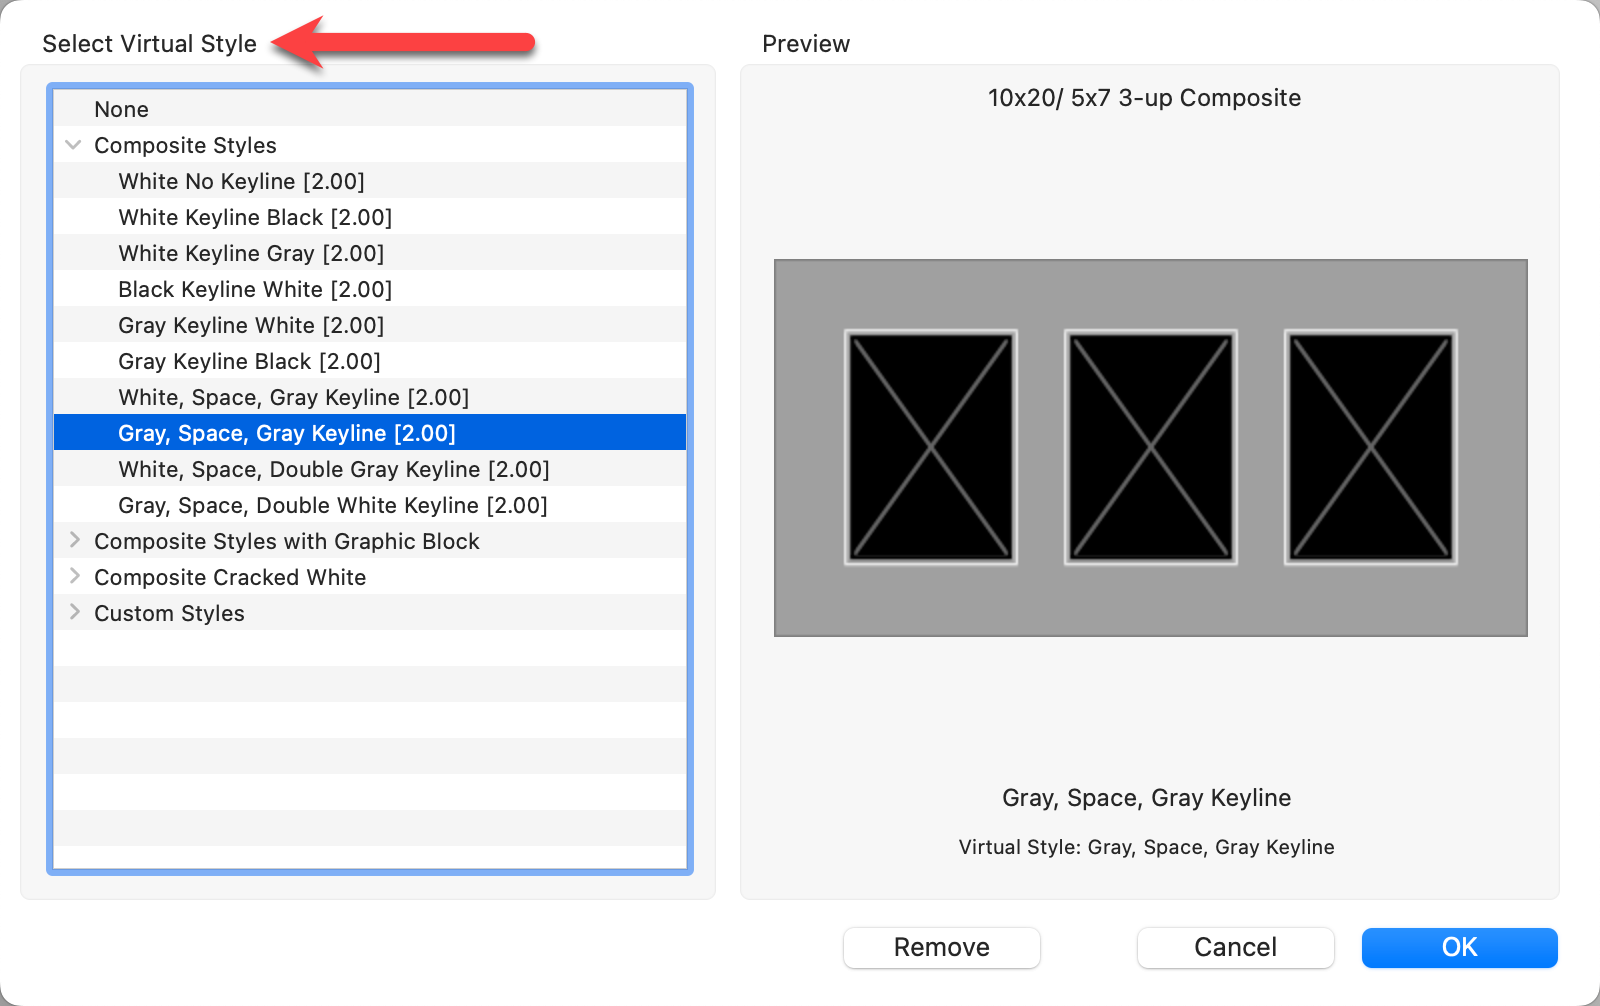
While frames and traditional mats are applied to the template as a whole, virtual styles are applied to each opening in your template. You can choose to remove the virtual style edge treatment around specific openings in the Openings box.