Retouch/Edit RAW Files Using Adobe Camera Raw
Adobe Camera Raw (ACR) offers non-destructive editing for RAW files, providing photographers with comprehensive control over adjustments such as exposure and white balance. It supports batch processing for efficiency, includes advanced correction tools for common issues like lens distortion, and ensures high-quality output with better detail and color fidelity. Integrated seamlessly with Photoshop and Lightroom, ACR facilitates a smooth workflow, allowing for the creation of custom presets and profiles, while also staying updated with support for the latest camera models. This makes ACR an essential tool in achieving high-quality, efficient image processing in digital photography. Follow these steps to Retouch images using Adobe Camera Raw.
If you are working with a mix of Raw files and another file type (e.g. .jpg) then make sure that you have Link/Bypass Raw files turned on by going to Settings > Importing Images > RAW File Associations Tab. Your raw file extensions are entered on the same page. ProSelect assumes that the loaded images and their associated raw file share the same filename but a different file extension.
- Select the image(s) you want to work with from the Production window. *Pay attention to any retouching notes made during the sales session.
- Click the Open button and select "Open Raw Images > Photoshop" from the drop-down list. If Photoshop does not appear in the list, add it to your Photo Editor Settings.
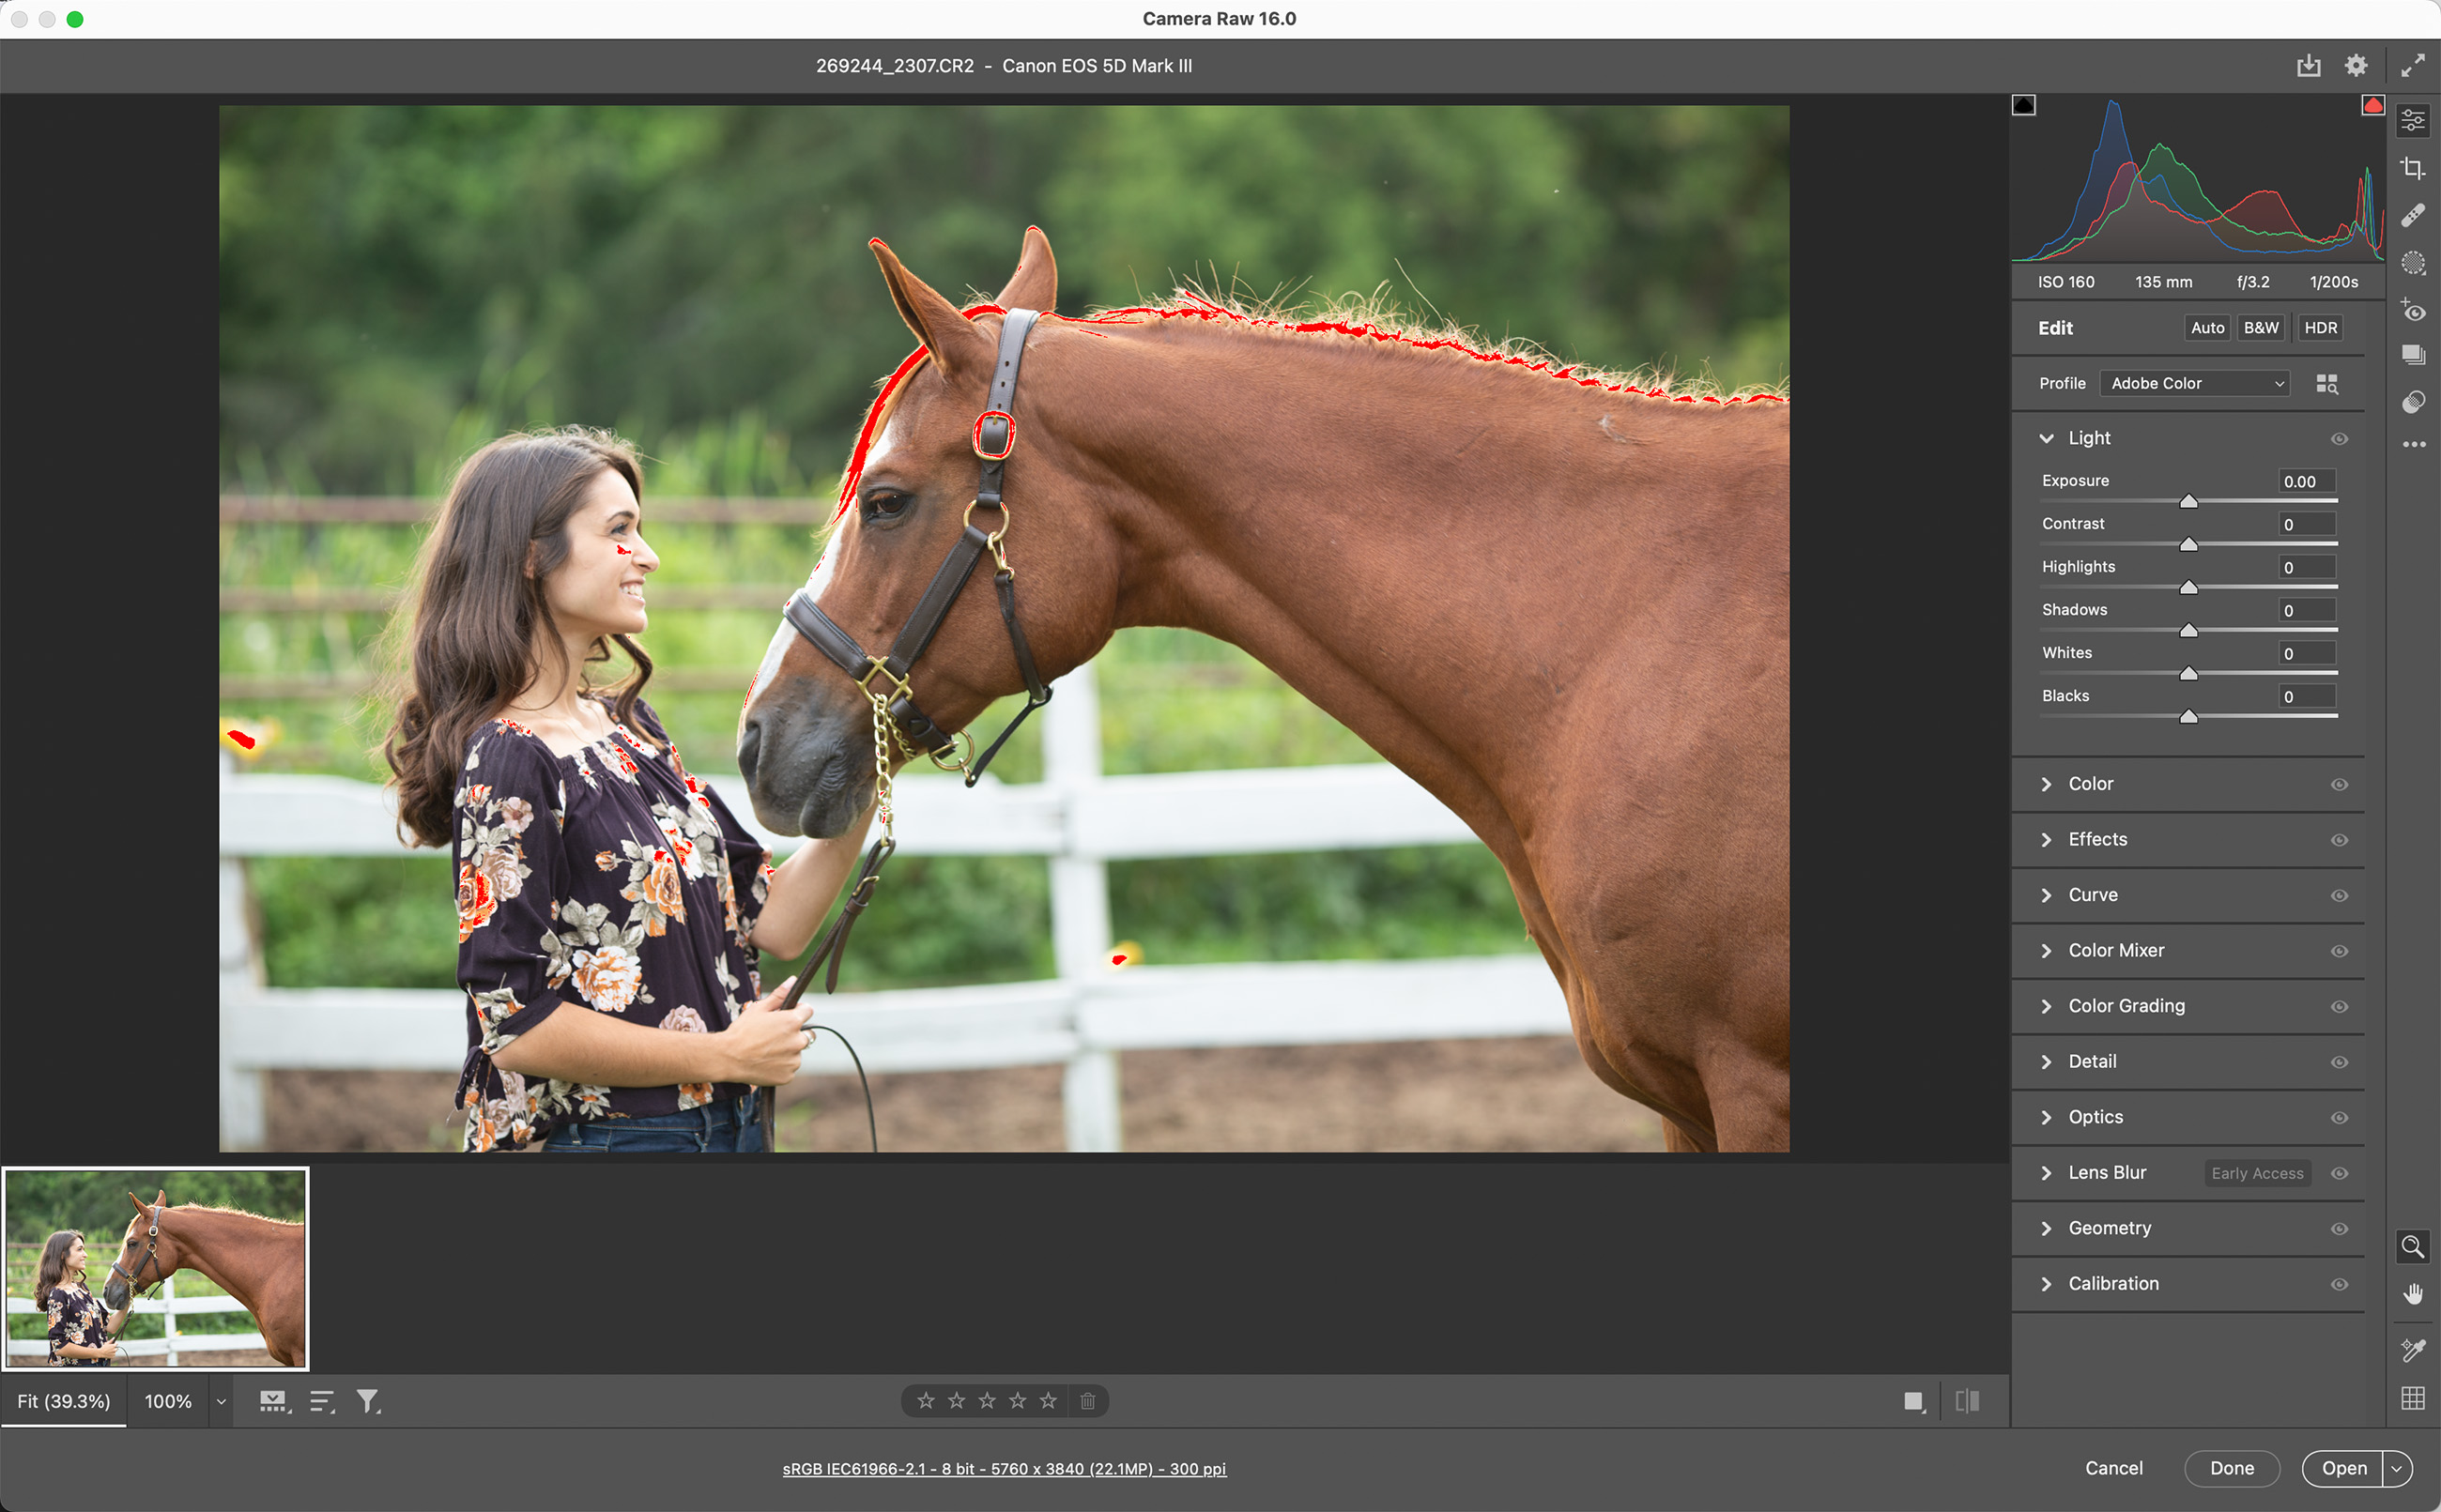
- Make any desired adjustments to the image.
- DO NOT crop images. This is done in ProSelect.
- When you are finished in ACR, click on the "Open" button in the bottom-right corner. This will open the selected RAW image in Photoshop.
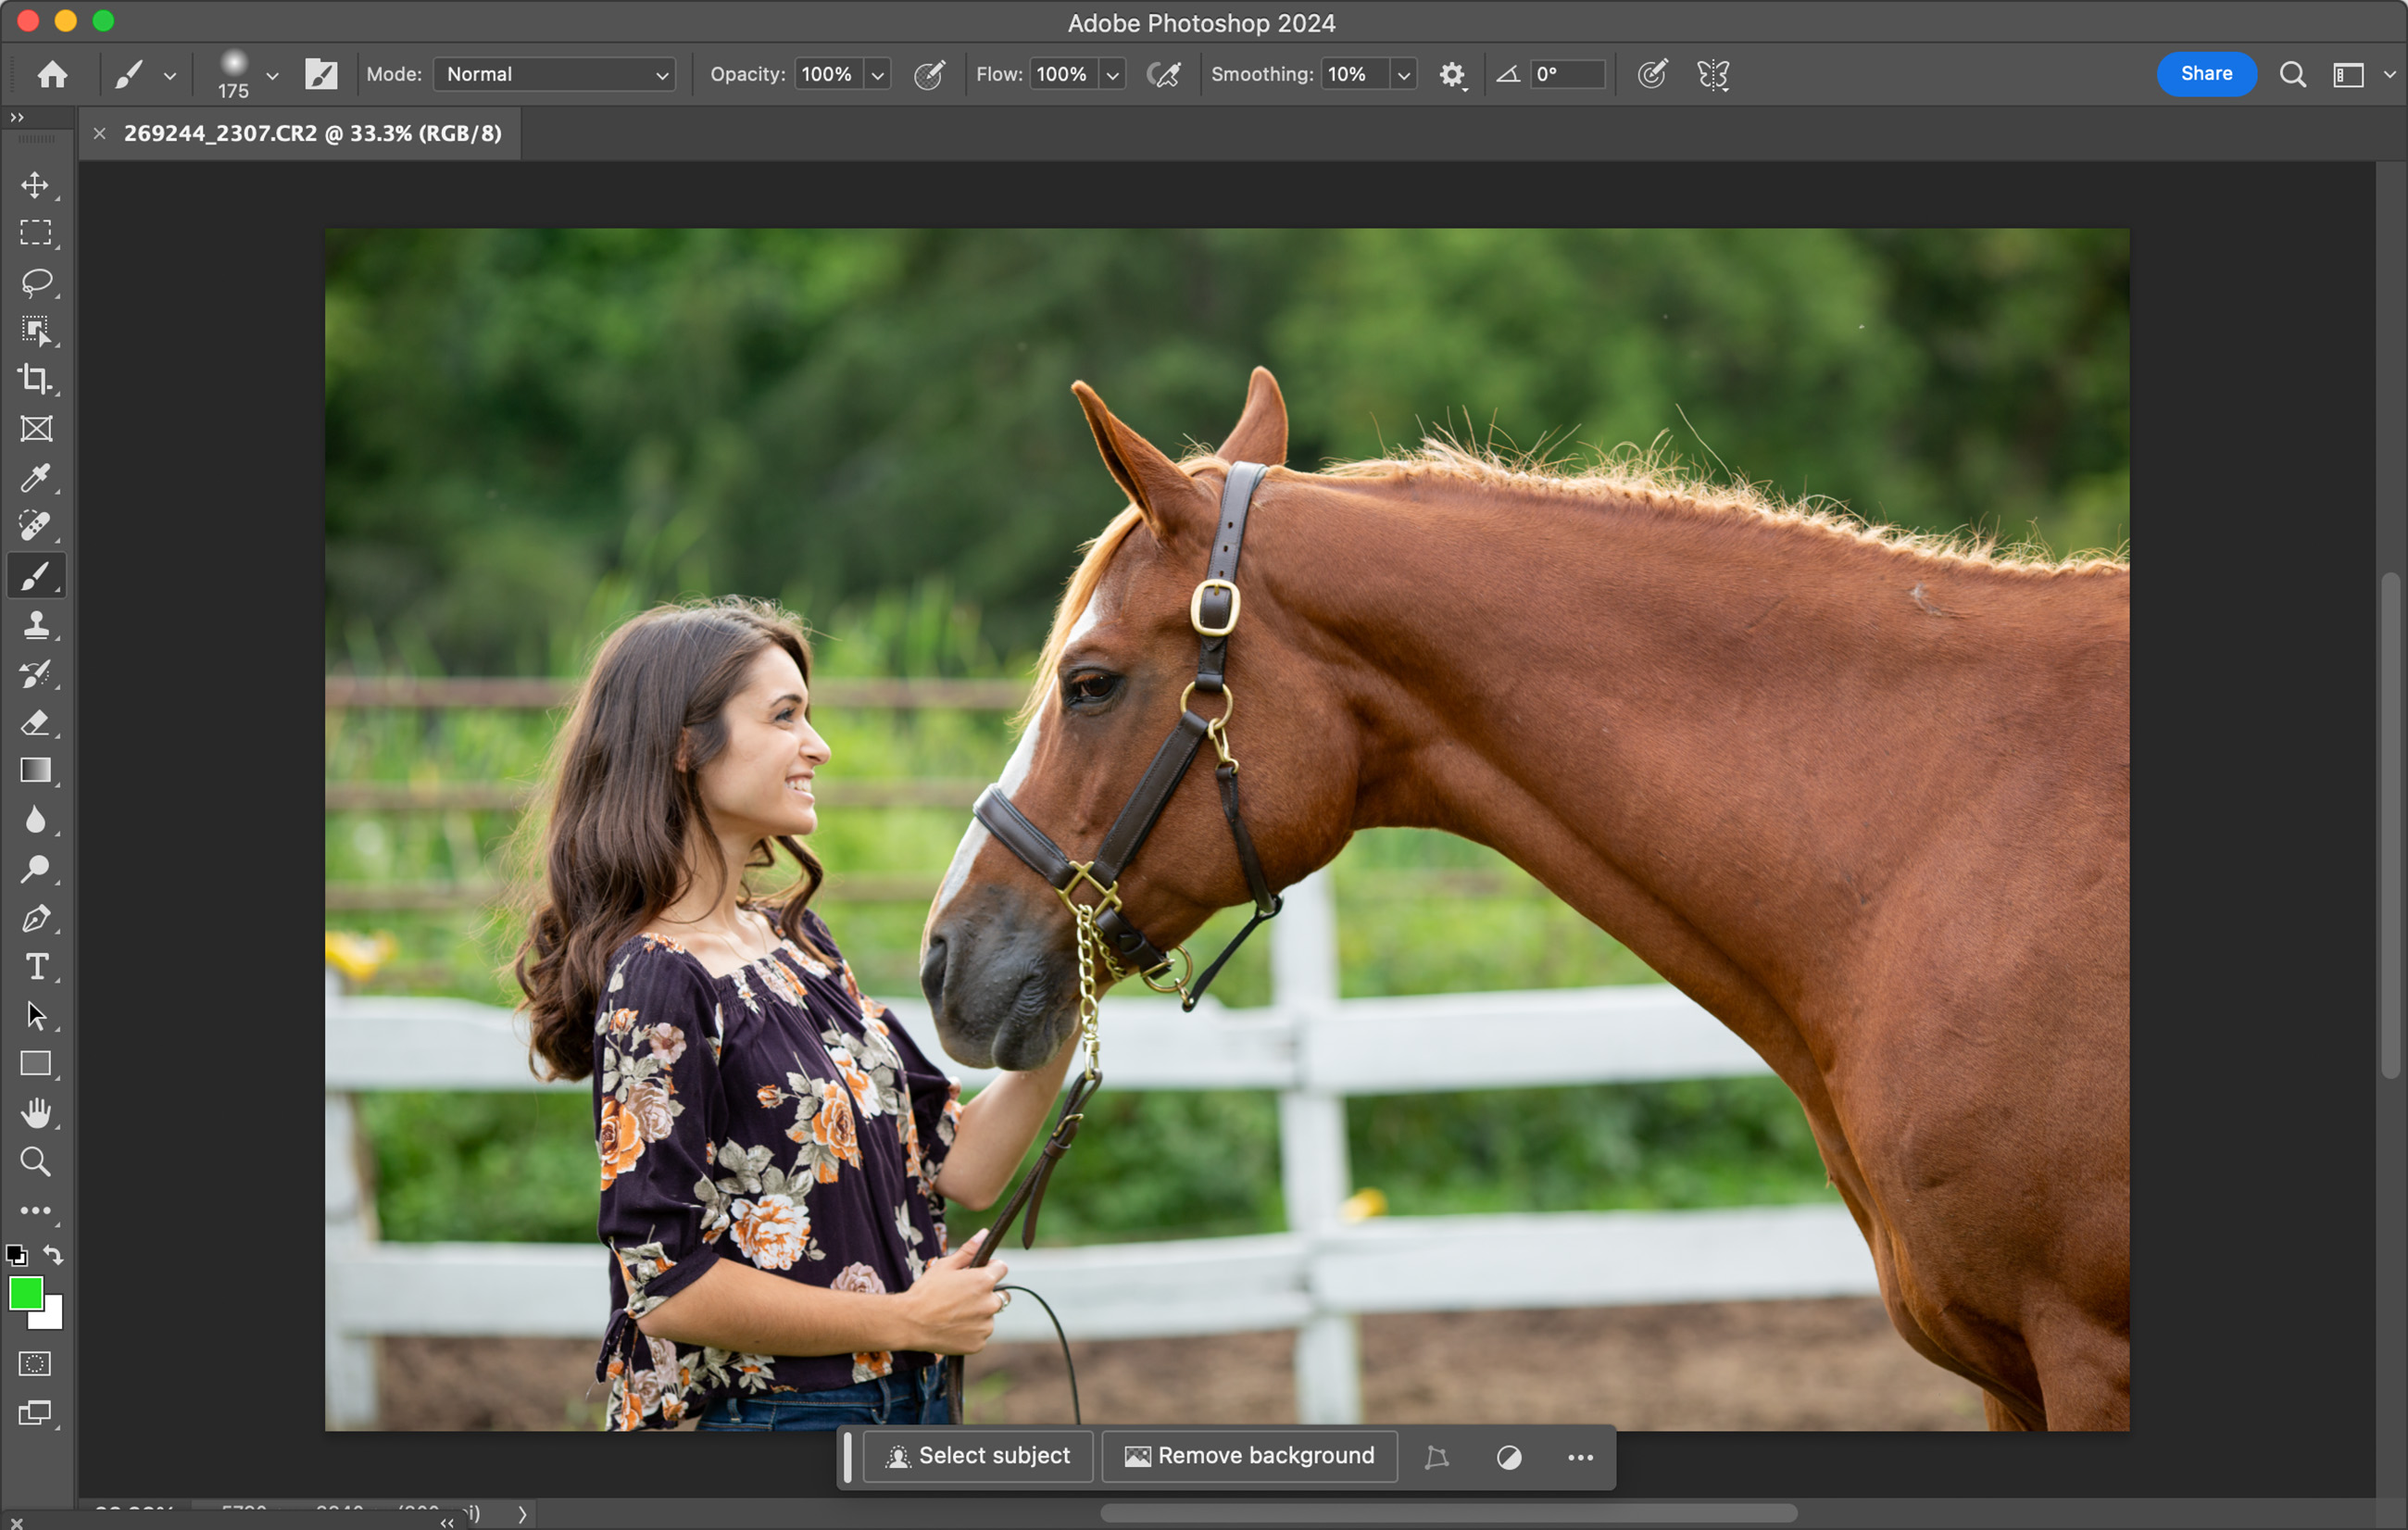
- Further adjustments can now be made in Photoshop.
- Apply any Custom Actions.
- DO NOT crop images. This is done in ProSelect.
- When you are finished making adjustments, Save the image.
- Go to File > Save As.
- Do not change the name of the image.
- By default, the image will be saved in the album folder. Do not change the "Save As" location. Otherwise, ProSelect will not be able to reload and link the retouched image.
- Switch the File Format to something other than the original file format. TIFF or PSD are good options. This will ensure the original remains unaltered. Do not confuse this with the final high-res image created by ProSelect; a file format of your choice will still be generated, meeting the requirements of most labs. You can choose to overwrite your original image by not switching the file format. This is not recommended.
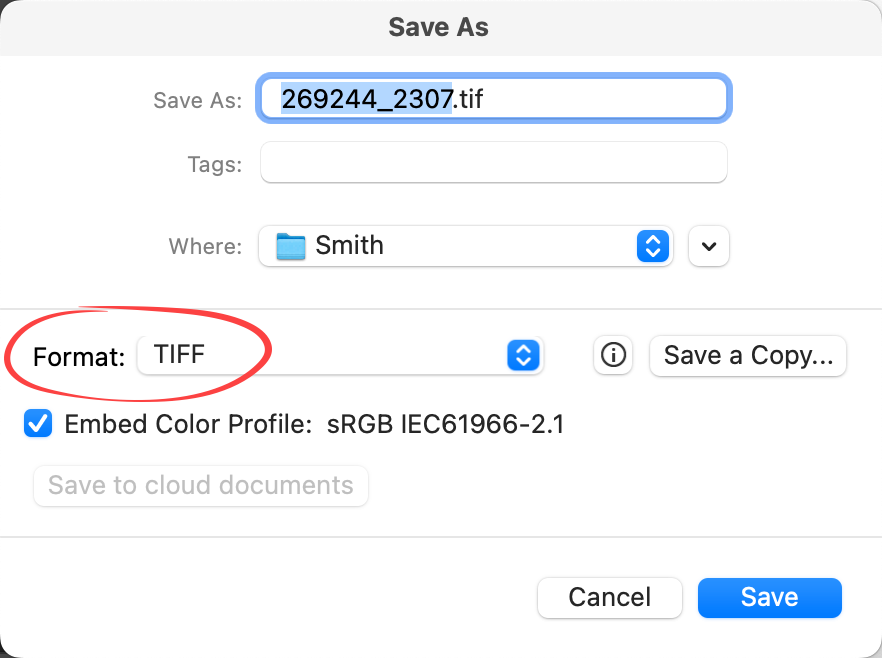
- Click the Save button.
- Saved images are saved in the album folder.
- Repeat this process for all images, in all tabs.
- Once complete, you are ready to Reload Edited Images.
A good practice is to save your layered file as a PSD. If the file is finished and ready for production, flatten it and save it as TIFF. This makes it easy to recognize the file status by merely looking at the file extension.