Retouch/Edit JPEG Files Using Photoshop
- Select the image or multiple images you want to work with from the Production window. *Pay attention to any retouching notes made during the sales session.
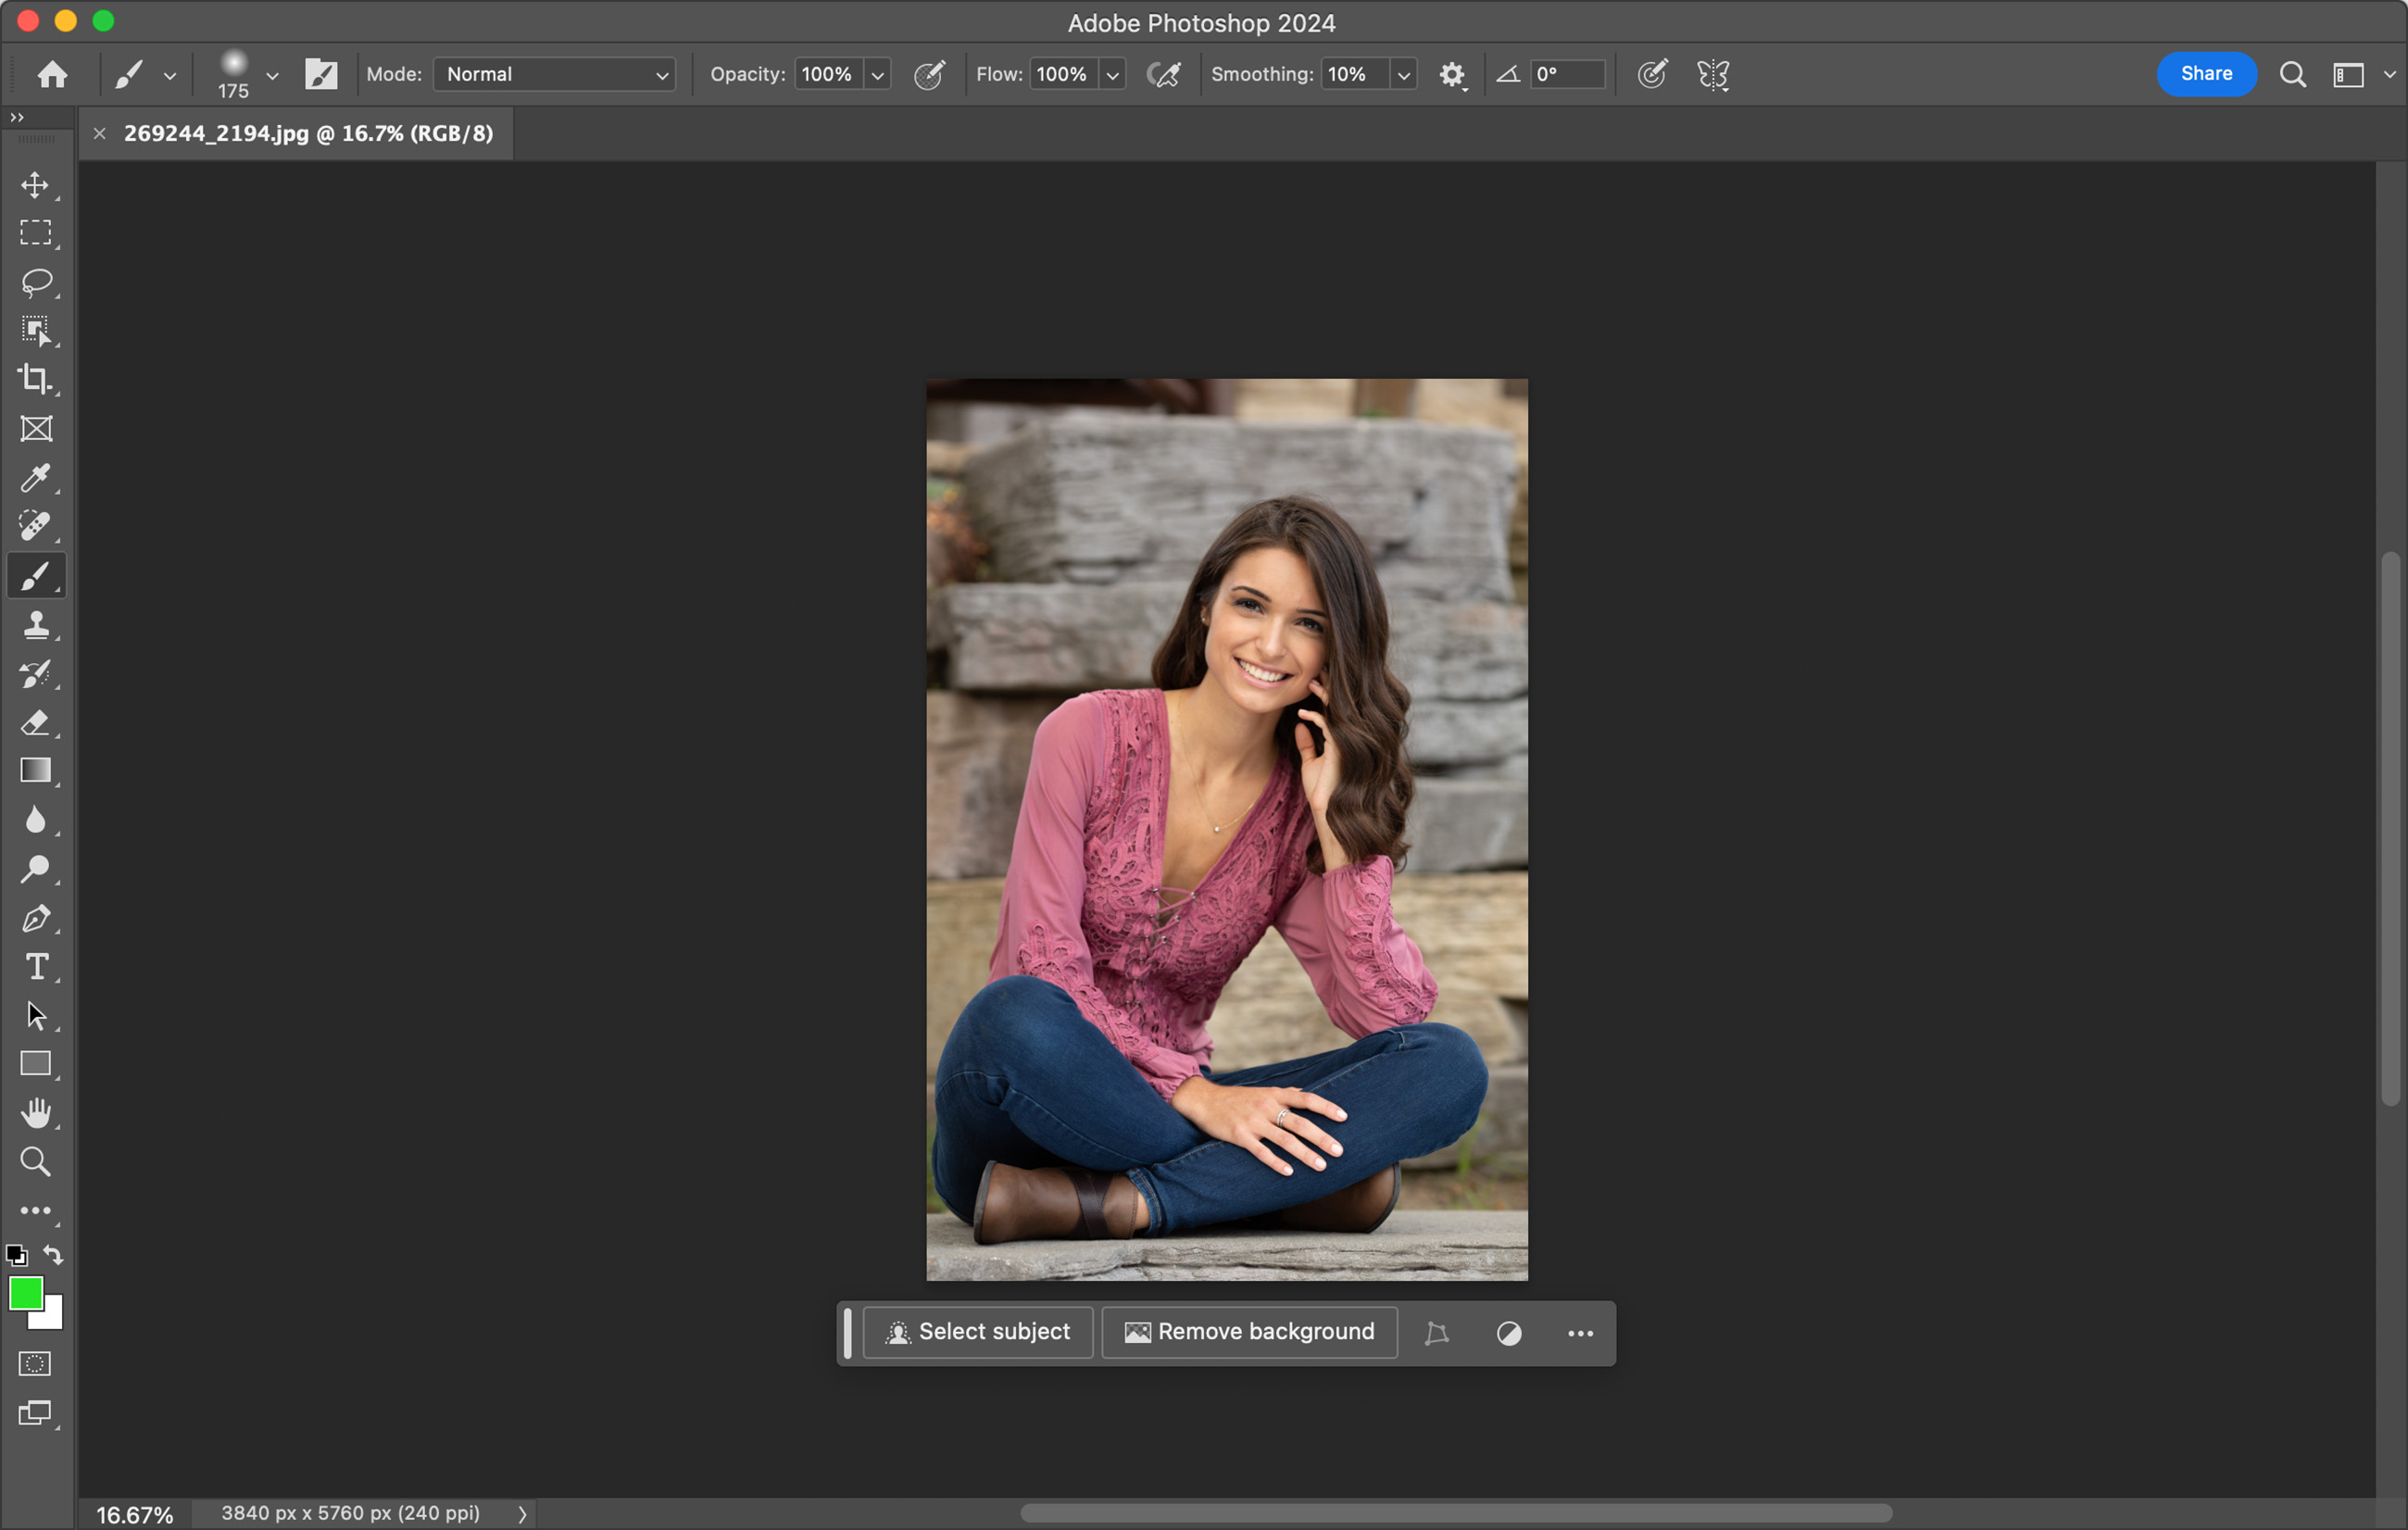
- Click the Open button and select Open Original Images > Photoshop. If Photoshop does not appear in the list, add it to your Photo Editor Settings.
- The selected image(s) will open in Photoshop.

- Make any desired adjustments to the image.
- Apply any Custom Actions.
- DO NOT crop images. This is done in ProSelect.
- When you are finished making adjustments, Save the image.
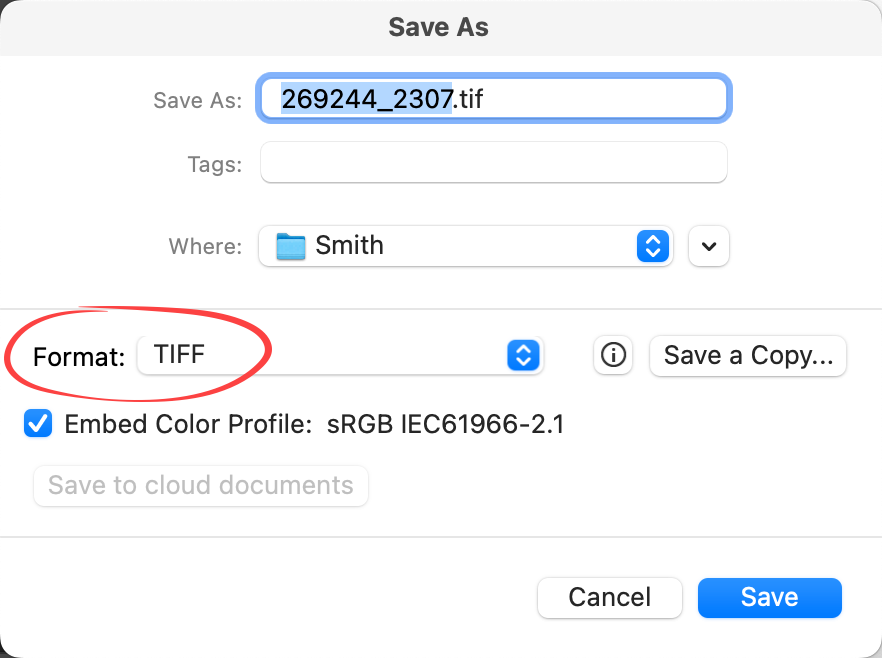
- Go to File > Save As.
- Do not change the name of the image.
- By default, the image will be saved in the album folder. Do not change the "Save As" location. Otherwise, ProSelect will not be able to reload and link the retouched image.
- Switch the File Format to something other than the original file format. TIFF or PSD are good options. This will ensure the original remains unaltered. Do not confuse this with the final high-res image created by ProSelect; a file format of your choice will still be generated, meeting the requirements of most labs. You can choose to overwrite your original image by not switching the file format. This is not recommended.

- Click the Save button.
- Saved images are saved in the album folder.
- Repeat this process for all images, in all tabs.
- Once complete, you are ready to Reload Edited Images.
Quick Tip - TIFF vs PSD
TIFF images are flattened, whereas PSD files are saved with layers.