Products, Books, Wall Groupings, & Digital Files
The interface for managing Products, Books, Wall Groupings, and Digital Files operates similarly to that for Prints and Gallery Wraps. The key difference lies in accessing the images within each product type: you must click on the drop-down arrow located on the left side of the line item to expand and reveal the contained images. Use the Expand All button to reveal all images. Hold down the OptionAlt key while clicking the button to "Collapse All."
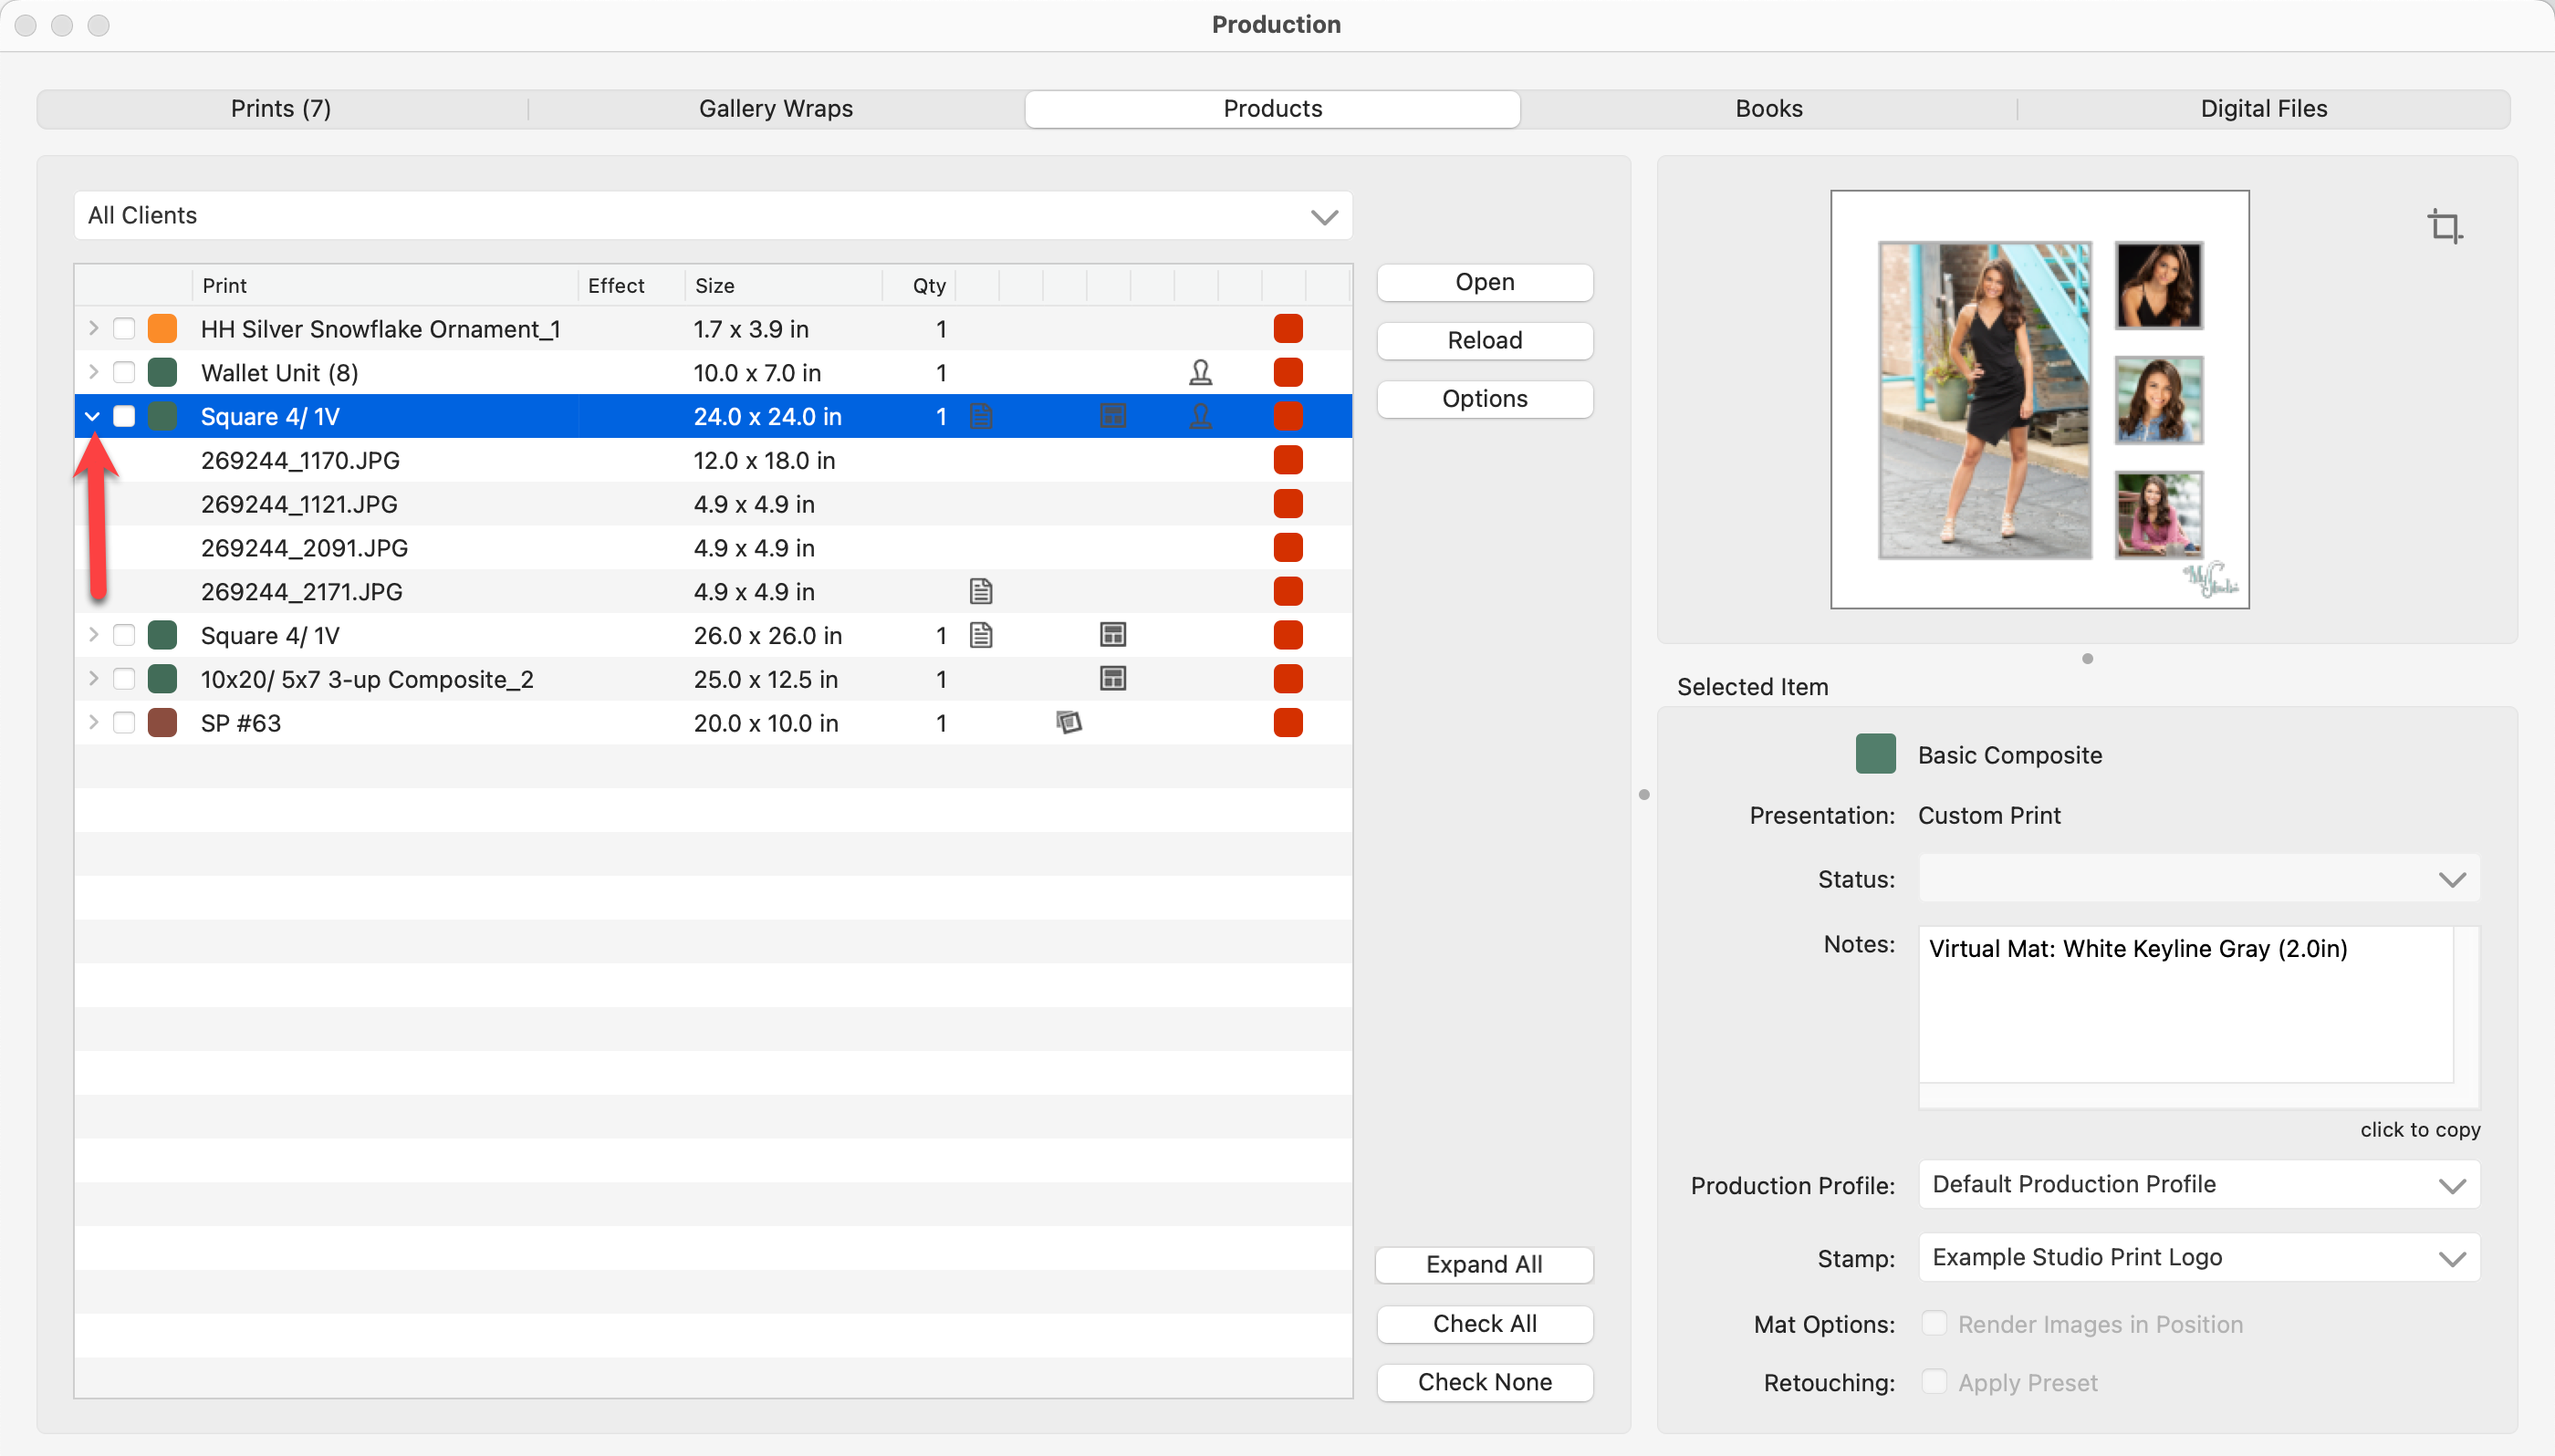
- If you select the line item of the product (or a "Side" for a book), a preview of the whole product appears on the right.
- Select an individual image from the list to view the image details as well as a preview of just that image.
- The final output file for composite products with virtual styles will combine both the print and its virtual style into a single image file.
- Images can be cropped using the Cropping tool
 located in the Preview area.
 - Add a Stamp using the drop-down menu.
- Status: When working with Products that include multiple images, synchronizing the status of all images in the product to the same color (for example, yellow) will automatically update the main item’s status to match. This indicates that every component of that item is prepared for production, making it easier to track readiness across complex orders.
- Confirm the Production Profile you want to use for the product.
- Open individual images in your chosen photo editor for retouching.
- Follow the same steps for Producing High-Res Images.
During production, the files within each digital file order group are saved into a distinct folder within the chosen production output folder. This folder is named after the order item, followed by the order ID number, ensuring easy identification and organization.
After selecting the Books tab along the top, you also have the option of selecting which book you want to work with using the drop-down list.
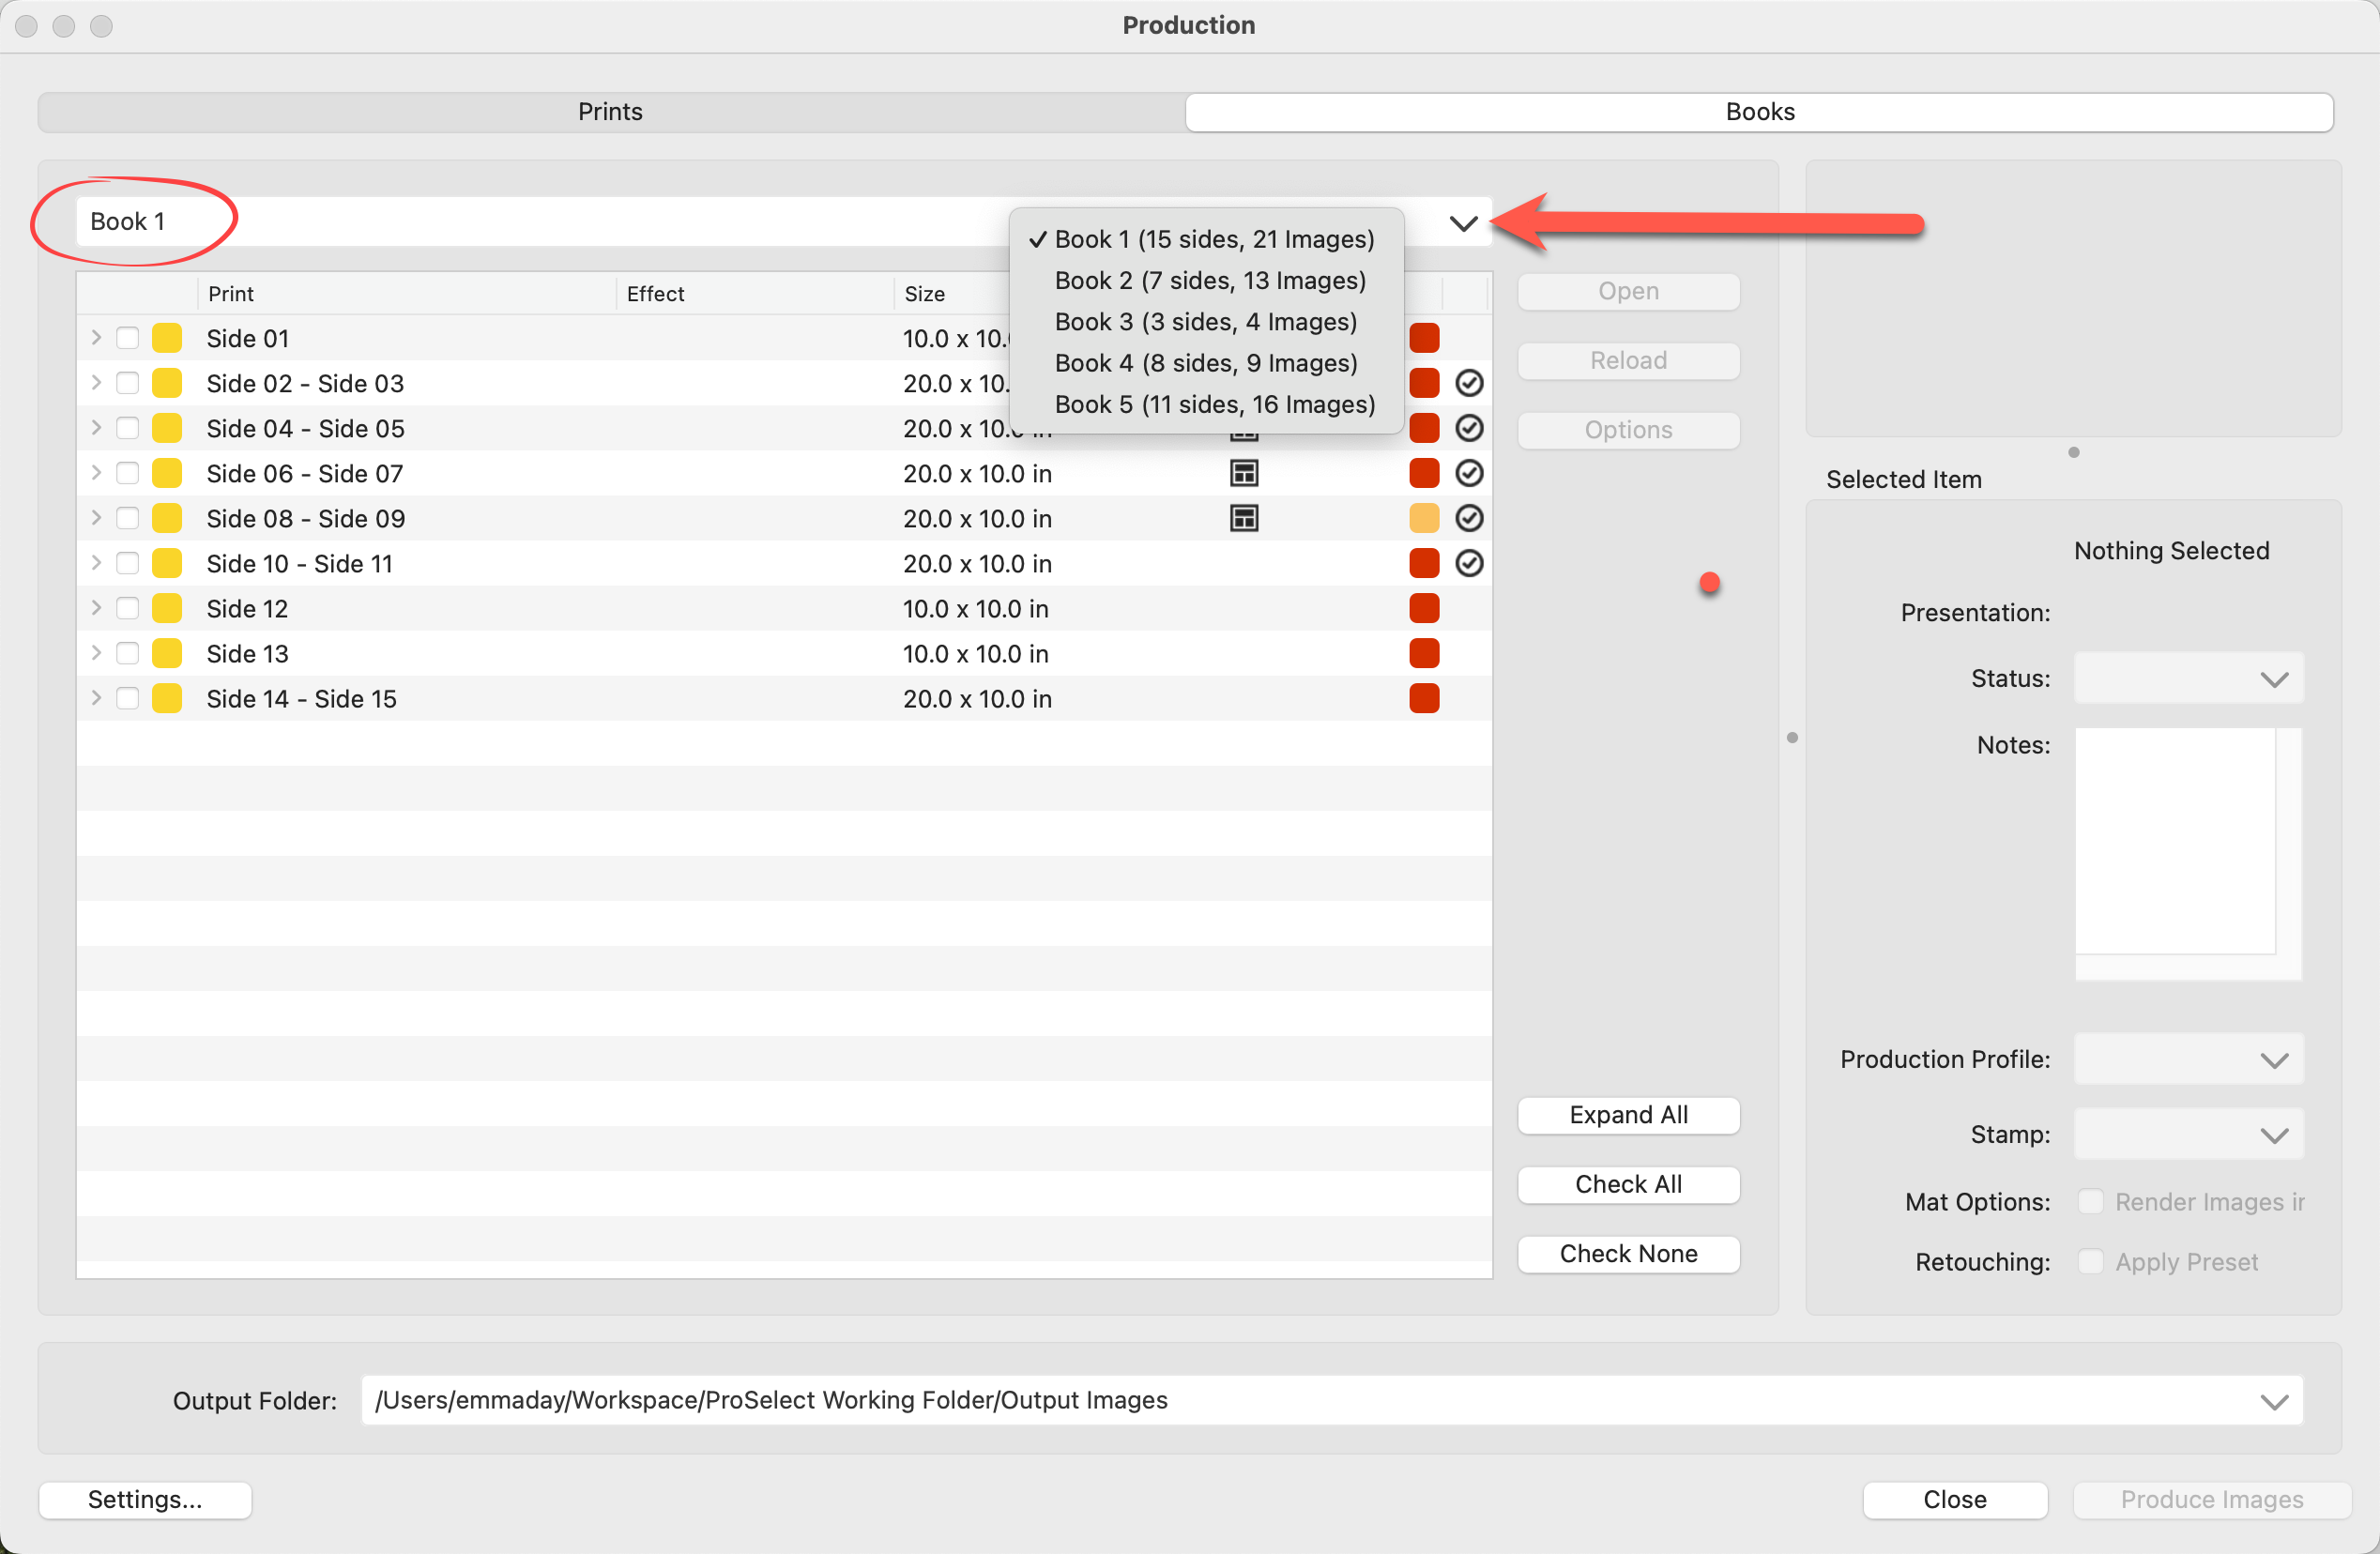
Handling Double Spread Pages
The Produce Spreads setting in ProSelect's Book Designer controls the output of double spread pages during Pro Production. This process is automated through Photoshop scripting, which efficiently manages the conversion of these pages. The setting ensures that double spread pages are handled correctly, whether they are kept as designed, split into separate pages, or combined from single pages, depending on the specific configuration chosen in the Book Design settings.
Books Output Folder
For composite book pages, when you run Production, all images are automatically exported to a distinct subfolder within the chosen Output Folder. This subfolder's name combines the book's name and its design name. The naming convention for the image files uses “Side X” or “Side X-Y” to identify their sequence within the book. E.g. Side 06 - Side 07.jpg