Cropping or Adjusting Ordered Items
Adjustments can still be made once a product has been ordered in ProSelect. You can make adjustments to an ordered item regardless of whether you are in the Review Order window, the Working with Products tab, or the Production Manager. The system is designed for seamless updates, so any adjustments you make will automatically reflect in the order.
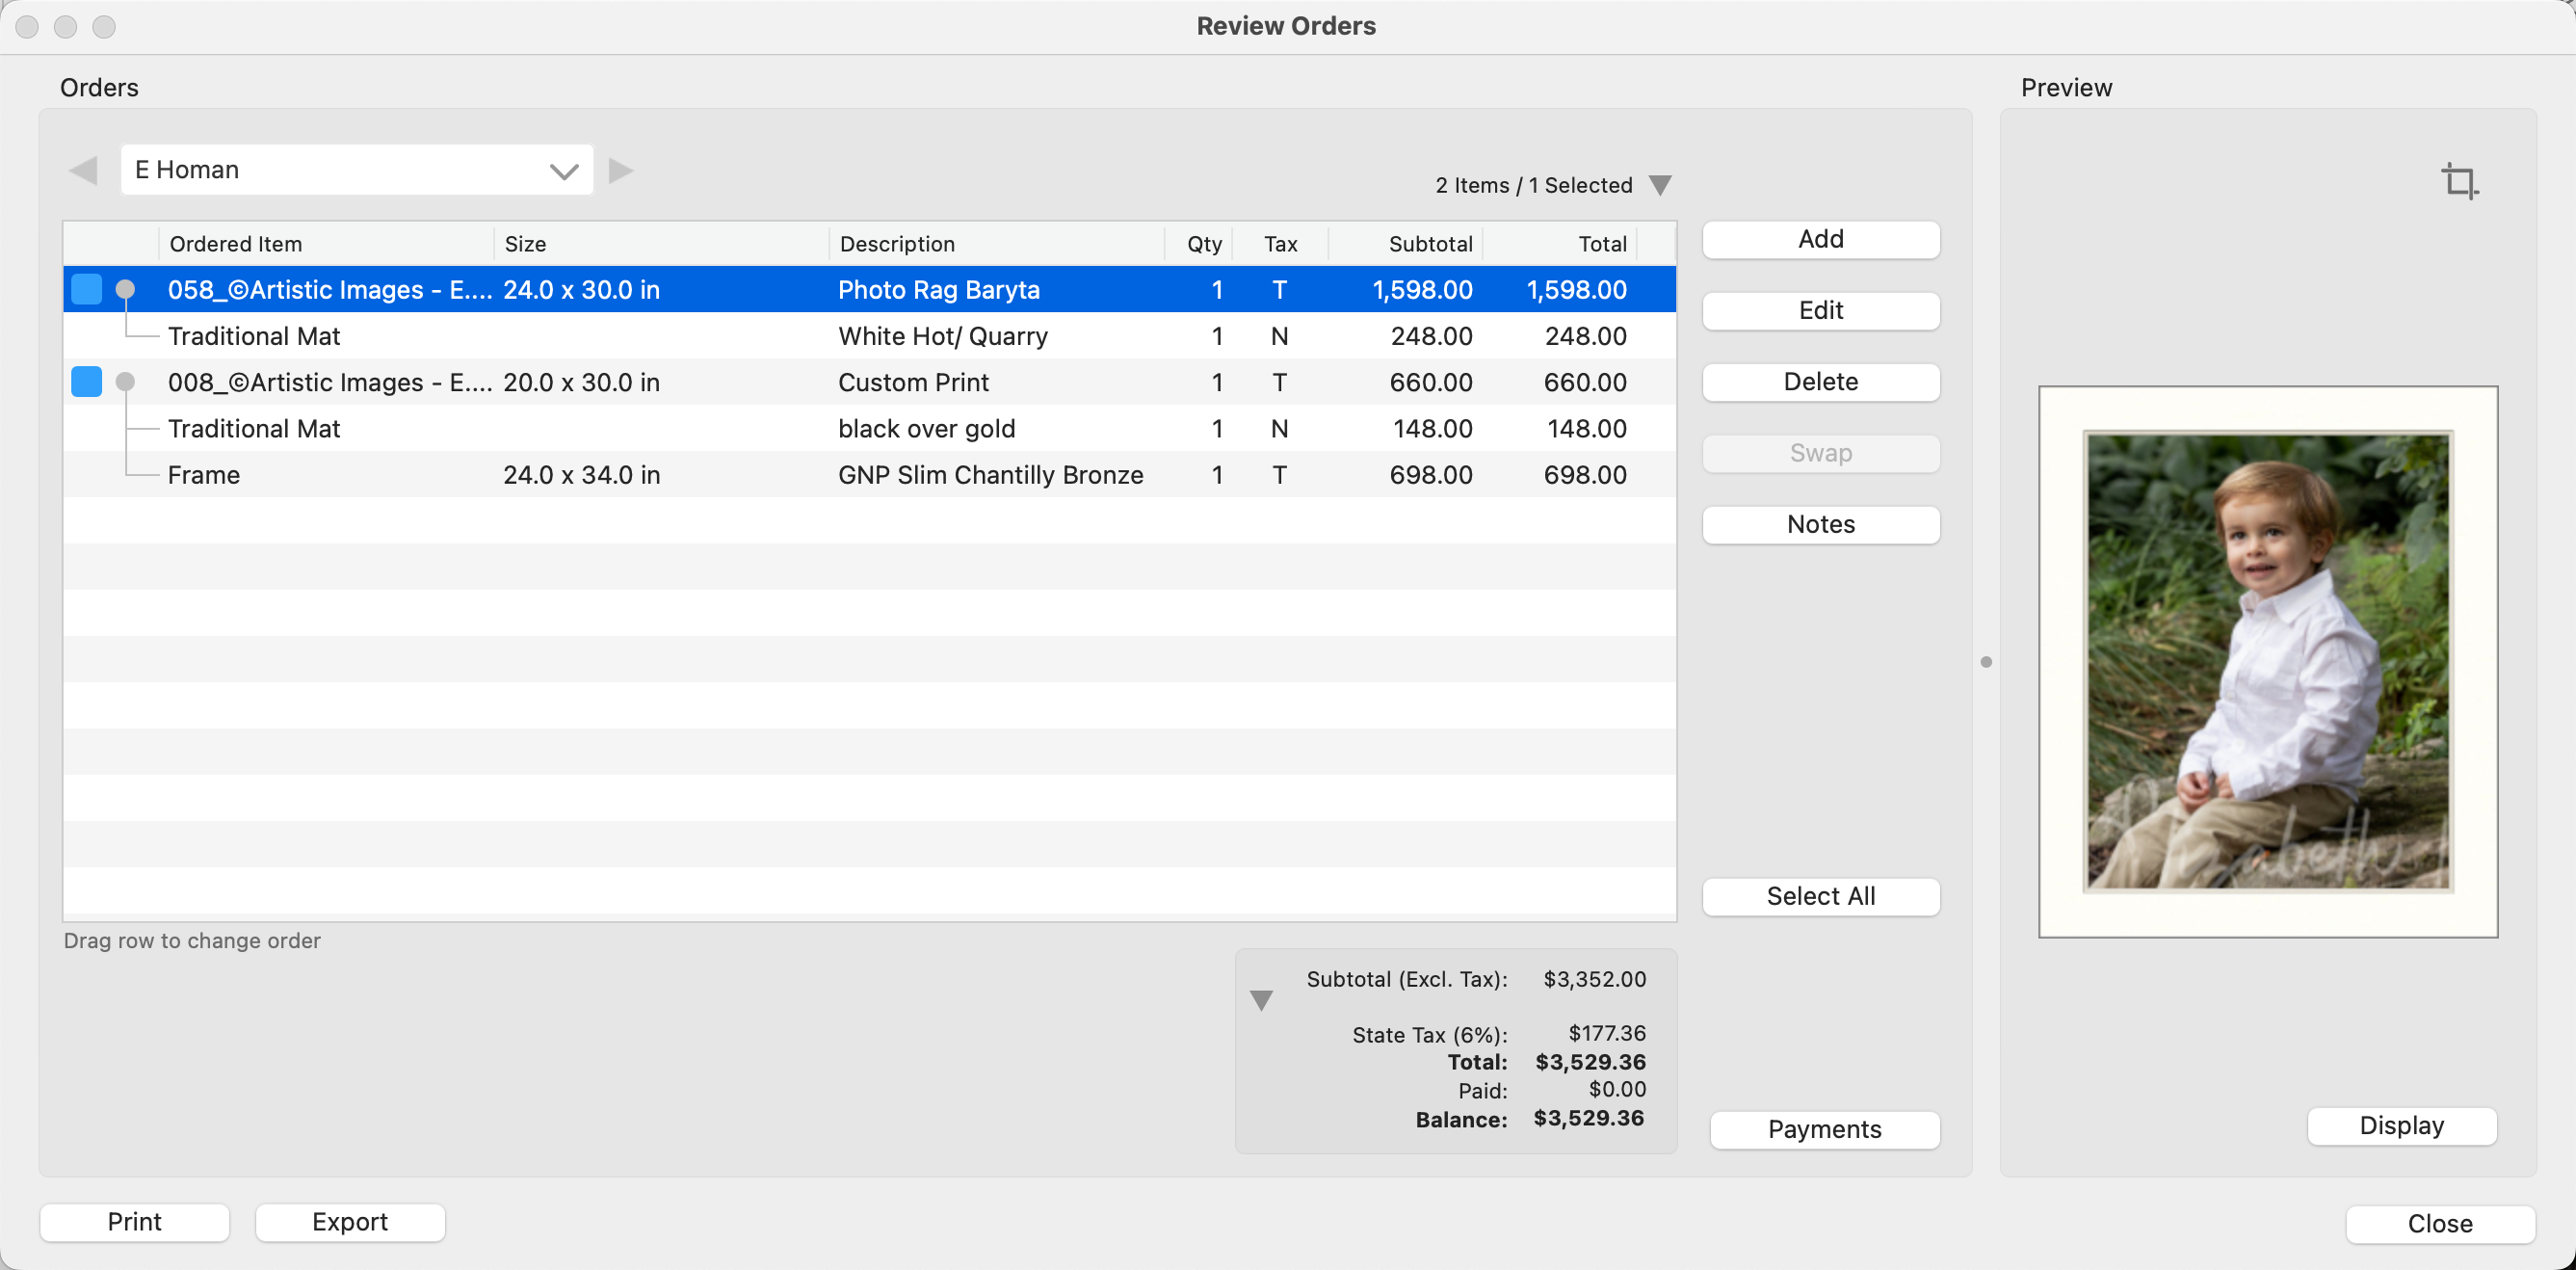
- Select the ordered product you wish to adjust in the Review Order window.
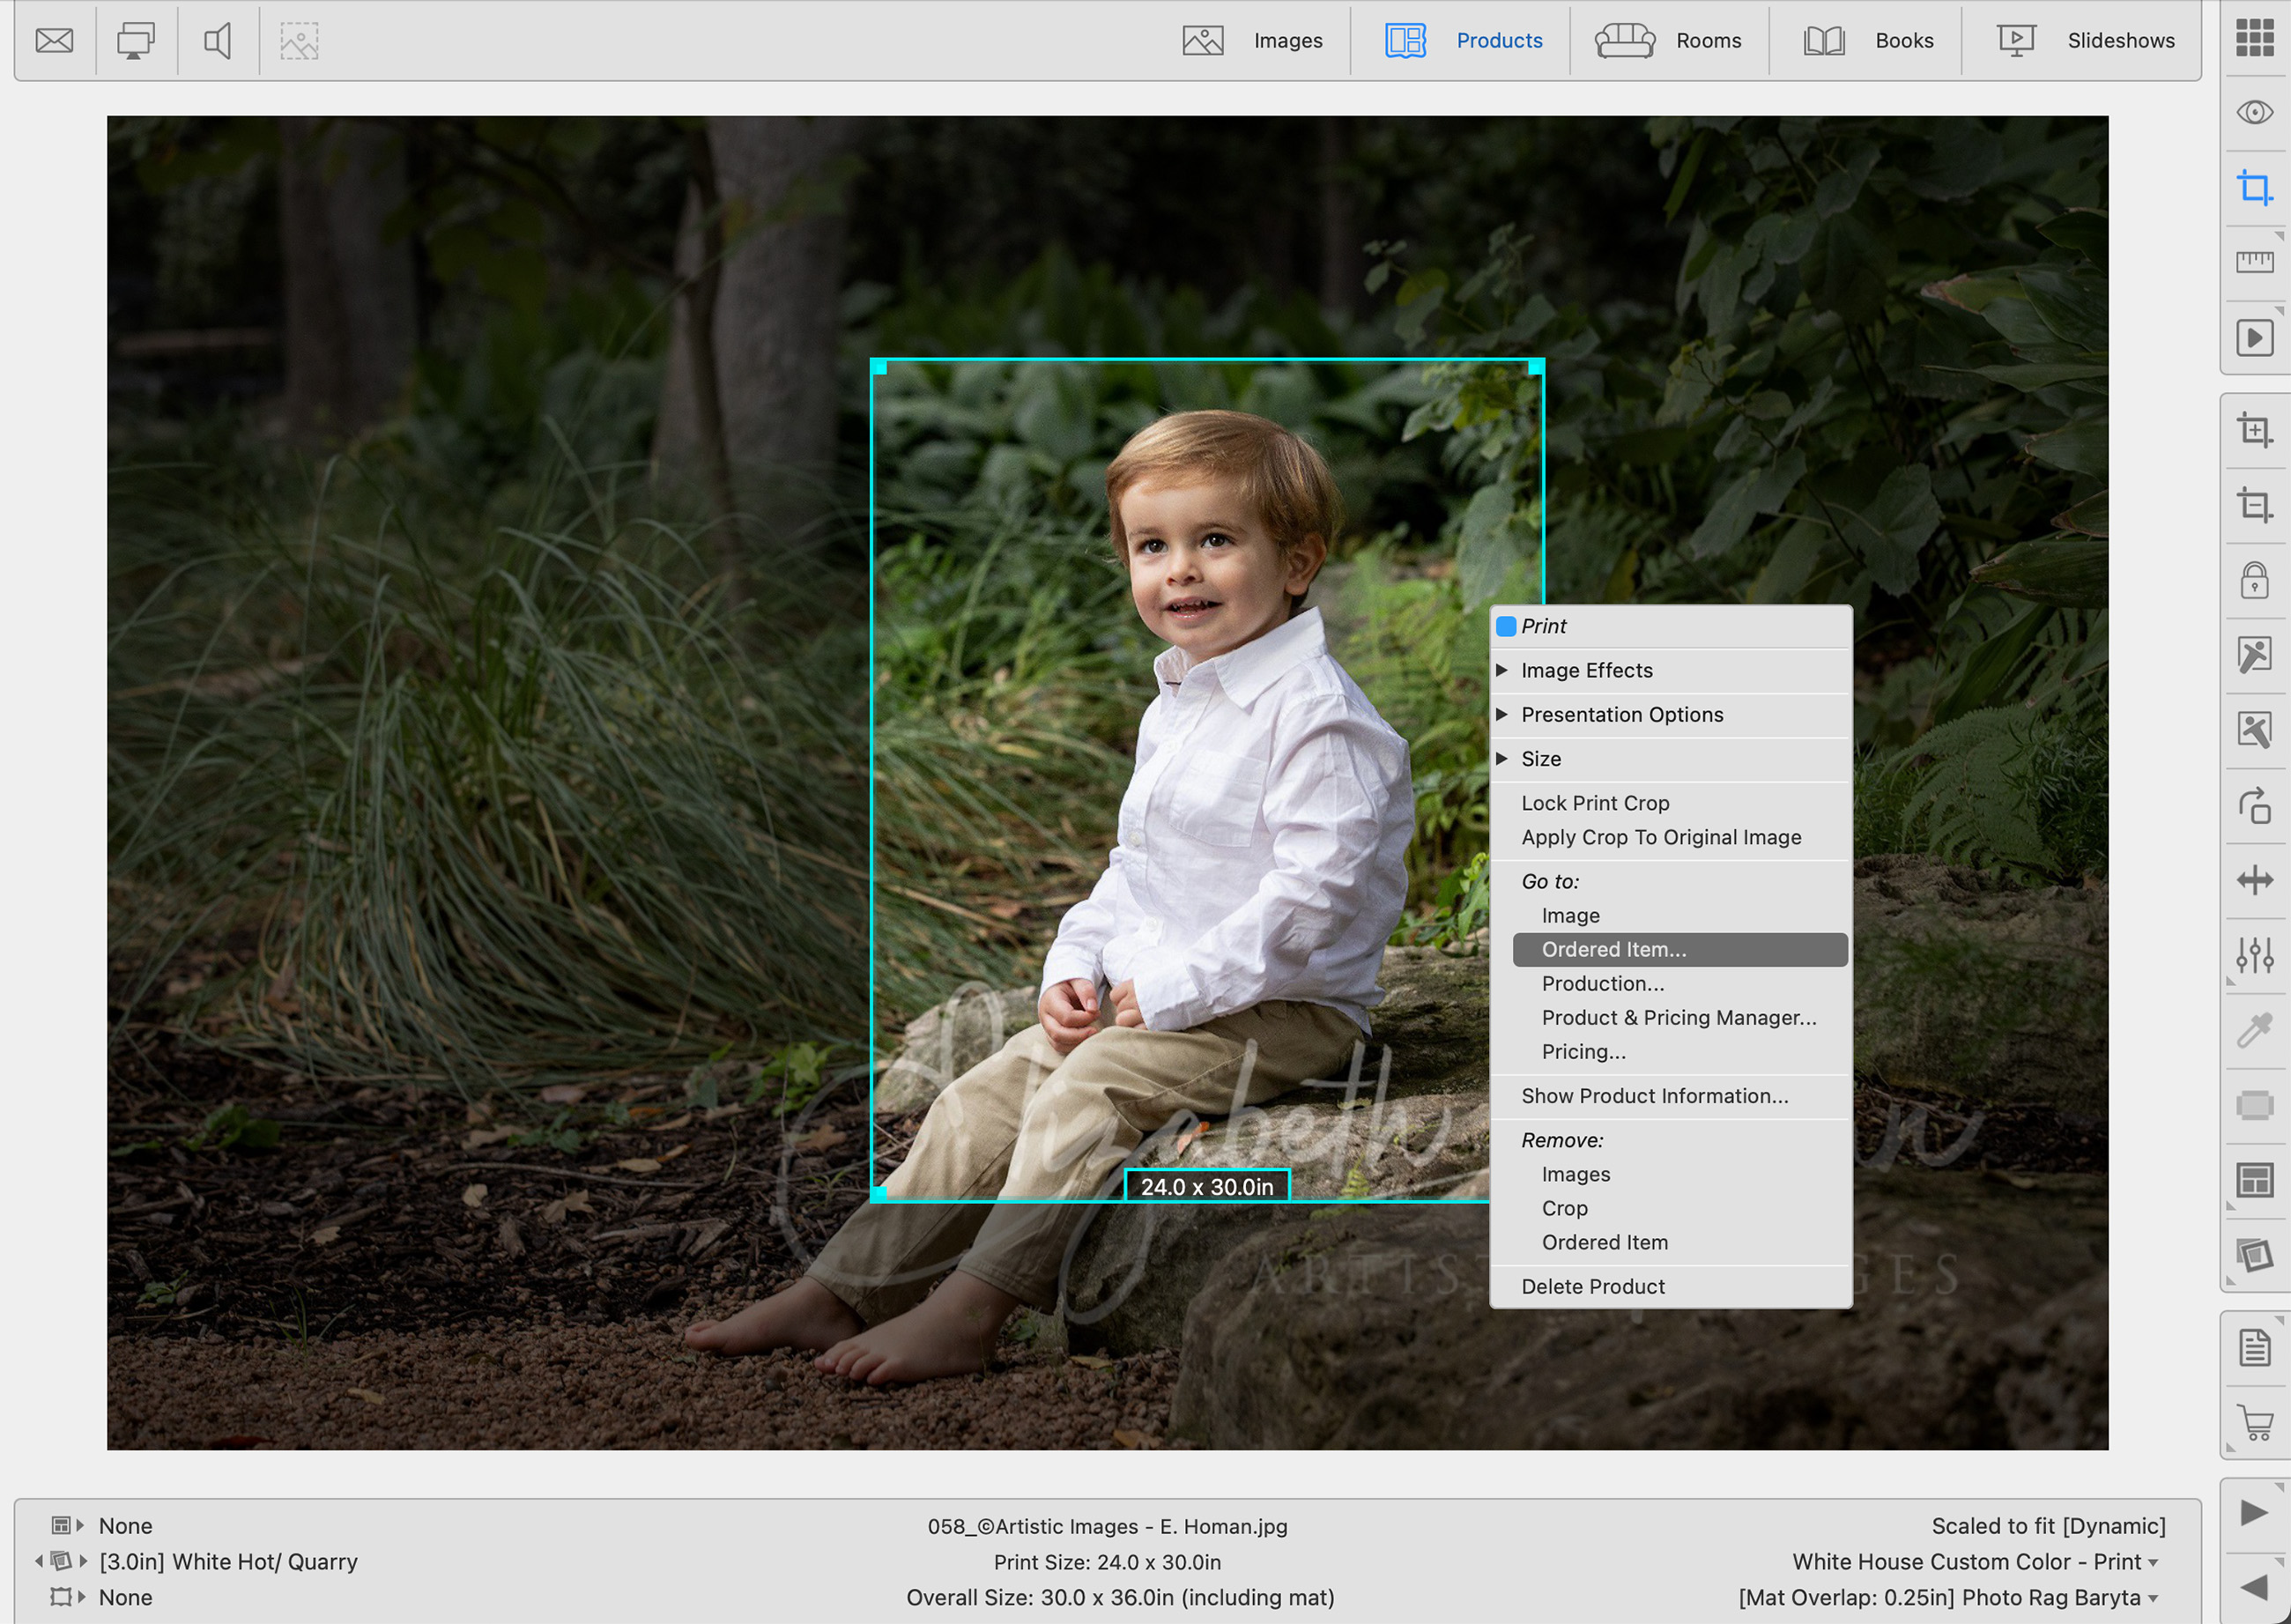
- Right-click on the product and select "Go to Product" from the drop-down list.
- ProSelect will open up the product in Working with Products. From here you can make the required adjustment (add/remove frames or mats, crop, change to B&W, etc).
- When adjustments are made, warning dialogs will appear confirming you wish to apply that change to the ordered product.
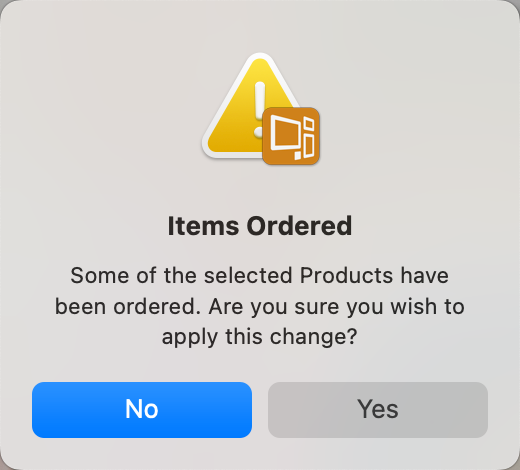
- Confirm you wish to apply the change by selecting "Yes."
- The change will be made and the order will be adjusted accordingly.
- When in the Review Order window, click on the Cropping tool
 in the top-right corner.
- You will be directed to Working With Products, Cropping View. From here you can adjust the crop.
- When you are finished, right-click on the image and select "Go to: Ordered Item."
- Back in the Review Order window, the cropping will be updated.
You can adjust the crop of an ordered item regardless of whether you are in the Review Order window, the Working with Products tab, or the Production Manager. The system is designed for seamless updates, so any crop adjustments you make will automatically reflect in the order.
When working in ProSelect, it's crucial to understand how image cropping functions differently depending on where you are applying the changes:
- Cropping within a Product: When you crop an image in the context of a specific product (like a framed print or a composite), this cropping is specific to that product only. It does not alter the original image that resides in your general image library (Working with Images). This allows you to tailor how an image appears in a particular product without affecting the original file or its use in other contexts.
- However, you do have the ability to "Apply Crop to Original Image." Right-click on a product and select this option. This allows digital files to be produced to match the crop of a specific product.
- Cropping in Working with Images: Conversely, if you crop an image in the "Working with Images" area, which is more general and not tied to any specific product, this cropping does not automatically apply to any products that use the image. Each product that uses the image retains its own version of the image cropping. If you want the new cropping to be reflected in a product, you must go into the specific product and apply the cropping there as well.
If you add or remove a custom effect action to an ordered image, the following warning will appear:
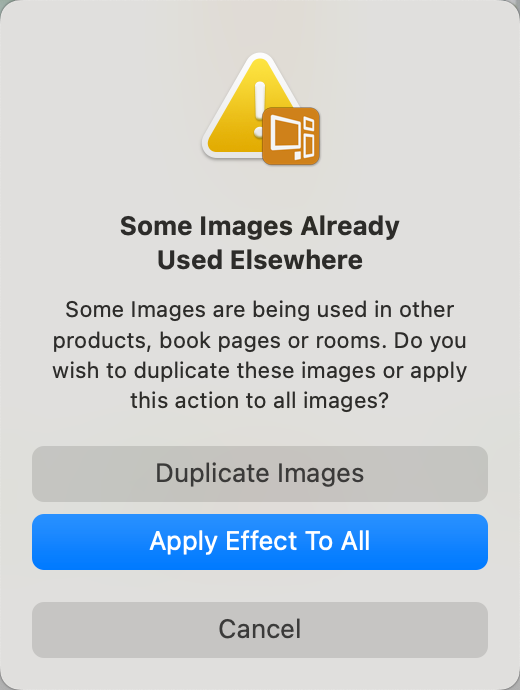
- Duplicate Images: This will duplicate the image, and apply the change you are making to the "non-ordered" version of the image.
- Apply Effect To All: This option will apply the change everywhere that image is being used in a product.
- Find the product in Working with Products or Working with Rooms.
- Add the desired frame or mat.
- The following popup message will appear:

- Choose either "Include" which will add the frame or mat at no charge, or "Bill for Item" which will add on the price for the frame or mat.
When working in ProSelect, it's crucial to understand how image cropping functions differently depending on where you are applying the changes:
- Cropping within a Product: When you crop an image in the context of a specific product (like a framed print or a composite), this cropping is specific to that product only. It does not alter the original image that resides in your general image library (Working with Images). This allows you to tailor how an image appears in a particular product without affecting the original file or its use in other contexts.
- However, you do have the ability to "Apply Crop to Original Image." Right-click on a product and select this option. This allows digital files to be produced to match the crop of a specific product.
- Cropping in Working with Images: Conversely, if you crop an image in the "Working with Images" area, which is more general and not tied to any specific product, this cropping does not automatically apply to any products that use the image. Each product that uses the image retains its own version of the image cropping. If you want the new cropping to be reflected in a product, you must go into the specific product and apply the cropping there as well.