 Using Stacked Templates
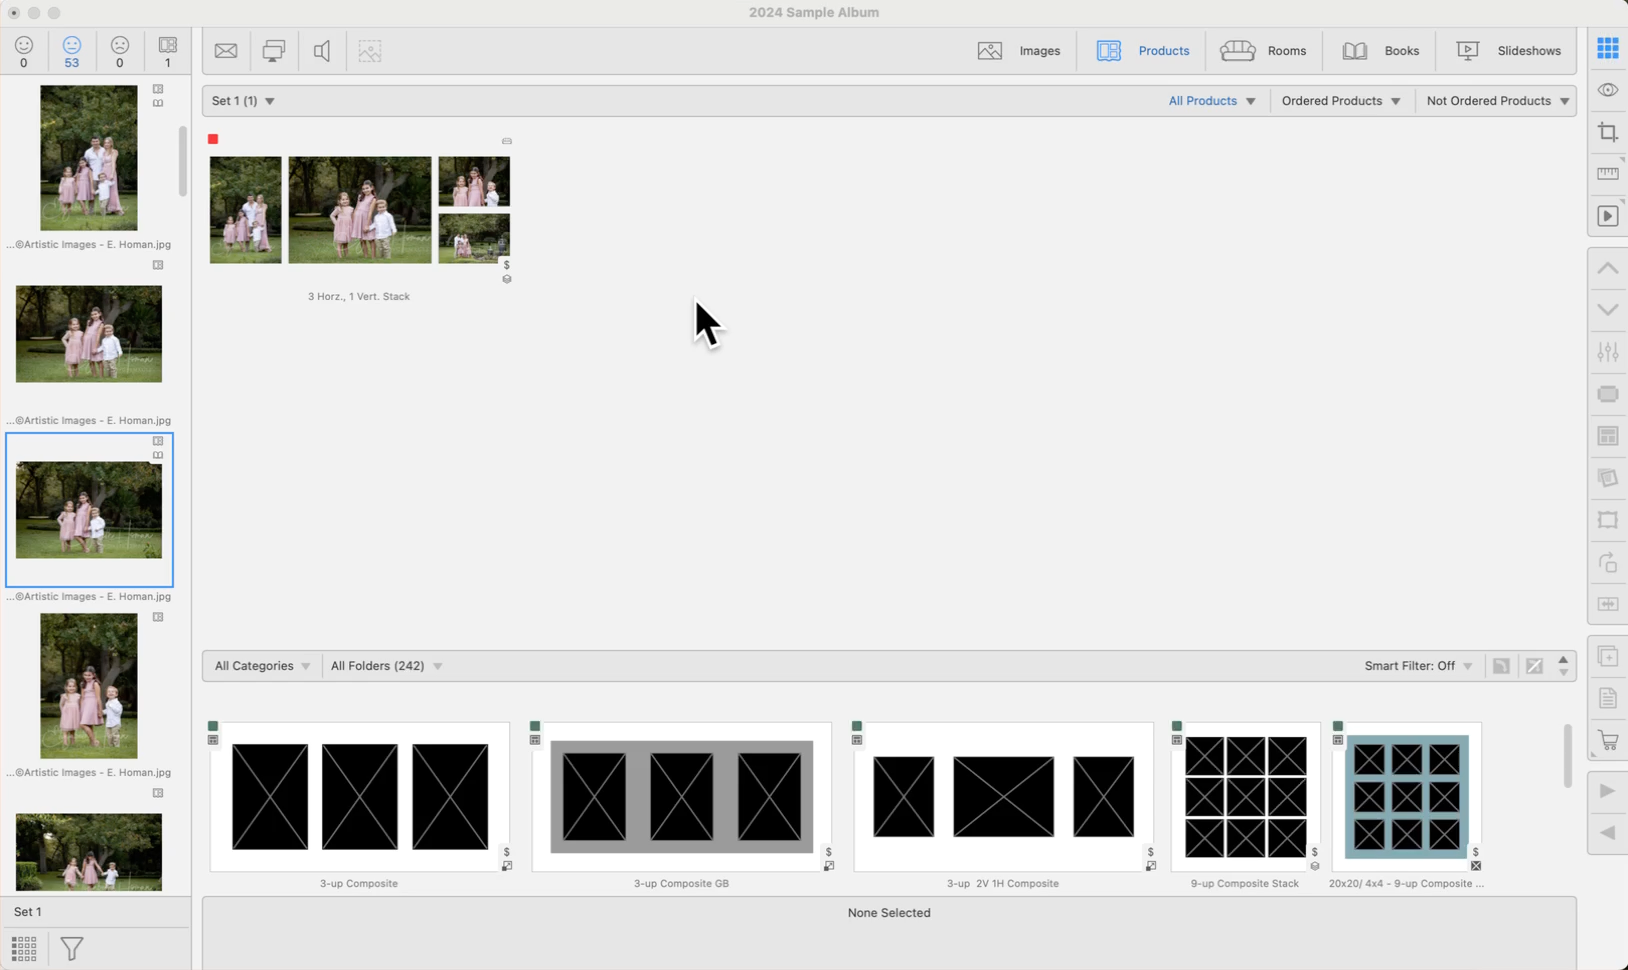
Stacked sizing allows the populating of multiple products simultaneously. This feature is particularly useful when offering products in different sizes with varying aspect ratios. Wall groupings, for example, work best when stacked, as they can consist of small, medium, and large sizes. Stacked sizing is ideal for wall groupings that contain multiple images and transition from one size to another, such as going from a large (24x30) to a medium (20x24), where the aspect ratios differ slightly.
Each product template within a stack is treated as an individual layer. They are created individually and then added to the stack. When viewing the Product Stack in Working with Products (Thumbnail view), it appears as a single product with a stack tag ![]() . Learn about pricing stacked templates by clicking here.
. Learn about pricing stacked templates by clicking here.
When using stacked templates, the various stacked sizing options created can be viewed using up and down arrow keys, or the Previous/Next Stack tools ![]()
![]() . This allows you to cycle through the different sizing options available. This works in Working with Products, as well as Working with Rooms.
. This allows you to cycle through the different sizing options available. This works in Working with Products, as well as Working with Rooms.

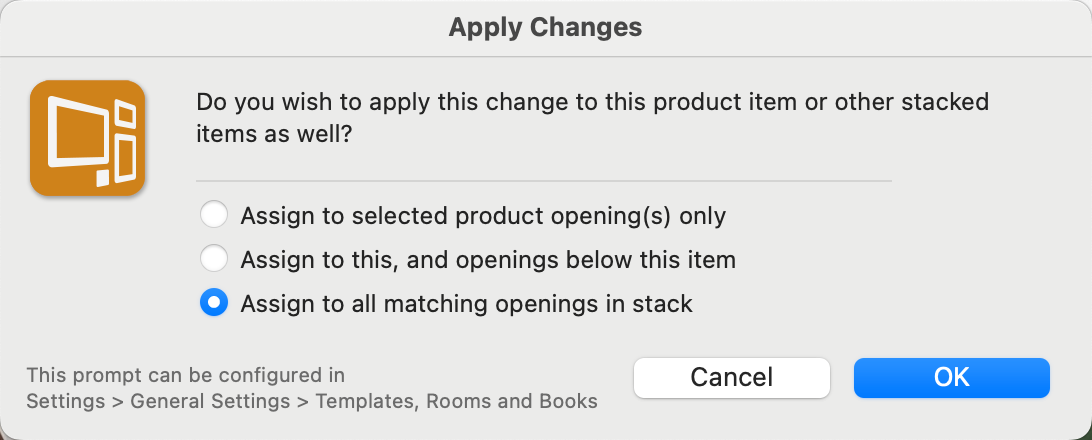
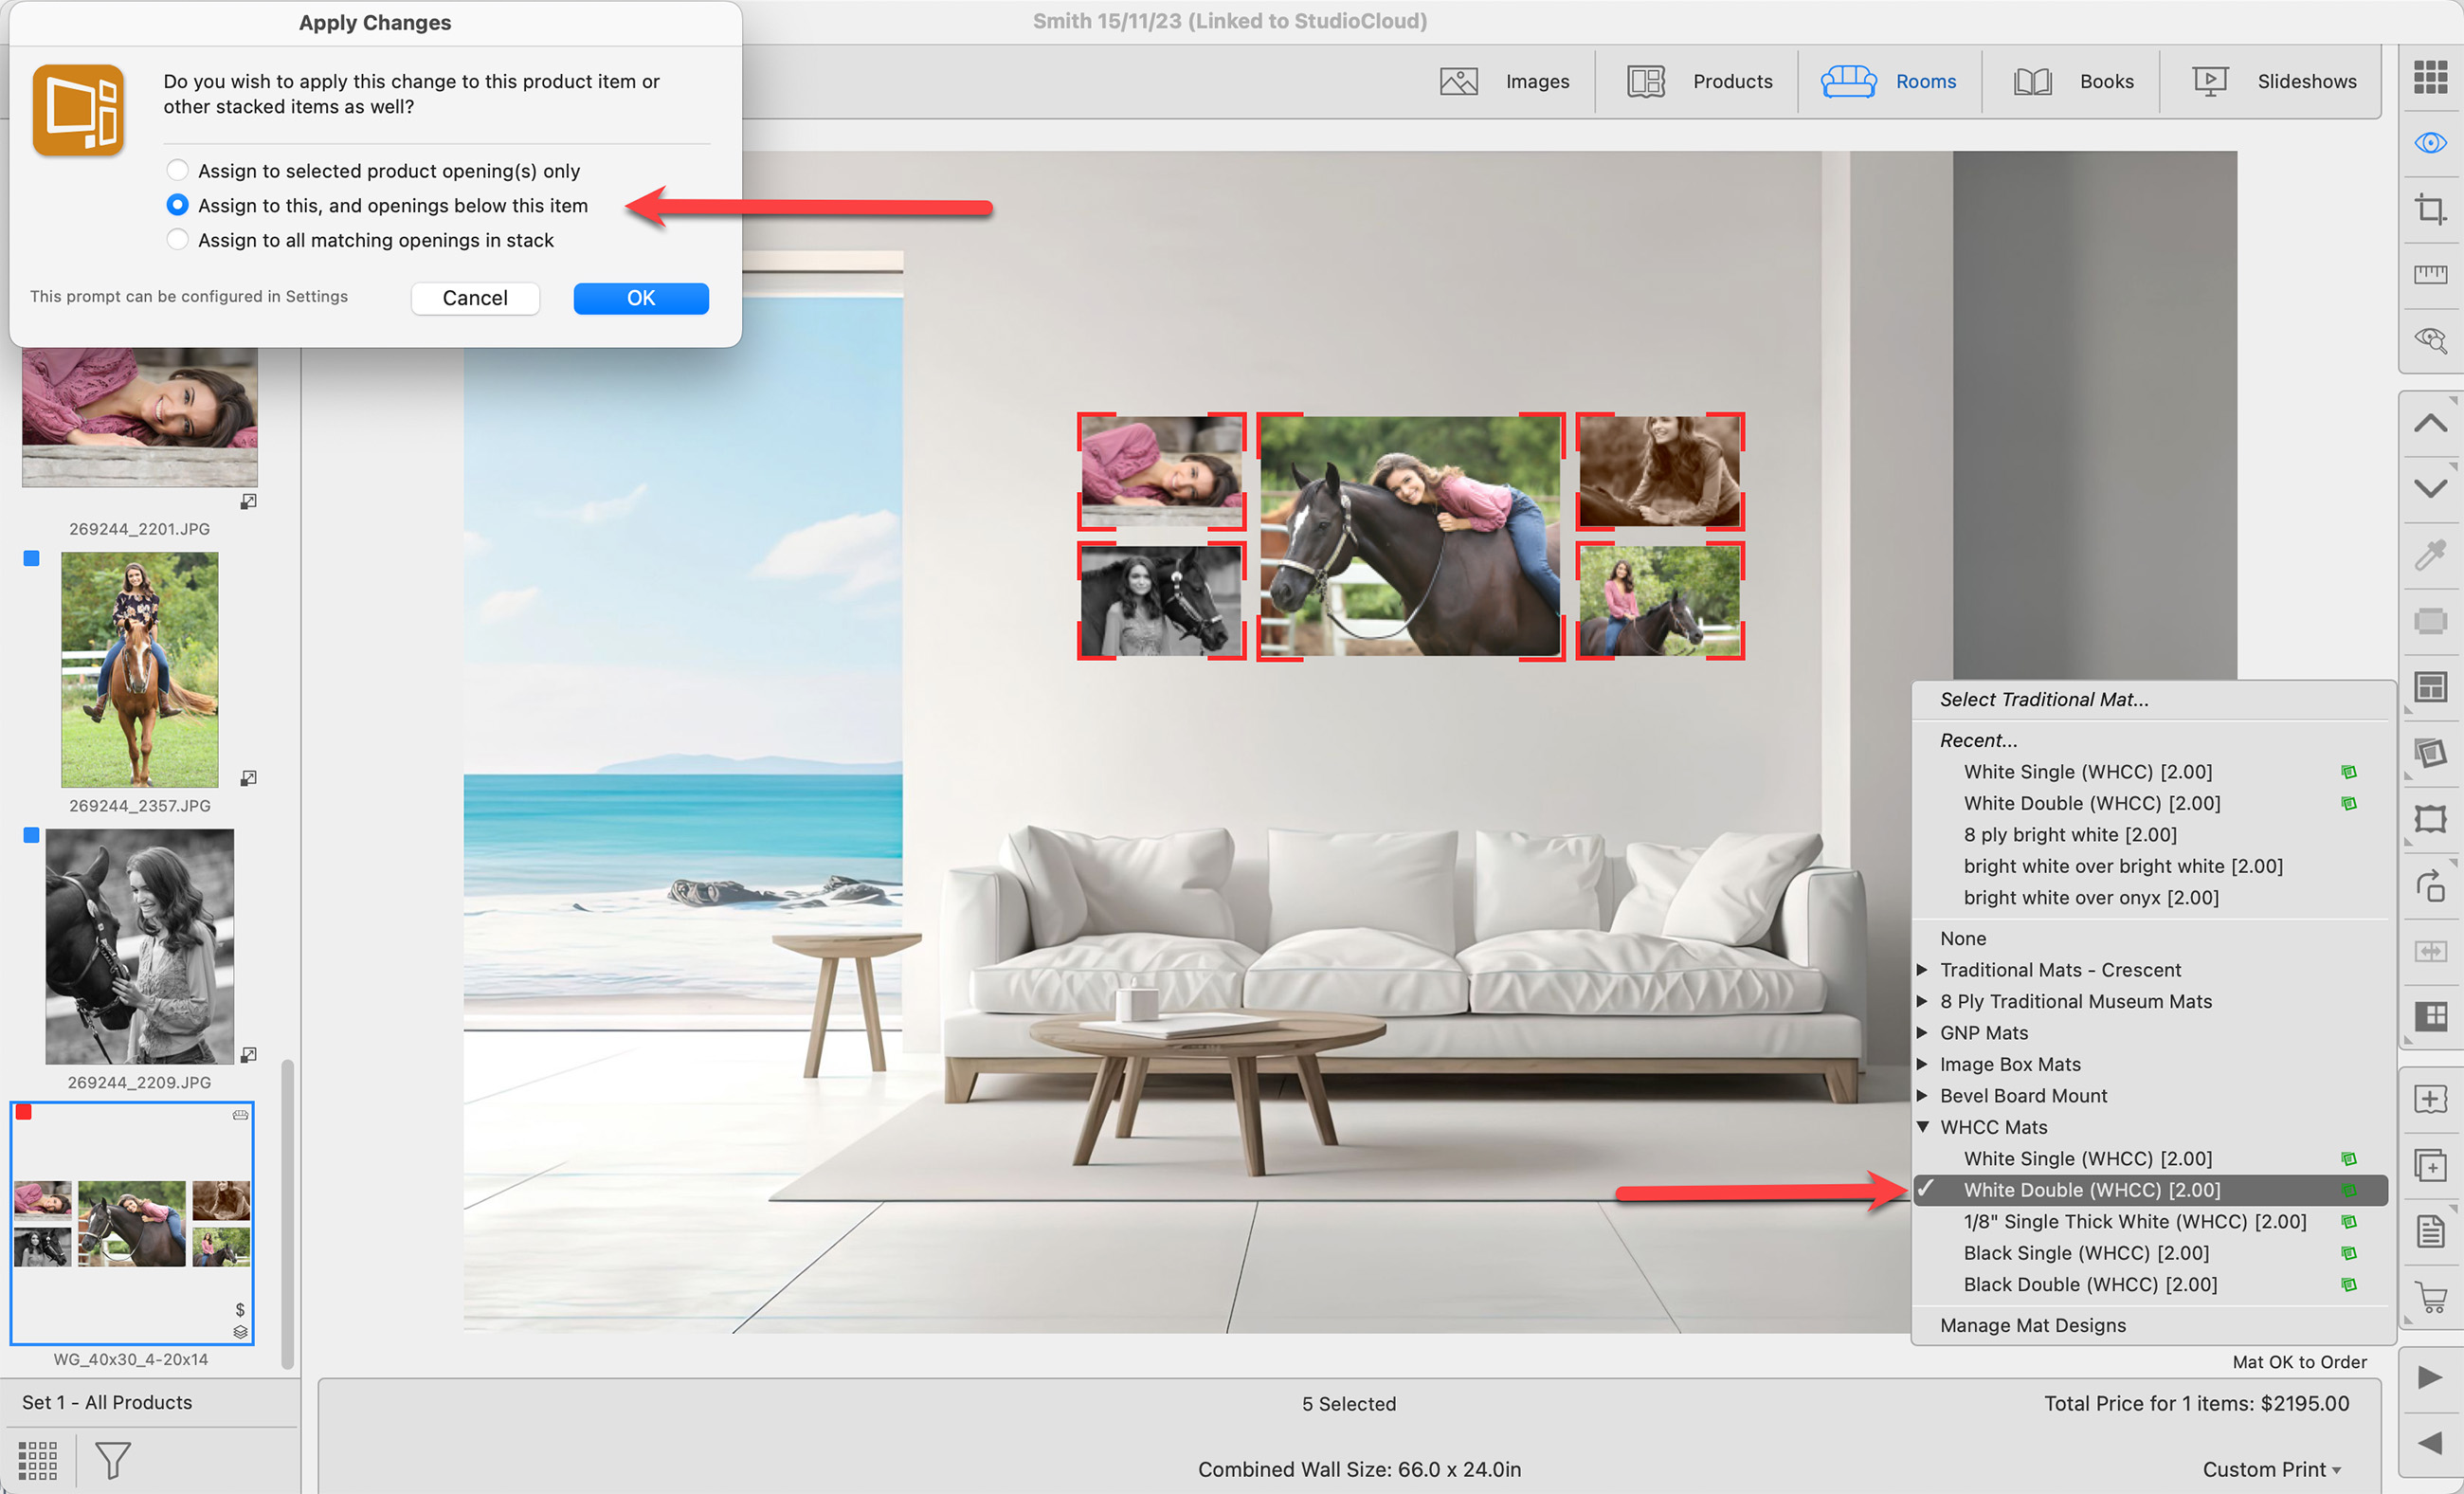
When applying mats and frames to Stacked Product Templates (Wall Groupings, Traditional Mats, etc), you will be asked to confirm where exactly to assign them. This is because you may only want to apply the selected frame or mat on the current stacked size. Alternatively, you may want to apply it to ALL the stacked sizes. The Apply Changes dialog will appear.

- Assign to selected product opening(s) only:
- This option applies the mat or frame to the selected opening(s) on that current layout only.
- If there are different configurations of that layout, the mat or frame will be applied to the corresponding opening(s) in any alternate configurations.
- Assign to this, and openings below this item:
- This option applies the mat or frame to the selected opening(s) on the current layout and all lower level layouts.
- If you are at the top of the stack, the mat or frame will be applied all the way down.
- If you are halfway through the stack, it will start from that point and apply the changes downward.
- If there are different configurations for those layouts, the mat or frame will be applied to the matching opening(s) in any alternate configurations.
- Assign to all matching openings in stack:
- This option applies the mat or frame to the selected opening(s) in each layout within the stack.
Because this dialog will appear every time you apply a mat or frame, you have the option to choose a selection and bypass future prompts. Go to the top menu, ProSelectEdit > Settings > General Settings > Templates, Rooms and Books > Stacked Templates.

Because the "Apply Changes" dialog will appear every time you apply a mat or frame, you have the option to choose a selection and bypass future prompts. Go to the top menu, ProSelect > Settings > General Settings > Templates, Rooms and Books > Stacked Templates. Select an option from the list.