Overlay Images
Overlay images are high-resolution images associated with a product template that serve various purposes within ProSelect.
- To import overlay images into ProSelect, utilize .psd files which are automatically converted into .png files for display purposes within the software. The original .psd files are then utilized during Pro production.
- Both .psd and .png formats support transparency, which is crucial for creating openings in the product template that allow for the insertion of images to finalize the design.
- Overlay images can be accessed and managed in the Resources Folder. Go to the top menu, Resources > ProSelect Resources Folder > Manage Resource Images > Overlay Images. Generally, direct interaction with this folder isn't necessary because you can conveniently add these files directly within the Product Editor while creating your product.
- Adding an overlay image to a product template will lock the overall shape to correspond with the overlay image's dimensions. Consequently, once the overlay is added, you can only adjust the template's width; the height will automatically adapt to maintain the correct aspect ratio of the overlay.
- If you need to align an opening precisely with a specifically sized overlay image, position the opening as desired, then enter the exact width and height for the opening. To proportionally adjust the overall product template size to match the dimensions you've entered, click the Apply button while holding down the OptionAlt key. This action ensures that the smaller dimension of your opening matches the size you've specified, allowing for precise alignment within the product template.
- ProSelect also manages low-resolution copies of all overlay images utilized in any product templates (and book files) within the Album file. If you update an overlay image that is already used in a product template, you should select "Update Album Resource Images" from the Resource menu. This action forces ProSelect to refresh the low-res copies in the album, ensuring that any changes are reflected across your project. This step is crucial for maintaining the integrity and consistency of your album's visual elements.
- Adding a complex graphic design to a composite template: This is often used in press-printed cards, where transparent areas are included for image openings.
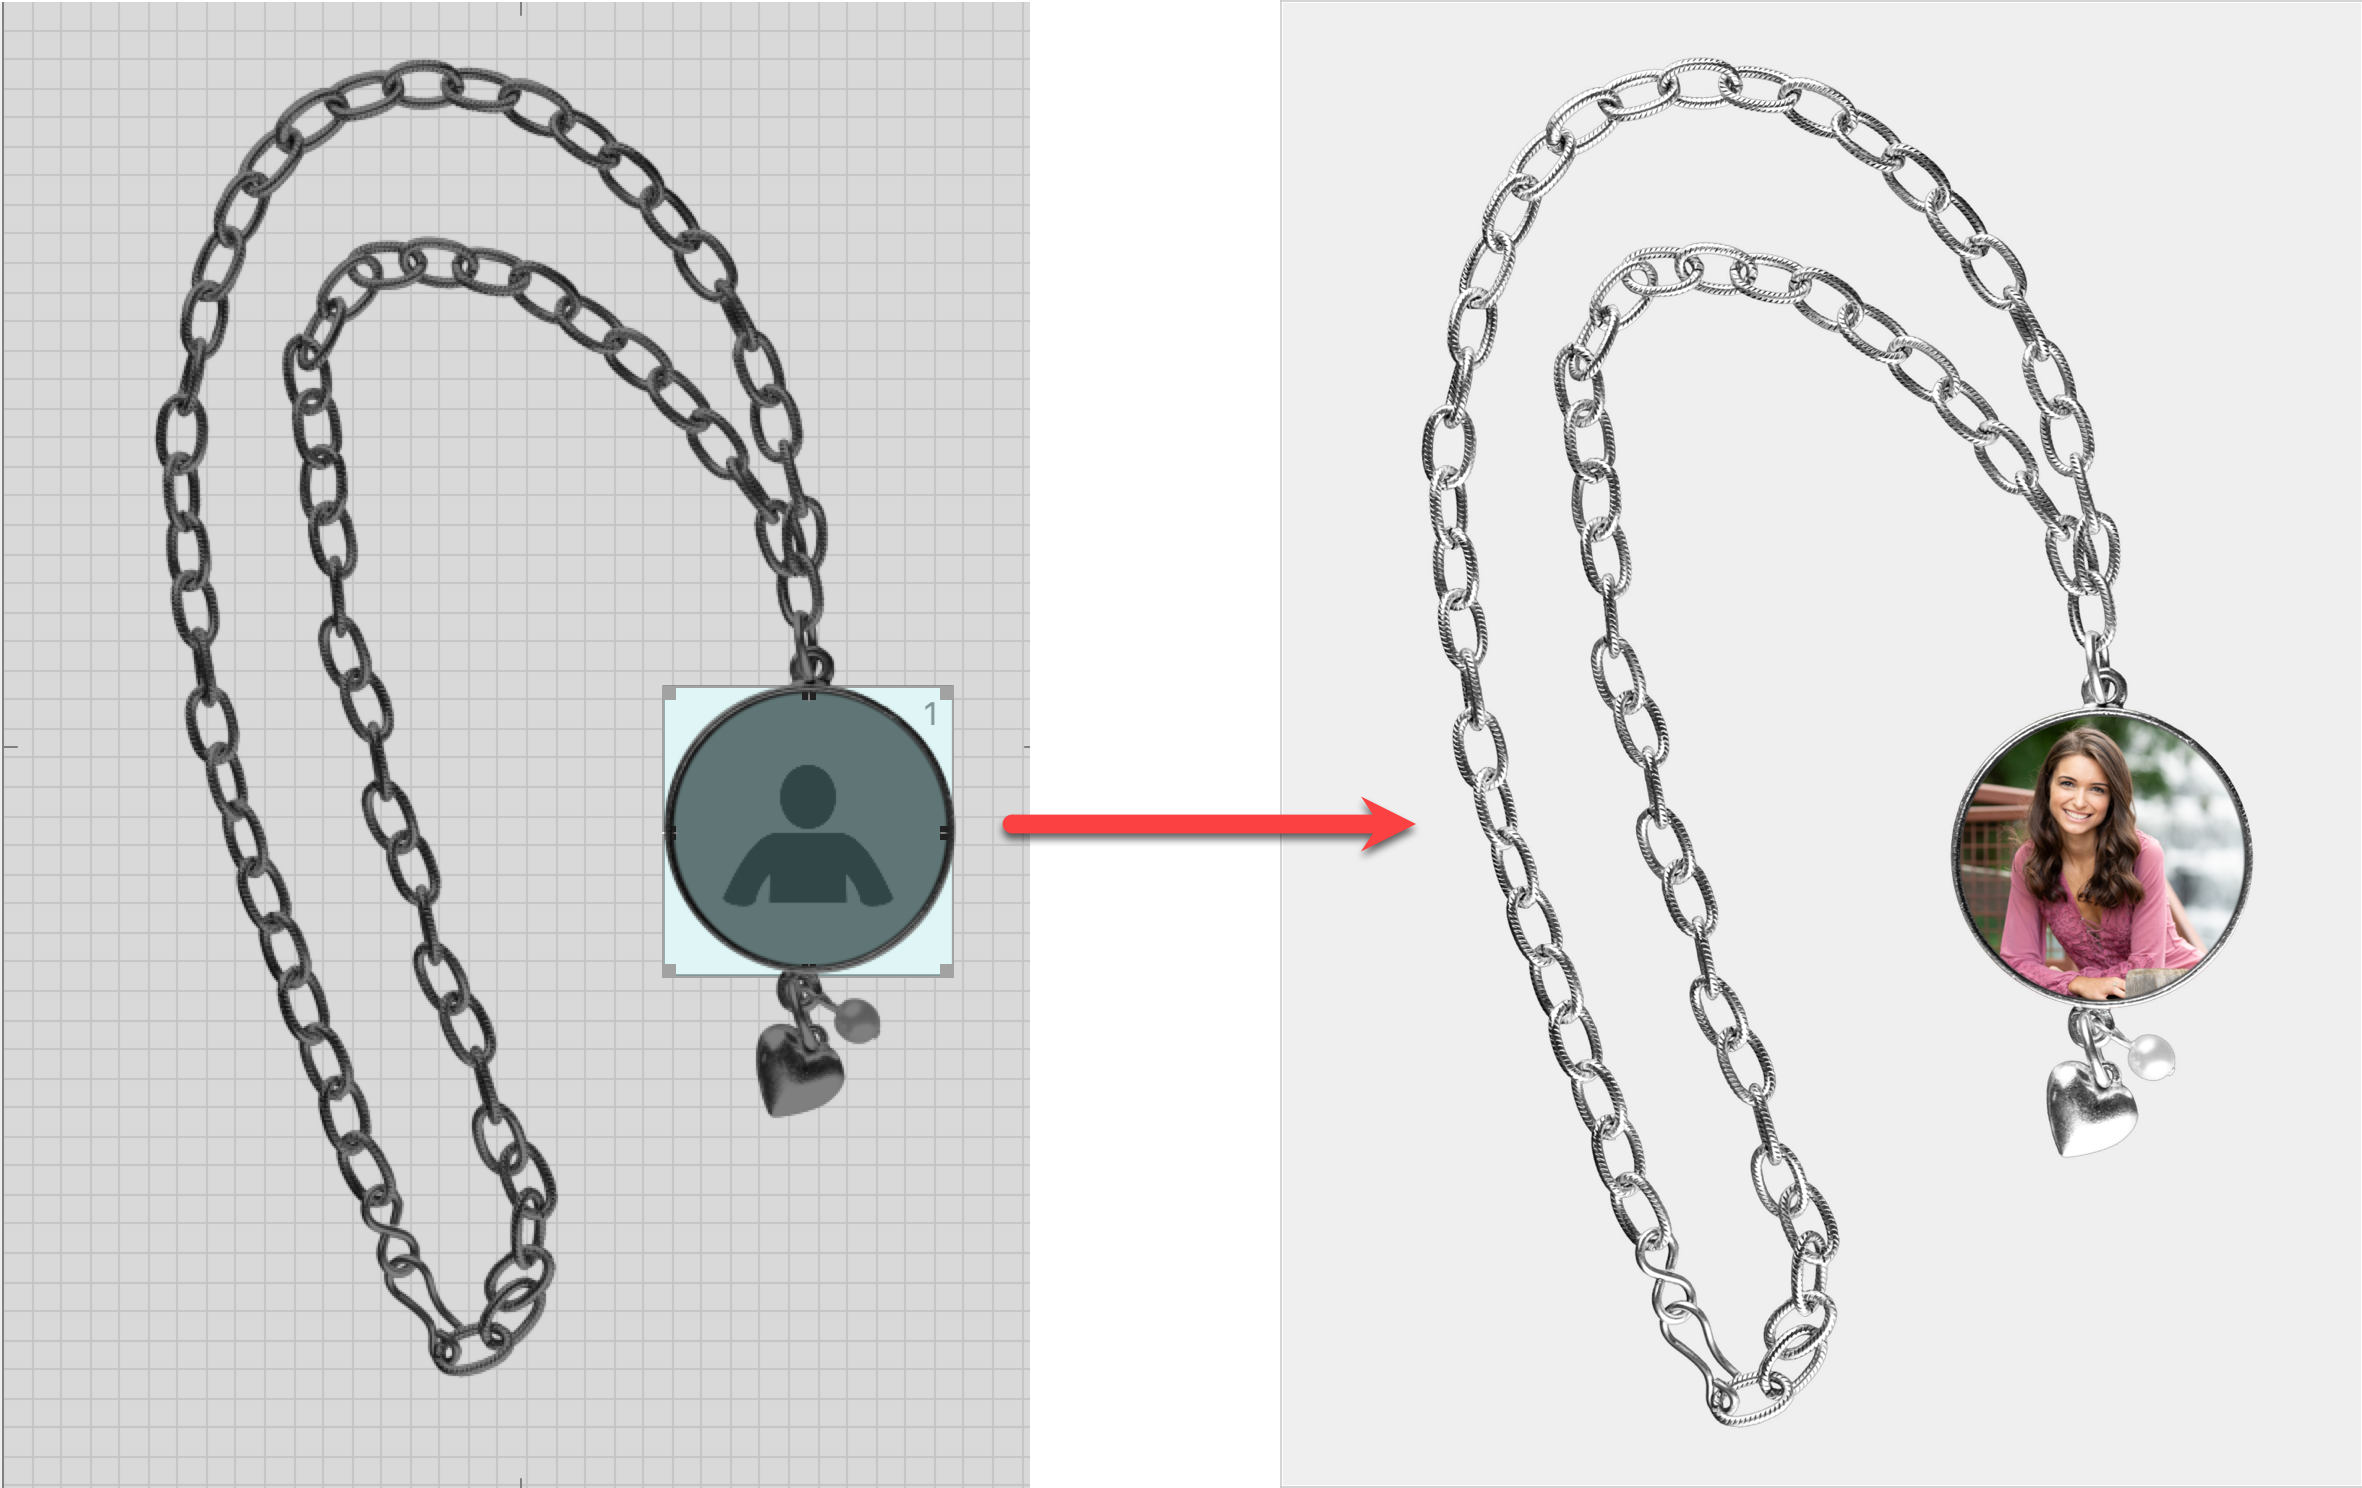
- Combining with a Shape Mask: Overlay images, when used in conjunction with a Shape Mask, can illustrate uniquely shaped finished products with or without openings.
- Showing a product in use: Overlay images can be utilized to demonstrate how a product is displayed or its intended purpose.
- Customized text: Overlay images can include customizable text that can be automatically adjusted during the production process.
- Product samples: Overlay images can showcase album covers or demonstrate retouching examples.
The Template Overlays dialog lists the filenames of all overlay images. A preview of the selected image appears on the right-hand side. The "Used In" area lists all the product templates currently using the selected overlay image.
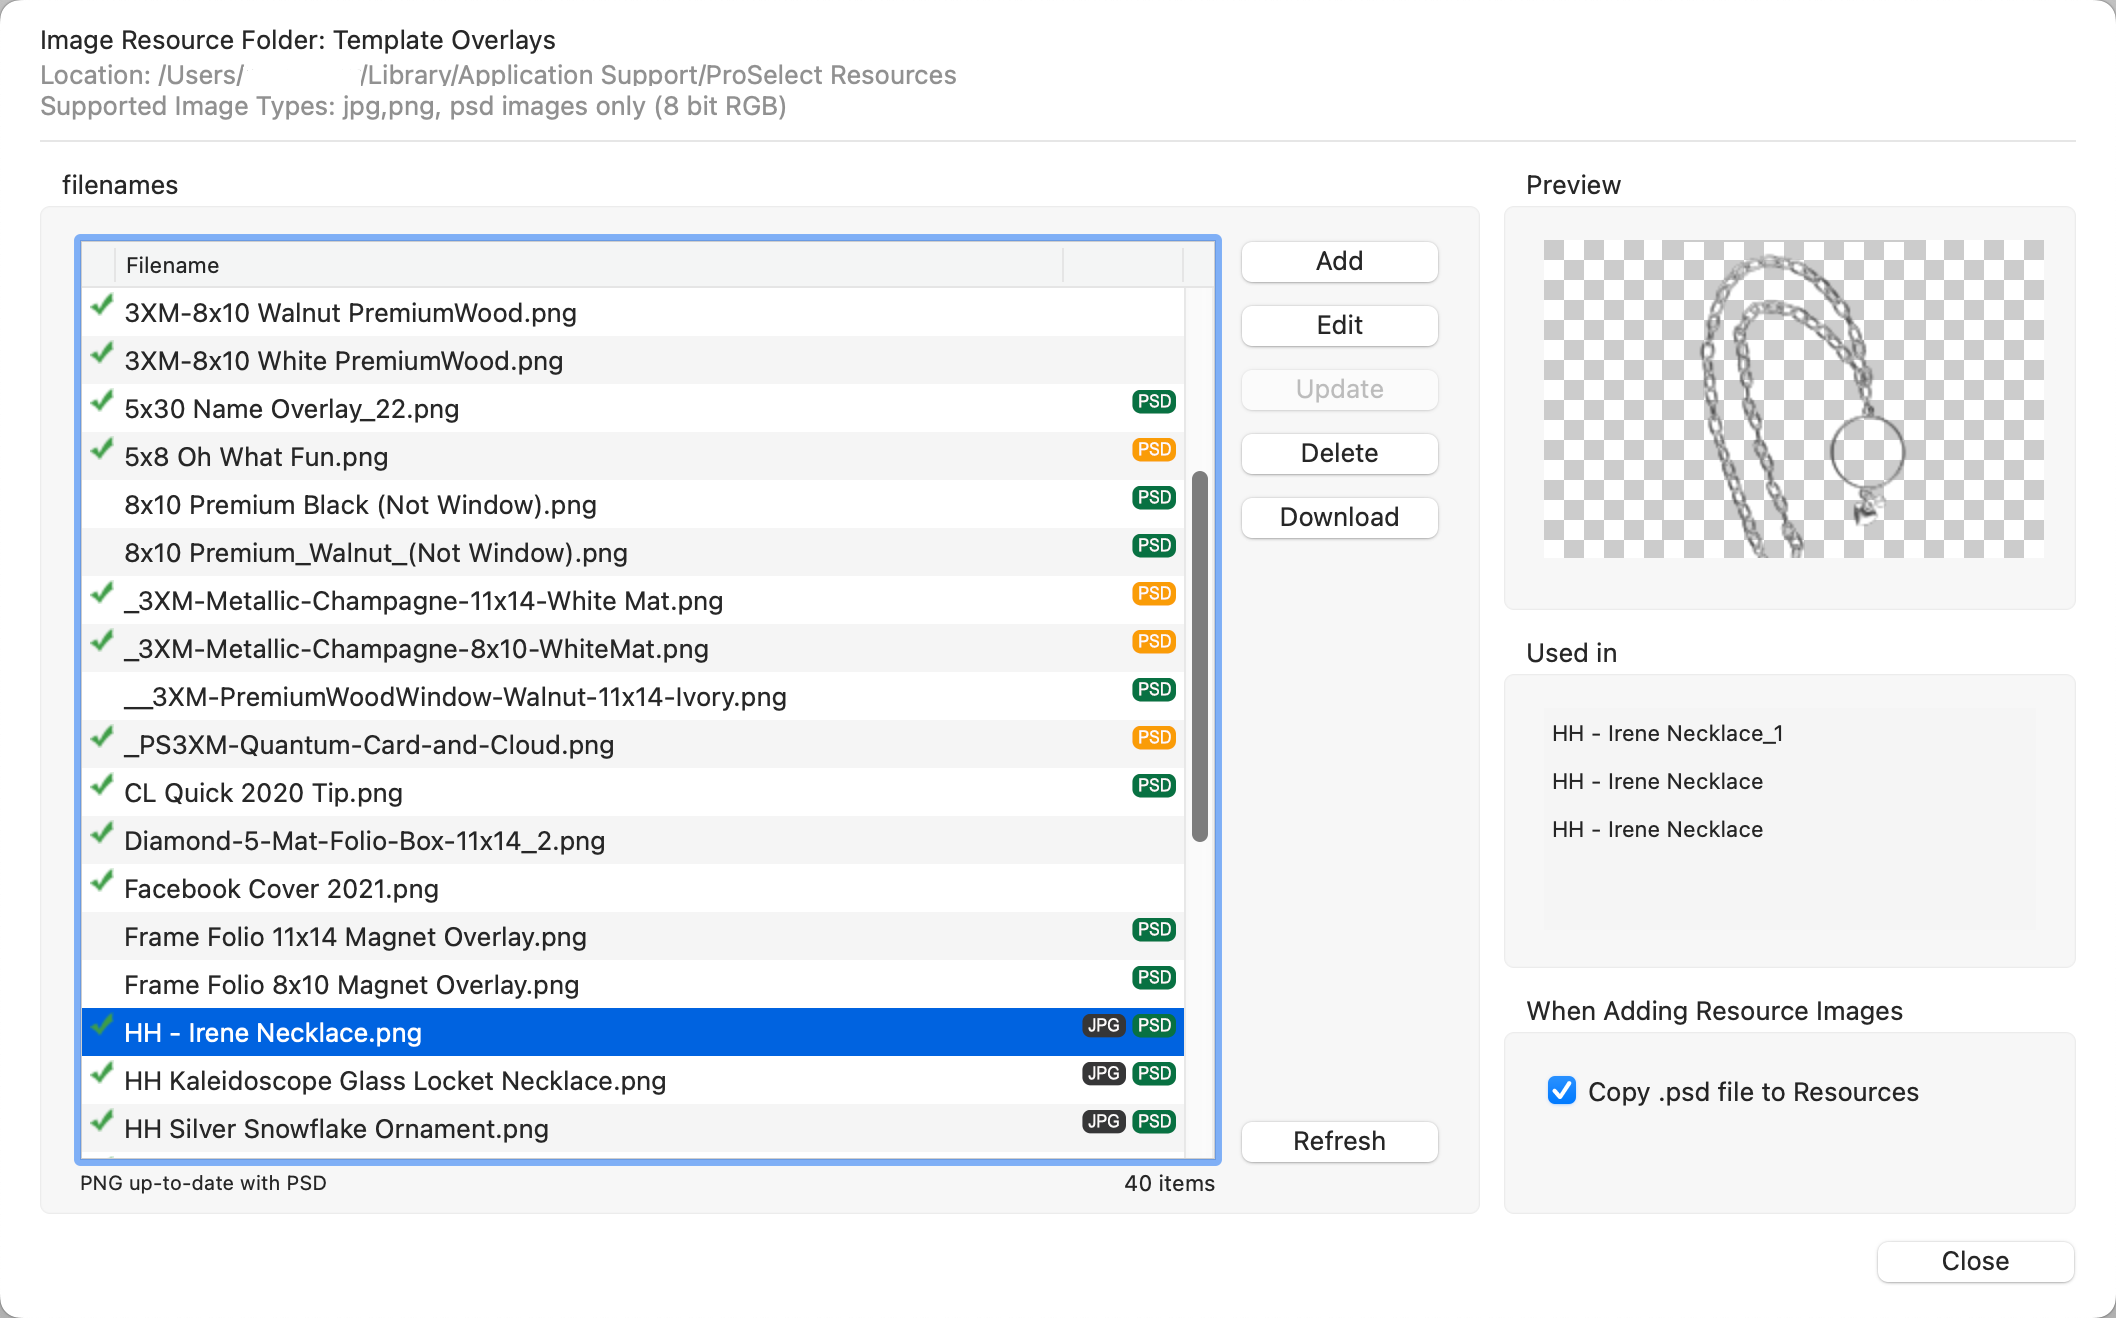
- Click the Add button to add an image to the resource folder. You can also drag and drop an image onto the list.
- Use the Edit button to open the image in Photoshop and make adjustments.
- Use the Update button if you have made modifications and need ProSelect to generate a new preview from the .PSD file.
- To remove an image from the resource folder use the Delete button.
- Access the Graphic Library using the Download button. From here you can use keywords to search the database for images.
- When adding resource images in ProSelect, the "Copy .psd file to Resources" checkbox is enabled by default. It is recommended to keep this box checked to ensure that the .psd files are actually copied to your Resources, allowing you to make changes to the original file directly within ProSelect. Only consider unchecking this option if your Resources folder becomes too large, as unchecking means that the .psd files will only be referenced and no changes can be made to the originals within ProSelect. This setting helps manage file storage while maintaining flexibility in editing your resources.
Filenames
 A green checkmark indicates the image file is currently being used in a product template. The specific template(s) will be listed under Used in.
 : The JPG icon appears next to the filename if an associated .jpg file is also present in the folder.
 : The PSD icon appears next to the filename if an associated .psd file is also present in the folder.
 : The orange PSD icon will appear if the .psd is outdated. Use the Update button to bring the .png up to date with the .psd file.
You can add overlay images to certain product types in the Product Editor. Click on Choosing a Product Template to view which types.
- In the Product Editor, scroll down to the Appearance box.
- Click "Select an Overlay Image" from the Overlay Image drop-down menu.
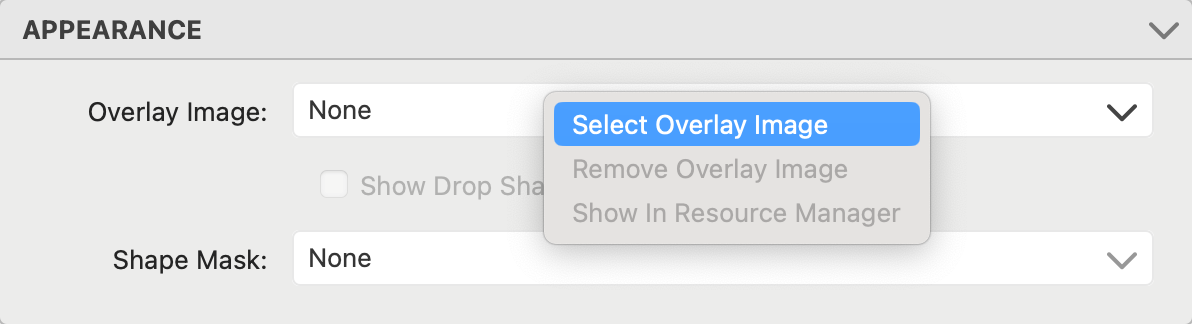
- You will be directed to the Template Overlays dialog. From here you can select an image to use in your product template.
In ProSelect, you can use most Photoshop "templates" as overlay images, provided they have a transparent background for the image area. To check for transparency, open the image in Photoshop and look for the "checkerboard" pattern in the openings.
Creating a Photoshop Overlay from a Template
You can either edit an existing Photoshop template to create an overlay or start with a new Photoshop Document. The overlay should have the following characteristics:
- Bit depth/ Color space: 8-bit/sRGB
- Size: It must match the final product size. If bleed is required (e.g., for press products), include the bleed in the file.
- Resolution: Typically, use a resolution of 300 pixels per inch (ppi). For Dynamic Sized products, size the overlay to match the largest product to be produced.
- Transparency: The areas intended to be used for images should have a transparent background (indicated by the checkerboard pattern).
- Naming: Save the file with the same name as your final product. When you add an overlay to the Product Editor, the file name will automatically be passed to the template name field.
In the following example, the template is designed for a 4” x 5” press card with a .125 bleed. A fairly complex series of layers is used here to create the image opening area.
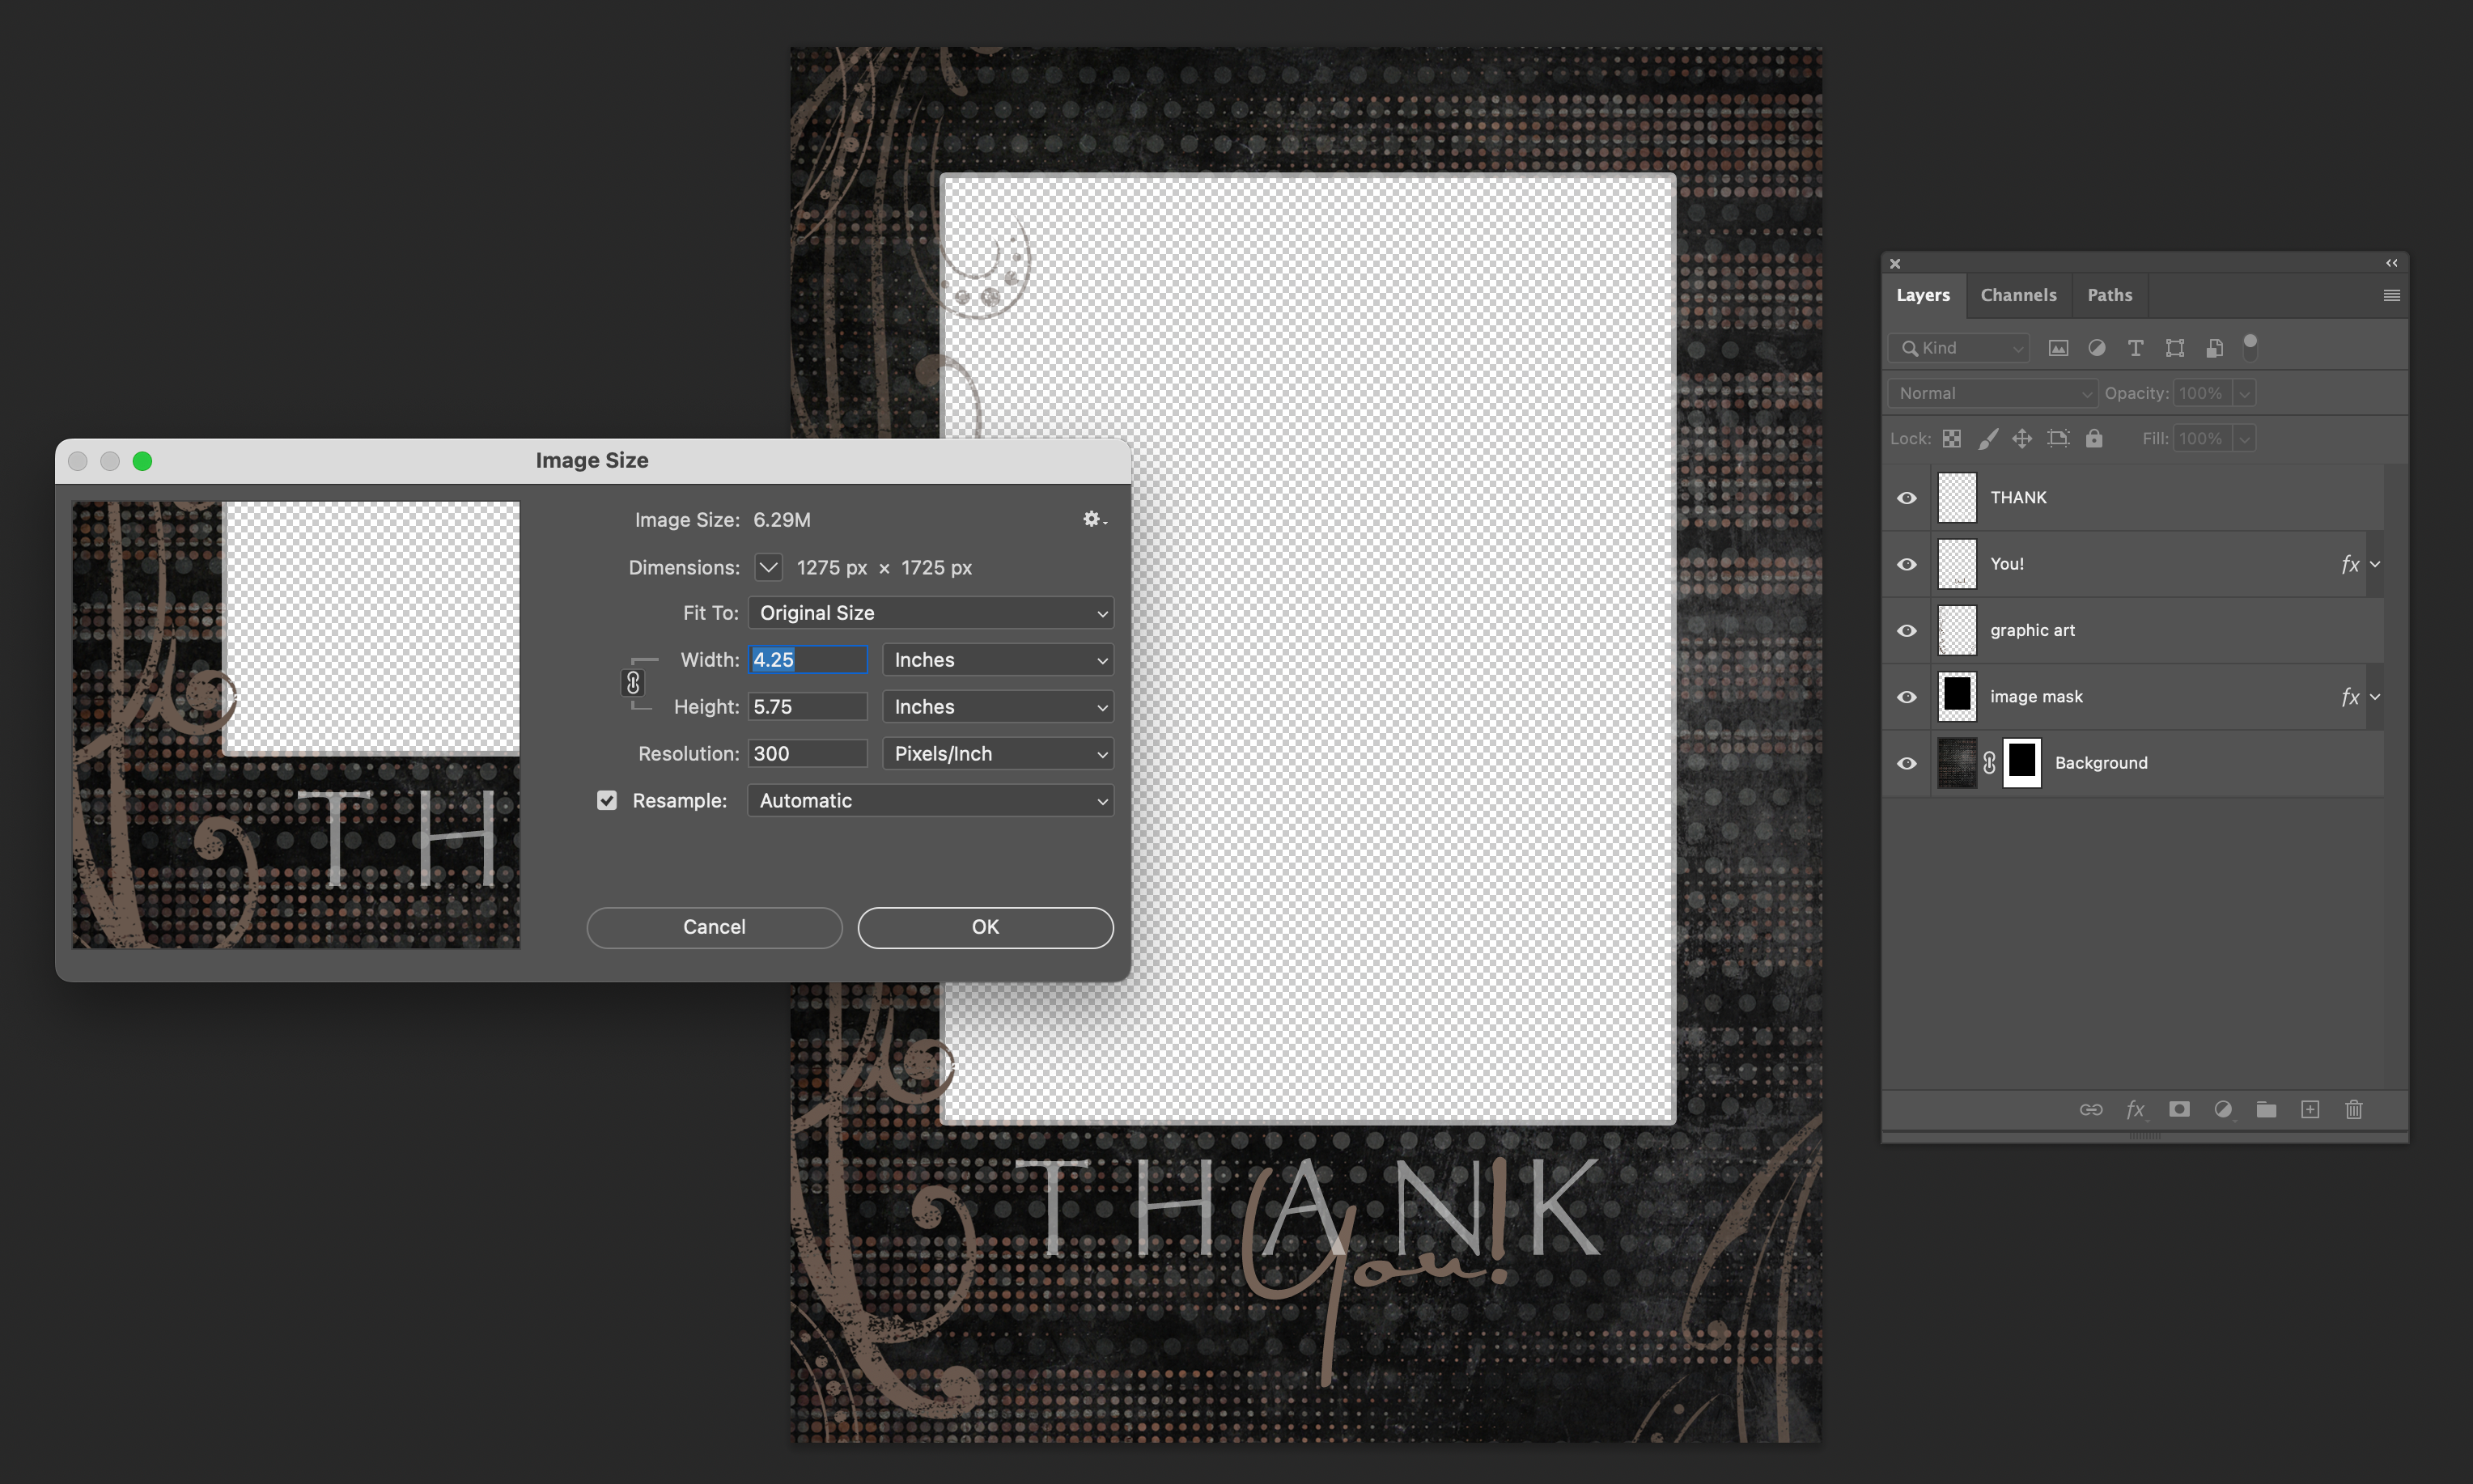
In this example, all the layers have been merged. It serves the same purpose as the file with the complex layers, but it limits future editing of the .psd file.

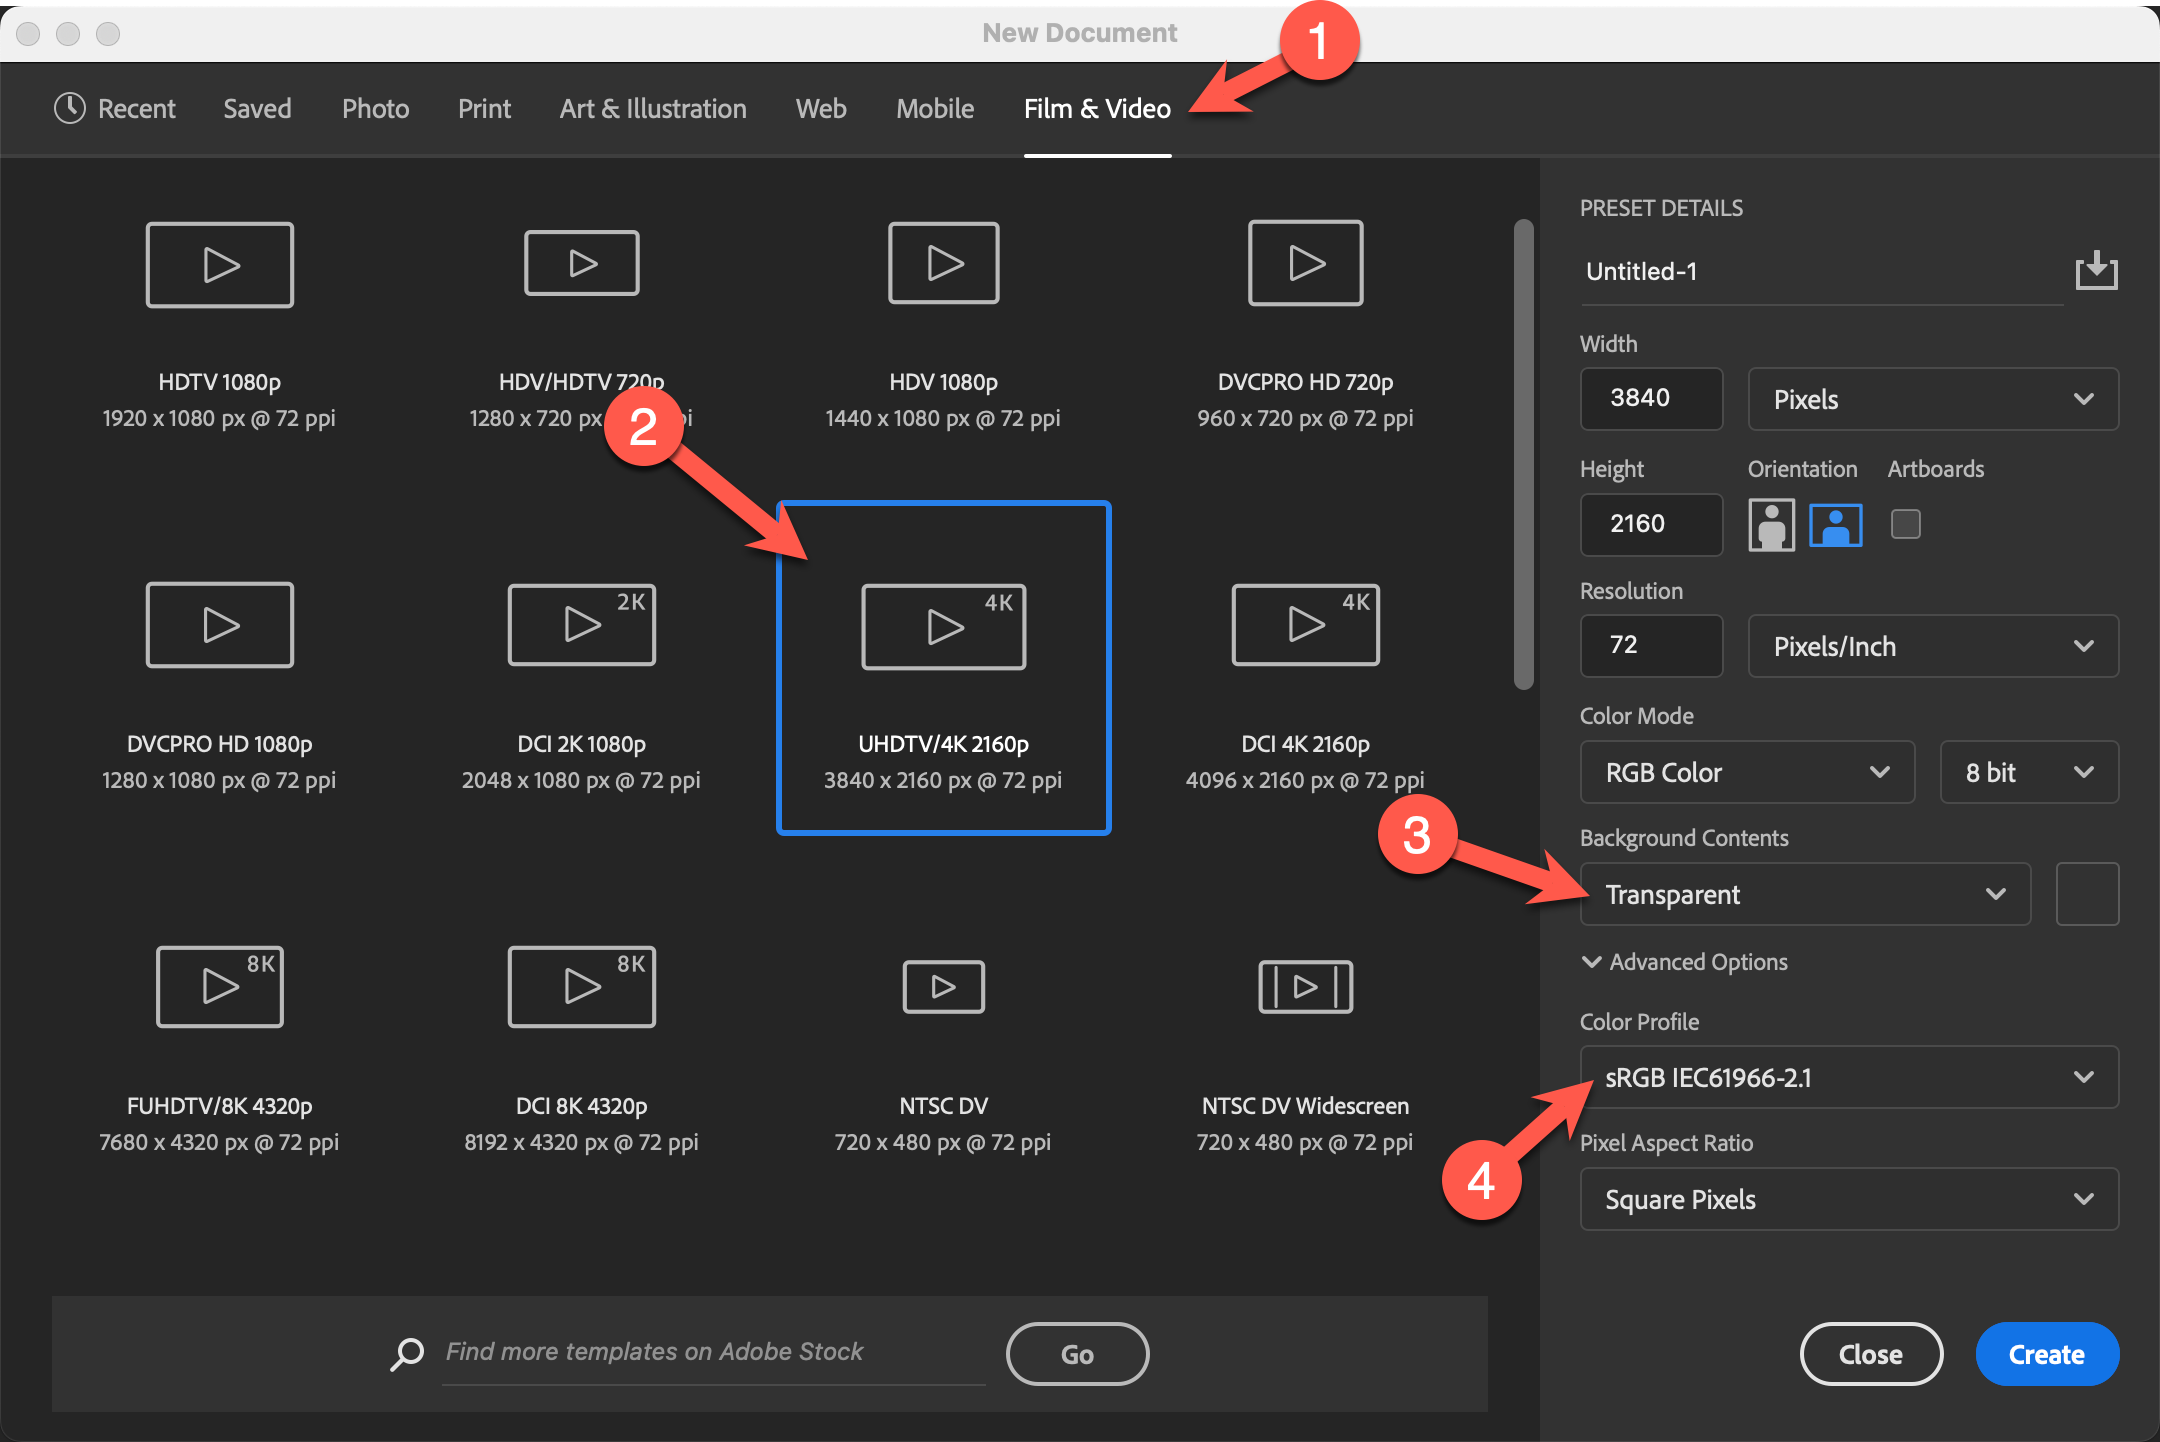
Creating a Photoshop Overlay for a Reference Product
Reference Products are used for on-screen display or detailing products on invoices. For such cases, it's suggested to create the files in a standard 4K video format of 3840 x 2160 pixels, with a transparent background and sRGB color space.